What is Searchapp.exe & Should I Remove it?
Your search is important so keep its resource usage at a minimum
![]() 4 min. read
4 min. read
![]() Published on
Published on
Share this article
Improve this guide
Read our disclosure page to find out how can you help Windows Report sustain the editorial team. Read more
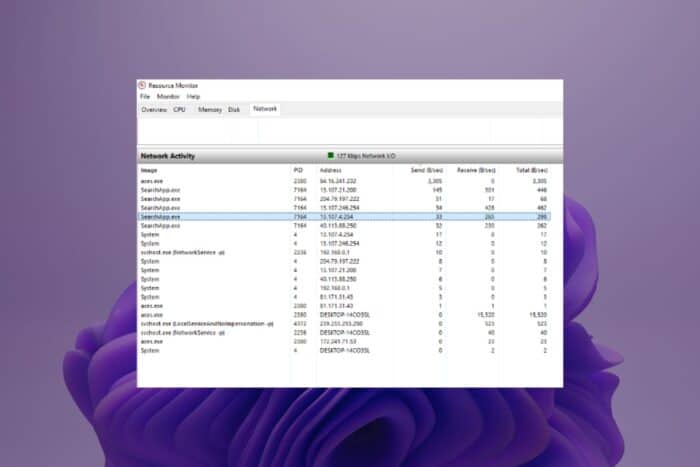
Everyone uses the Windows Search feature on the taskbar so if you spot the searchapp.exe process, no need for alarm as it is a legitimate system app.
The searchapp.exe process is responsible for searching files, folders, and system data within Windows as well as indexing. How fast and accurate your search results appear is thanks to this process so you should not remove it.
And while it is a legitimate process, cybercriminals are notorious for creating similar processes and bundling them up in software. If you notice any anomalies with this process, such as high CPU spikes, it’s best to check it out and verify it is indeed the legitimate one.
How do I remove the searchapp.exe process?
1. End process from Task Manager
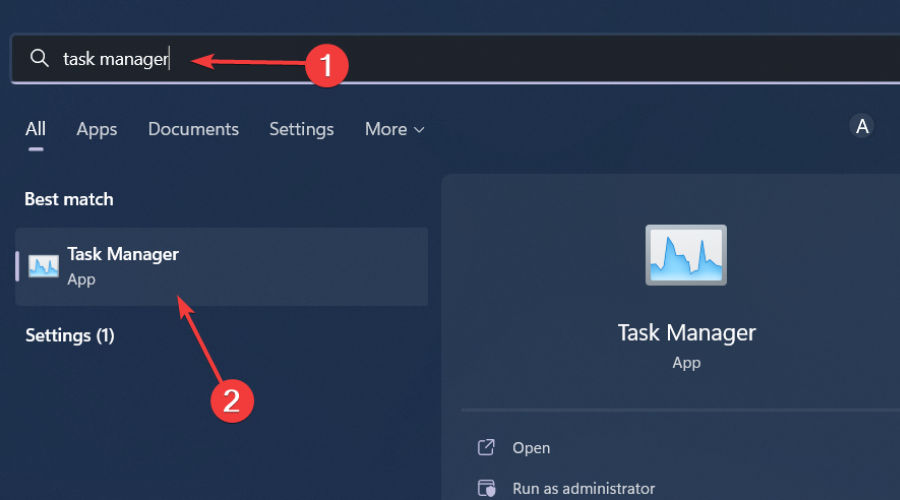
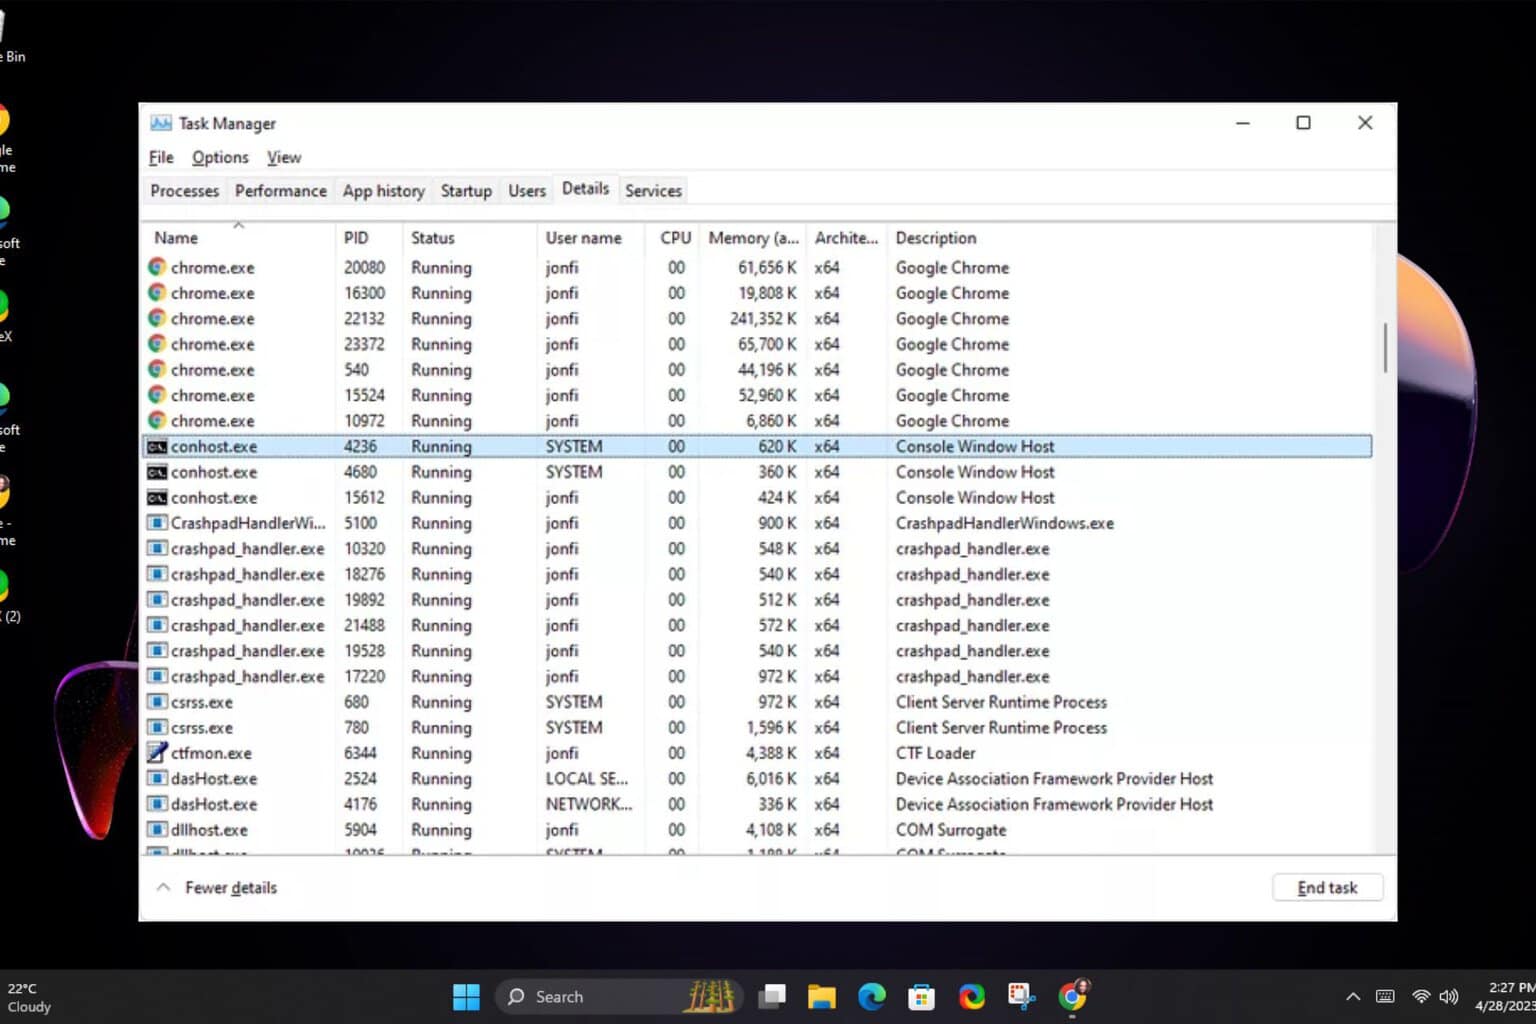
- Hit the Windows key, type Task Manager in the search bar, and click Open.

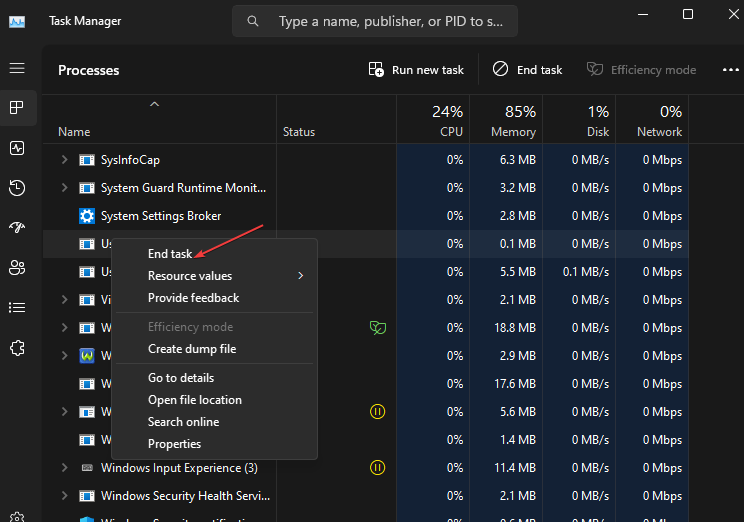
- Navigate to the Processes tab, and find the Searchapp.exe process.
- Right-click on it and select End task.

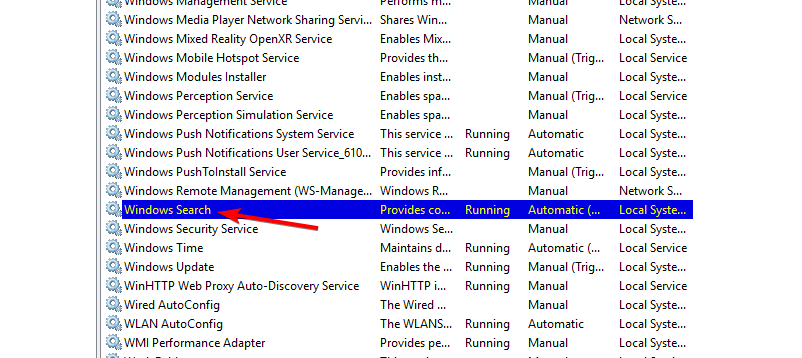
2. Restart the Windows Search service
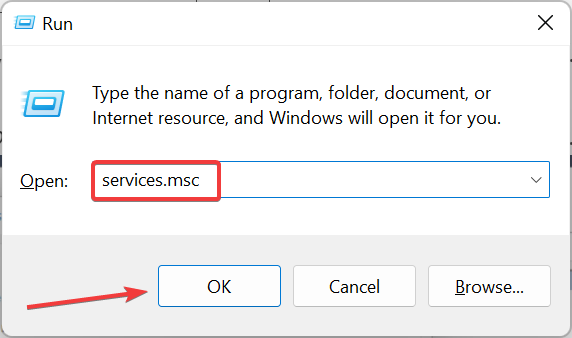
- Press Windows + R to open Run, type services.msc in the text field, and click OK.

- Next, double-click the Windows Search service.

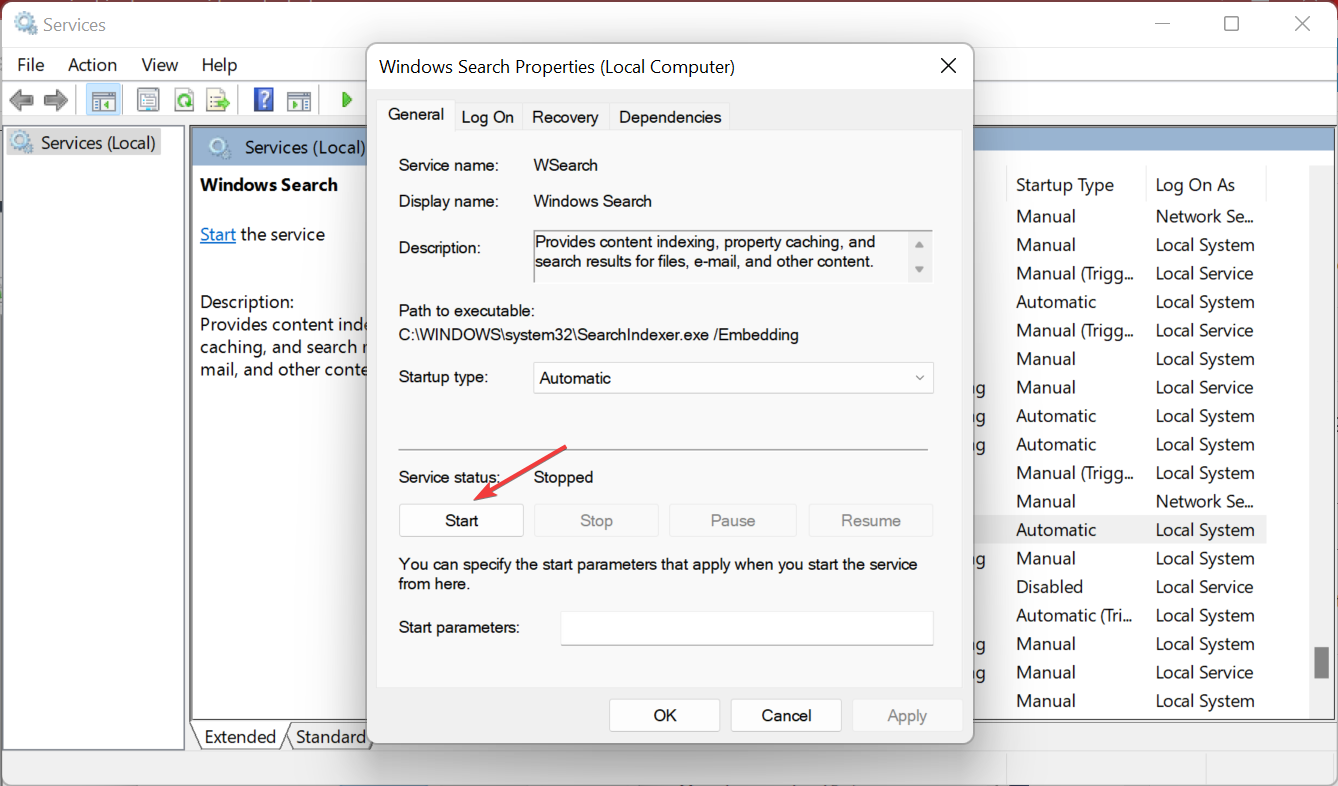
- Select Automatic on the Startup type drop-down menu.

- If the service is not running, click on the Start button under Service status.

- Finally, click OK to save the changes and exit the window.
- Once done, restart the computer.

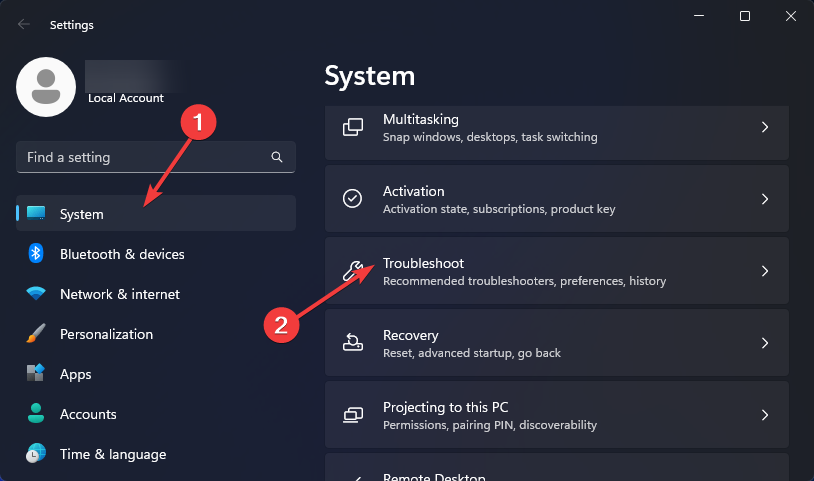
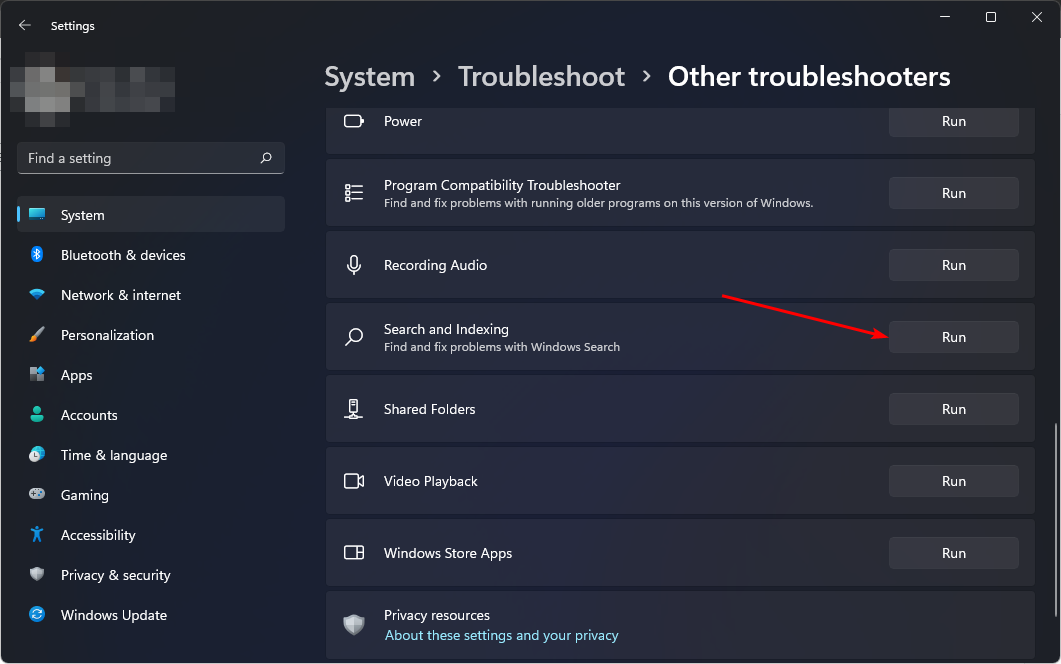
3. Run the Indexing troubleshooter
- Hit the Windows key and select Settings.
- Select System and click on Troubleshoot.

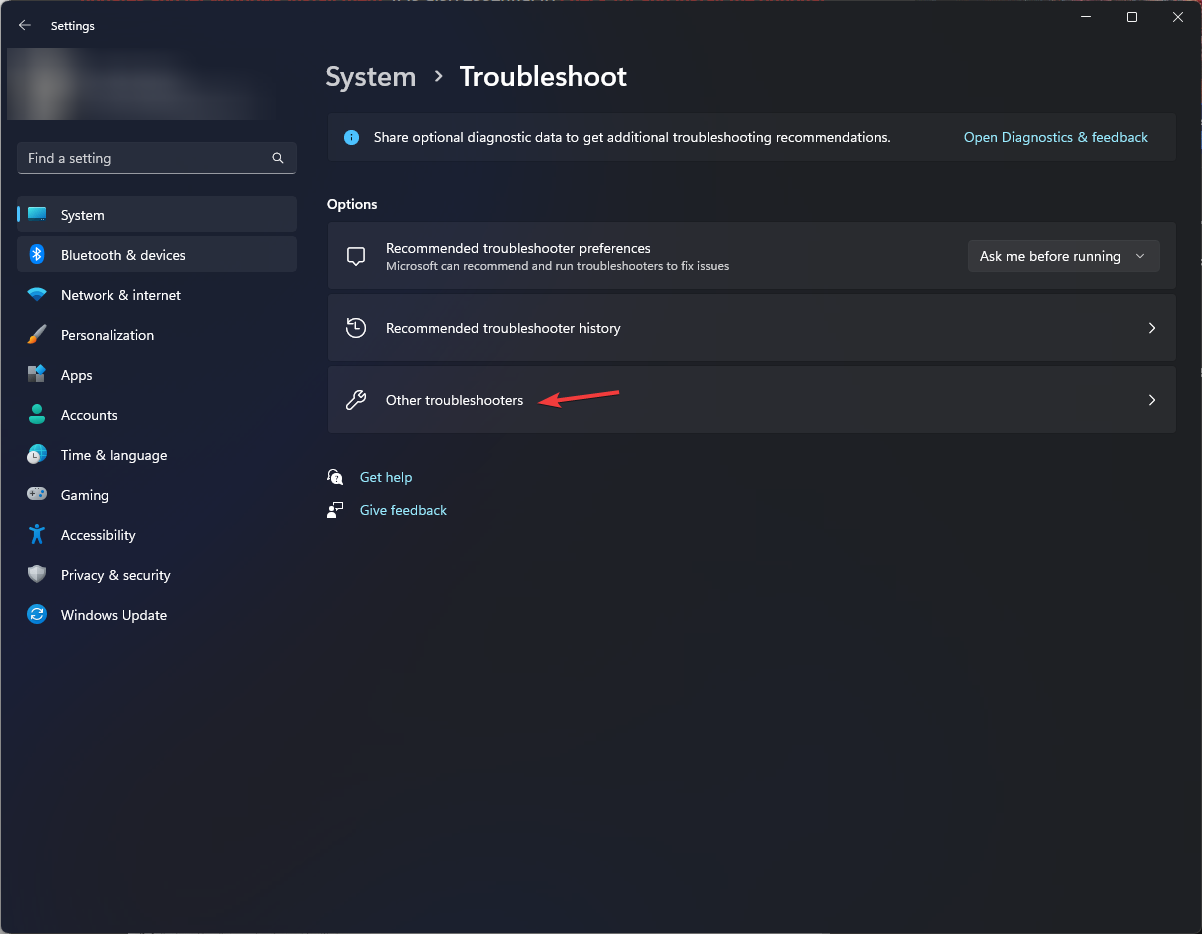
- Click on Other troubleshooters.

- Navigate to Search and Indexing troubleshooter and click the Run button next to it.


4. Rebuild the search index
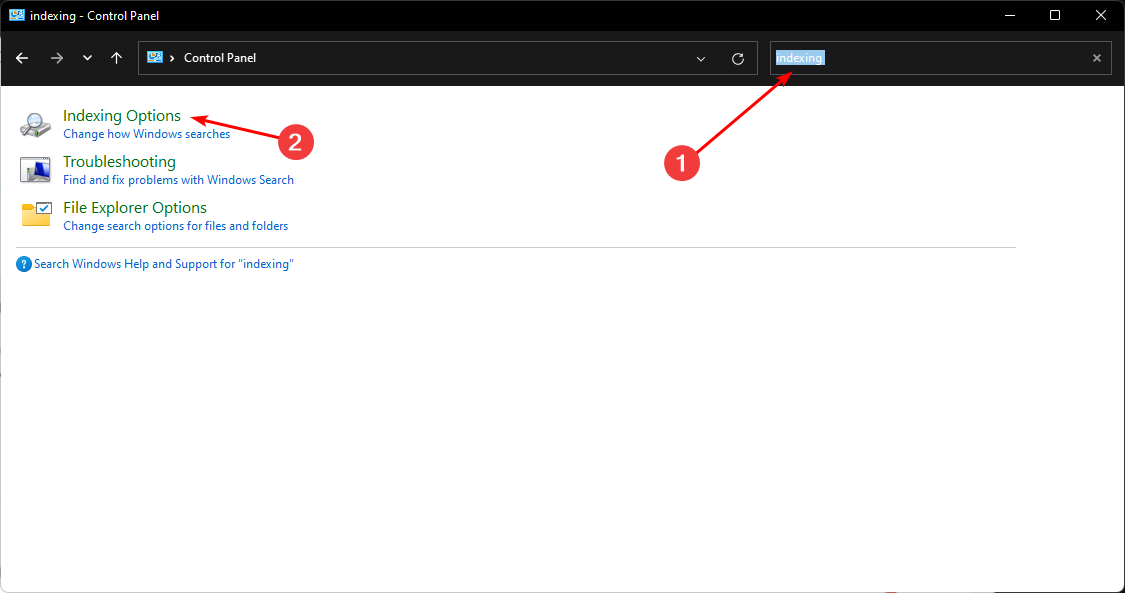
- Hit the Windows key, type Control Panel in the search bar, and click Open.
- Search for Indexing Options in the Control Panel search bar and click to Open.

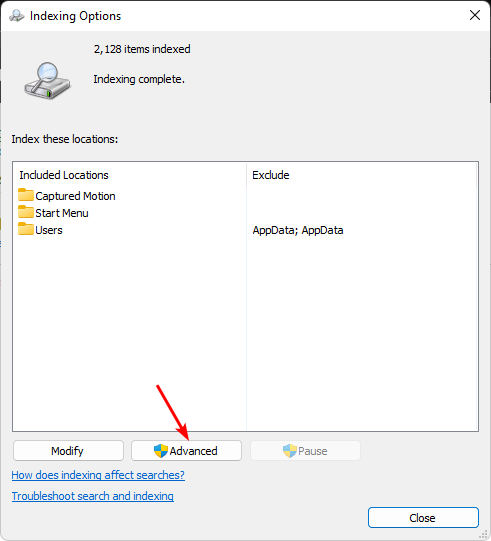
- In the Indexing Options dialog box that opens, select the Advanced option.

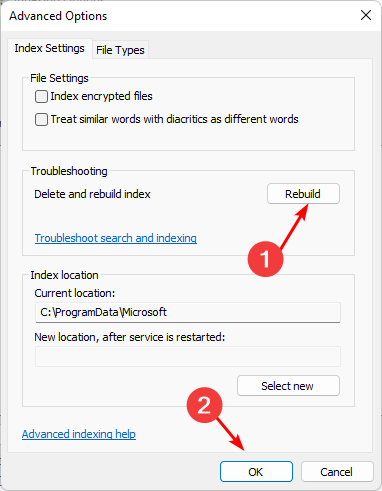
- Click Rebuild under Troubleshooting in the Advanced Options dialog box that pops up.

- Press OK to confirm that you want to rebuild. Note that it may take a while, so ensure you don’t have any pressing matters when performing this step.

If the searchapp.exe is consuming too much CPU or causing a system slowdown, use the above steps. However, if you have verified that it is not a legitimate process by checking the digital signature and its location, proceed with the next steps.
6. Uninstall recent Windows update
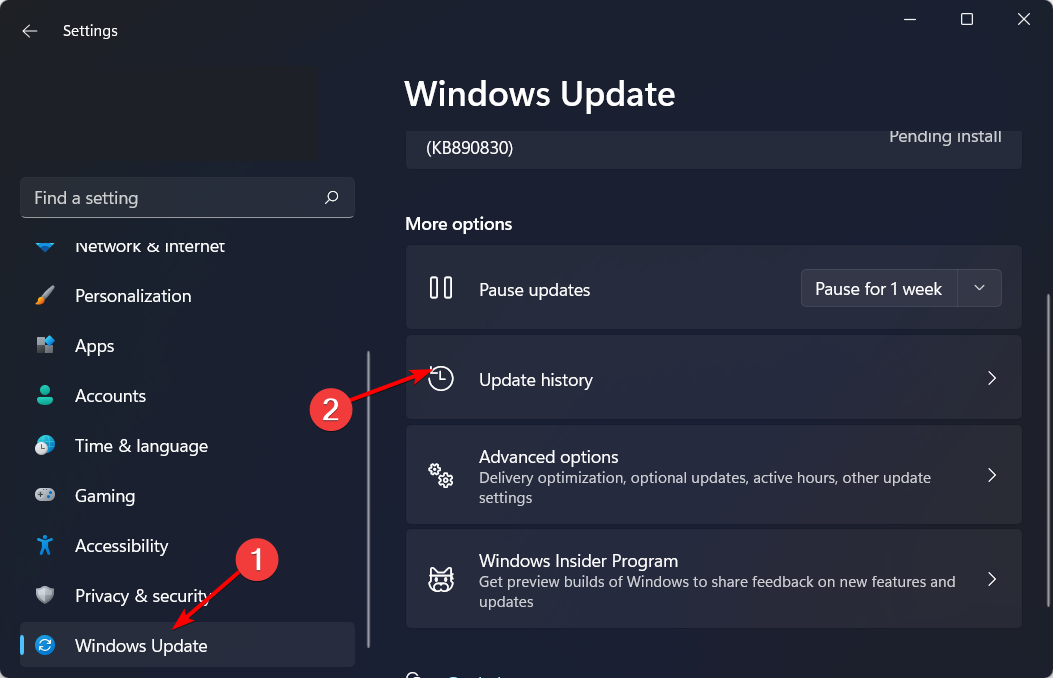
- Hit the Windows key and select Settings.
- Click on Windows Update and select Update history on the right pane.

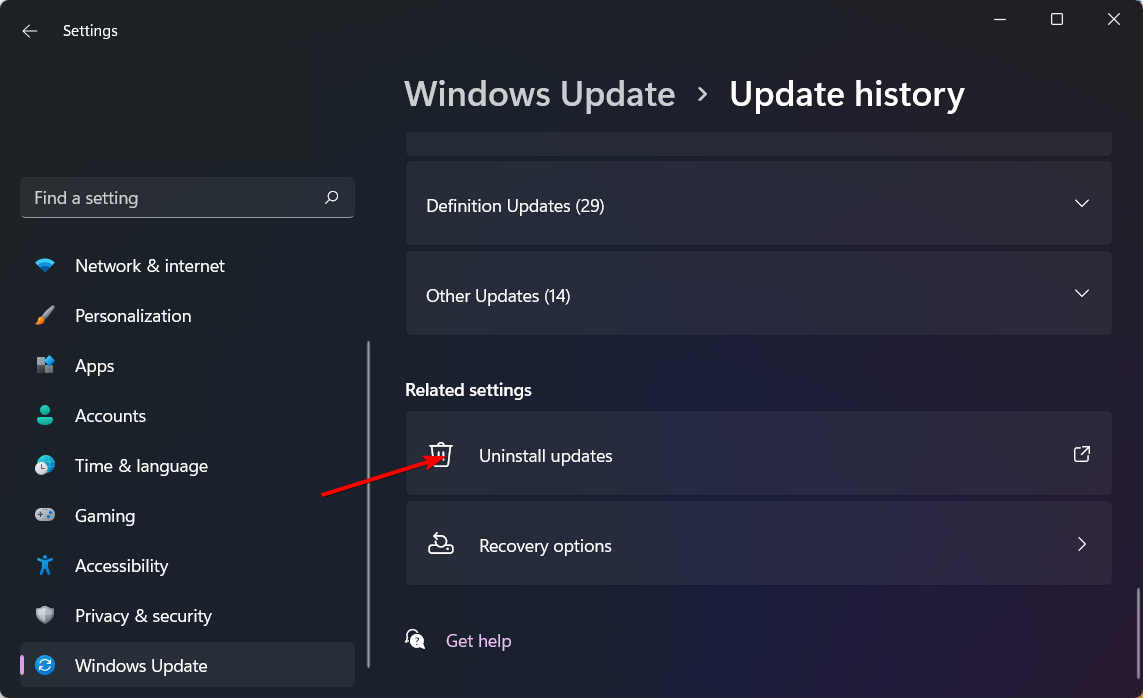
- Scroll down, and under Related settings, click on Uninstall updates.

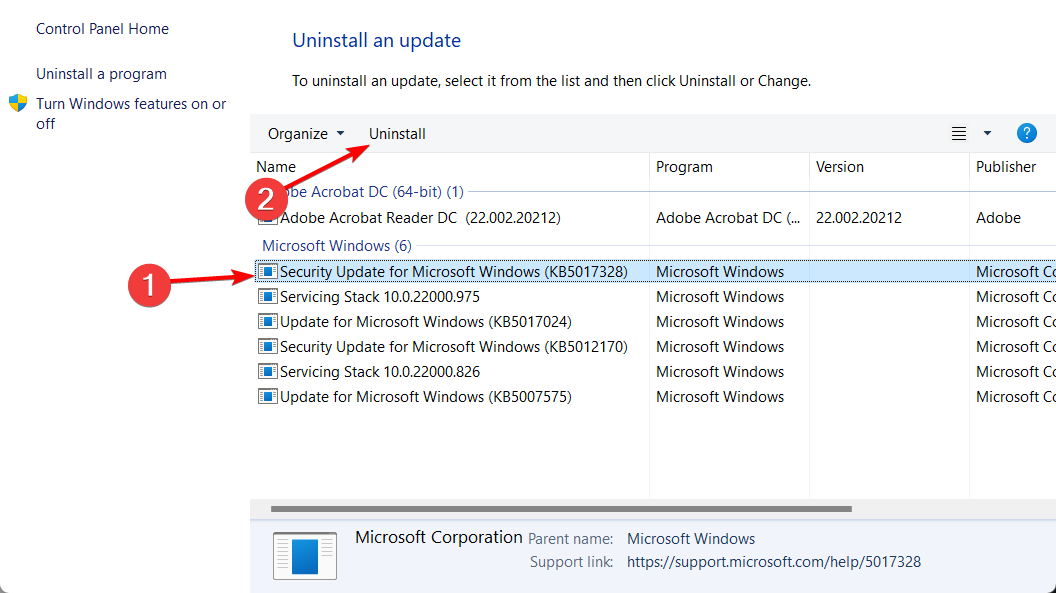
- This will take you to the most recent installed updates.
- Select the topmost update and click on Uninstall.

- Restart your PC and check if the problem persists.
7. Run a malware scan
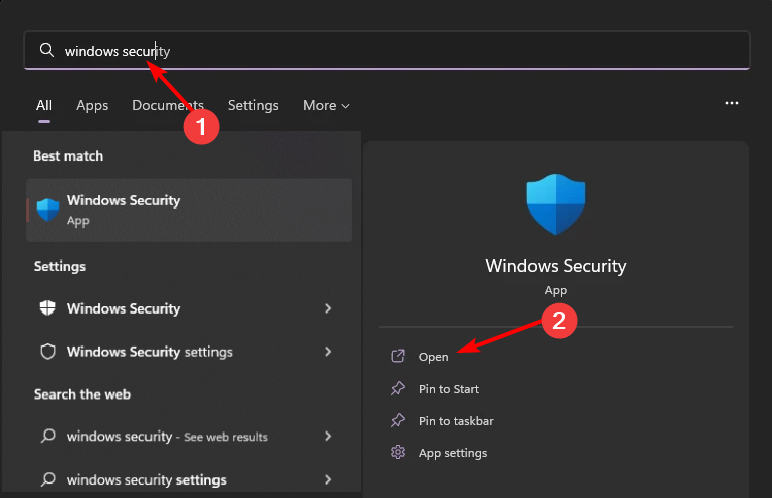
- Press the Windows key, search Windows Security, and click Open.

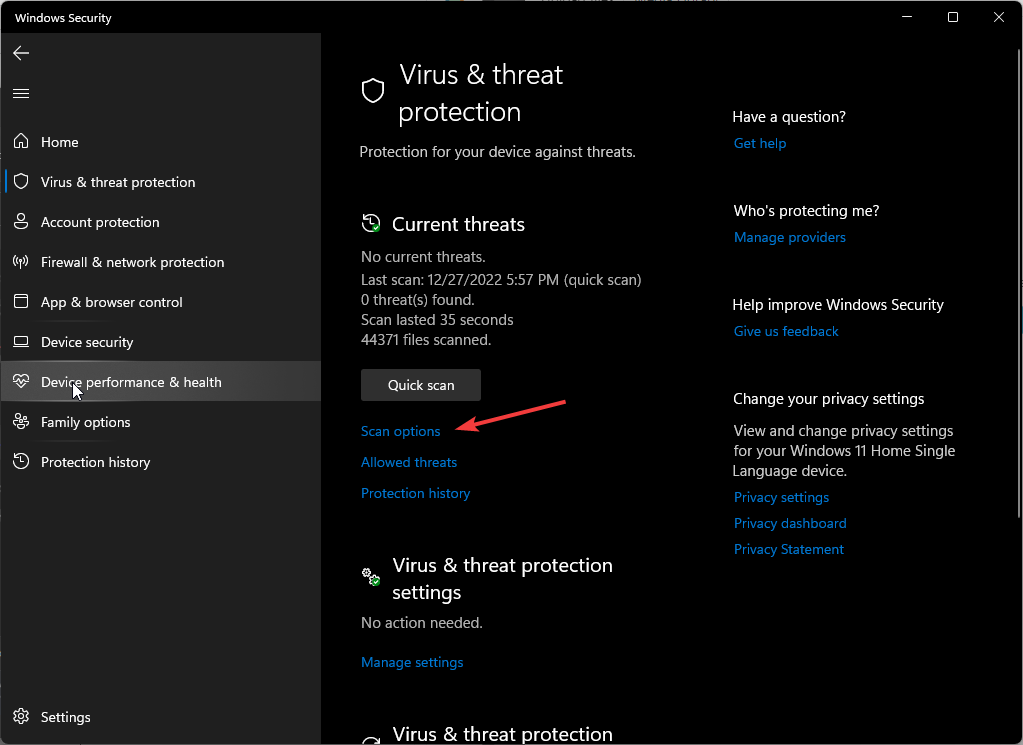
- Select Virus & threat protection.

- Next, press Quick scan under Current threats.

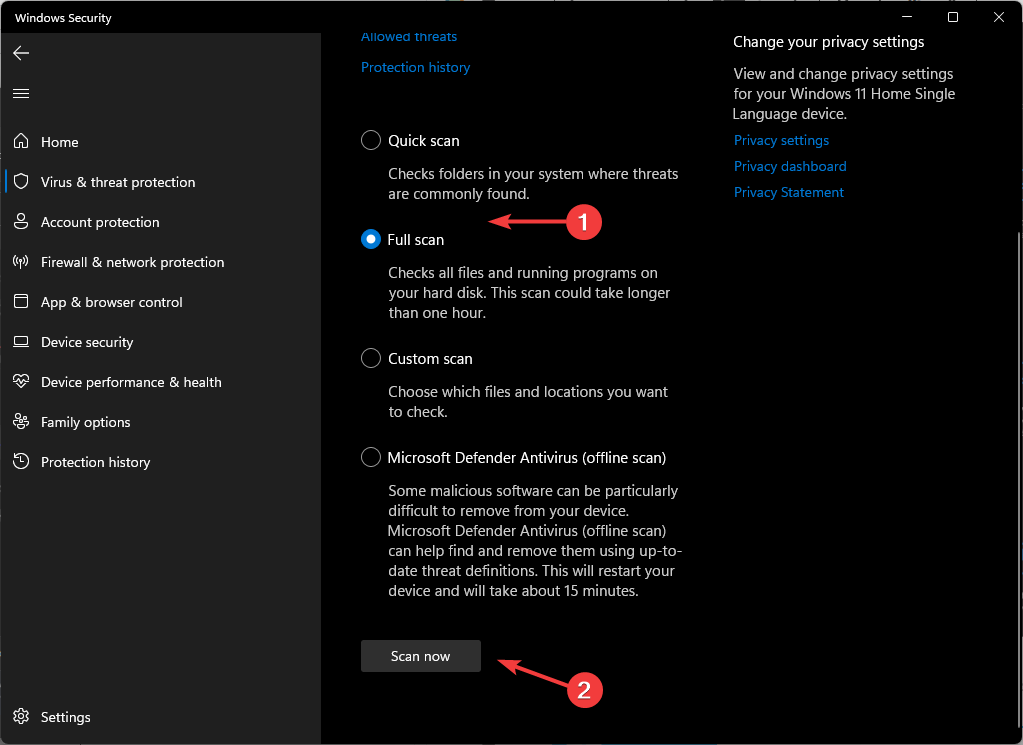
- If you don’t find any threats, proceed to perform a full scan by clicking on Scan options just below Quick scan.

- Click on Full scan, then Scan now to perform a deep scan of your PC.
- Wait for the process to finish and restart your system.


8. Perform a System Restore
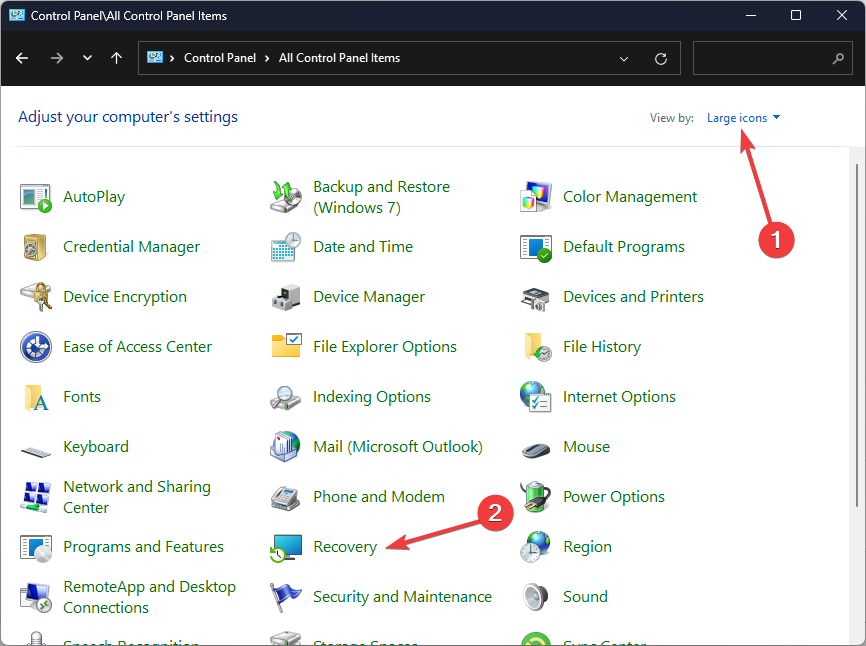
- Press the Windows key, type Control Panel, and click Open.

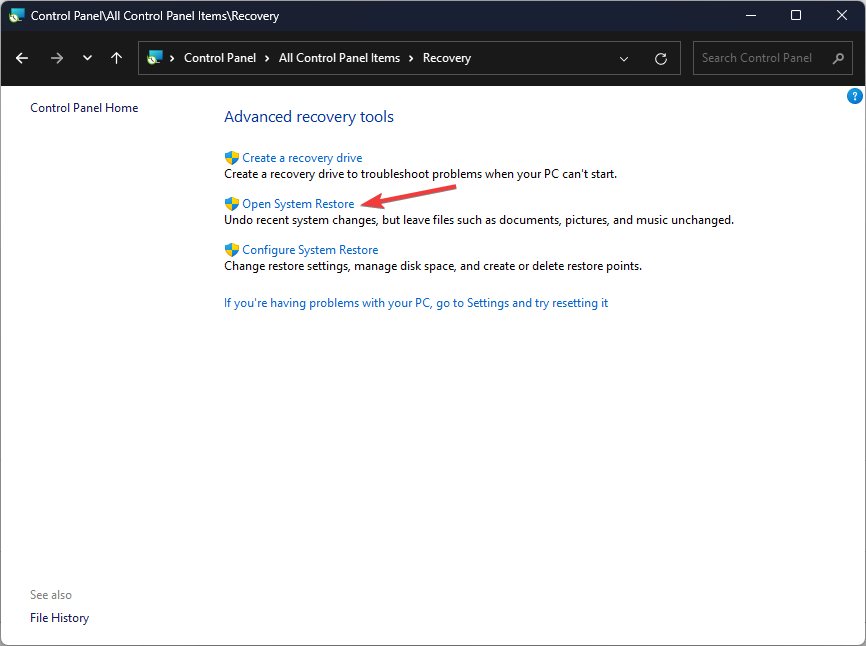
- Select Large icons as View by and click Recovery.

- Click Open System Restore.
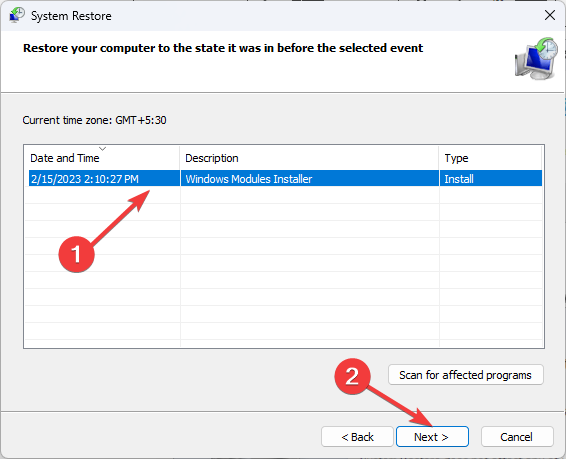
- Select Choose a different restore point and click Next.

- Now select the restore point and click Next.
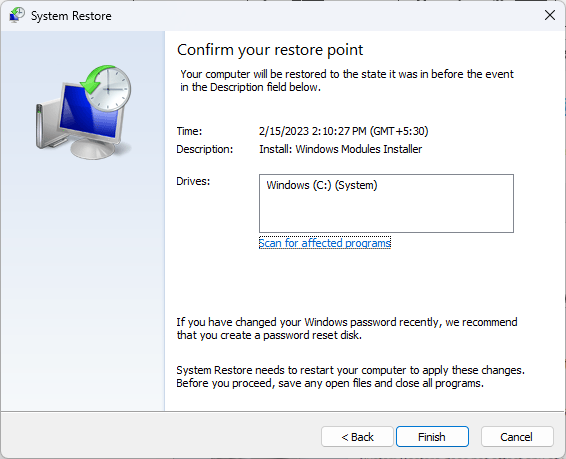
- Click Finish to restore the previous settings, and Windows will restart.


Other processes that can help make your search queries easier include the findstr.exe which is a fast way to search in directories, especially for files that have been moved.
The searchindexer.exe also makes sure your search results are always available so if it is competing for system resources, check out our article on how to bring it back in line. Aside from consuming system resources, these utilities like the search protocol may stop working at times but we know just the fix for it.
And if the built-in search is experiencing a myriad of issues, feel free to explore more search tools. These come with more advanced features so check out our comprehensive list and select one that meets your needs.
Have you come across this process before? Did it cause any problems and if so, which ones? Let us know in the comment section below.


User forum
0 messages