Snipping Tool not Printing? Fix it with These Solutions
Changing your print preferences should fix this
3 min. read
Updated on
Read our disclosure page to find out how can you help Windows Report sustain the editorial team. Read more
Key notes
- If the snipping tool is not printing directly on your PC, it might be because of the printer's graphics settings.
- A quick workaround to this is to save your image before printing.
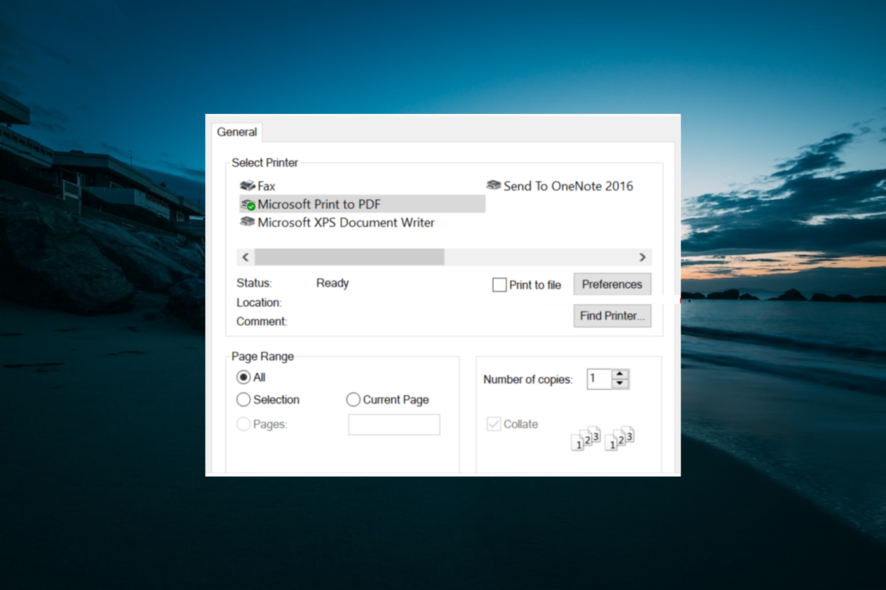
The Snipping Tool in Windows 10 is a handy utility and allows the users to take screenshots in different modes as well as offers the built-in print function. That said, several users have reported the snipping tool is not printing directly.
If you can’t print from the snipping tool, too, follow the steps below to fix the issue effectively.
How do I fix the snipping tool if it’s not printing?
1. Change Print Preferences
- Launch the Snipping Tool.
- Now snip the area that you want to print.
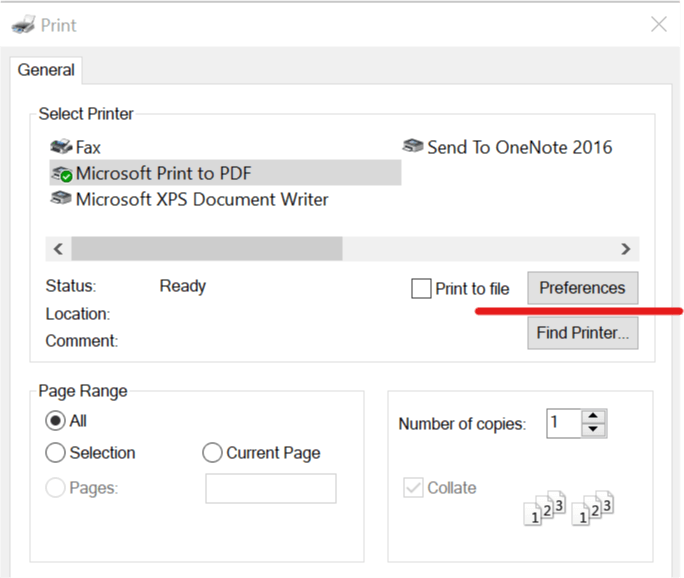
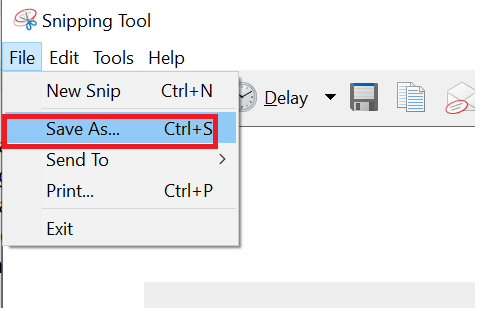
- Once the screenshot is captured, click on File and select Print.
- In the General Tab, click on the Preferences button.
- Open the Effects tab.
- Now click on Print document on and select the paper size that you are using to print the document.
- Also, check the Scale to fit option.
- Click on Print, and you should be able to print the document without any issues.
2. Change the Printer Graphics Setting
- Open your Printer software and then open the Printer Properties.
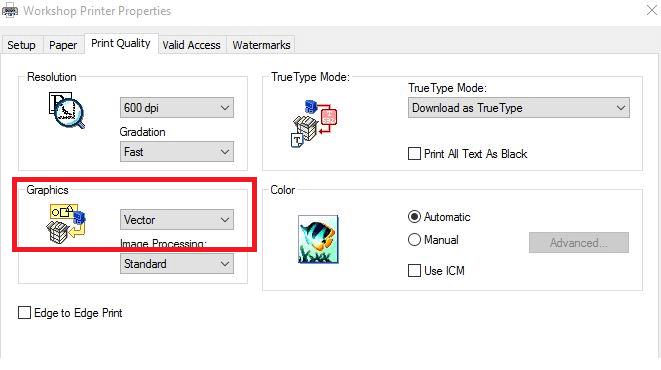
- In the Printer Properties window, open the Printer Quality tab.
- In the Print Quality tab, look for the Graphics section.
- Click on Vector drop-down menu and select the Raster option.
- Click OK and Apply to save the changes.
- Close the Printer Properties window. Now try to print the Snipping Tool screenshot and check if the issue is resolved.
3. Save and Print
- One of the reasons why the printer is finding it difficult to print screenshots from the snipping tool can be because of display size. If you have your display scaled up 150% or more, then you need to save the file first and then try to print it.
- So, after taking a screenshot, press the Windows key + S to save the file.
- Now open the saved file in the Photos app and try to print it from there.
4. Print from Paint
- If you don’t want to save the file before being able to print it, you can use an image editing app to skip the step.
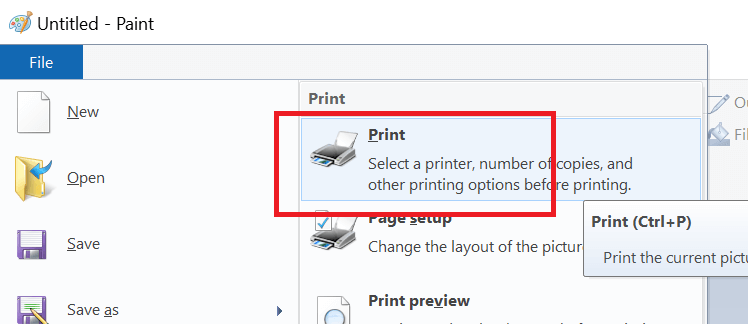
- After taking a screenshot, launch the paint app and paste the snippet.
- Click on File and select Print.
- Change the preferences and click on Print. This should allow you to print the snippet without having to save it first.
With this solution, we can now conclude this guide on how to fix the snipping tool if it is not printing. All you need to do now is to follow the instruction therein carefully, and things should be back to normal.
Similarly, if the snipping tool is blocked by your policy, check our detailed guide to fix it.
Feel free to let us know the solution that helped you fix this issue in the comments below.



User forum
1 messages