FIX: Sound Blaster Z microphone not working
Key notes
- Many users report that their Sound Blaster Z microphone is not working and there is no error message to indicate what's wrong.
- Using a dedicated tool to help you update drivers should quickly solve the Sound Blaster Z microphone problem.
- Try to fix this issue once and for all by ensuring that the audio settings are correctly made.
- You can contact creative support and explain your issue to them, as something else may be going on that needs their attention.
Sound Blaster Z is a great microphone that gaming enthusiasts are choosing to use thanks to the great specs it comes with, providing a clear and crisp sounding audio.
Unfortunately, users report on forums that the Sound Blaster Z microphone is not working properly and there is no error message that would indicate the reason why.
We will explore in this article how you can easily solve this problem once and for all by following the indicated steps so make sure to keep on reading.
What to do if the Sound Blaster Z microphone is not working?
1. Check the cable
Before moving forward with any troubleshooting steps we would recommend that you simply check all the cables are working and the port of your device as well.
You could try and use another mic with the same port and check if you encounter or not the same problem as with the Sound Blaster Z microphone.
If the port is working as it should and there is no problem with the cable connectivity whatsoever then you may simply proceed with the next steps.
2. Enable AutoPlay
- Go to Settings and locate Devices.
- Click on Devices and select AutoPlay from the left side.
- Next, enable the AutoPlay option by simply sliding the button to On.
A nifty trick confirmed by many users is precisely this one – just try to enable AutoPlay and chances are to make Sound Blaster Z microphone issues a thing of the past in no time.
3. Update drivers
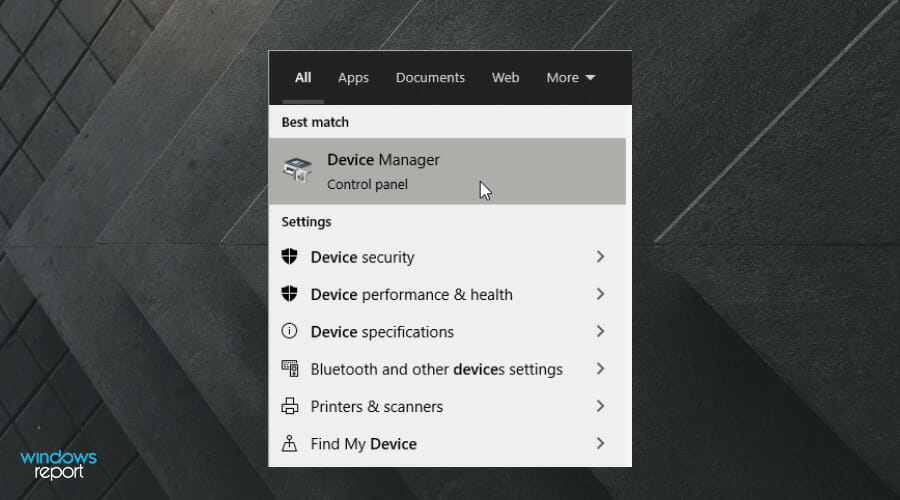
- Type Device Manager in the Windows Search tab.
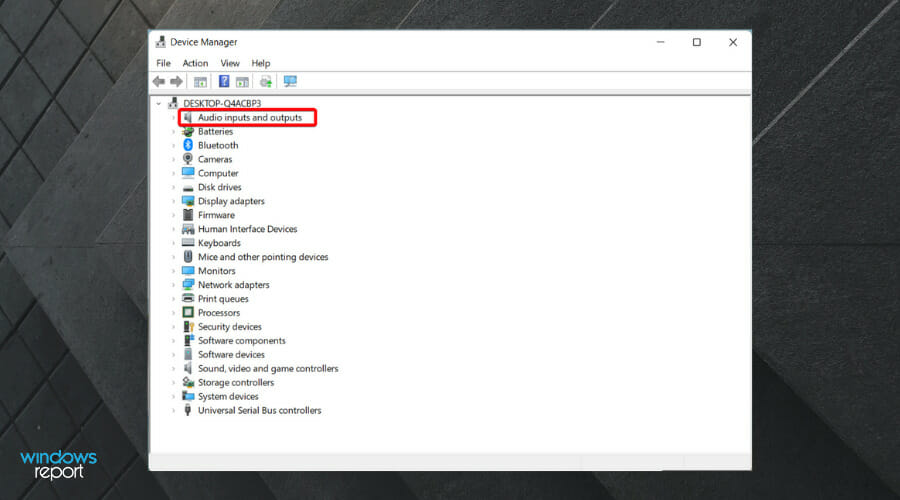
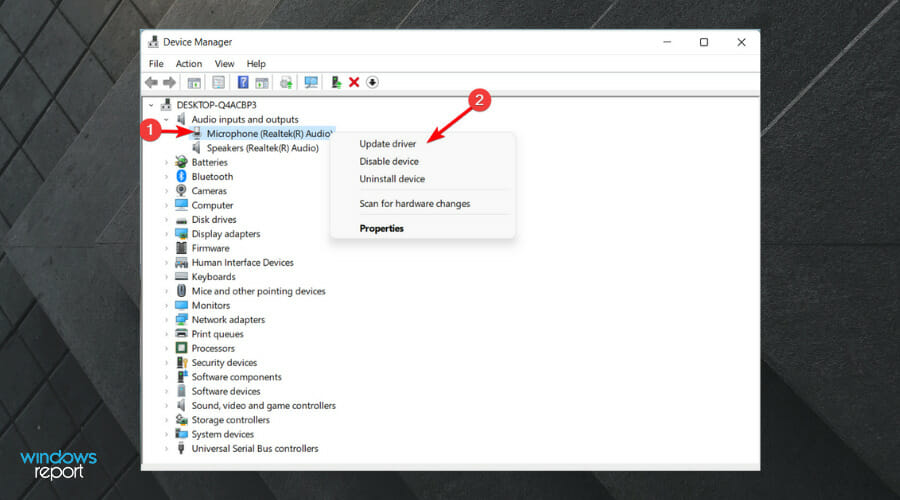
- Search in the list for Microphone driver category.
- Click on it and select Update driver.
- Select Search automatically for drivers.
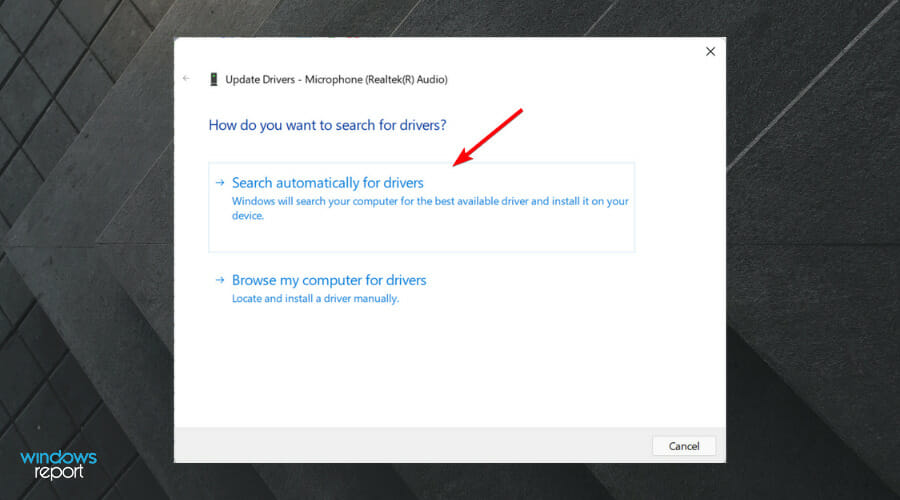
- Wait for the process to find the best available drivers.
- Restart your PC to finish updating your driver.
This annoying microphone problem is often related to drivers that need your attention. To make sure that you’re up for this task, just use a dedicated software tool.
By choosing an efficient driver updater like Outbyte Driver Updater, you assure the performance of your system with the latest driver version for microphone devices and the rest.
You should thus employ this software to automatically manage drivers’ concerns, and install or update the right drivers on your PC directly in no time.
4. Contact support
If the above steps still have not solved the Sound Blaster Z issue then contacting creative support is the next best thing we would recommend you to do.
On the creative support page, you can also find the user guide and a Frequently asked questions section that offers more detailed information.
However, there is a chat icon at the bottom of the page that will allow you to contact their support and explain the issue you are facing and what steps you already made.
We hope that one of the presented steps below will help you solve the Sound Blaster Z microphone not working on your Windows 10 device.
In any case, you’re not refusing other options completely, so take a closer look at the best wireless microphones too. The fear of tangling any cables has nothing to do with your plans.
If you have additional recommendations or suggestions, don’t hesitate to write them in the comments section below.
Read our disclosure page to find out how can you help Windows Report sustain the editorial team. Read more


Improve this guide


User forum
0 messages