How to Easily Add Tags to Files on Windows 11
Tag your files for a more directive approach to search for them
Key notes
- Windows has a built-in search feature that makes it easy to find files.
- It can be a tedious exercise, especially if lots of files are involved.
- Stay put as we show you an easy method to find your files quicker.

When you have a lot of data on your hard drive, it can be difficult to search files. Fortunately, Windows 11 allows you to add descriptive information to your files right on your computer screen.
This is a great way to organize your files automatically, and it will be super easy to find them later. Not only will you save time, but also improve your workflow. In this tutorial, you will learn how to add tags to files on Windows 11 easily.
How do I add tags to files in Windows 11?
1. Use File Explorer
1.0 Use File properties
- Hit the Windows + E keys to open File Explorer.
- Navigate to the folder location with the files you wish to create tags for.
- If they are interrelated files, select all otherwise, right-click on one and select Properties.

- Navigate to the Details tab in the file properties window that opens.

- Under Description, click on Tags, then add a keyword, say School work. You can add more than one tag but separate with a semicolon.

- Once done, click Apply, then OK to save changes.

- To confirm the tag has been added, repeat steps 1-4, and the keywords should be under Tags.
1.1 Use the Details pane
- Hit the Windows + E keys to open File Explorer.
- Navigate to the folder location with the files you wish to create tags for.
- Click on the View menu at the top and select Show Details pane.

- Now click on the file you want to add tags, and on the preview pane, click on Add a tag.

- To add more than one tag, separate using a semicolon, then hit Save.

2. Use the Save as feature
- Open any Microsoft Office file.
- Click on Save as.

- Locate Tags and add your keywords, then hit Save.

The downside to this method is that it limits your file tagging capabilities to only Microsoft Office apps and may not apply to other file formats.
This should, however, not be a deterrent. For instance, if you’re wondering how to add tags to PDF files in Windows 11, you can always change the file type to one of the Office formats.
3. Use a third-party tool
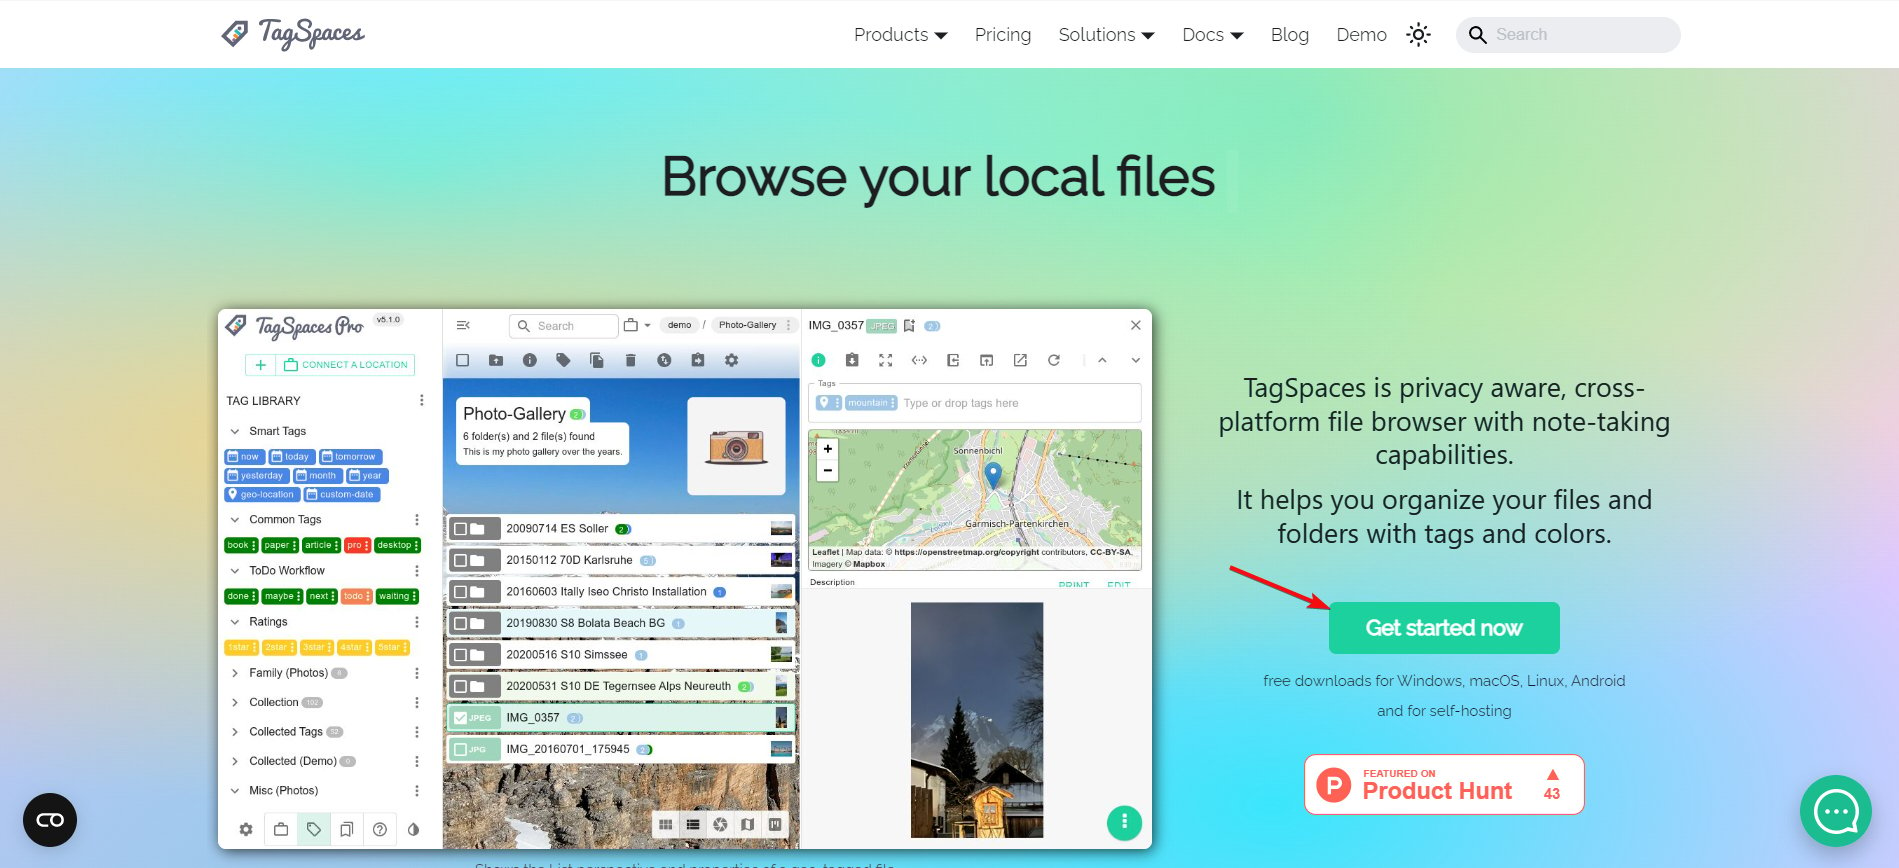
- Navigate to your browser, go to the TagSpaces website, and click on Get started now.

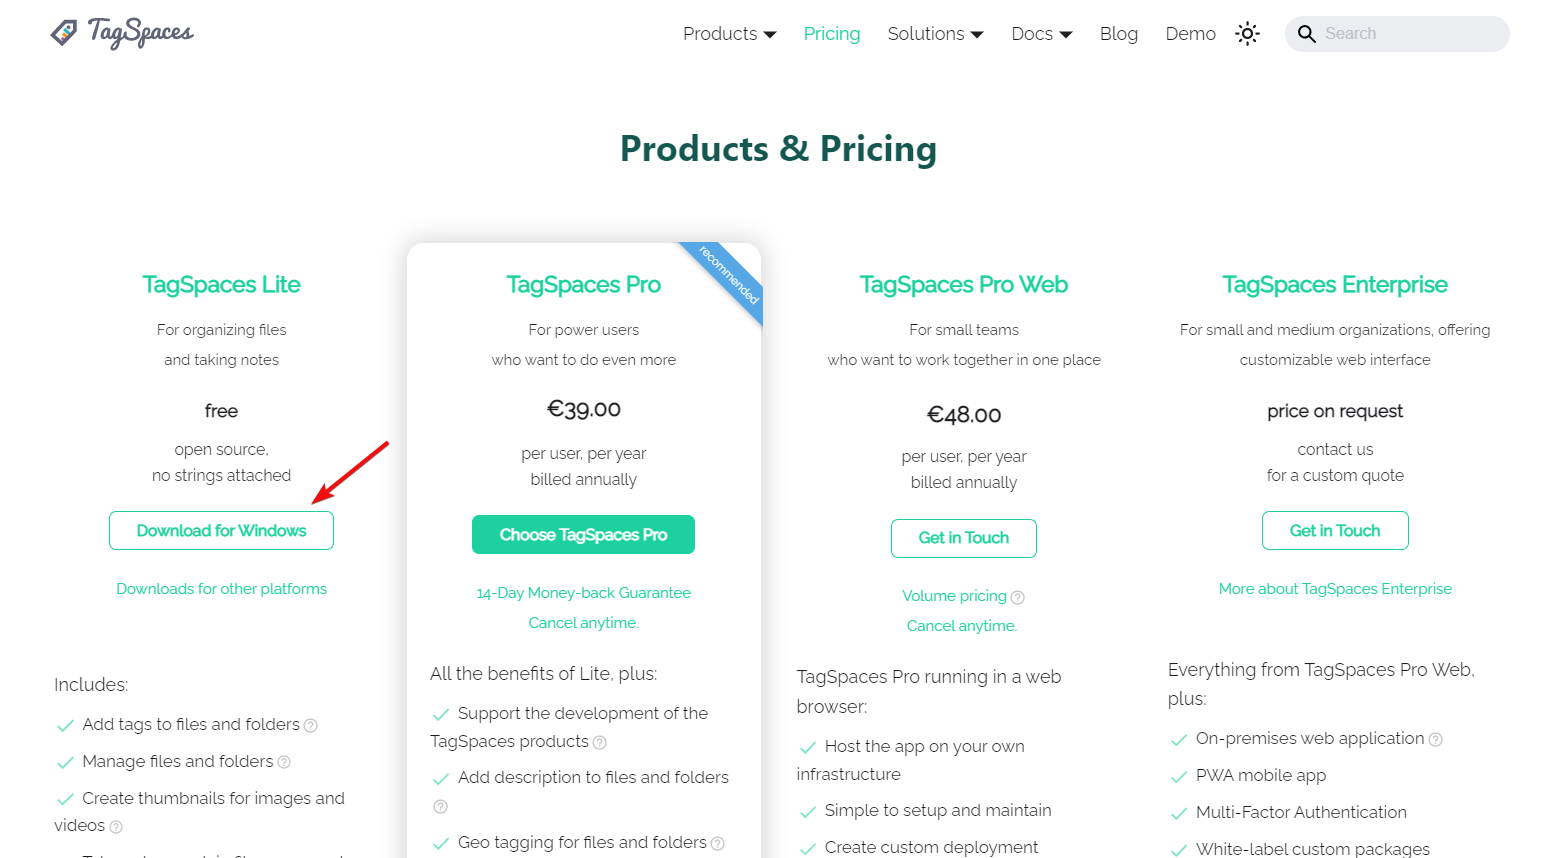
- Hit the Download for Windows button.

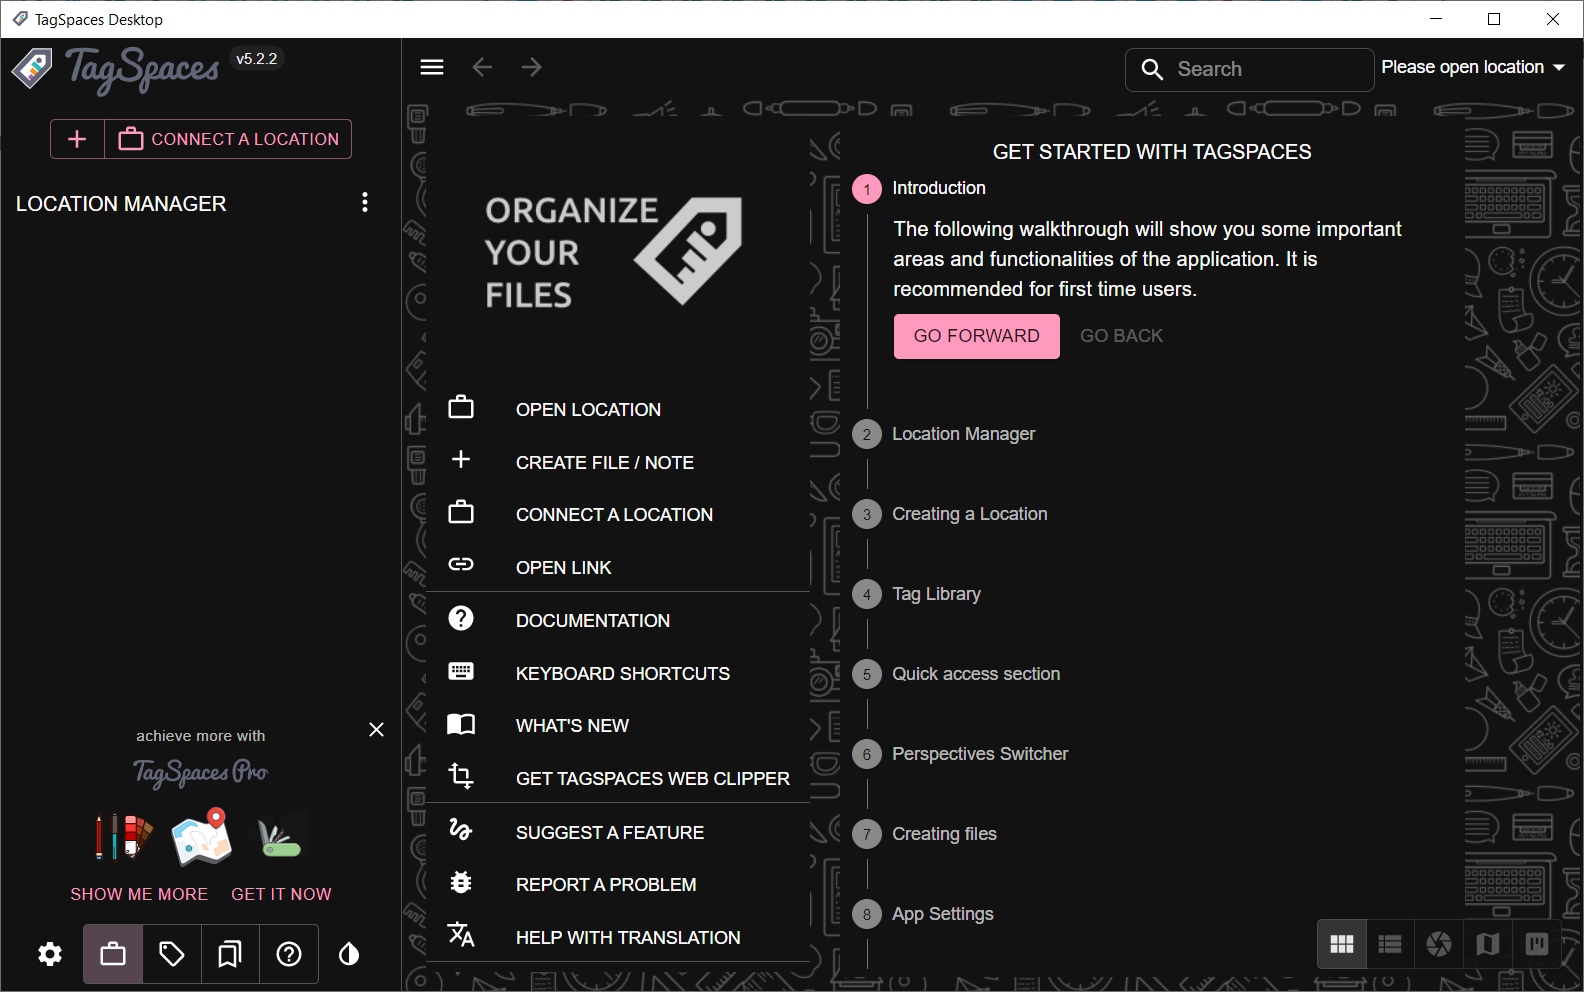
- After installing the app, you will be greeted with a Get Started guide.

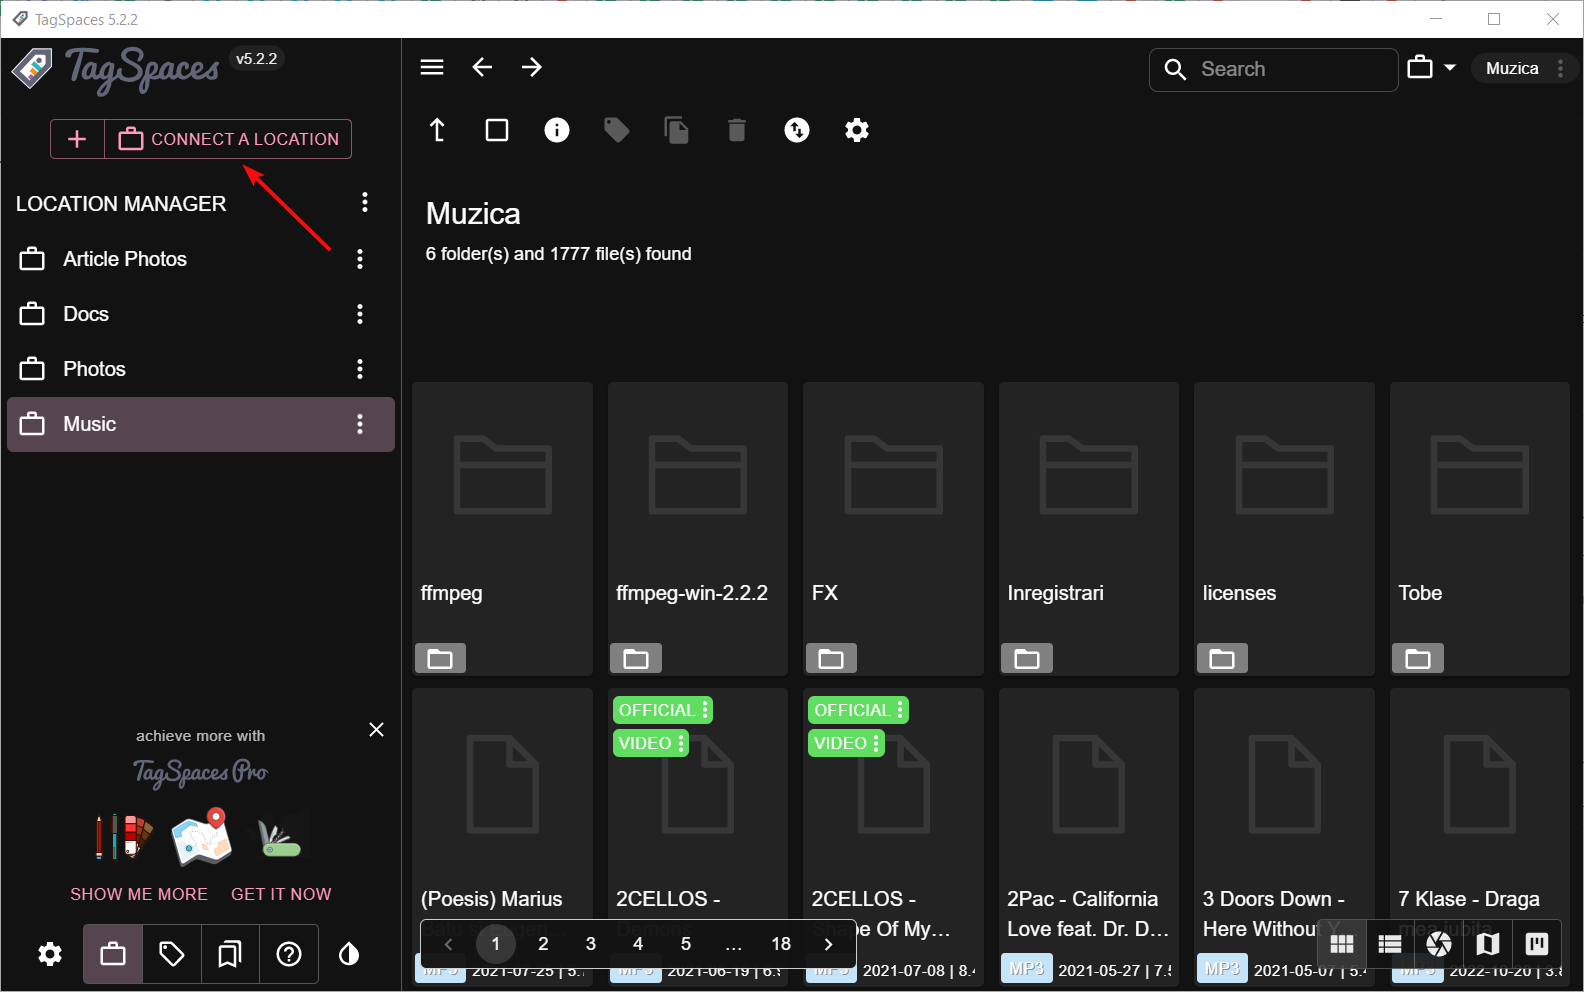
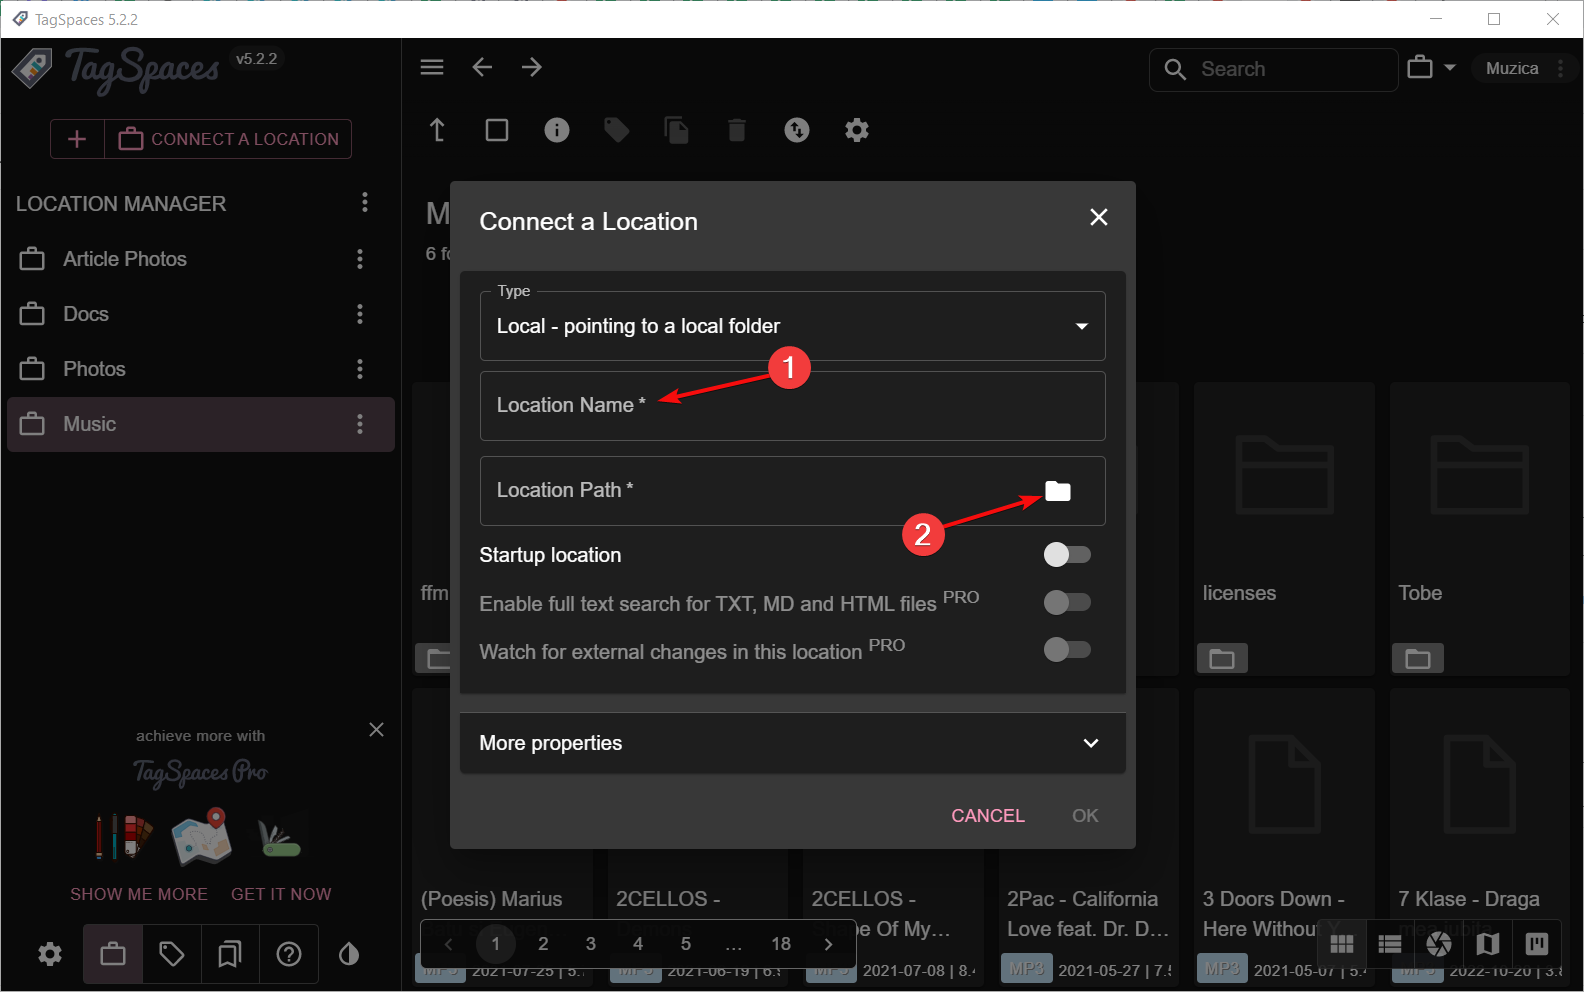
- From the main screen, click the Connect a Location button.

- In the next pop-up window, insert the name and the path of the folder you want to index.

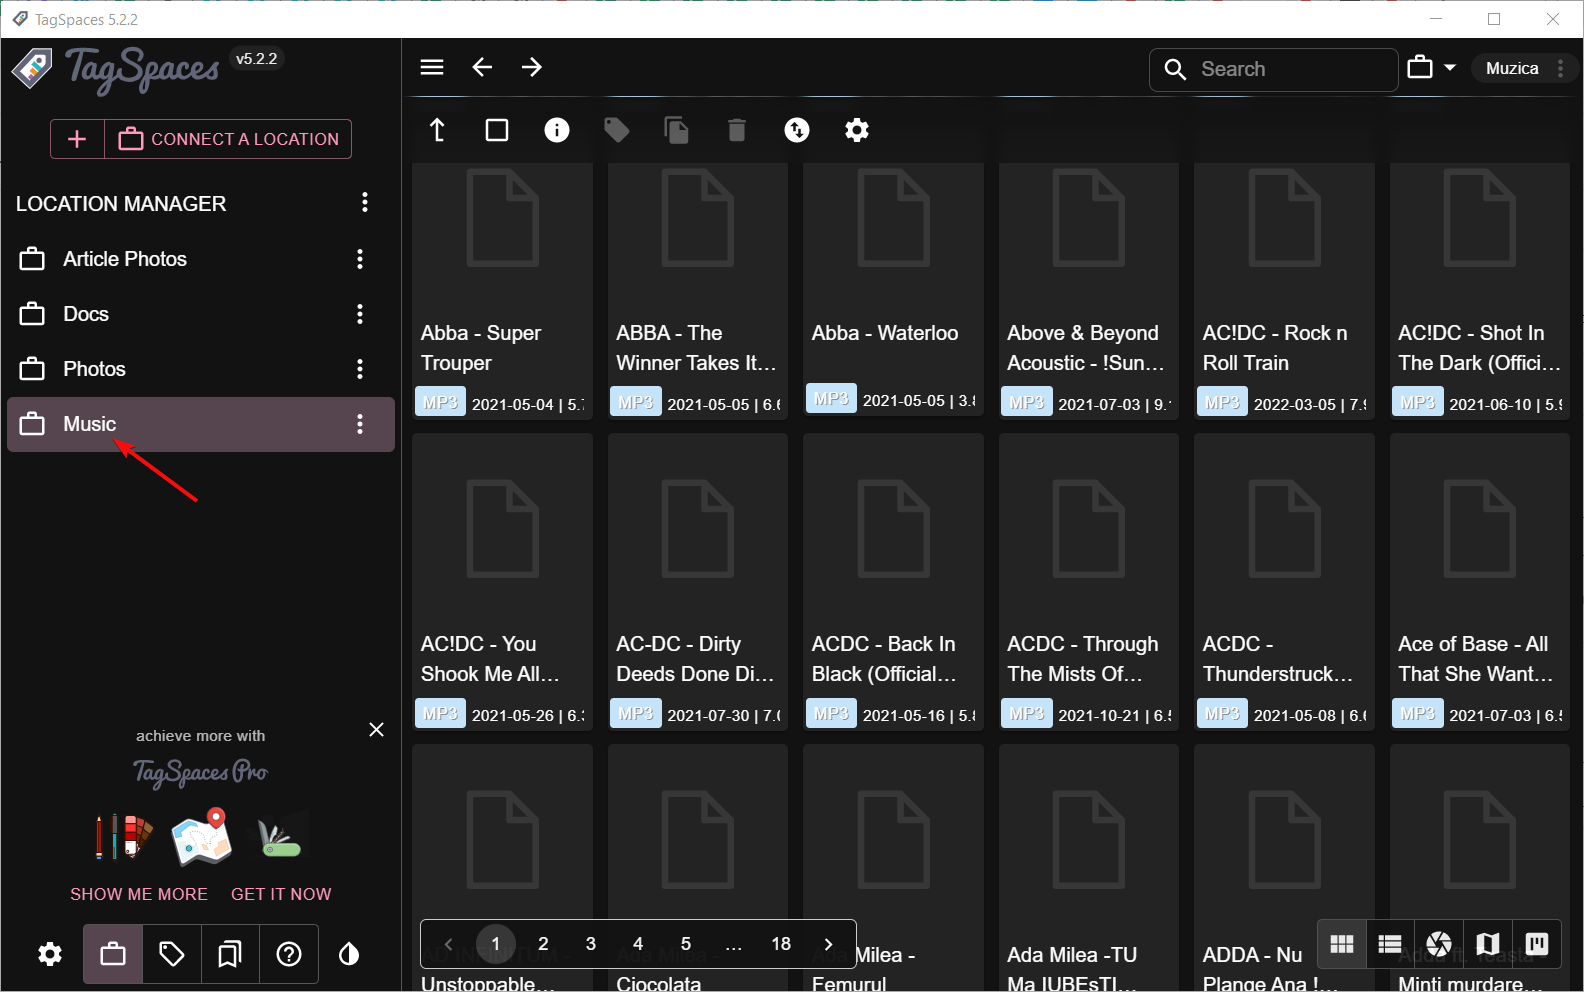
- Now, click on the newly created location from the Location Manager. The indexing will take a few seconds, depending on the size and number of the files.

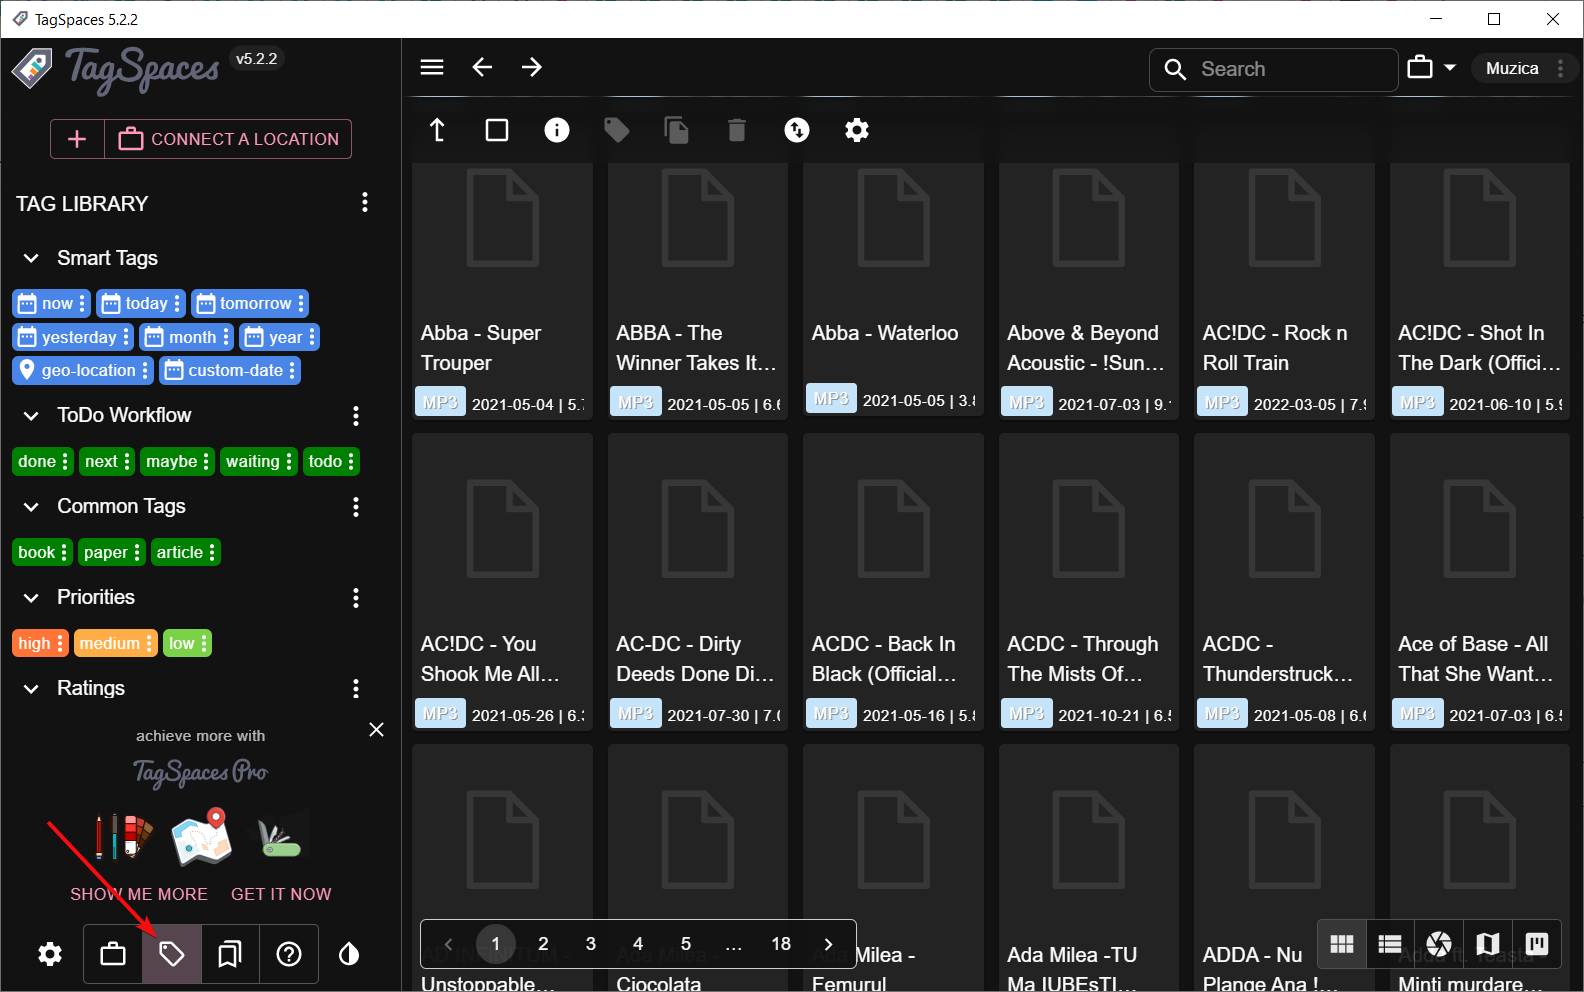
- Select the Tag Library icon from the bottom left corner of the window. The pre-made library will show up.

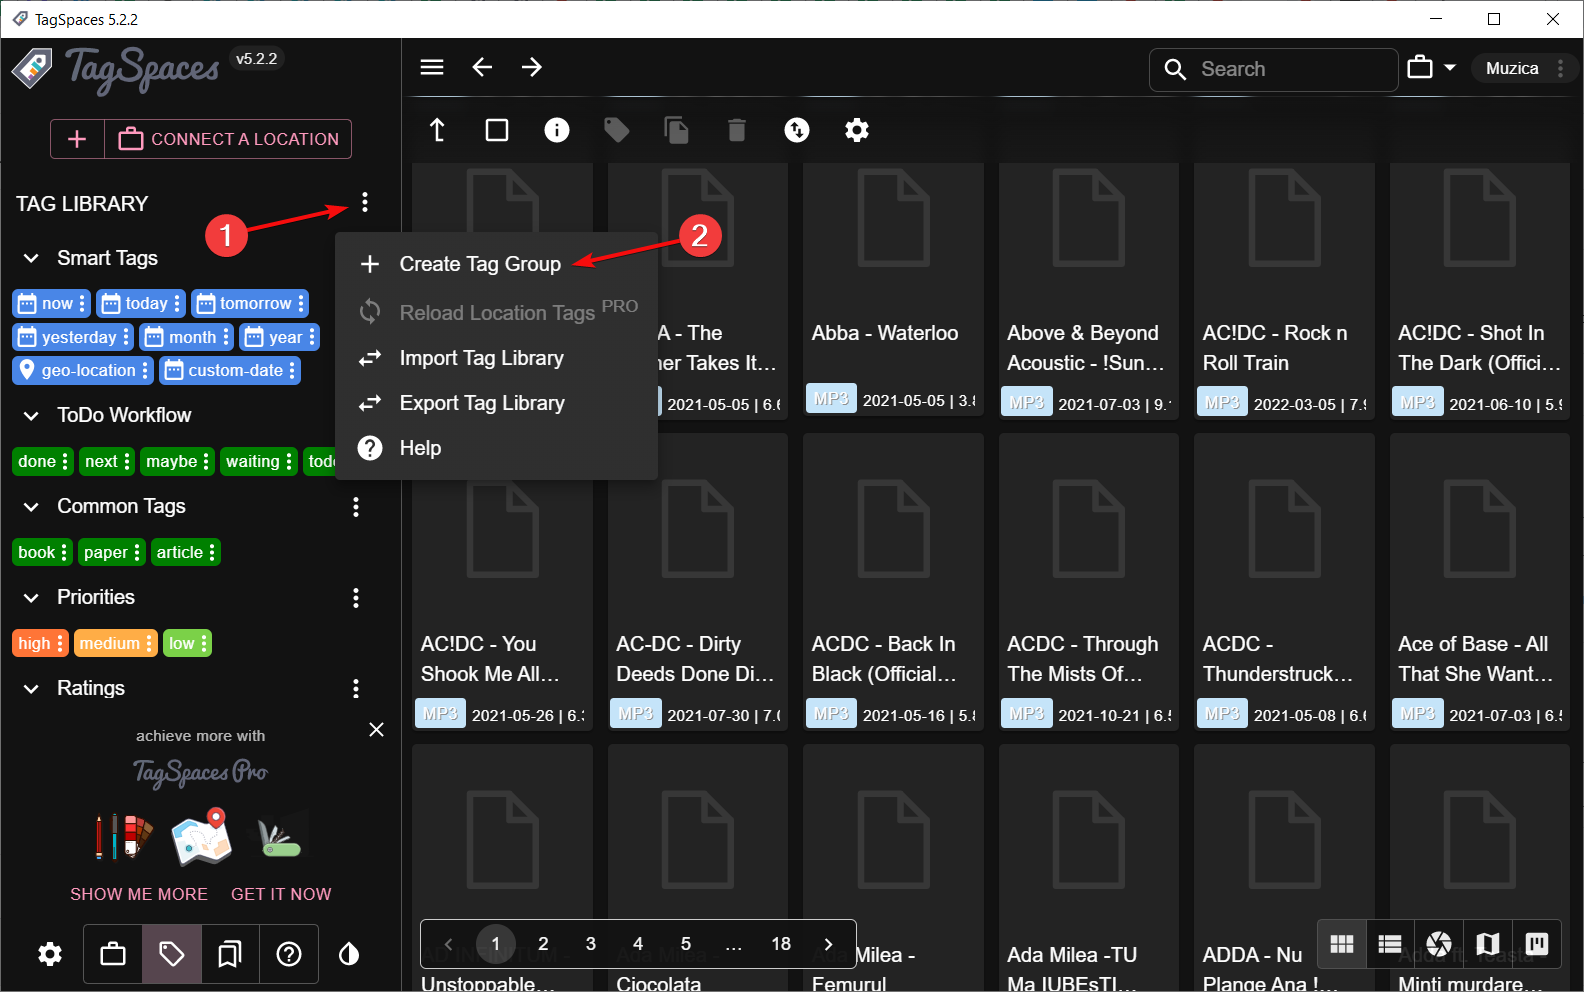
- If you want to create your own tags, click the three vertical dots from Tag Library and select Create Tag Group. You will be prompted to select a name and color of the group and text. We have created the Music group as an example.

- Go to the newly created Music group, click its three dot menu and select Add Tags.

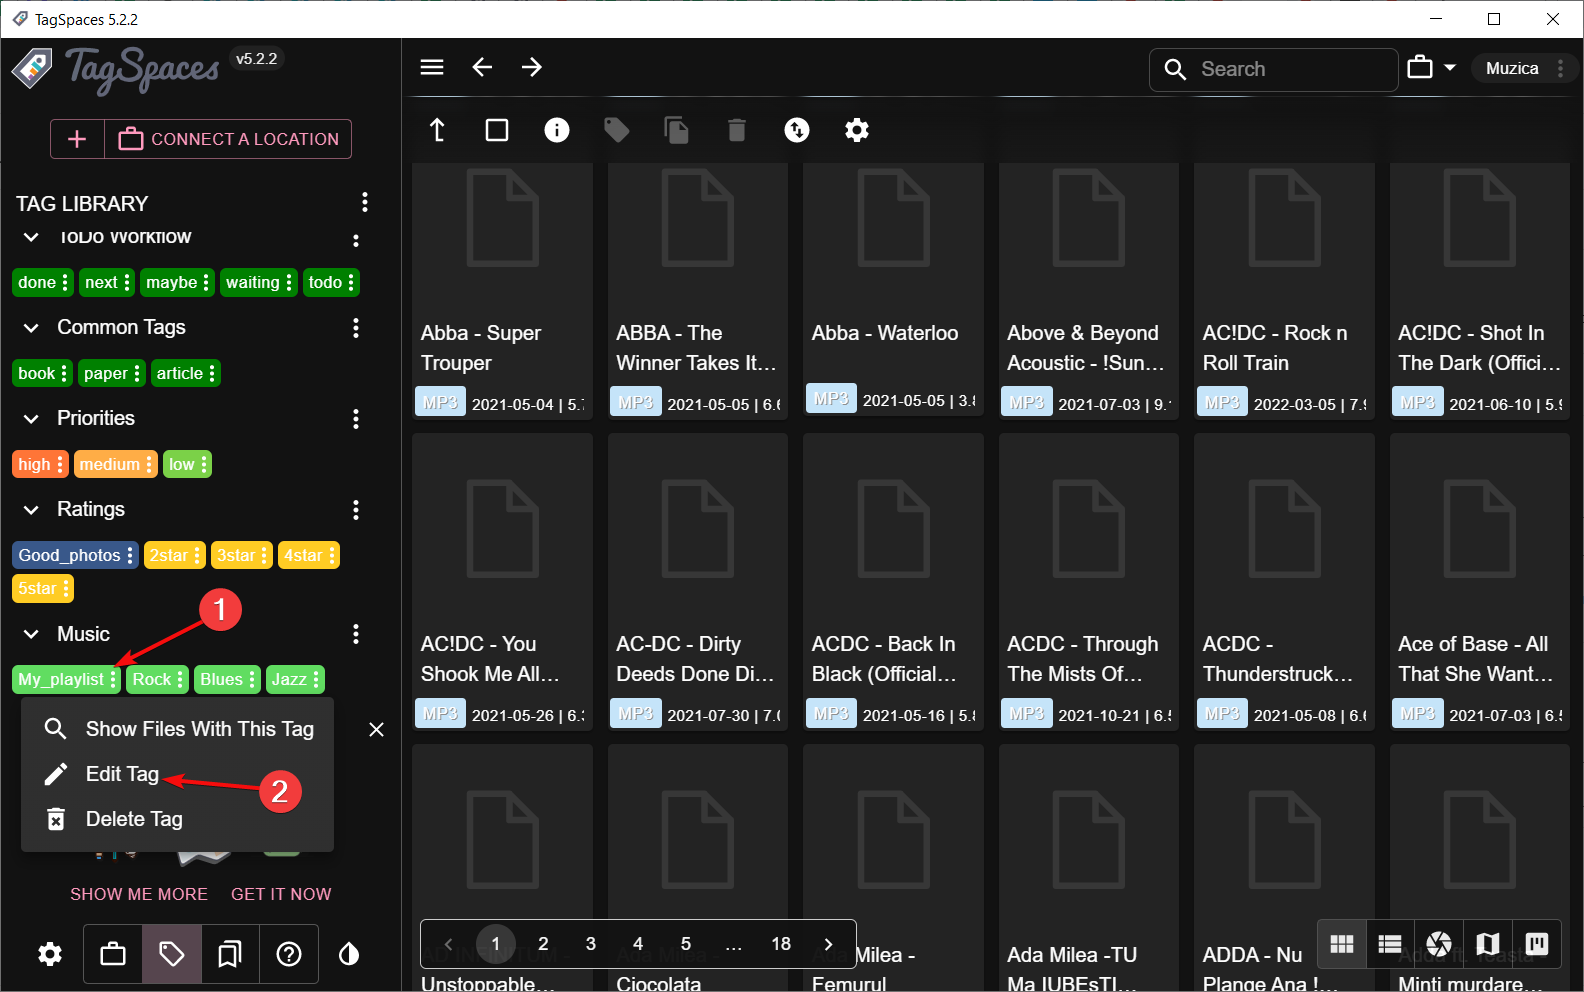
- You may add all the tags, separated by comas. If you want to edit them, just click their individual three dots button and select Edit Tag. This way, you can change its name, background and text color.

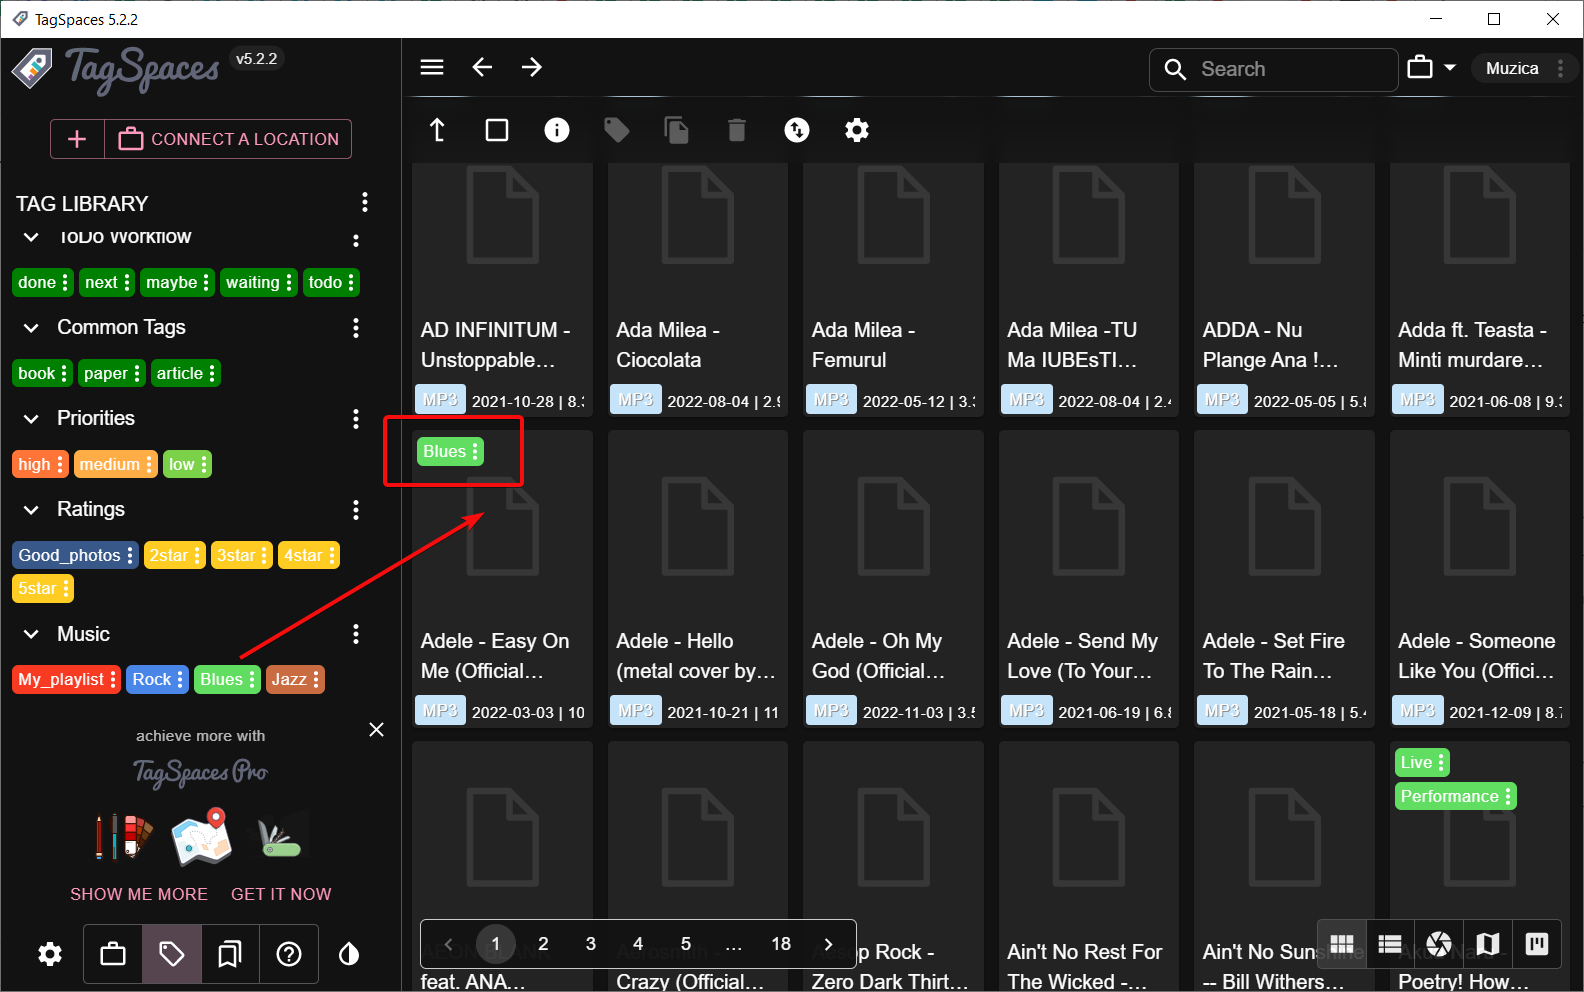
- Now, start tagging your files by simply dragging and dropping the tag over your chosen files.

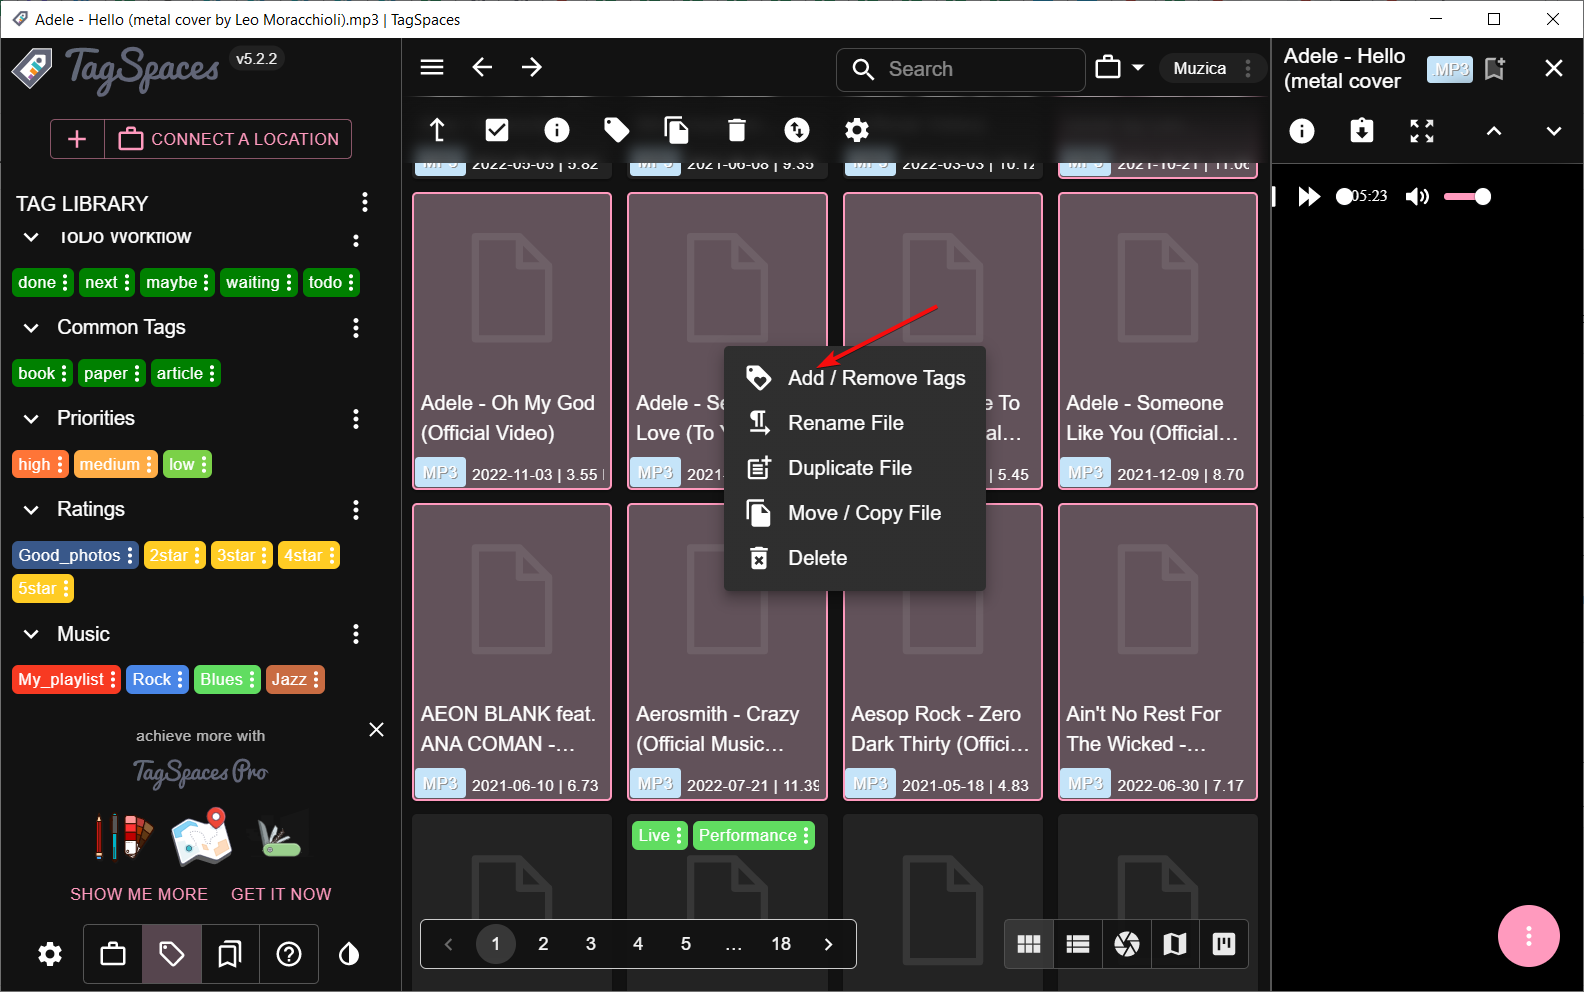
- To be more efficient, you can select more tunes with your mouse or by holding Ctrl and selecting additional songs, then right click and select Add/ Remove Tags.

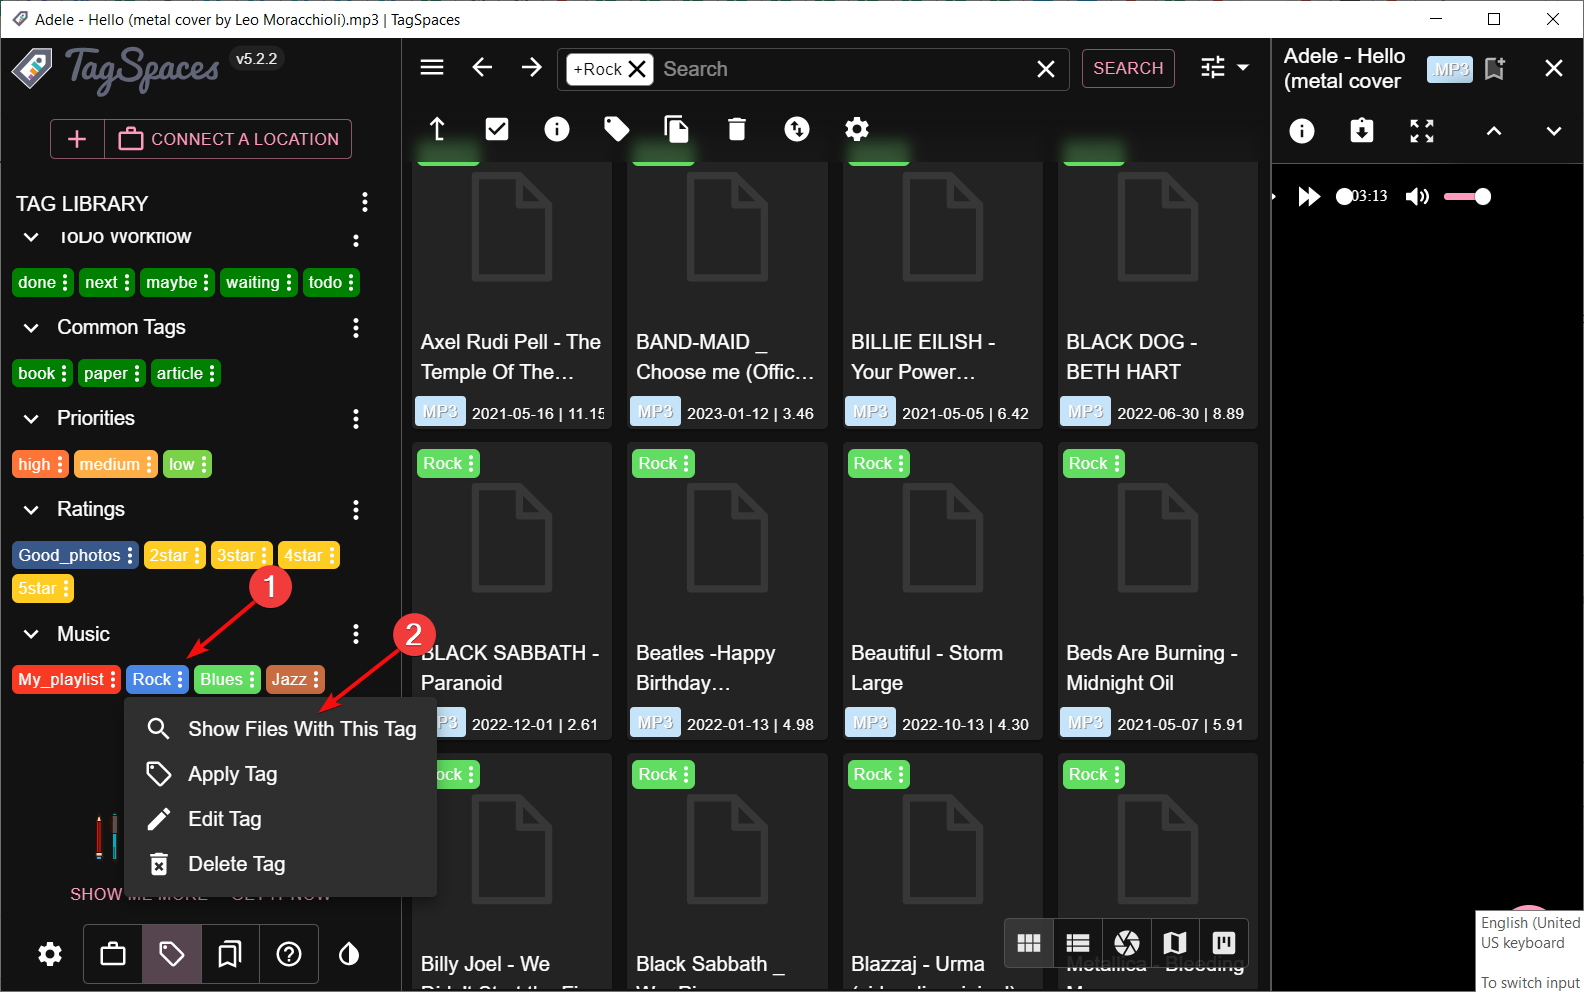
- If you want to see your progress, click the three dots button of a tag and select Show Files With This Tag.

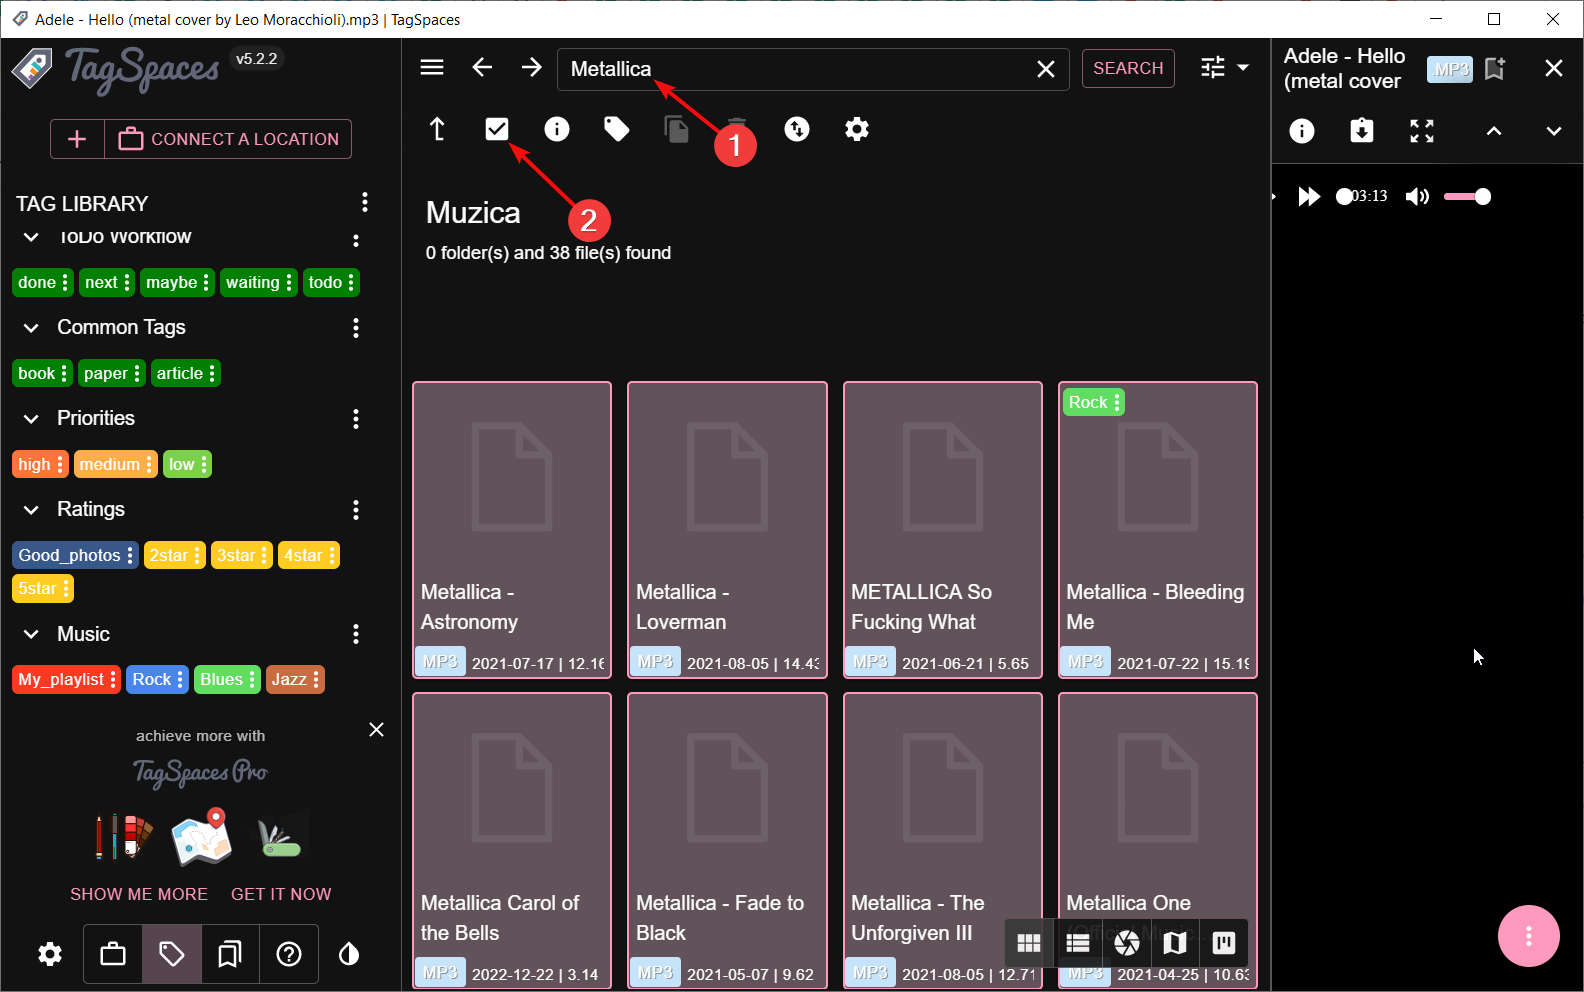
- Another easy way of tagging is to search for the band name, for instance, click the Select all marking and then right-click the selection and tag all of them in one go.

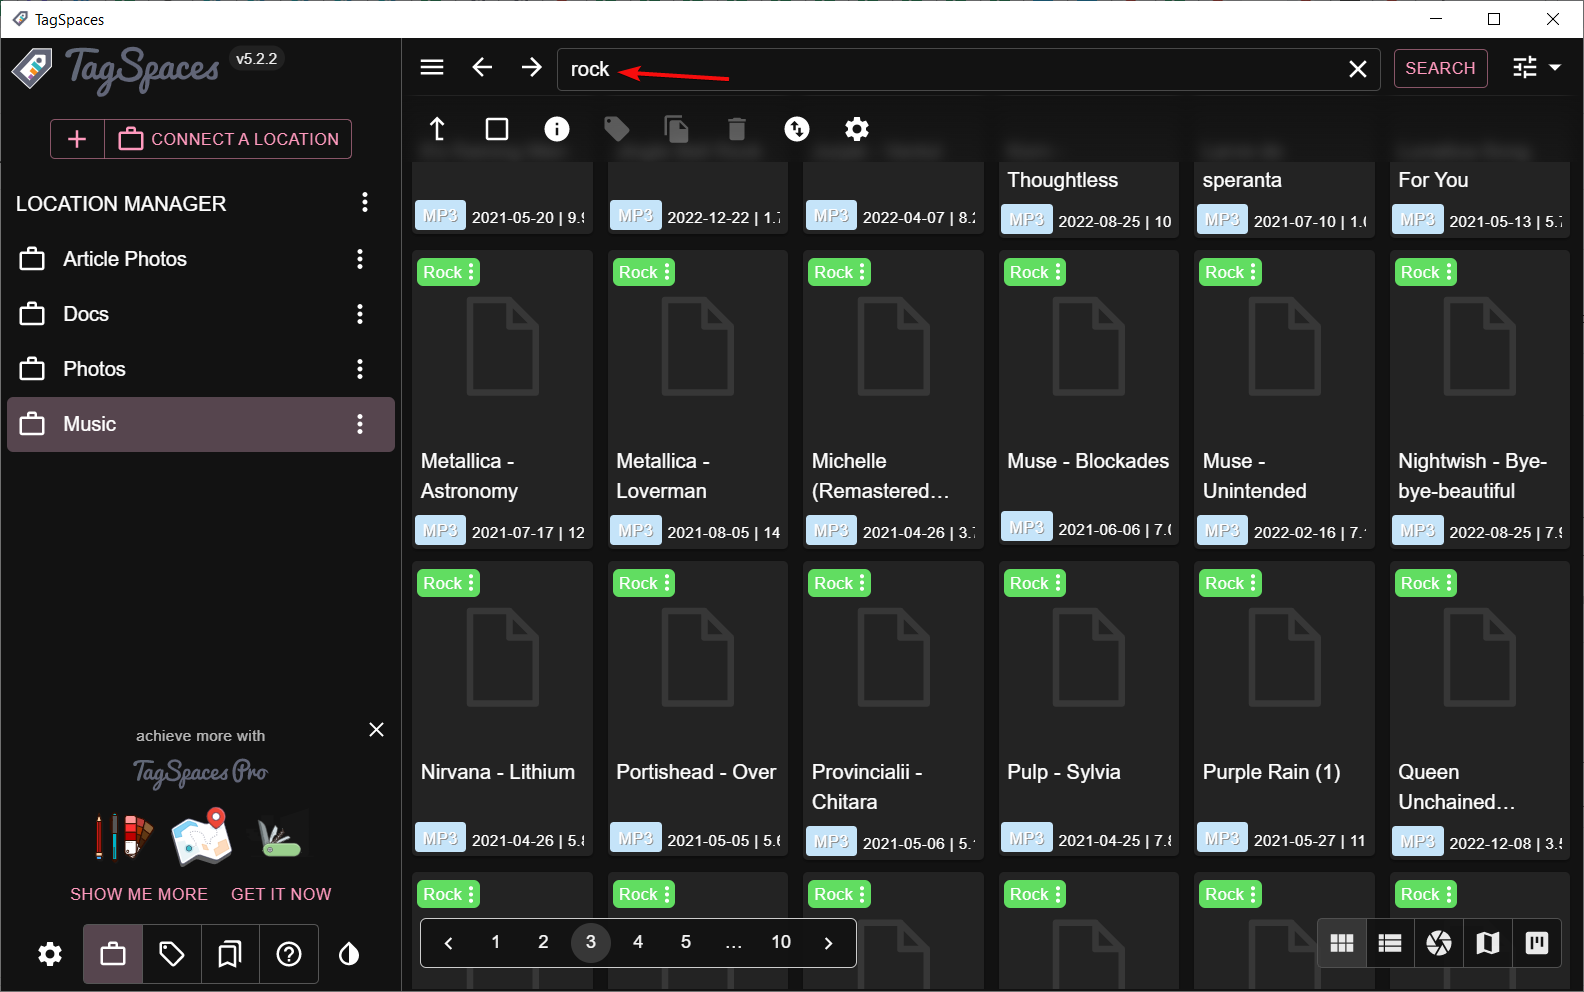
- Now, you only need to search for a tag and all associated files will appear immediately.

TagSpaces is more efficient and supports multiple operating systems. Its offline availability also makes it one of the most sought-after tools. You can find a more comprehensive review of TagSpaces in our detailed article.
How do I edit tags in Windows 11?
The process is similar to adding tags, as seen above. Only this time, you’ll be deleting and making new entries.
Onto testing whether your tags work, the next question is how do you search for files with tags? Easy. Here’s how:
- Hit the Windows + E keys to open File Explorer.
- Go to your file folder and click on Sort, More Tags.

- Your files will now be listed as per the tags.
Hopefully, we’ve given you a few ideas to make your file management easier on Windows 11. With tags, you can easily organize your various files in a way that makes sense instead of creating hundreds of folders. In addition to that, another option is to add comments to folders in Windows 11.
Still on file organization, you can also change your file or folder icons to spot your frequently used files and folders with ease.
If you have used any of the above methods, please share your thoughts in the comments below. We would love to hear what you think. Additionally, if you have any other alternative methods for tagging files that work great for you, do let us know about them, too.
Read our disclosure page to find out how can you help Windows Report sustain the editorial team. Read more


Improve this guide


User forum
0 messages