How to Fix Firewall Blocking VPN Connection: 8 Tested Solutions
Make sure you use a reliable VPN, like the one we recommend below
Key notes
- Windows Firewall's role is to protect you from incoming connections and the VPN to encrypt outgoing information.
- If the VPN is blocked by the firewall, its functionality will be compromised and your privacy put at risk.
- Oftentimes, the solution is simply restarting your PC or the VPN, but sometimes it's more complicated.
- Check out our guide and learn how you can make your firewall and VPN get together for your privacy's sake.


World-class 24/7 support with 82% for a 2 years plan and 2 months free
70% of our readers choose Private Internet Access
70% of our readers choose ExpressVPN
Amazing connection speed with 61% off and 4 months free for the 2-years plan.
Best security protocols with 83% off and 2 months free for a 2-year plan.
If you experience your VPN block issues by Windows Firewall, you’re in the right place. Your firewall handles your network security, blocking access to and from suspicious platforms/services. It can sometimes flag your VPN as dangerous, even if it’s not.
Here’s how you can unblock your VPN connection
What can I do if my VPN gets blocked by Windows Firewall?
1. Add an exclusion
- Open Windows Defender Security Center
- Go to Virus & Threat protection settings

- Select Exclusions
- Select Add or remove exclusions
- Select Add an exclusion and add your VPN client software
Note: Most VPN clients use ports 500 and 4500 UDP, and port 1723 for TCP. If these don’t work, add a new rule to allow them in Windows Firewall Advanced settings.
Adjusting firewall settings will help if you have admin rights to network settings. But if you’re on your school WiFi or work network,you may not be ablet to do it.
2. Allow VPN through firewall settings
- Open Control Panel
- Select System & Security
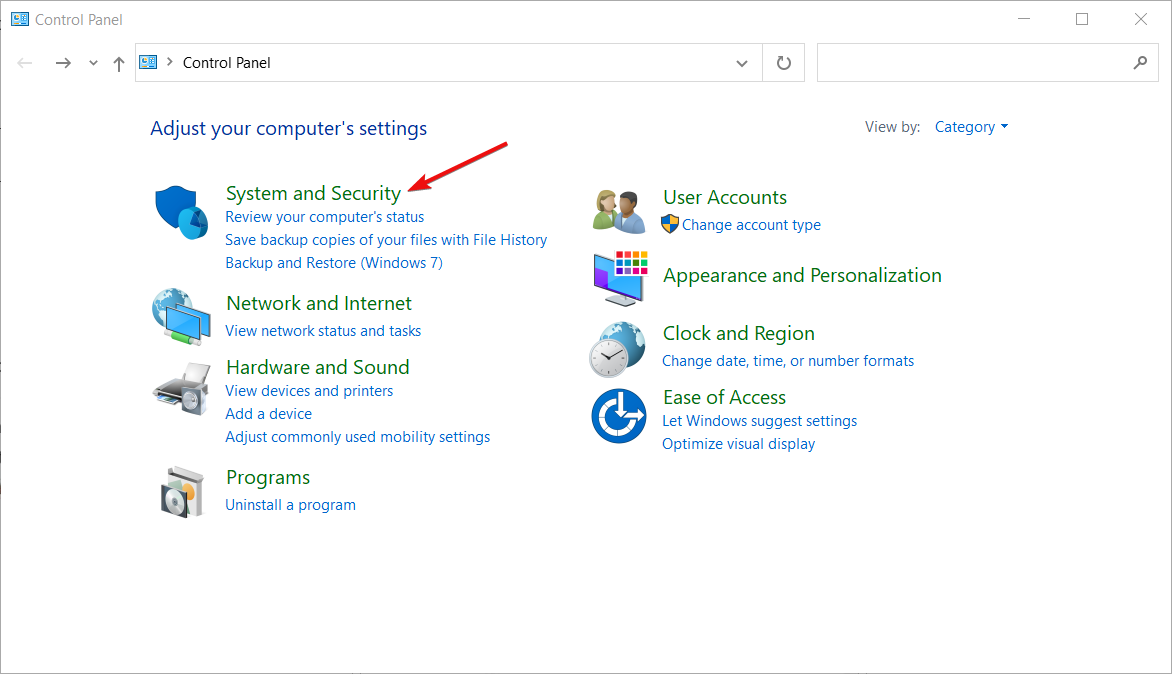
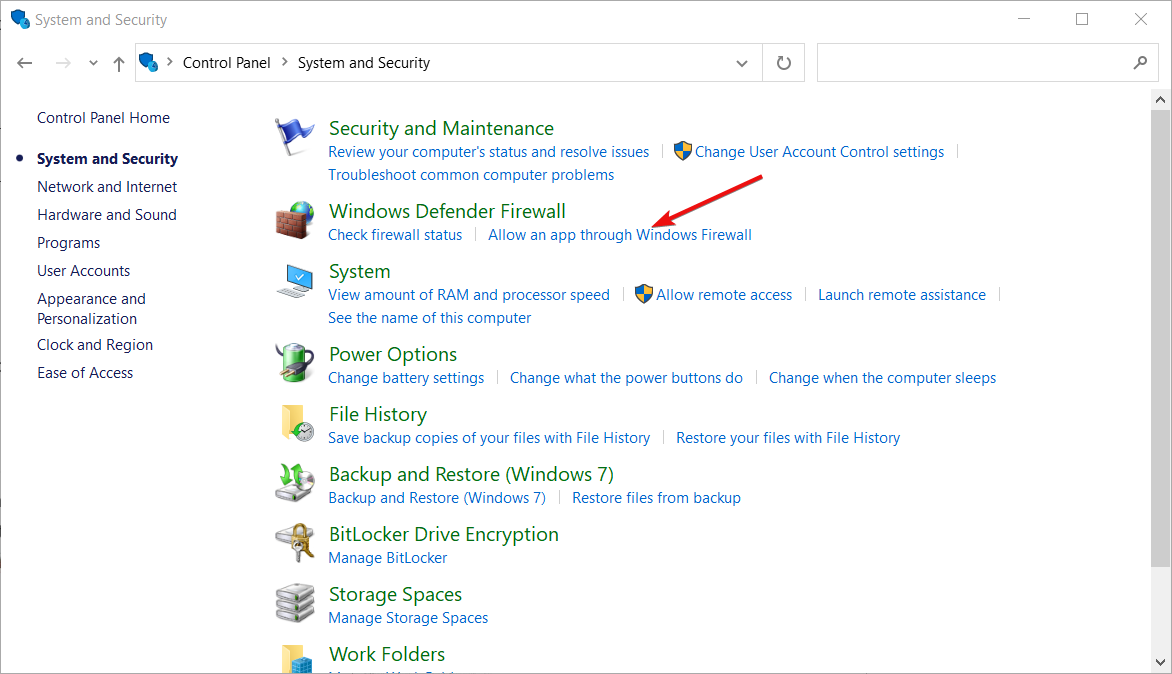
- Click Windows Defender Firewall
- On the left pane, click Allow an app or a feature through Windows Firewall. A window in which you can allow or prevent any app will display.
- Click Change Settings.
- Check for your VPN from the list of programs and apps you want to allow through your firewall.
- Check Public or Private to select the network type on which you want the VPN to run.
- If you cannot find your VPN, click Allow another app.
- Select your VPN and then click Add, then click OK.
3. Change adapter settings
- Open Control Panel and select Network & Internet.

- Select Network and Sharing Center.
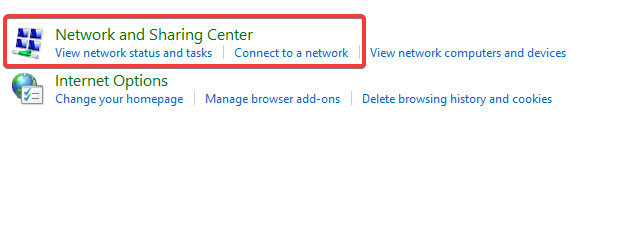
- On the left pane, click Change adapter settings

- Click File.
- Select New incoming connection.
- Select all users you want to access your VPN connection.
- Check Through the Internet.
- Click Next.
- From the list of protocols, mark the Internet protocols you want your VPN to connect to.
- Double click Internet Protocol Version 4 (TCP/IPv4).
- Go to Control Panel again and select Windows Firewall.
- Click Advanced Settings.

- Click Inbound Rules>Actions.

- Click New Rule.
- In the Wizard, choose Port and click Next. Most VPN clients use ports 500 and 4500 UDP, and port 1723 for TCP. You can use TCP and insert 1723 in Specific remote ports field.
- Click Next.
- Select Allow the connection and click Next.

- When asked ‘When does this rule apply?’ select all options (Domain, Private, Public) and apply the rule to all.
- Choose a name and description to fill the Name and Description.
- Click Finish.
4. Create a new inbound rule
- Open the firewall settings and click inbound rules on the left.
- Click the New rule on the right.

- Click Custom rule.
- Specify programs or leave as all programs.
- Specify ports or leave as all ports.
- Click “These IP addresses” under remote IP
- Click “This IP address range”.
- Type From “10.8.0.1” To “10.8.0.254”.
- Close and click Next, then leave as “Allow the connection”.
- Apply to all profiles.
- Name your profile and click Finish.
You should then be able to connect to your home devices through your VPN
5. Enable rule for PPTP
If your VPN requires PPTP, do the following:
- Open Control Panel
- Select Windows Firewall
- Select Advanced Settings.

- Search for the ‘Routing and Remote Access‘ under Inbound Rules and Outbound Rules. For Inbound Rules: right-click ‘Routing and Remote Access (PPTP-In)’, select Enable Rule. For Outbound Rules: right-click ‘Routing and Remote Access (PPTP-Out)’, select Enable Rule.
6. Open ports
In order to allow your VPN traffic to pass through the firewall, open the following ports:
- IP Protocol=TCP, TCP Port number=1723 – used by PPTP control path
- IP Protocol=GRE (value 47) – used by PPTP data path
- Make sure that these ports are allowed on Windows Firewall with corresponding network profile.
- DO NOT configure RRAS static filters if you are running on the same server RRAS based NAT router functionality. This is because RRAS static filters are stateless and NAT translation requires a stateful edge firewall like ISA firewall.
- In general, VPN error 807 indicates that the network connection between your computer and the VPN server was interrupted. This also can be caused by a problem in the VPN transmission and is commonly the result of internet latency or simply that your VPN server has reached capacity. Try to reconnect to the VPN server.
7. Change your VPN
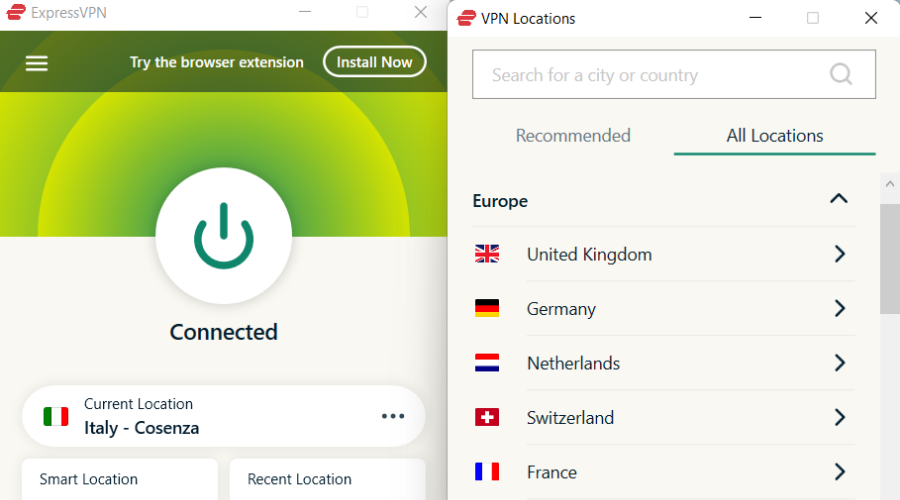
You can change your VPN and see if it resolves the issue. Normally, an established VPN provider has a good client that will work great together with Windows Firewall.
A great VPN, recommended below, is owned by Kape Technologies and has servers located all around the world.
It supports high data speeds, which makes it a fast VPN for Windows operating system, besides its powerful features and performance.
It is a favorite among the best VPN software for laptops as it not only protects your privacy on a multi-platform privacy solution but also offers reliable connections.
ExpressVPN
Use ExpressVPN to secure your connection without being blocked by the firewall.8. Turn off SSL monitoring
Depending on your firewall or security software, there are steps to take to fix VPN blocked by Windows firewall. Here’s what to do if you’re using ESET NOD32 or Kaspersky:
NOD32:
- Select Setup
- Select Advanced Setup
- Select Antivirus and antispyware
- Select Web access protection
- Select HTTP, HTTPS > HTTP scanner setup, and set HTTPS filtering mode to Do not use HTTPS protocol checking.
 NOTE
NOTE
- Select Settings
- Select Traffic Monitoring panel
- Select Port Settings or settings
- Select Network
- Select Port Settings and uncheck the box for port 443/SSL
Any luck fixing VPN blocked by the Windows firewall using the solutions above? Share with us by leaving a comment in the section below. And if you’re dealing with other restrictions, check out our guide on how to fix VPN being blocked by ISP.
After you whitelist your VPN you should be able to allow PPTP through the firewall.
Many people report having to whitelist VPNs. It seems that you oftentimes have to allow Cisco Anyconnect through a firewall as well as other reputable VPNs:
- Surfshark blocked by Windows Defender
- Ports required for VPN connections have been blocked by the firewall
- NordVPN blocked by firewall
- OpenVPN blocked by firewall
Read our disclosure page to find out how can you help Windows Report sustain the editorial team. Read more


Improve this guide


User forum
0 messages