Add VPN connection using Group Policy on Windows 10/11


World-class 24/7 support with 82% for a 2 years plan and 2 months free
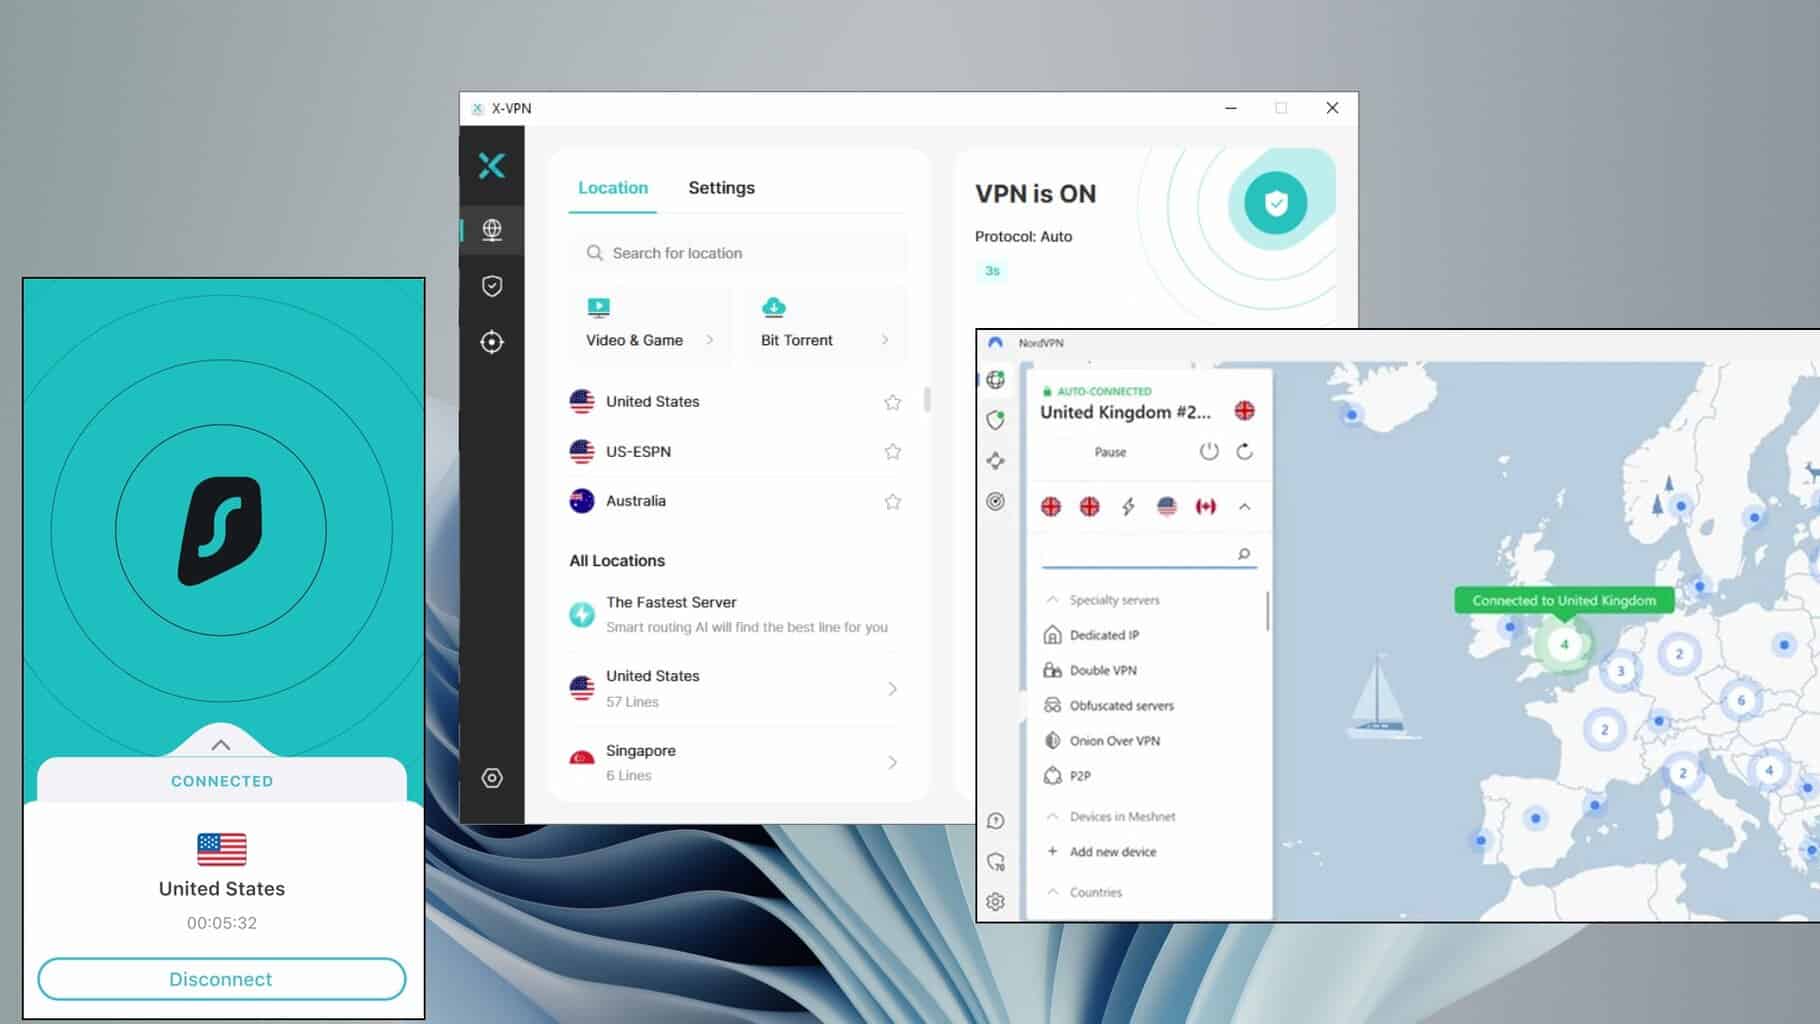
70% of our readers choose Private Internet Access
70% of our readers choose ExpressVPN
Amazing connection speed with 61% off and 4 months free for the 2-years plan.
Best security protocols with 83% off and 2 months free for a 2-year plan.
If you’re a casual VPN consumer, then setting up a VPN on your computer should be as easy as pie. However, if you’re a network administrator and need a quick way to deploy a VPN connection on several devices, things could get hairy fast.
One might believe that it would be easier to just ask whoever’s using a certain station to deploy a VPN by themselves. But that goes beyond the point of having a quick, reliable way to deploy software or configuration settings in bulk.
That’s why operating systems such as Windows Server provide you with the tools to perform these tasks in no time. For instance, you can deploy VPNs in bulk using Windows’ Group Policy.
Note that currently, deploying a VPN connection on multiple devices only works on various editions on Windows Server, including 2016, 2012, and 2008. The best part is that you can deploy the connections on multiple systems, including Windows 10, 8, and 7.
How to deploy VPN on Windows 10 with Group Policy
1. Make sure you backup your Group Policy
- Open your Start menu
- Go to Administrative Tools
- Access Group Policy Management
- Head to the folder you want to back up in the GPMC
- Expand the folder that contains the GPO you wish to back up
- Right-click the object and select Back Up from the context menu
- If you want to back up the whole folder, right-click the folder instead
- Select Back Up All
- Define the destination path where you want to save the content
- Click OK
2. Open the Group Policy Editor
- Click the Win key on your keyboard
- Type gpedit.msc
- Select the Group Policy Editor
3. Locate the VPN connection section
- In the GP editor, select User Configuration
- Head to the Control Panel Settings section
- Right-click Network Options
- Hover your mouse cursor over the New button
- Select VPN Connection in the New menu
4. Configure the VPN connection
- Select the VPN connection tab
- In the Action combo menu, make sure Update is selected
- Click the User connection radio button
- Type the connection name in the designated field
- Input the address correctly in the DNS Name field
- Make sure the Use DNS Name option is enabled
- Enable the notification area icon, if you want
- Select the Network tab
- Choose PPTP VPN in the Type of VPN menu
- Click OK
5. Restore the GPO if anything goes bad
- Open your Start Menu and launch the Run tool
- Type gpmc.msc in the Run field and hit Enter on your keyboard
- Right-click the Group Policy Objects folder in the GPMC
- Select Manage Backups from the context menu
- Define the path where you backed up the GPOs before
- Select the GPO you want to restore from the list
- Click Restore and confirm by hitting the OK button
- Tap the OK button once more
That’s it, if you’ve followed all the steps, all the clients should be able to see the connection and use it without a hiccup.
Windows Server lets you deploy VPNs with Group Policy
All things considered, if you’re a network administrator running Windows Server and need a quick way to deploy VPN connections, don’t fret. You can easily do so using the handy Group Policy management tool that Windows Server comes with.
A VPN connection can be deployed this way to various operating systems, including but not limited to Windows 7, Windows 8, and Windows 10.
Note that it’s always a wise decision to back up anything you’ll wish to tamper with. You can easily back up and restore Group Policy Objects by following our instructions above.
[wl_navigator]
Read our disclosure page to find out how can you help Windows Report sustain the editorial team. Read more


Improve this guide


User forum
0 messages