Does your Dell PC get a boot error? Here's what to do
Dell is one of the biggest multinational computer technology companies that develops, sells, repairs, and supports computers.
Their computers are well-known around the world for their quality.
Unfortunately, not every company has a perfect record.
Dell users have been reporting on the official Microsoft forums that they are sometimes receiving error messages on boot.
For the last 2 weeks I have been getting the following message on system start up: “Checking media (fail)”. The message appears twice then the system starts normally and I haven’t noticed any problems with any of the applications/programs. I did not install new software before this problem started and did not make any other changes that I can recall.
Apparently, this problem only seems to be common among users that have Dell PCs.
How to get rid of the media check error when booting Dell PCs
Change the boot priority order on your PC
You must keep in mind that the Boot Manager needs to run first in order to avoid the error.
As such, you need to follow these steps:
- Boot your PC
- Press F2 right when the Dell Logo pops up
- Use your arrow keys to move to the tab named Boot
- Select, with the arrow keys so that the text named UEFI Boot
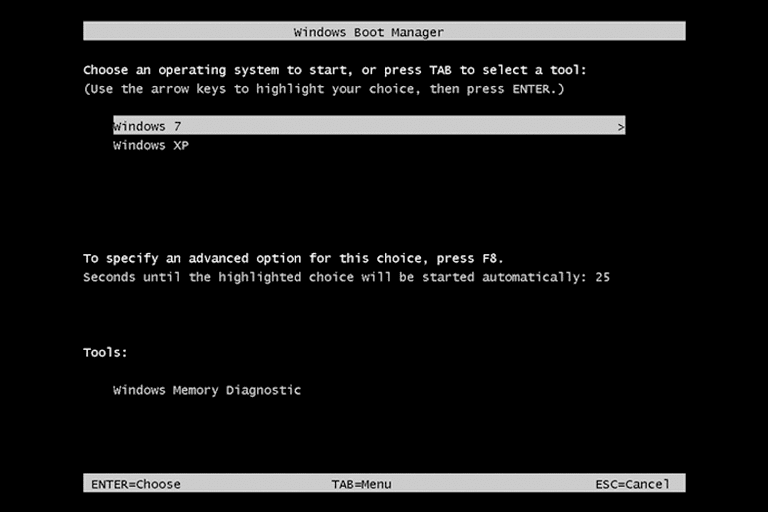
- Navigate to the bottom, there you should be able to see Windows Boot Manager
- Press F5 or F6, to move it up and down the list until you arrange your boot settings in this particular order:
- Windows Boot Manager
- UEFI Onboard LAN IPv4
- UEFI Onboard LAN IPv6
- Press F10 to reboot your system
If for some reason you are unable to find Windows Boot Manager in the list, you must do the following:
- Boot your PC
- Press F2 right when the Dell Logo pops up
- Use your arrow keys to move to the tab named Boot
- Change SATA option from Rapid Store technology to AHCI
- Windows Boot Manager should now appear in UEFI menu
- Move Windows Boot Manager to the first position in the list
- Go back to the previous menu and revert SATA to Rapid Store technology
- Exit and save settings
- Reboot
By following these steps, your Dell PC should now boot without that annoying message showing up.
RELATED STORIES YOU SHOULD CHECK OUT:
- Dell SupportAssist plagued by major security issues, update now
- Microsoft Azure, VMware, and Dell enter a new Hybrid Cloud era
Read our disclosure page to find out how can you help Windows Report sustain the editorial team. Read more


Improve this guide


User forum
0 messages