6 Ways to Set up Automatic Backup on Windows 11
You never get to keep your data if you don't back up

When files get lost, it can be quite a hassle to recover deleted files. If you have a Windows computer, then you’re probably aware of how important it is to have a sound backup system in place.
Thankfully, Windows has a built-in backup utility that makes creating backups manually or on a schedule easy.
Does Windows backup save all files?
Backup is an essential feature of any operating system. For Windows, it is a built-in tool. You can use it to back up your files and folders to another location. As Windows versions evolve, the feature may keep changing positions.
And to answer the question, yes, Windows backup can save all files, unlike File History. You can check a detailed File History vs Windows Backup review to learn about the differences.
Windows Backup is a great tool for protecting your computer from data loss. The tool allows you to back up your data on an external drive or network location so that if your computer crashes or gets damaged, you’ll be able to restore everything just as it was before.
However, you should never rely on your Windows backup tool to back up all of your data. It’s always a good idea to have additional backup software for any eventuality.
How do I automatically Backup files in Windows 11?
Before establishing an automatic backup, we also remind you that you can perform a manual backup of your data.
All you have to do is copy your important documents and pictures onto another storage device such as a CD DVD, or drive so that if anything happens to your computer, they won’t be lost forever.
You can use a flash drive or hard drive for this purpose and any external storage device that supports USB 2 or higher speeds for faster transfers. Then, if something happens, such as a virus or hard drive failure, you can use this copy to restore the original files.
1. Turn on automatic backup
- Hit the Windows key and select Settings.
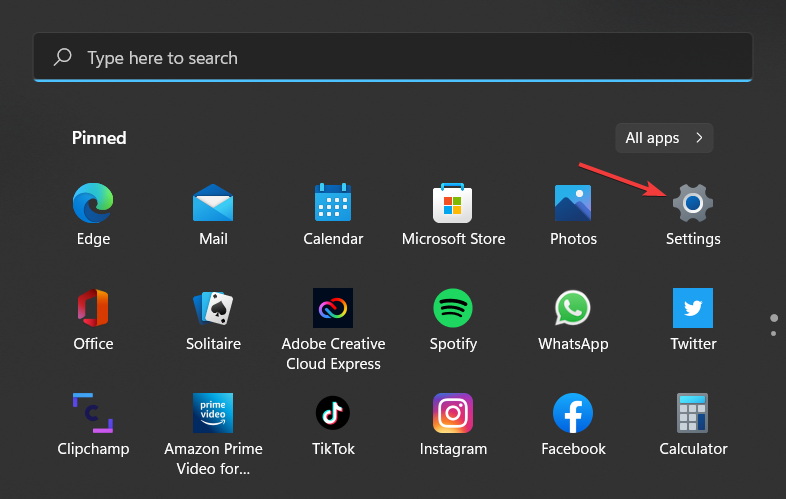
- Select Accounts on the left pane then click on Windows backup on the right pane.

- Now, select the preferred cloud storage (by default, it’s OneDrive) and turn on app and preferences backups.

2. Use File History
- Hit the Windows key, type Control Panel in the search bar and click Open.

- Select System and Security.

- Navigate to File History.

- Click on Select drive on the left pane.

- Choose your preferred drive from the list and click OK.
- Hit the Turn on button to activate the tool.

- Now click on Run now to backup any files you have.

3. Use Windows backup
- Hit the Windows key, type Control Panel in the search bar and click Open.
- Select Backup and Restore (Windows 7) under System and Security.

- Click the Set up backup button.

- Select the Backup destination then click Next.

- Select one of the two backup options then click Next.

- Click on Change schedule and set up your preferred time then select Save settings and run backup.

4. Use a third-party tool
As you can see, it’s not that easy to set up and use the built-in Windows tools to back up your data.
It’s a lot easier to use a professional tool and we recommend AOMEI Backupper because we have tested it with excellent results. It can be used by anyone and you can make individual files and full system backups with ease.
If you’re not convinced, you may also find the best choice in our list of the best backup tools for Windows 11.
5. Use OneDrive
- Hit the Windows key and select Settings.
- Select Accounts on the left pane then click on Windows backup on the right pane.
- Click on Set up syncing/Manage sync settings.

- Enter your credentials to login or Create account if you don’t have one.

- Select a folder to backup then click on Start backup.

6. Use System Image
- Hit the Windows key, type Control Panel in the search bar and click Open.
- Select Backup and Restore (Windows 7) under System and Security.
- Click on Create a system image on the left pane.

- Select your hard disk and click Next.

- Click Start backup.

How do I set up automatic backup on my external hard drive in Windows 11?
File History is a feature that lets you automatically back up your files so that if anything goes wrong with them, you can restore them quickly and easily.
It works by creating copies of your documents and saving them in a separate location — typically your OneDrive folder or an external drive. You can choose how often File History should run (daily, weekly, or monthly), and how many versions of each file it should keep.
To set up, follow the steps below:
- Plug in your external hard drive to your PC.
- Hit the Windows key and select Settings.
- Select System then click on Storage.

- Click on Advanced storage settings under Storage management.

- Select Backup options.

- Now click on the Add a drive option under Back up using File History.

- Select your external drive and start the backup process.
And that’s how to automatically back up your files in Windows 11 using various methods. If you feel that you are running out of storage space, you can always delete app backup files which are usually just cache files.
Should you encounter a Windows 11 backup error, we also have a detailed guide on bypassing the issue. These tips might come in handy, especially if the Seagate Dashboard isn’t working.
If you want a solution that works on multiple platforms, don’t miss our latest guide on how to download IDrive for Windows.
Let us know in the comment section your preferred backup method and why.
Read our disclosure page to find out how can you help Windows Report sustain the editorial team. Read more


Improve this guide


User forum
0 messages