How to Create a Windows 11 Wi-Fi 6 Hotspot
Not all Wi-Fi 6 adapters work on the 6 GHz band
![]() 2 min. read
2 min. read
![]() Published on
Published on
Share this article
Improve this guide
Read our disclosure page to find out how can you help Windows Report sustain the editorial team. Read more
Creating a Wi-Fi 6 hotspot on Windows 11 allows you to share your internet connection with other devices using the latest Wi-Fi technology. Right from the start, you should know that not all Wi-Fi 6 adapters support the 6 GHz band. Check the product specifications to make sure it has that feature.
How do I create a Wi-Fi 6 hotspot on Windows 11?
1. Ensure that your device supports Wi-Fi 6 and the adapter has the correct driver
First, you have to ensure your device has a Wi-Fi 6 compatible network adapter. You can check this in the device specifications or by looking up the model number online.
It’s also important that your adapter features the latest compatible driver to unlock its full capabilities. For that, open Device Manager (press Win + X and select Device Manager).
Find your network adapter under Network adapters. Right-click on it and select Update driver. Choose Search automatically for drivers and follow the prompts. You should also install the latest Windows updates or go directly to the manufacturer’s website and download the latest Windows 11 driver for your adapter.
2. Set up the mobile hotspot
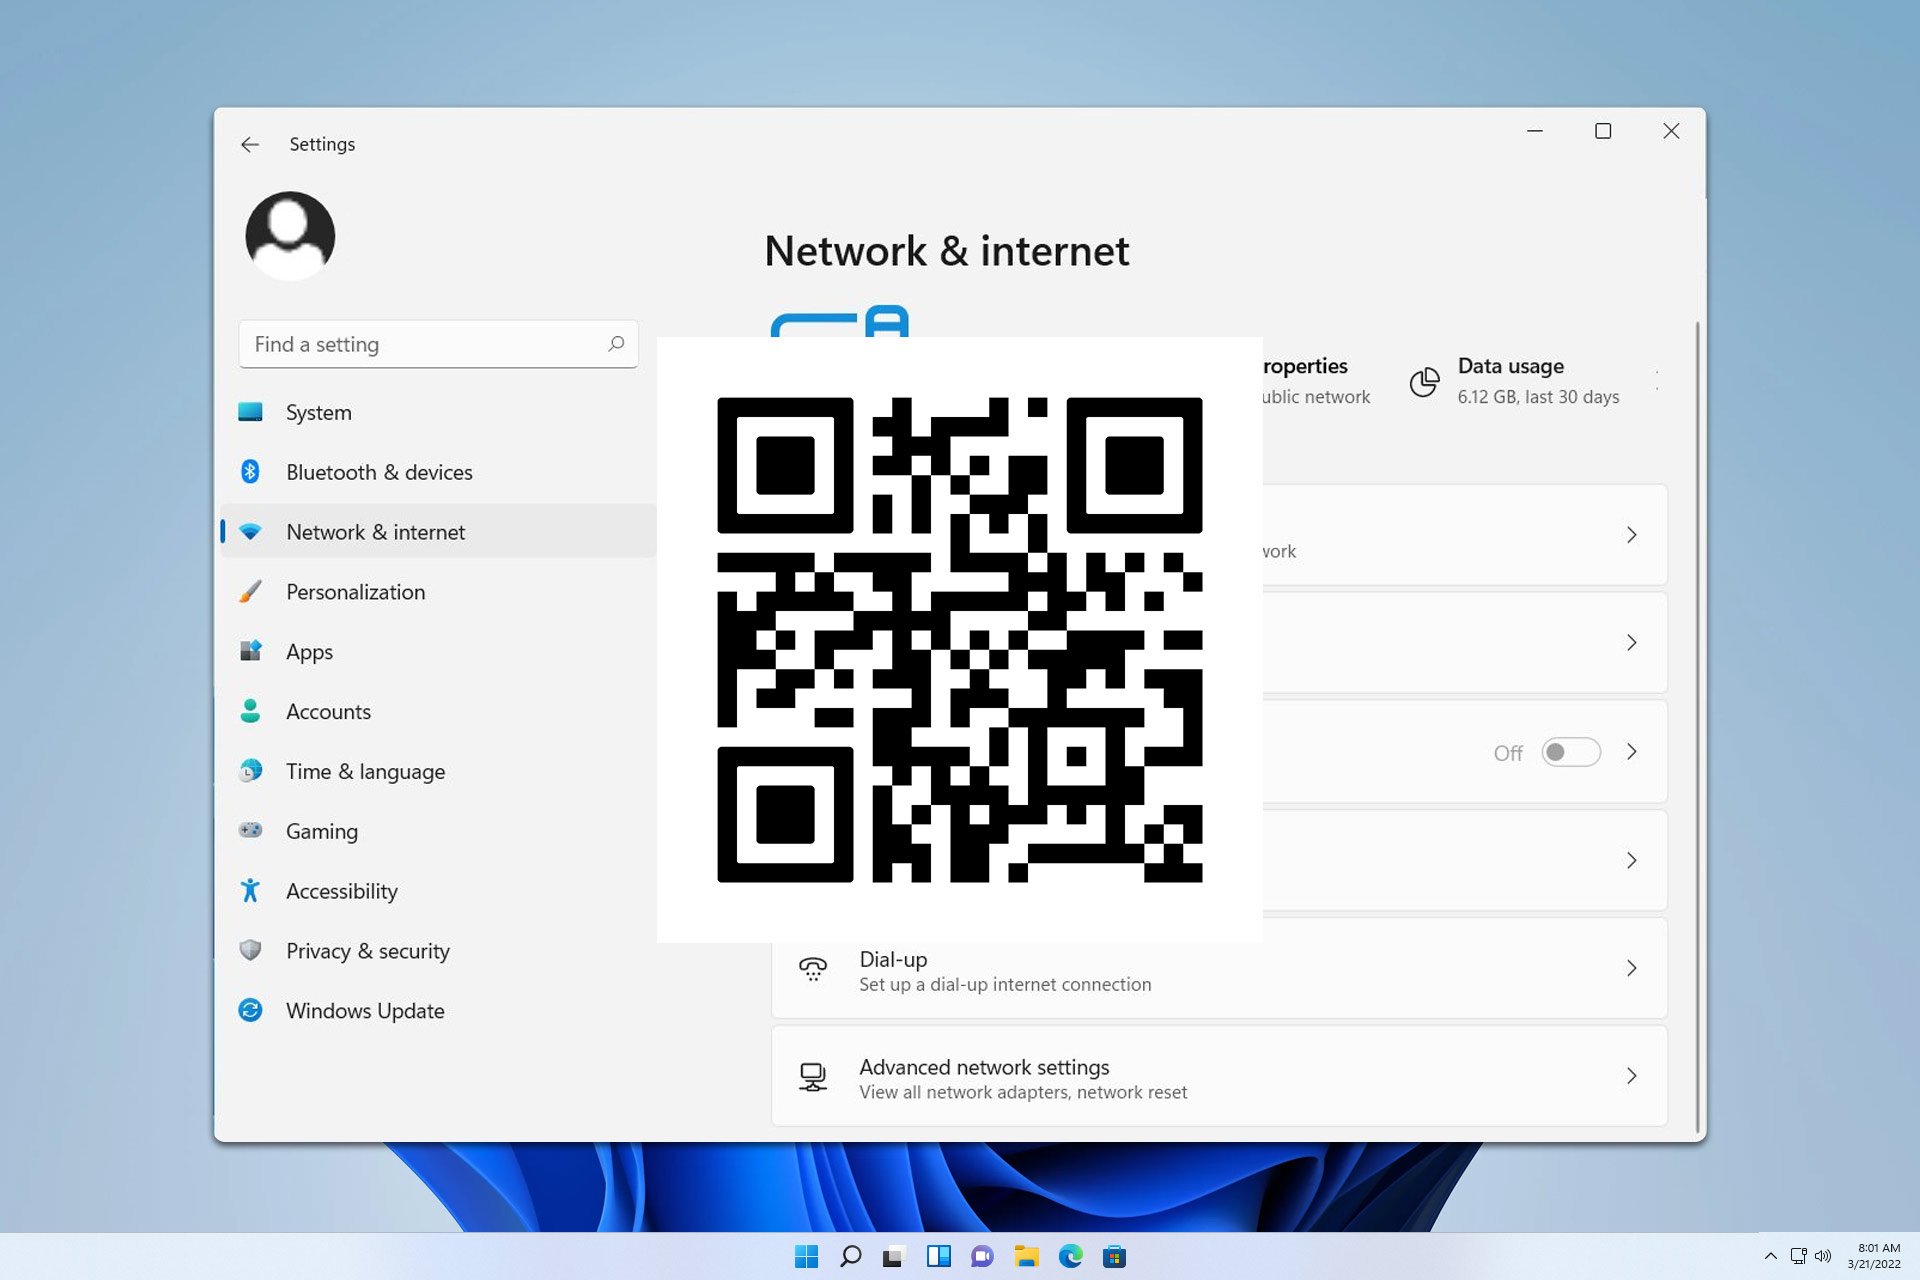
- Press Win + I to open the Settings app.
- In the left-hand menu, click on Network & Internet, then click on Mobile hotspot.
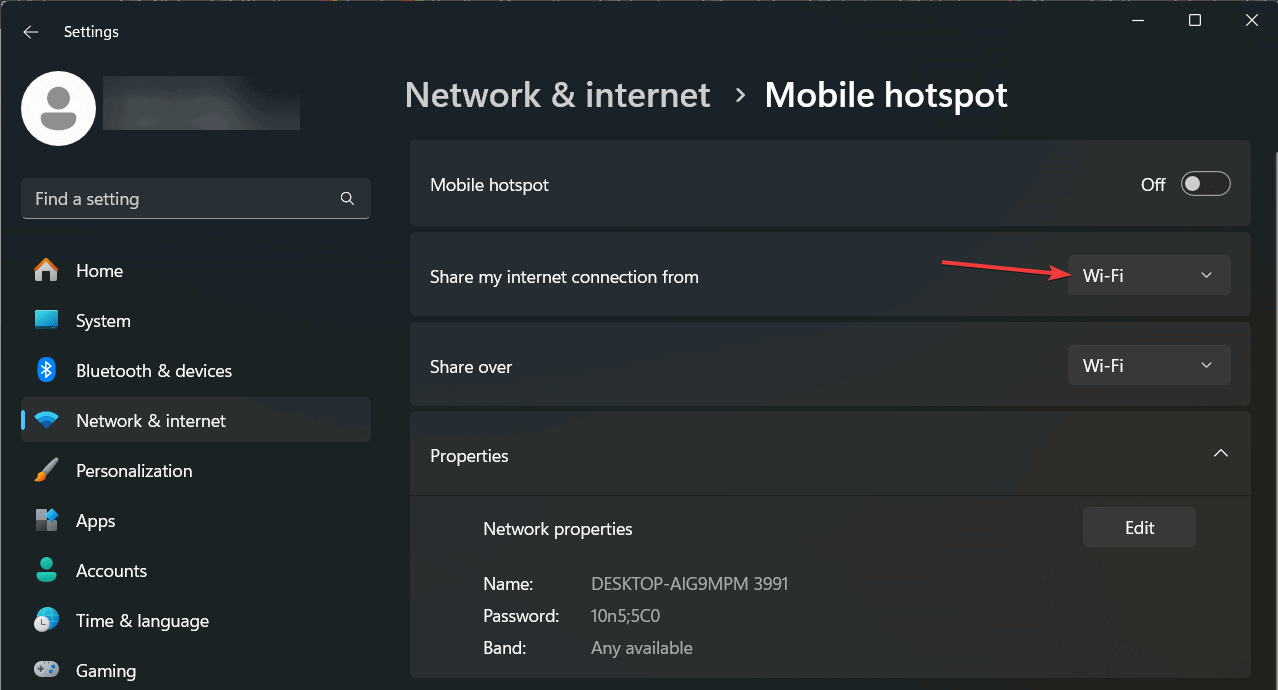
- Under Share my Internet connection from, select the Wi-Fi adapter.

- Toggle the Share my Internet connection with other devices switch to On.
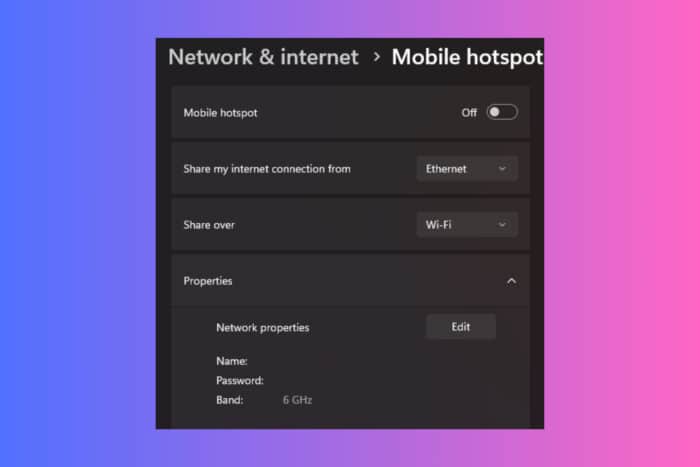
- Click on Edit under the Properties section.
- Enter a network name (SSID) and password for your hotspot and click Save.
- Under Network band, select the 6 GHz band if available.
- Toggle the Mobile hotspot switch to On.
You should also be aware that some Wi-Fi 6 802.11ax adapters use the 5 GHz and don’t feature the 6 GHz band. To access the 6GHz band, make sure that the adapter is Wi-Fi 6e.
3. Verify the Wi-Fi 6 connection
- On your Windows 11 device, go to Settings > Network & Internet > Status.
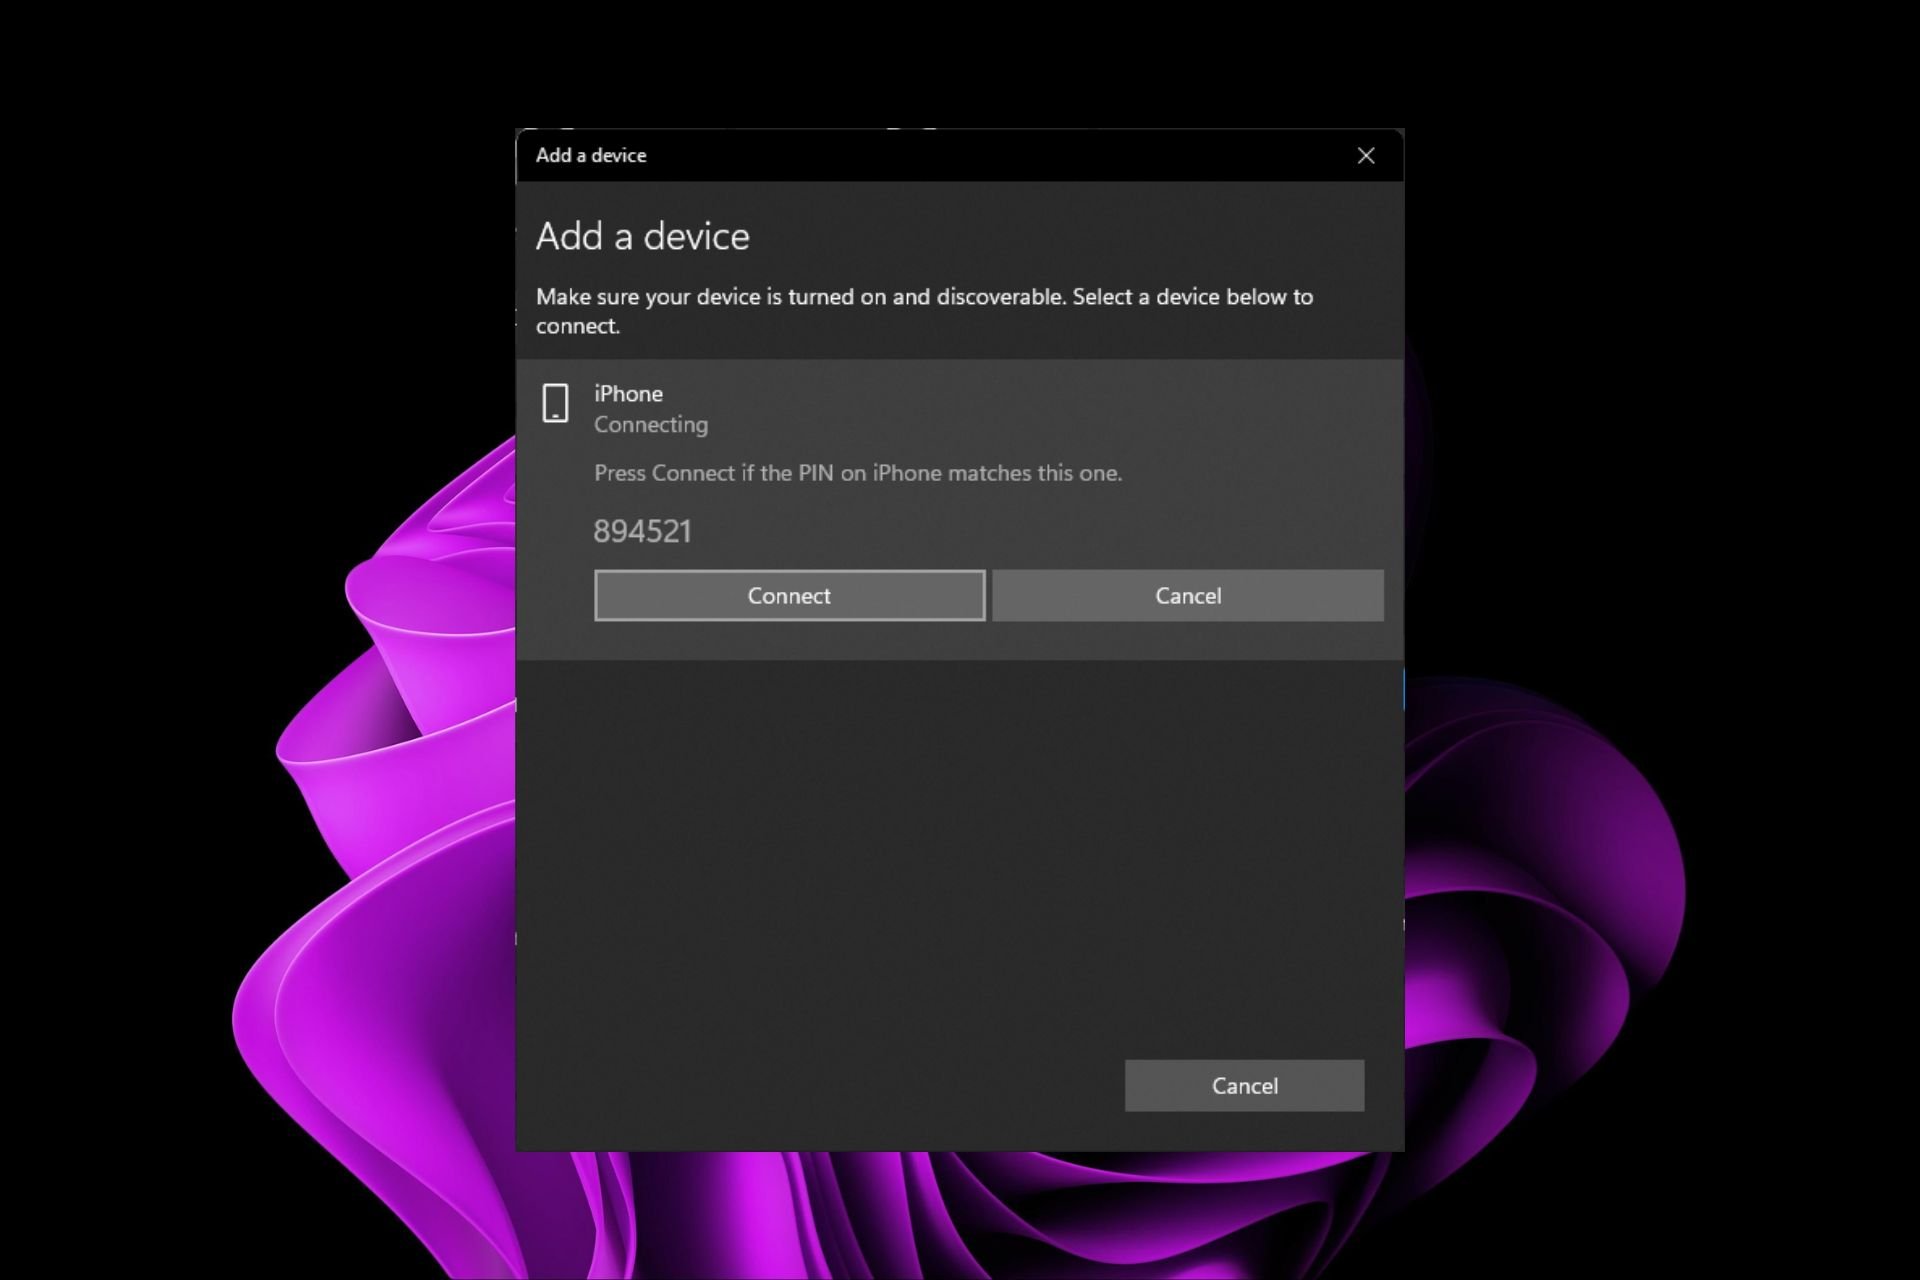
- Ensure that the connected devices are listed under the mobile hotspot section.
- Ensure that your router and connected devices support Wi-Fi 6.
- You can check the connection type in the network settings of your connected devices.
By following these steps, you should be able to create a Wi-Fi 6 hotspot on your Windows 11 device and share your internet connection with other devices.


User forum
0 messages