How to transfer iTunes from Windows 7 to Windows 10
2 min. read
Updated on
Read our disclosure page to find out how can you help Windows Report sustain the editorial team Read more
Since Windows 7 no longer receives any support from Microsoft, it has become vulnerable to cyberattacks. As such, Users are advised to upgrade to the newer Windows 10, as it poses a number of advantages.
Unfortunately, most users would probably want to take some of their data with them, such as programs, files, user profiles, etc.
Those of you that have an extensive music library may even be wondering what will happen to your iTunes library once you migrate to Windows 10.
That is precisely why we’ve created this step-by-step guide, that will show you exactly how to transfer your iTunes files from Windows 7 to a Windows 10 PC.
How do I transfer iTunes from Windows 7 to Windows 10?
Fortunately enough, transferring iTunes files from one PC to another is extremely simple, and it all revolves copying and pasting certain files from one PC to another.
You can also do this in case of an in-place upgrade, but you’ll need an external storage media to keep the iTunes files in during the upgrade.
1. Copy the contents of your Windows 7 PC
- Connect your external hard disk
- Click Start
- Go to Music
- Right-click the folder named iTunes then click Copy
- Click Start
- Go to My Computer
- Open your external hard disk
- Paste or press Ctrl + V to copy the contents
- Eject your external hard disk
2. Paste the iTunes data in the Windows 10 PC
- Connect the external hard drive to your Windows 10 computer
- Click Start
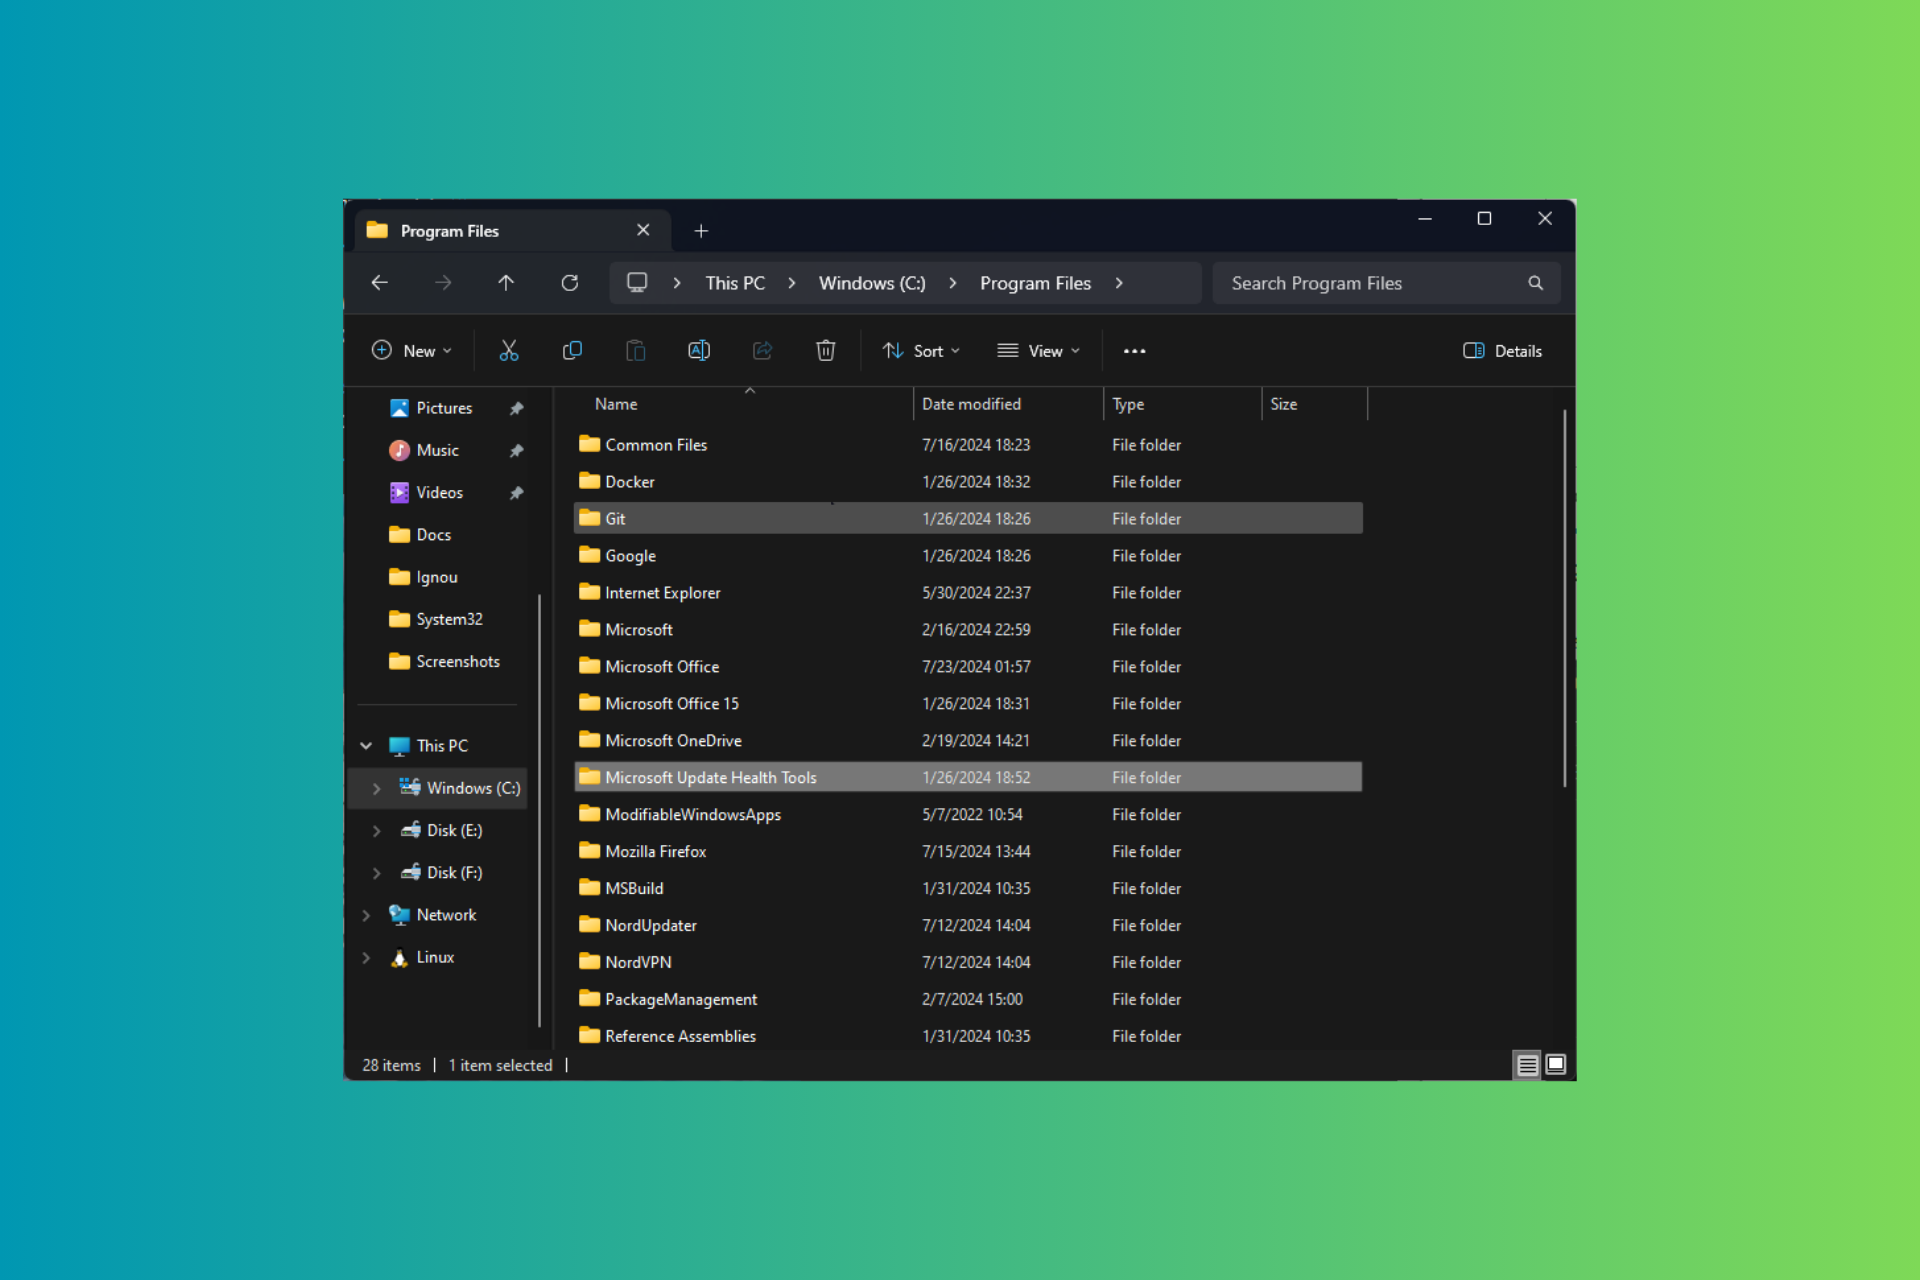
- Open the File Explorer
- Go to This PC
- Open your external hard disk then copy the iTunes folder
- Press Windows + R
- Type the following line:
- %userprofile%
- Hit Enter or click OK
- Open the Music folder
- Click Paste
- Launch iTunes
iTunes will automatically populate the files and folders, and adapt them to the Windows 10 OS.
By following these steps, you should be able to successfully transfer all of your iTunes data from a Windows 7 PC to a Windows 10 PC. This includes profiles, songs, playlists, etc.
Did you find this guide useful? Let us know in the comment section below.
RELATED ARTICLES YOU SHOULD CHECK OUT:

