How to Migrate Windows 7 to SSD
Learn to move your OS using built-in tools or third-party software
Key notes
- Windows 7 isn't as fast as Windows 10, but that can change if you use an SSD.
- Migrating your entire Windows OS to an SSD is not that easy, especially if you're afraid of data loss.
- You can migrate your Windows 7 OS to an SSD by using third-party tools.
- Windows 7 has its own migratory tools that can help with OS migration.
With Microsoft ceasing support for Windows 7, many users are left wondering what their next step should be. While most will most probably upgrade to Windows 10, some may opt to remain with Windows 7.
If they choose to opt for the Windows 7 Extended Support, they will be able to continue using Windows 7 safely for another 2 years. However, some may choose to keep both Windows 10 and Windows 7, albeit on different drives.
While Windows 10 may be better optimized for older hardware, those that wish to use Windows 7 can compensate for the lack of optimization by migrating it to an external SSD.
Naturally, this operation isn’t just a mere Copy and Paste operation, and requires that you use certain methods, especially if you want to conserve all user data, or if you don’t want to reinstall it again.
Read on to find out how to move the Windows 7 OS to SSD using two different methods, according to your preferences.
How do I move Windows 7 to an SSD?
1. Migrate Windows 7 to an SSD using third-party tools
This option is by far the fastest and the easiest, as it drastically reduces the number of steps taken. One such example is by using AOMEI Backupper Professional.
This tool makes everything all the easier to handle, and it drastically reduces the time wasted.
- Download and run AOMEI Backupper Professional
- Connect SSD to your computer
- Go to the Clone tab
- Select System Clone
- To clone hard drive, click Disk Clone
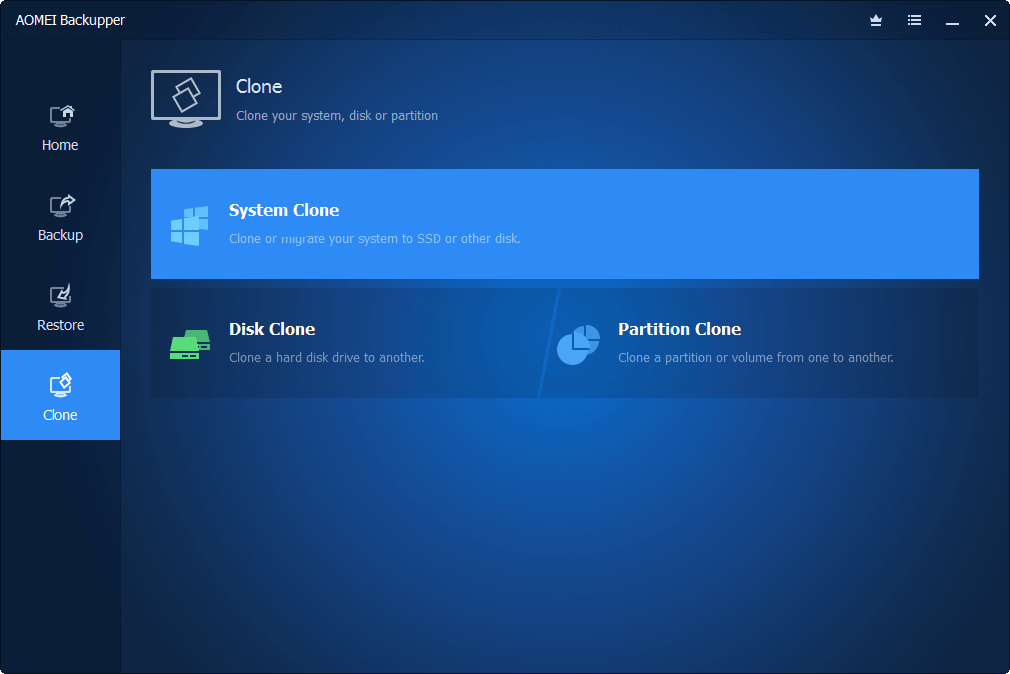
- To clone hard drive, click Disk Clone
- Select your SSD as the destination
- Click Next
- Check the SSD Alignment option to optimize your SSD
- Click Start Clone
- Switch the location of the HDD and the SDD
- Change the boot order of your PC to take the SSD first
2. Use Microsoft’s own tools
- Create a backup using Windows 7‘s Backup and Restore
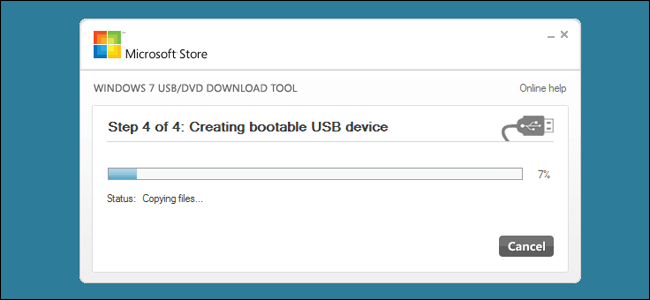
- Create bootable media with Windows 7 USB/DVD Download Tool
- Restore the system image to SSD
1. Create a backup using Windows 7’s Backup and Restore.
2. Download Windows 7 USB/DVD Download Tool and ISO files from Microsoft.
3. Launch the app.
4. Click Browse to locate Windows 7 ISO files from your computer.
5. Select the USB device as the media type.
6. Begin copying the files.
7. Replace your PC’s hard drive with the SSD, then connect the bootable USB to it.
8. Boot the PC using the bootable USB as the source.
9. When the Windows 7 Install menu appears, select Repair your Computer.
10. Select Restore your computer using a system image that you created earlier.
11. Click Next.
12. Check Use the latest available system image(recommended).
13. Click Next.
14. Switch the boot order to set the SSD as the first choice.
Performing the migration of Windows 7 to a SSD using just Microsoft’s own set of tools involves performing the following actions:
By following these steps, you should be able to successfully migrate your Windows 7 OS and user data to a new SSD without any data loss or the need to reinstall.
Did you find this article useful? Let us know in the comments section below.
Read our disclosure page to find out how can you help Windows Report sustain the editorial team. Read more


Improve this guide


User forum
1 messages