HDMI Is Not Working on Your Laptop? Fix It with These Steps
4 min. read
Updated on
Read our disclosure page to find out how can you help Windows Report sustain the editorial team Read more
Key notes
- If the HDMI is not working on Windows 10, it's probably an issue with the graphics driver.
- A solution for the HDMI not detected problem is to update your drivers using a dedicated tool.
- You can also try a simple procedure like resetting and disconnecting your devices.
- Properly configuring the display settings can also help you fix the problem in no time.
As we all know, using Windows 10 can be quite frustrating, especially if you updated recently and you didn’t get used to the new interface, with the new features, and of course with the new bugs.
In that matter, many users have reported HDMI not working problems after updating from Windows 7 (or from any other version of Windows) to Windows 10.
So, because of that, we have decided to help you out. How? Well, by showing you how to easily resolve your HDMI problem on your laptop.
As you will see, fixing this Windows 10 issue is quite easy as you only have to apply a few steps.
Of course, we will detail more methods, so that anyone can find a compatible troubleshooting solution within this step-by-step guide.
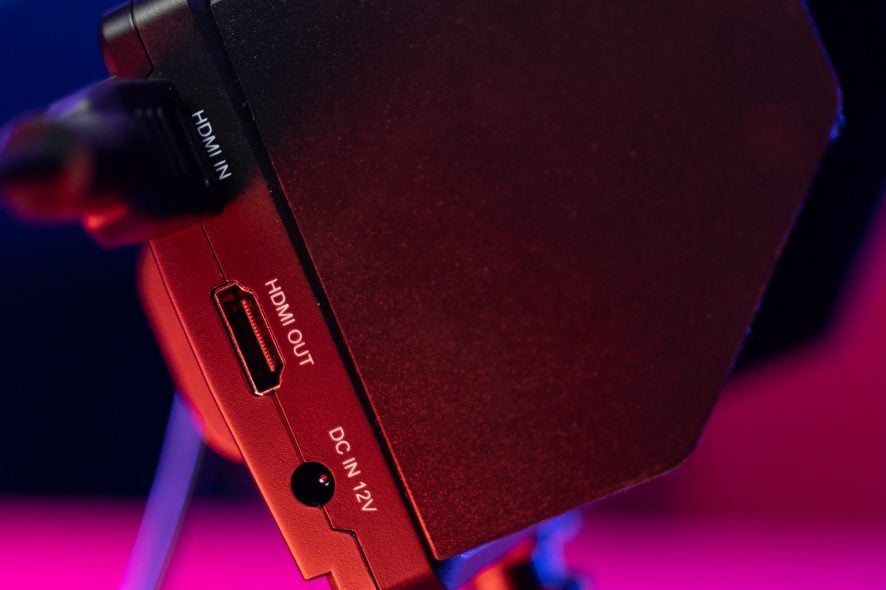
The HDMI port is used for connecting your Windows 10-based device with other gadgets such as a monitor, TV, Home Theatre, and so on.
If your HDMI port worked perfectly on your previous Windows version but after applying the Windows 10 update you can’t connect your device through the HDMI port, use the guidelines below.
How to fix Windows 10 HDMI not working?
1. Uninstall your Graphic Card drivers
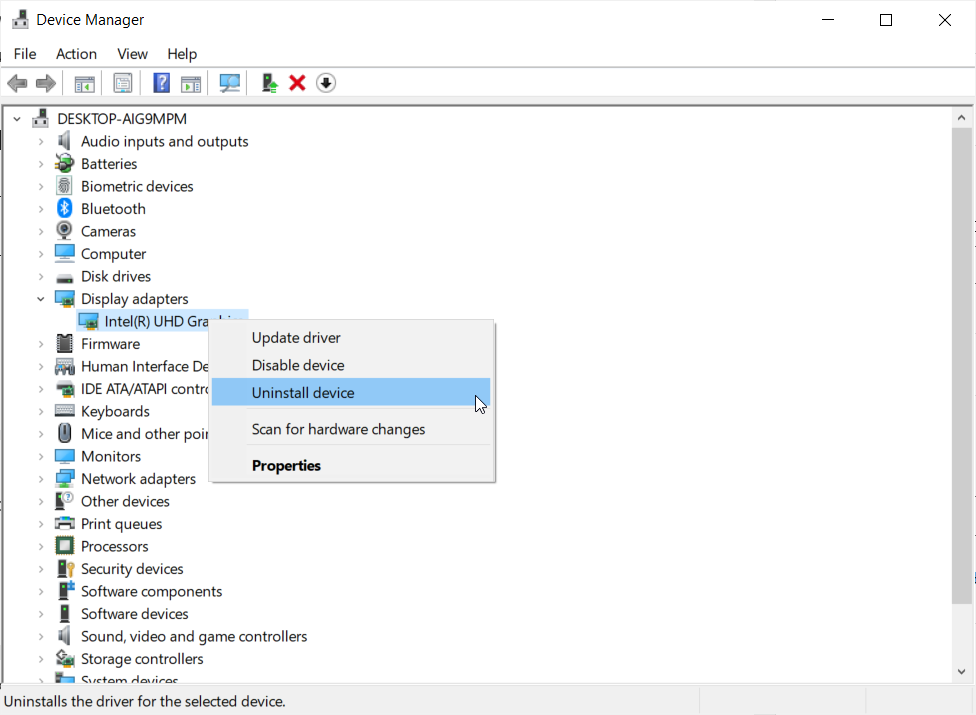
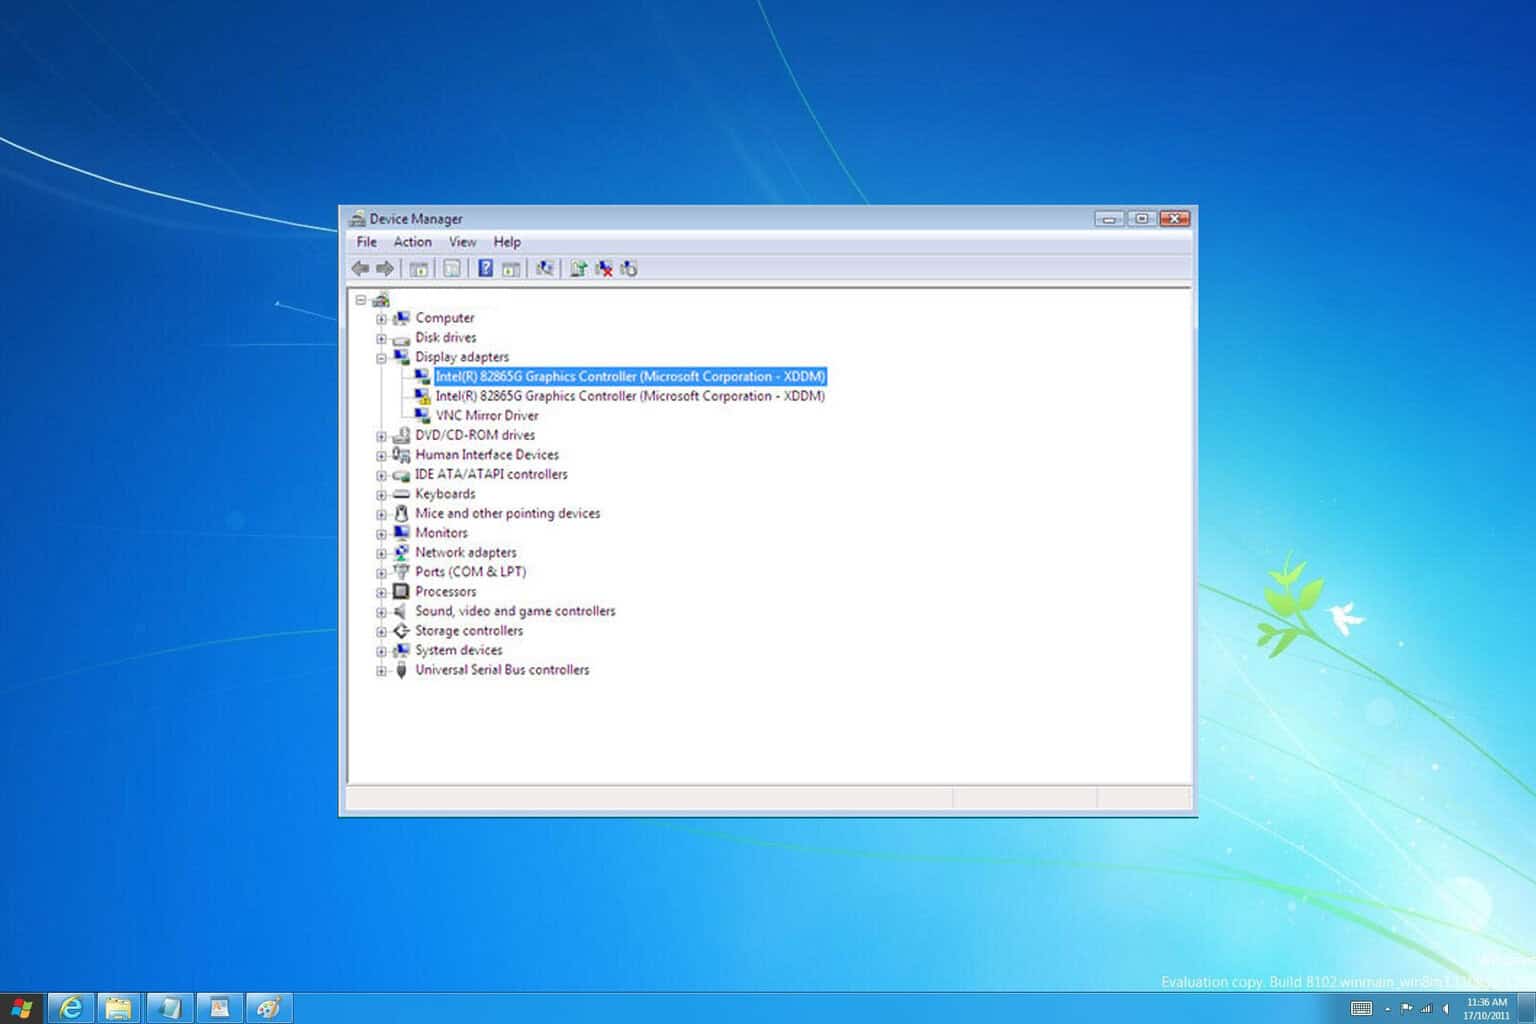
- Right-click the Start button and select Device Manager.
- Click on the Display Adapters section to expand it.
- Right-click the adapter and select Uninstall device.
The first thing to do when dealing with such problems is to uninstall the graphic drivers from your Windows 10 device. Follow the steps above to get it done.
Once you restart your PC, the system will automatically install a default driver.
2. Install the graphics card manually
The default driver is not the ideal way of using your graphics. So, after uninstalling the driver, go to your manufacturer’s official website and don’t download the driver from the graphic card maker’s website.
So once on the manufacturer website, search for your graphic card for the version of Windows you’re running and install the same on your computer in compatibility mode.
3. Install the drivers automatically
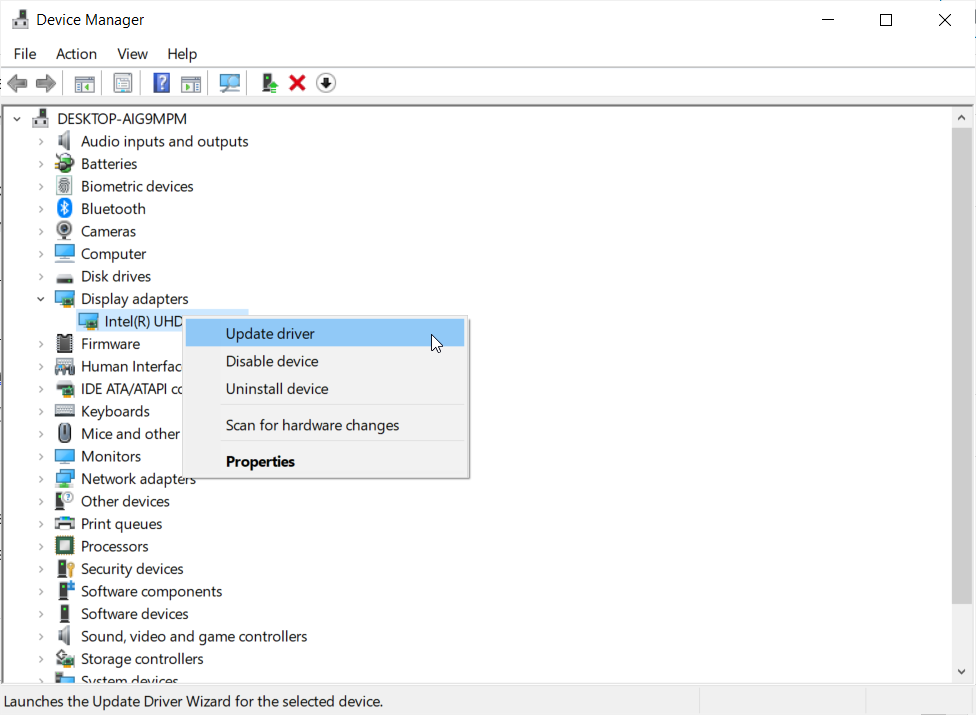
- Start Device Manager by right-clicking the Start button and selecting the app from the list.
- Expand the Display adapters category.
- Right-click the display adapter and select Update driver.
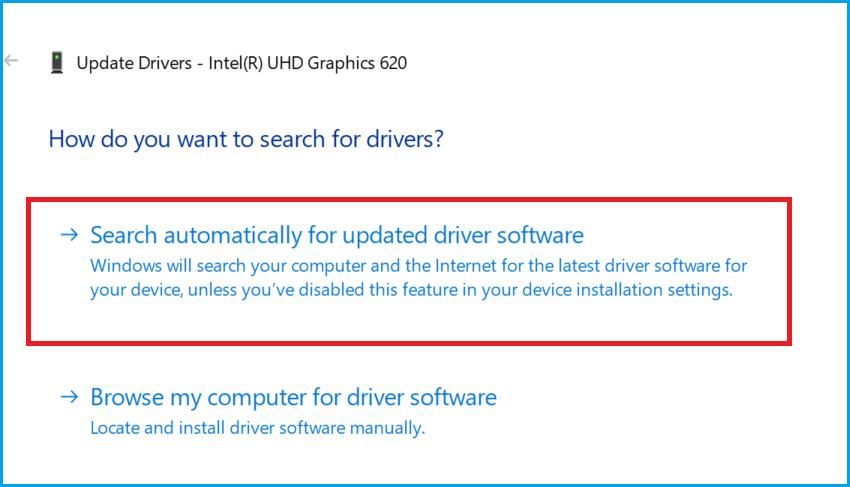
- Click on the first option, to search automatically for drivers.
By doing so, the system will automatically look for the correct drivers online for your graphics adapter.
Updating drivers can be very annoying, so we recommend you use a dedicated tool to prevent file loss and even permanent damage to your computer.
- Download and install the Outbyte Driver Updater app.
- Launch the software and wait for the app to detect all incompatible drivers.
- Now, it will show you a list of all faulty drivers to select the ones to Update or Ignore.
- Click on Update & Apply Selected to download and install the newest versions.
- Restart your PC to ensure the applied changes.

OutByte
Keep your GPU in a flawless state without worrying about possible driver issues.4. Restart and reconnect your devices
- Disconnect the cable from your HDMI port.
- Shut down the laptop and the HDMI device.
- Unplug the power cable from the laptop and if possible, remove the battery from the laptop.
- Leave them like that for at least 5 minutes.
- Put the laptop battery back and plug in the power cables.
- Reconnect the HDMI cable to your laptop and device.
- Power on the laptop and the HDMI device.
Sometimes, the simple procedure of restarting and reconnecting your device can get your HDMI port working again.
Now see if you can use your HDMI port and if the external HDMI device was identified by your laptop.
5. Configure your computer’s display settings
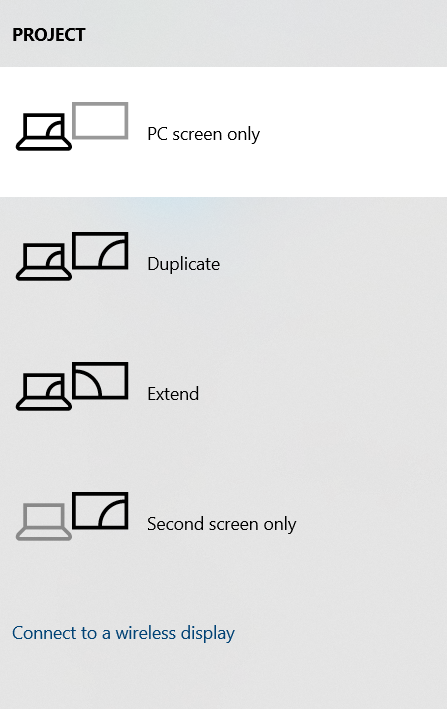
- Press the Windows key + P to start the PROJECT menu.
- You will see 4 possible Display settings:
- PC Screen Only – This option is when you want to display the image only on the screen of your laptop. If this is set, like in our example above, your HDMI video device was not detected.
- Duplicate – Try to use this option to duplicate the screen on your external HDMI device.
- Extended – You can also try this option to extend your screen to the external HDMI device.
- Second Screen Only – This option will force the image to be displayed only on the external device
- Choose one of the options with the exception of the first one.
If the display settings of your laptop are not set properly, you won’t be able to display the content from your screen to an external HDMI device.
If you still have problems with the HDMI connection, you should also consult our comprehensive article about how to fix the HDMI port problems on your computer or monitor. As for our guide on fixing Samsung monitor HDMI connection problems, rest assured that it won’t disappoint you either.
These are our solutions to fix the problem the HDMI is not working on your laptop. If you have any other solutions, don’t hesitate to leave them in a comment below.

