Windows Biometric Service High CPU: How to Fix It?
Explore easy ways to fix this Windows Hello issue
![]() 5 min. read
5 min. read
![]() Updated on
Updated on
Share this article

Improve this guide
Read our disclosure page to find out how can you help Windows Report sustain the editorial team Read more
Key notes
- High CPU usage can cause your computer to work slower than its capability, ruining the user experience.
- Windows Biometric Service High CPU usage can be because of corrupt system files which need to be repaired.
- This guide will discuss all the possible fixes available to resolve the issue.
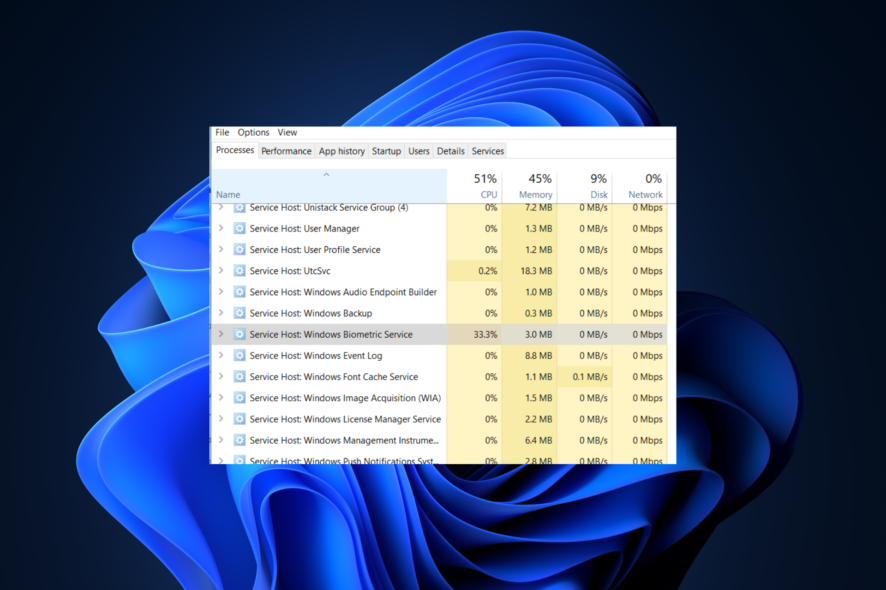
Windows Biometric Service High CPU usage usually comes up when there is a compatibility issue. Dealing with this problem is essential as it slows down your computer and makes it impossible to carry on tasks on your PC.
In this guide, we will discuss how to fix this issue with six simple methods right after examining the cause of the problem. Let’s proceed!
What is the Windows Biometric service?
Windows Hello is a Biometric-based tech that comes with Windows 10 and above. It is used to authenticate secure access to apps, devices, services, and networks via fingerprint, facial recognition, or iris scan.
Why is Windows Biometric Service causing high CPU usage?
Upon checking, we came to the conclusion that there could be a few reasons behind the issue. Listed below are the probable causes:
- Compatibility issue – Usually, after an update, there can be compatibility issues between Biometrics and OS, which can cause the service to use CPU more than needed.
- Missing camera driver– If your camera driver is obsolete, it can cause an issue. Therefore it is recommended to update the driver promptly.
- Biometric driver with a corrupted signature – If Windows 11 build installation has rewritten the files related to the Biometric driver, this could cause the issue.
How do I fix Windows Biometric Service Causing high CPU usage?
1. Clean Boot your PC
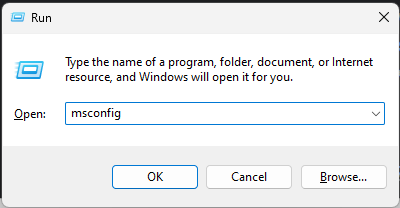
- Press Windows + R to get the Run console.
- Type msconfig to open System Configuration and press Enter.

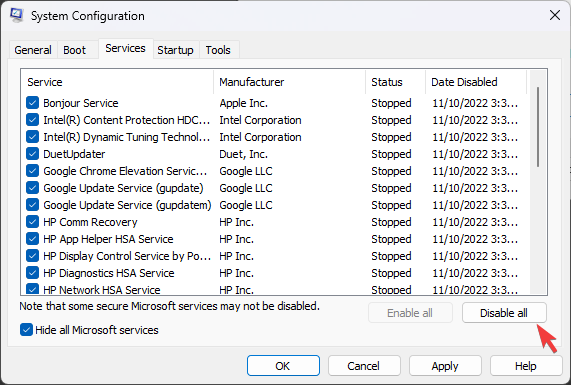
- On the Services tab, put a checkmark on Hide all Microsoft Services and then click Disable all.

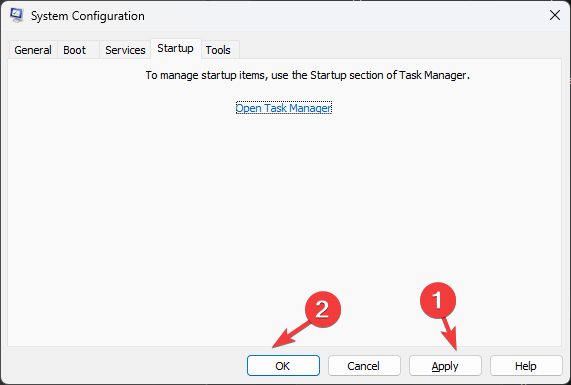
- Go to the Startup tab, and click Open Task Manager.
- On the Startup tab, go to each Enabled item and right-click on it. Select Disable.

- Close Task Manager, and on System Configuration, click Apply and OK.
- Restart your computer.


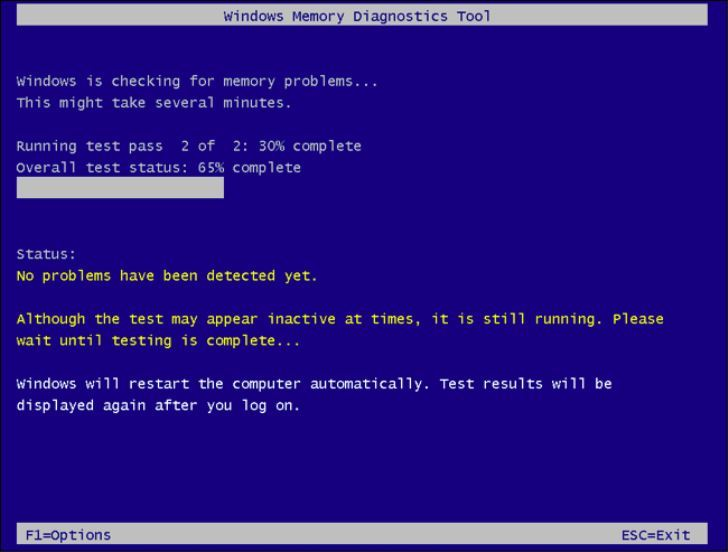
2. Run the memory diagnostic tool
- Press Windows + R to get the Run window.
- Type mdsched.exe and press Enter.

- Select Restart now and check for problems.

- Windows will restart and check for issues. Please wait for the process to complete.


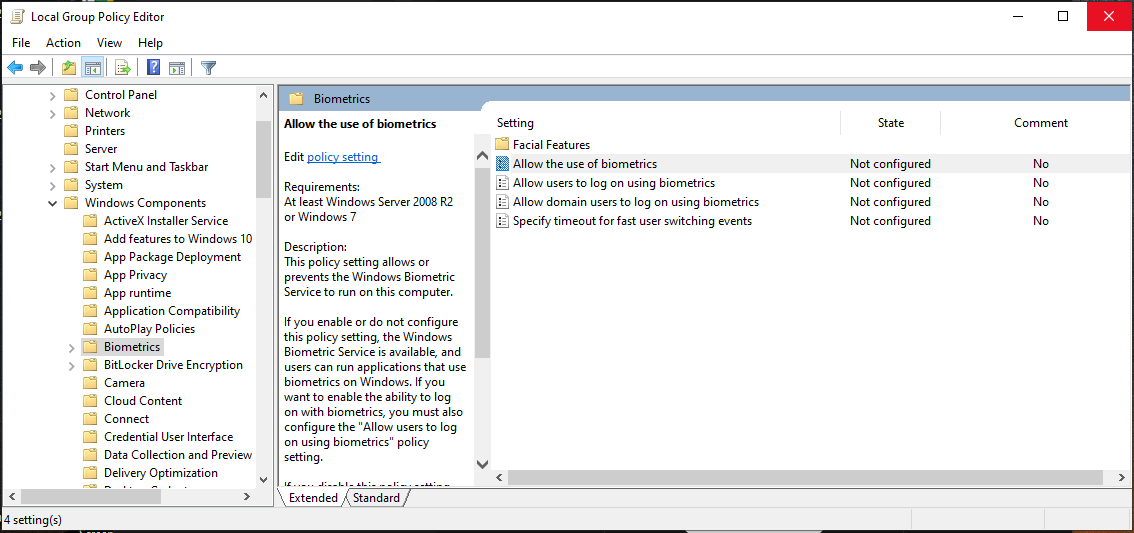
3. Use the Group Policy Editor
- Press Windows + R to get the Run console.
- Type gpedit.msc and press Enter.
- Follow the below-mentioned path:
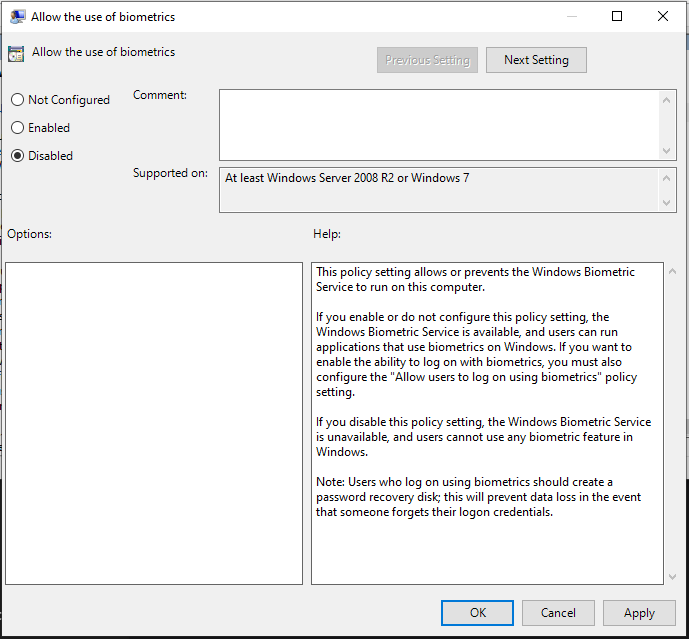
Computer Configuration\Administrative Templates\Windows Components\Biometrics - Navigate to Allow the use of biometrics and double-click on it.

- Click on the radio button beside the Disabled option.

- Click Apply and then the OK button.
- Restart your computer.
4 Run SFC and DISM commands
- Press the Windows key and type CMD and click Run as administrator.
- Type the following command and press Enter:
SFC/scannow - Copy and paste the following commands one by one and press Enter after every command:

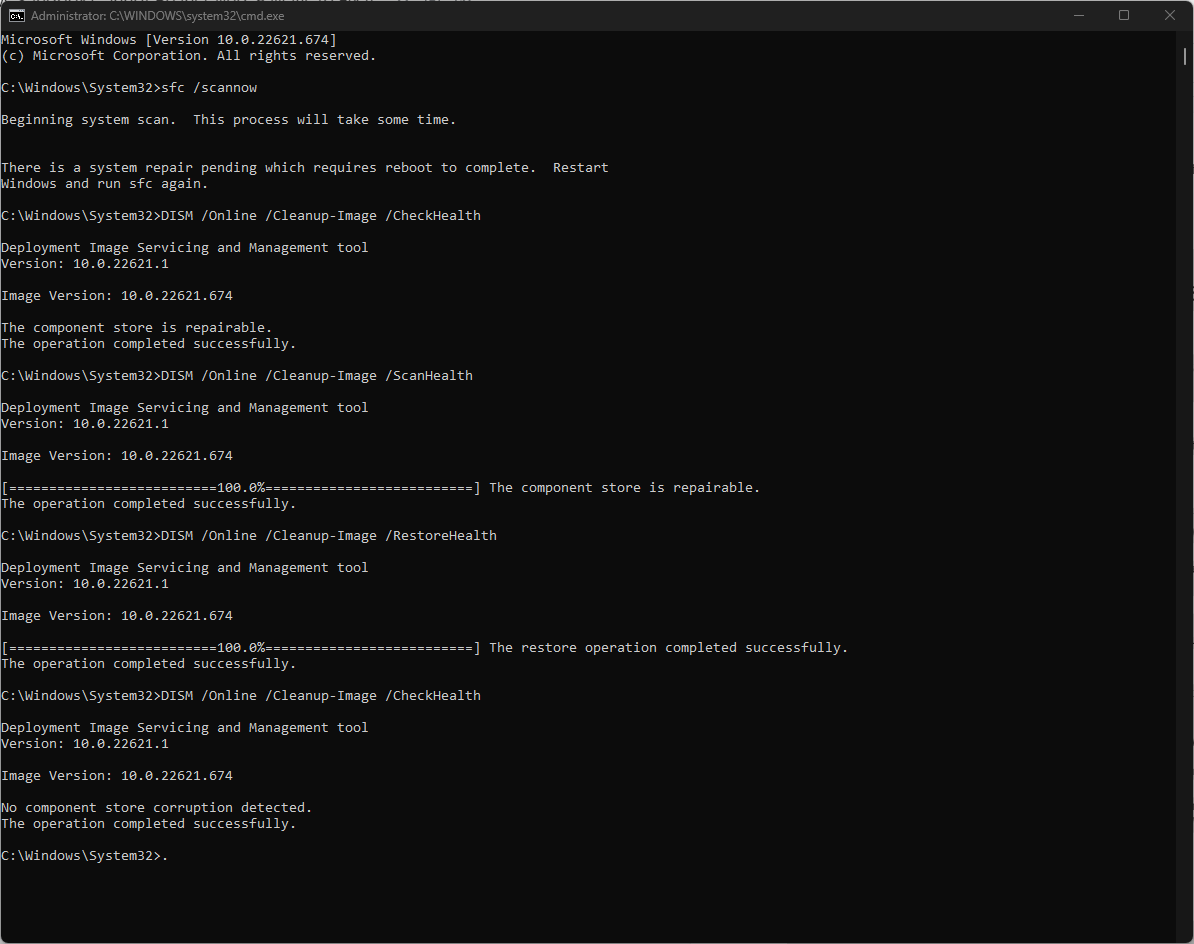
DISM /Online /Cleanup-Image /ScanHealth DISM /Online /Cleanup-Image /CheckHealth DISM /Online /Cleanup-Image /RestoreHealth
5. Update the driver for Biometric
5.1 Via Windows Update
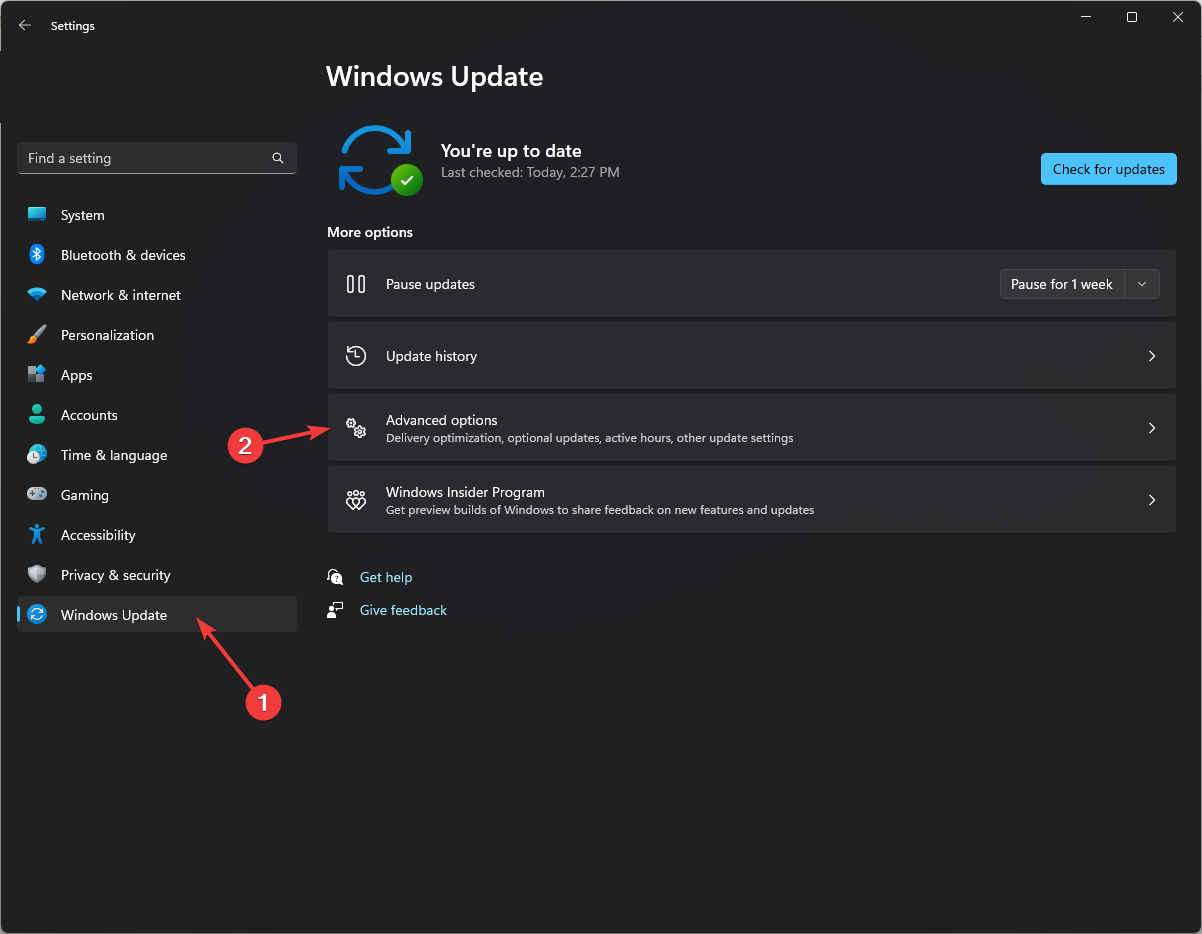
- Press Windows + I to get Settings.
- Locate the Windows Update option from the navigation pane.
- Click Advanced Options.

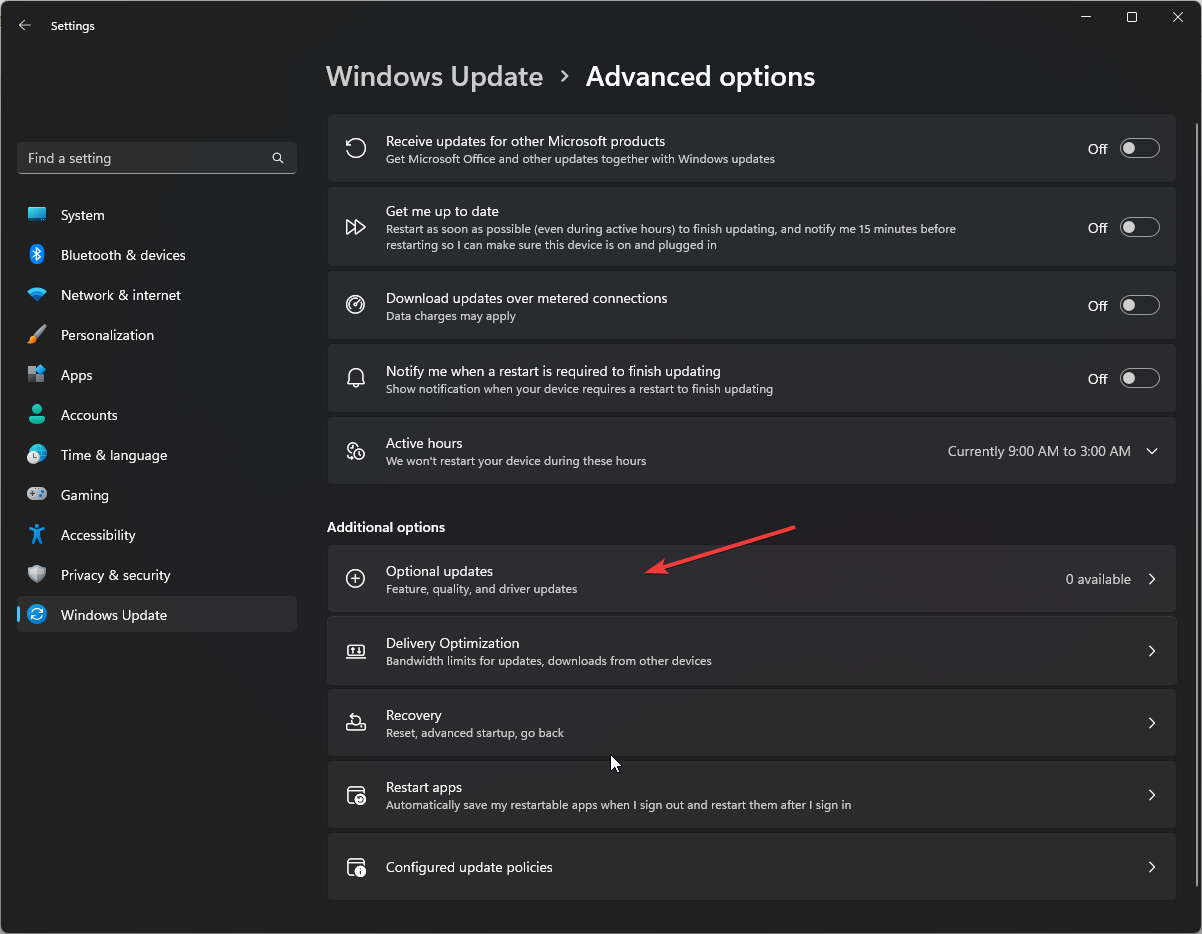
- Click Optional Updates.
- Select Driver Updates.
- Put a checkmark beside all the Driver Updates.
- Click Download and Install.
5.2 Via Manufacturers’ Website
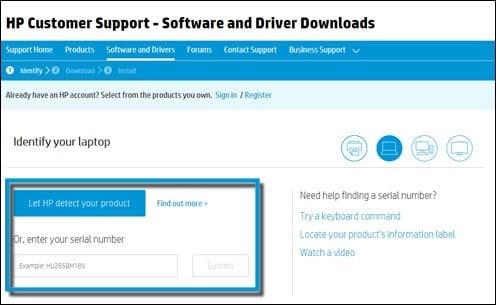
- Launch any preferred browser.
- Go to the manufacturer’s official website and enter your product name and model number.

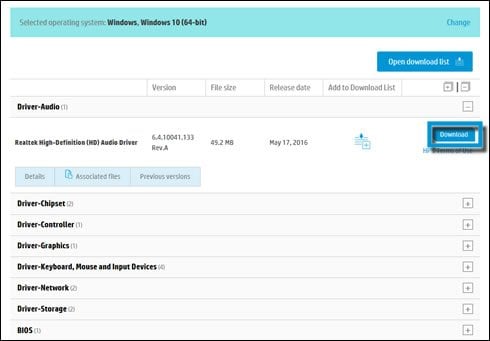
- Search for driver updates and click on Download.

- Double-click on the file to launch the installer.
- Follow the on-screen instructions.
- Restart your PC after the process is completed.
It is not suggested to update drivers manually, as it might cause compatibility issues if downloaded from an unreliable and unsecured source. Instead, it is recommended to take help from third-party drivers such as Outbyte Driver Updater.
This is a specialized program that can help you scan your device and safely install not only the most recent versions but the correct ones for your drivers.

Outbyte Driver Updater
The most efficient tool when it comes to guardedly updating your drivers with up-to-date versions.6. Use the HP SimplePass (exclusively for HP devices)
6.1 Check for Update
- Launch HP SimplePass.
- Go to the Update icon.

- Check for updates.
- If available, update it.

6.2 Remove HPSimplePass
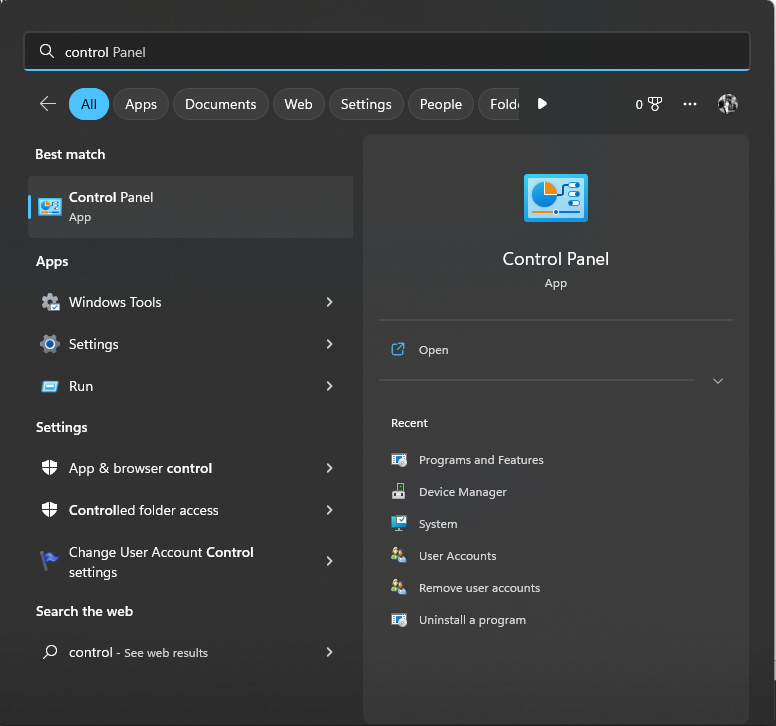
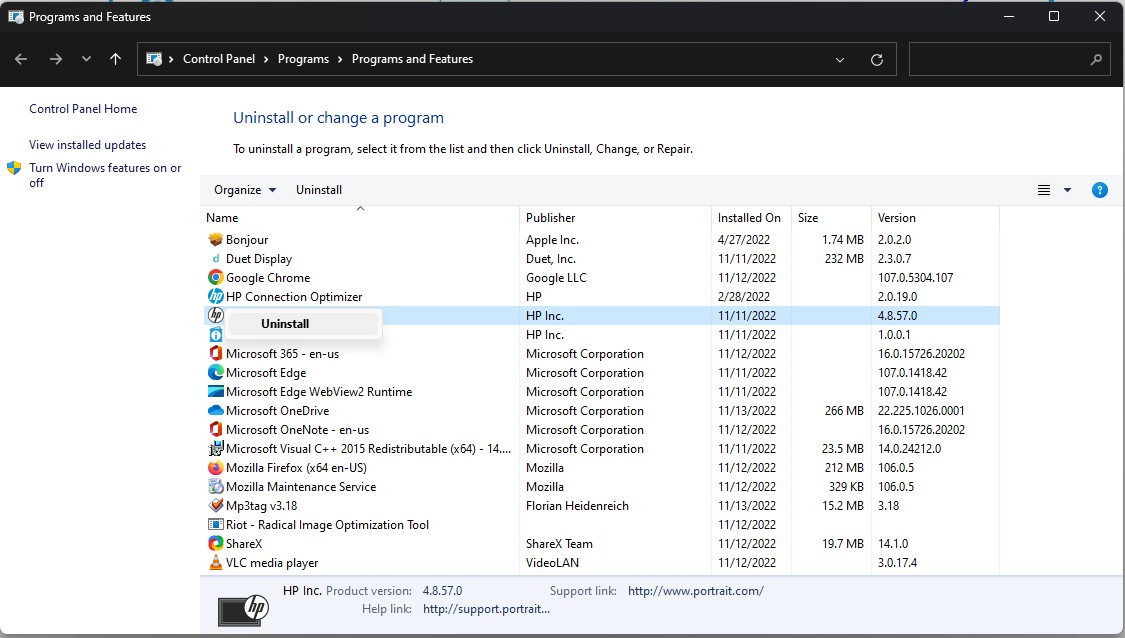
- Press the Windows key and type Control Panel and click Open.

- You will get a list of apps. Select HP SimplePass and click Uninstall.

- Restart the computer.
7. In-place Upgrade
- Go to Windows 11 website.
- Download Windows 11 ISO and select Windows 11 (multi-edition ISO)
- Select the product language option, choose English or your preferred language, and click Confirm.

- Now click Download.
- Right-click on ISO and click Mount. Now click Setup.exe
- On Install Windows 11 dialog box, select Next.
- Then on the Next page, click Accept.
- Follow the on-screen instructions to complete the process.

Note: Please select Keep personal files and apps on the Ready to Install page.
Can I end Windows biometric service?
Although the service is helpful, it is often not used by people. Moreover, it might be the reason for high CPU usage. So, it is safe to say that you can disable the Windows Hello biometric service. To disable it, follow these steps:
- Go to Search, type Services, and hit Enter.
- Next, look for Windows biometric service and double-click it. Click Disabled and OK to confirm.
So, these are the fixes to resolve high CPU usage for Windows Biometric service. If none of the six methods has worked for you so far, it is advised that you do an in-place upgrade.
Feel free to let us know which method worked for you in the comments section below.