Cannot Delete Files in Windows Media Player [Fix]
Discover verified solutions that actually work!
3 min. read
Updated on
Read our disclosure page to find out how can you help Windows Report sustain the editorial team Read more
Key notes
- When Windows Media Player cannot delete files, it's usually the corrupt cache to blame.
- Clearing the app cache should fix things for most users.
- For many, resetting the media library helped and stopping the relevant services helped.
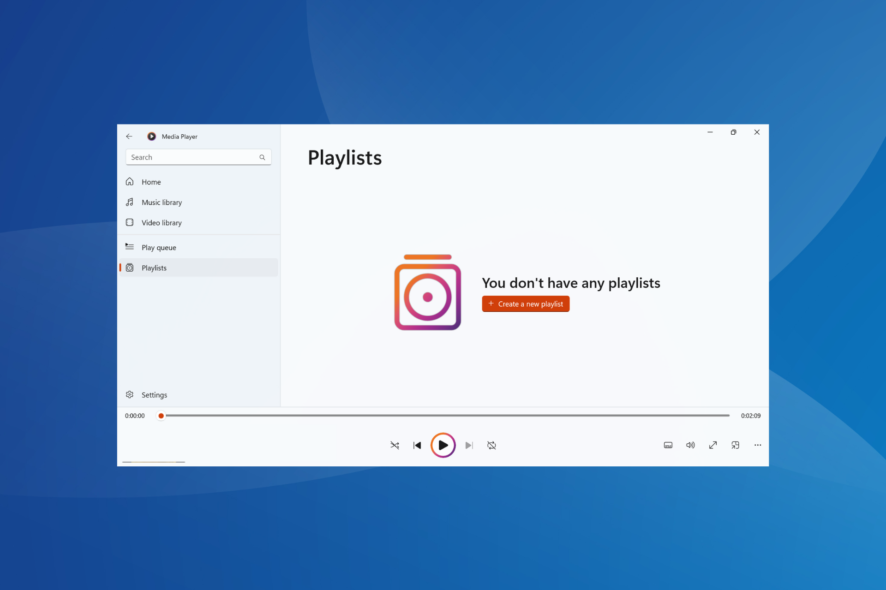
The Windows Media Player is one of the best apps for multimedia, but some users reported that Windows Media Player cannot delete a file from the device.
Needless to say, it’s a minor issue at best and can be taken care of easily. Keep reading to find out!
What can I do when Windows Media Player cannot delete files?
1. Delete the file from your PC
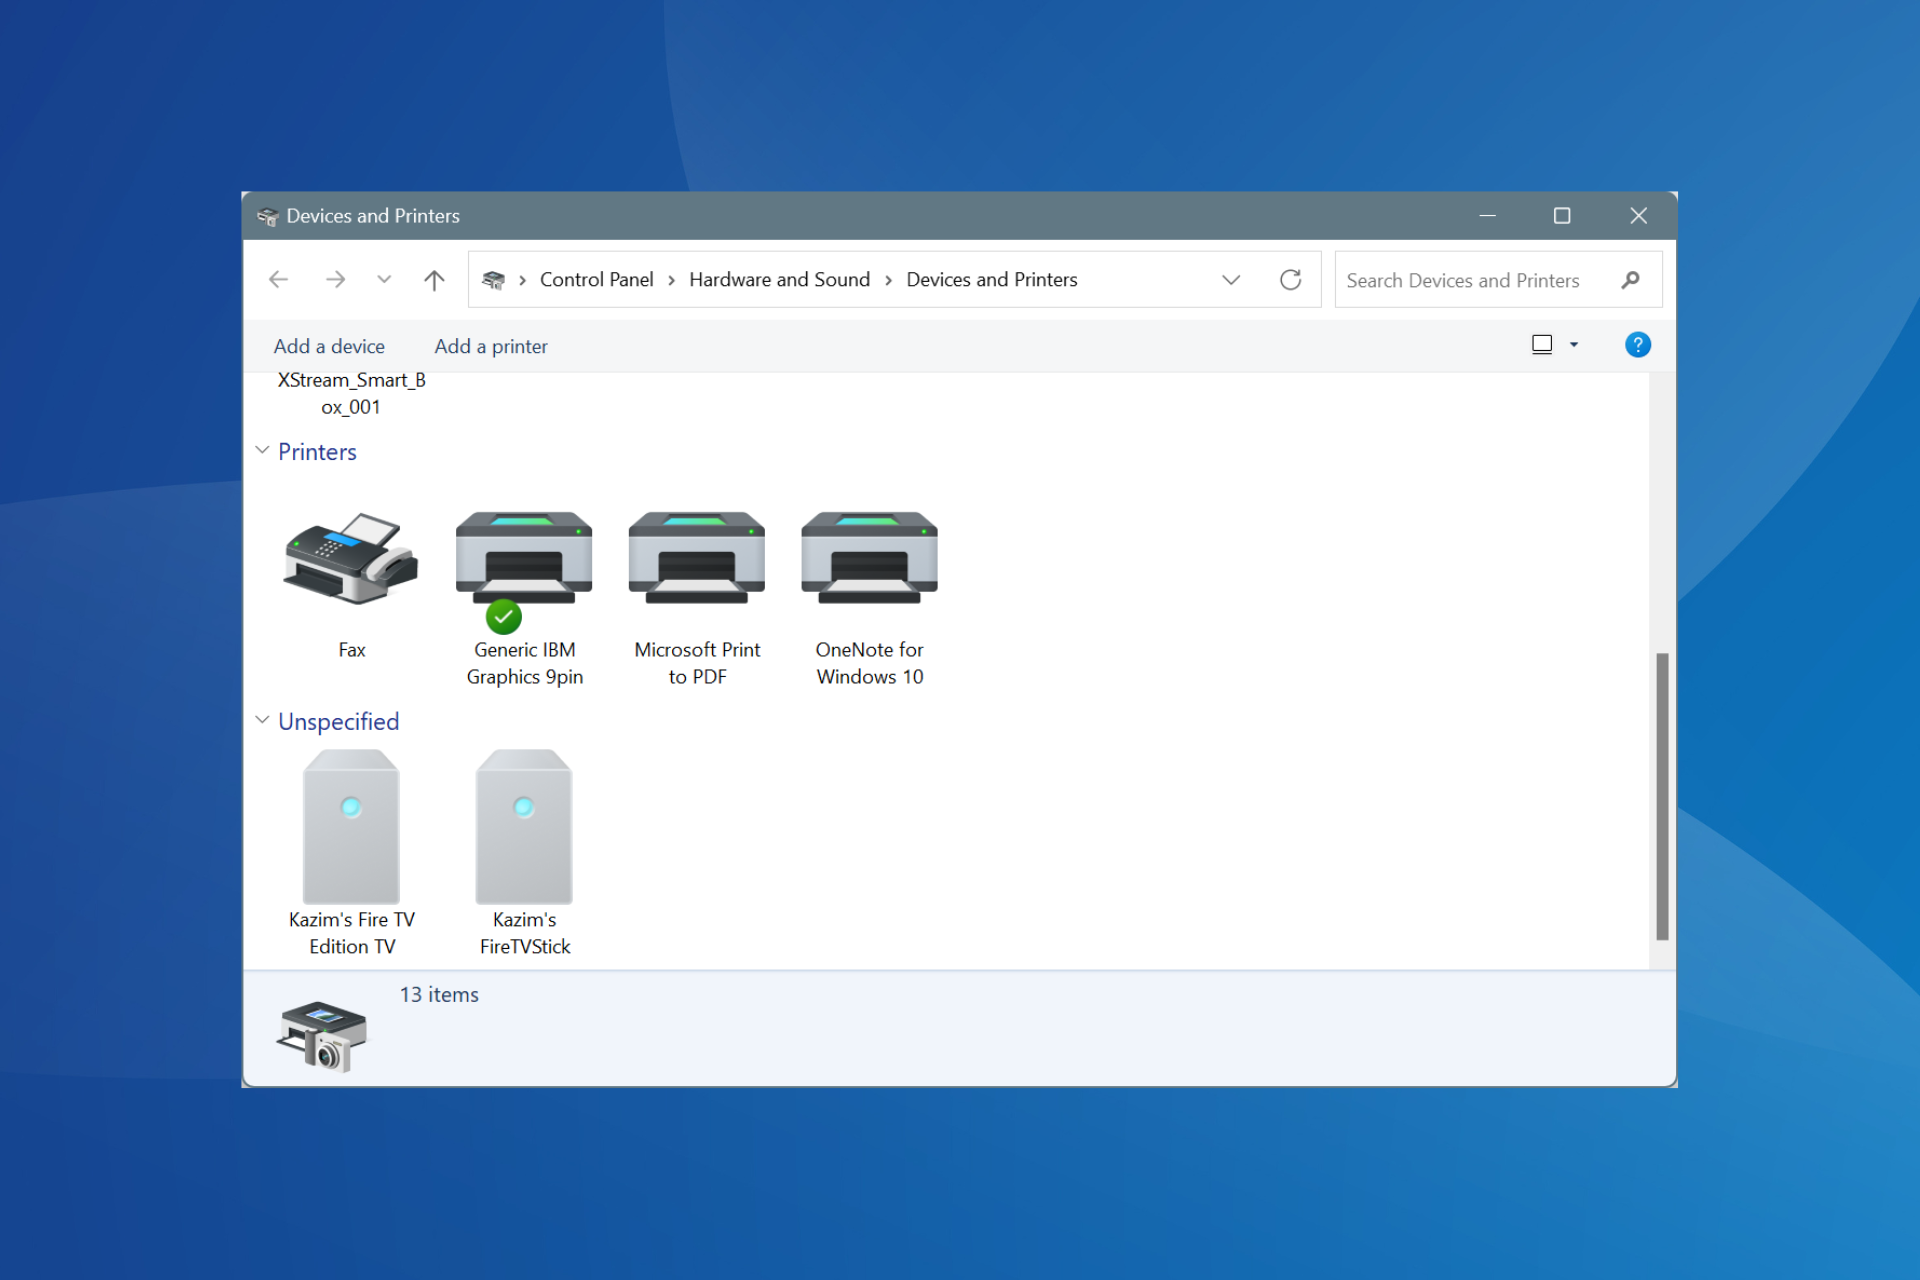
- Connect your device, either the Windows Phone or MP3 player, to your computer.
- Click on Start, and then open File Explorer.
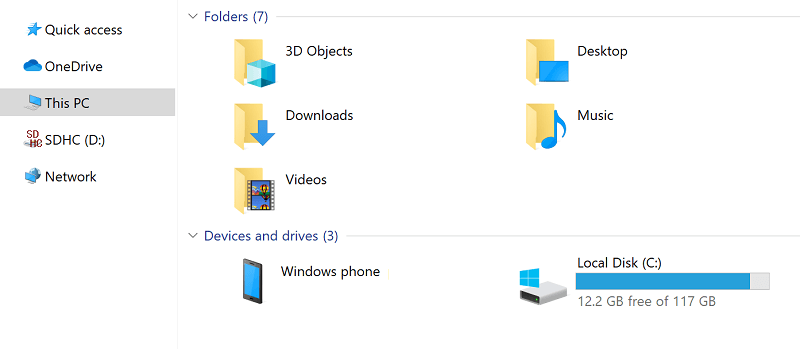
- Click on This PC from the options on the left.
- Your external device should be listed here. Double-click on it to reveal its file structure.
- Navigate to the folder where the music or video files are stored.
- Locate the file you want to remove, right-click it and choose Delete.
- Click Yes to confirm.
A quick fix when you cannot delete files in Windows Media Player on Windows 7 is to take the manual approach. Locate the file in the File Explorer and remove it.
2. Clear the Windows Media Player cache
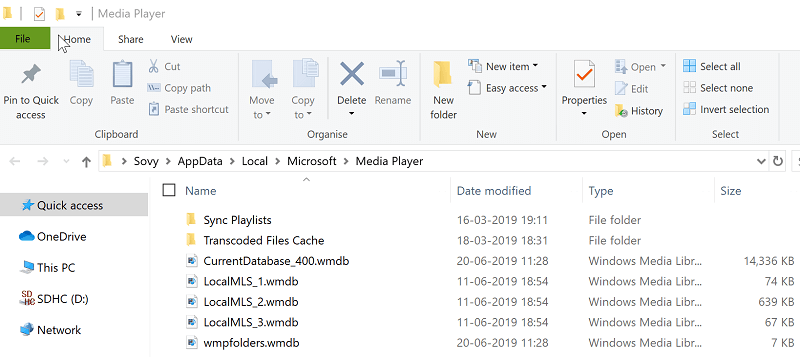
- Press Windows + R to open Run, paste the following command, and hit Enter:
%LOCALAPPDATA%\Microsoft\Media Player - In the window that opens, press Ctrl + A to select all files, and then hit Delete to clear them. Make sure you are deleting only the files and not any folders therein.
- Restart Windows Media Player. This will rebuild the database all over again.
- Now, try deleting the file that you wish to.
3. Reset Media Library
- Restart your device.
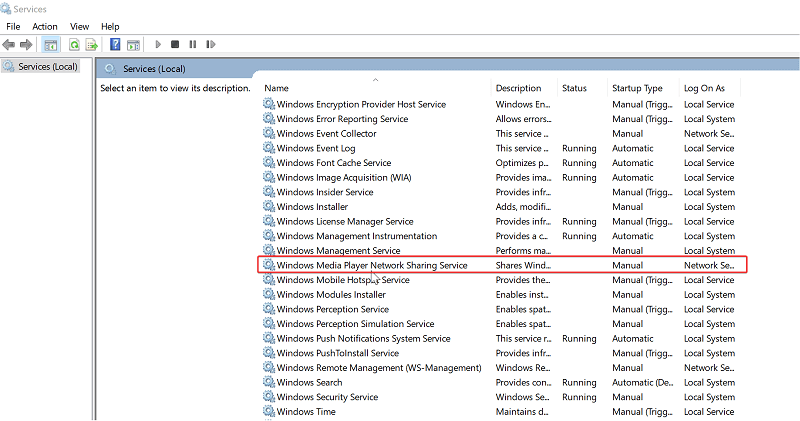
- Type Services in the Search box and select the Services app from the search result.
- Look for Windows Media Player Network Sharing Service.
- Check the status. If it is running, double-click on the service and click on Stop to prevent the service from running.
- Next, paste the following path in the Search box, and hit Enter:
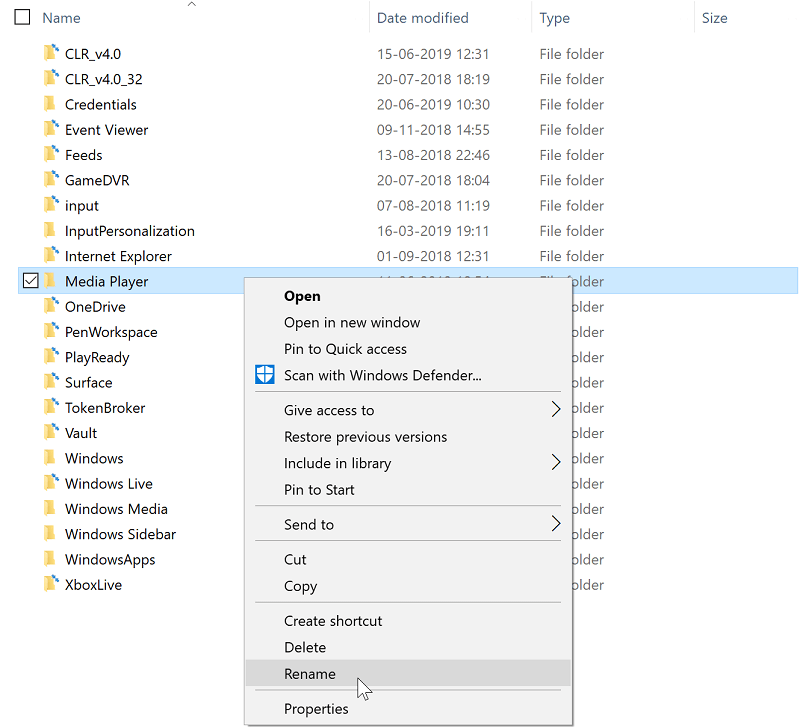
%LOCALAPPDATA%\Microsoft - Select the first search result.
- Locate Media Player and rename it to something else, say, Media Non Player.
- You might have to select the setting to show hidden files and folders if you cannot see the Media Player folder, as the same could be hidden.
- Restart Windows Media Player.
- Start Media Player again and check if the issue is still there.
That’s it! One of the solutions should have helped if you cannot delete Windows Media players files.
If the problem persists and you are looking for alternatives, we recommend switching to a reliable and universal video player.
Tell us which fix worked for you in the comments section below.

