WMIC Access is Denied? Fix it in 3 Simple Steps
Key notes
- Even if Wmic was removed for both Windows 10 and Windows 11, you can still add it.
- Users have been reporting dealing with quite a number of Wmic issues on Windows 11.
- If your Wmic access is denied, follow these troubleshooting steps and fix the problem.
- Carefully go through our step-by-step guide and you will be done in absolutely no time.

Everyone that is familiar with Wmic knows it as a command-line and scripting interface that simplifies the use of Windows Management Instrumentation (WMI) and systems managed through WMI.
Wmic actually operates in two modes. The first one is interactive, which allows commands to be entered one line at a time, and non-interactive, which allows commands to be scripted for use in batch files.
That being said, Microsoft removed WMIC from Windows 10 and Windows 11, but you can add the functionality back to your PC if that’s what you choose.
Users that did add Wmic back to their Windows 11 machines are reporting dealing with the Wmic is not recognized as an internal or external command error.
Don’t worry, we can show you how to fix that in just a few minutes by going through our simple but effective troubleshooting process.
What can I do if Wmic access is denied?
The first and most important step is not panicking and treating the situation with the utmost calm. Second, we are about to give you the solutions, so you don’t have to worry about that either.
A lot of people are dealing with this issue right now and it’s important to know that it is totally fixable, just in case you had any doubts.
1. Set DCOM permissions
- Open the start menu, search for Dcomcnfg and open the app.

- Expand Component Service, select Computers, then My computer.

- Right My Computer and select Properties.

- Select the COM Security Tab.

- Click on Edit Limits under Access Permissions, and ensure the Everyone user group has Local Access and Remote Access permission.

- Click on the Edit Limit for the Launch and Activation Permissions, and ensure Everyone user group has Local Activation and Local Launch permission.

2. Set Permission for the user to the WMI namespace
- Open the Start menu, search for WMImgmt.msc, and open the app.

- Right click on WMI Control and select Properties.

- Go to the Security tab.

- Select Root and open Security.

- Ensure Authenticated Users has Execute Methods, Provider Right and Enable Account right.

- Ensure Administrators have all permission.

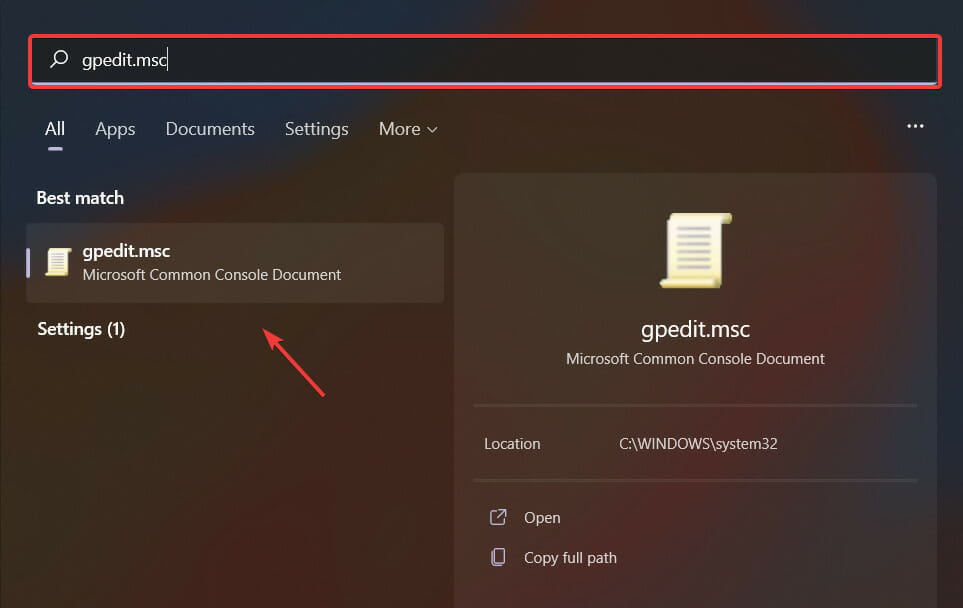
3. Verify WMI Impersonation Rights
- Open the Start menu, search for gpedit.msc, and open the app.
- Under Local Computer Policy, expand Computer Configuration, and then expand Windows Settings.

- Expand Security Settings, expand Local Policies, and then click User Rights Assignment.

- Verify that the LOCAL SERVICE account is specifically granted Impersonate a client after authentication rights.

Going through this troubleshooting process will fix your problem and you can go on about your day as if nothing ever happened.
Was this guide helpful to you? Let us know in the comments section below.
Read our disclosure page to find out how can you help Windows Report sustain the editorial team. Read more


Improve this guide


User forum
0 messages