Xinput9_1_0.dll Missing? How to Download & Fix It
Virus or malware attacks may likely lead to this problem
Key notes
- Xinput9_1_0.dll missing file error is mostly caused by corrupt system files.
- At other times, an application on your PC may be overwriting a DLL file and in turn, make it unusable.
- You can download the Xinput9_1_0.dll file from a trusted DLL website or upgrade your Microsoft DirectX from Microsoft’s official site to fix the file.
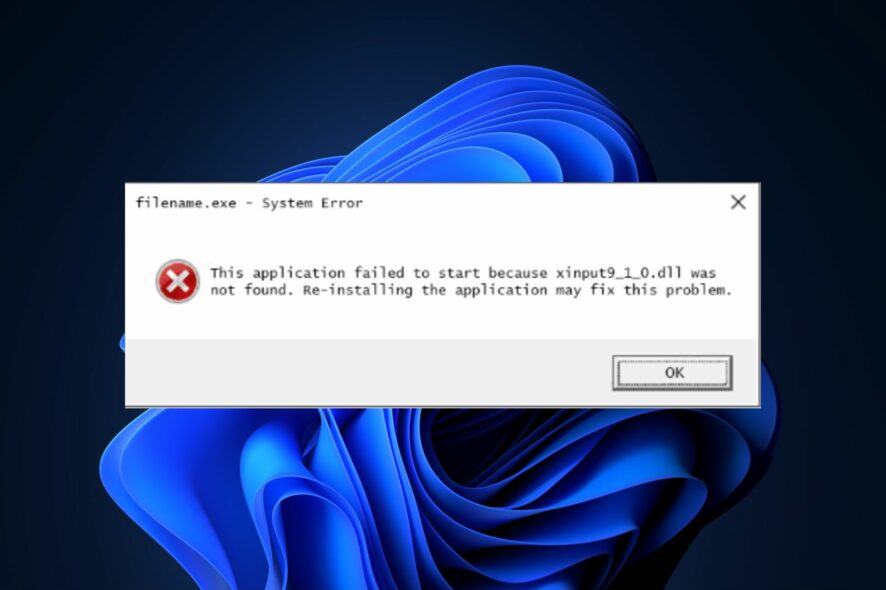
Several of our readers have reported that they can’t find their Xinput9_1_0.dll file on their PC for some reasons they yet do not understand. And as it is, DLL files are just as important as files with an EXE extension.
In case the DLL file is no longer on your PC, you can explore this guide to know how to download and fix the error.
What causes Xinput9_1_0.dll to be missing?
DLL files are convenient and efficient fiłes to use, but they can be vulnerable to problems. The following are some of the potential causes behind the Xinput9_1_0.dll missing error:
- Some important Xinput9_1_0.dll files have been deleted or misplaced – Many times, the accidental deletion or uninstalling of the shared file of another program can lead to missing Xinput9_1_0.dll files on your Windows PC.
- Another program has overwritten your Xinput9_1_0.dll file – Another possible reason for this error is that a program on your computer is overwriting a DLL file and rendering it unusable. And once this happens, other programs wouldn’t be able to access it and may, in turn, become missing.
- Virus or Malware attacks – It could be malware or virus that is deleting the DLL files, and in this case, running a full-system scan using an effective antivirus should do the trick.
- Damaged Windows Registry – One of the major harm that could come to a PC is registry failure. If your PC’s registry is corrupt or damaged, it may trigger the Xinput9_1_0.dll error. You can check how to fix a damaged registry here.
- System file corruption – The Xinput9_1_0.dll error could also be triggered by system file corruption. This can result from a power outage when loading intensive software or due to bad sectors on your hard drive.
Now that you know some of the potential reasons behind the Xinput9_1_0.dll missing error, work your way through any of the steps below to fix the problem.
How can I download and fix Xinput9_1_0.dll if it’s missing?
Before engaging in any advanced troubleshooting or settings tweaks, you should ensure that you perform the following preparatory checks:
- Try to restart your computer because the error might be temporary, and simply restarting your PC might clear it up.
- Use an automatic fixer.
If after attempting the above checks, you still require further assistance, you can apply any of the fixes below starting from top to bottom.
1. Download and install Xinput9_1_0.dll manually
 NOTE
NOTE
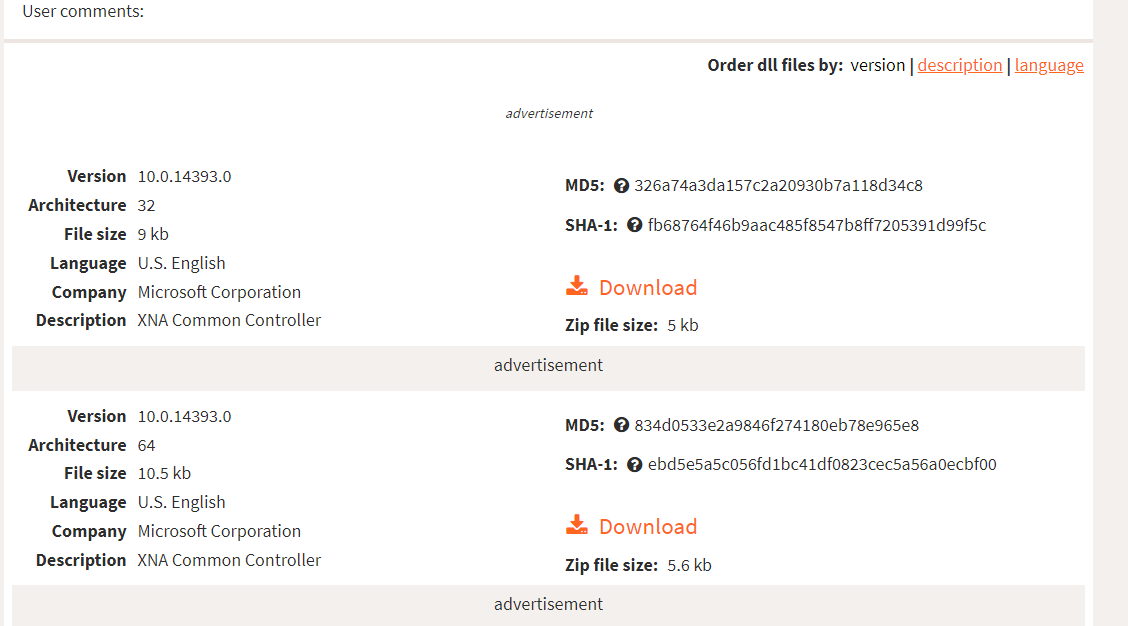
- Go to DLL-files.com and choose from the 10 different available versions for this file.
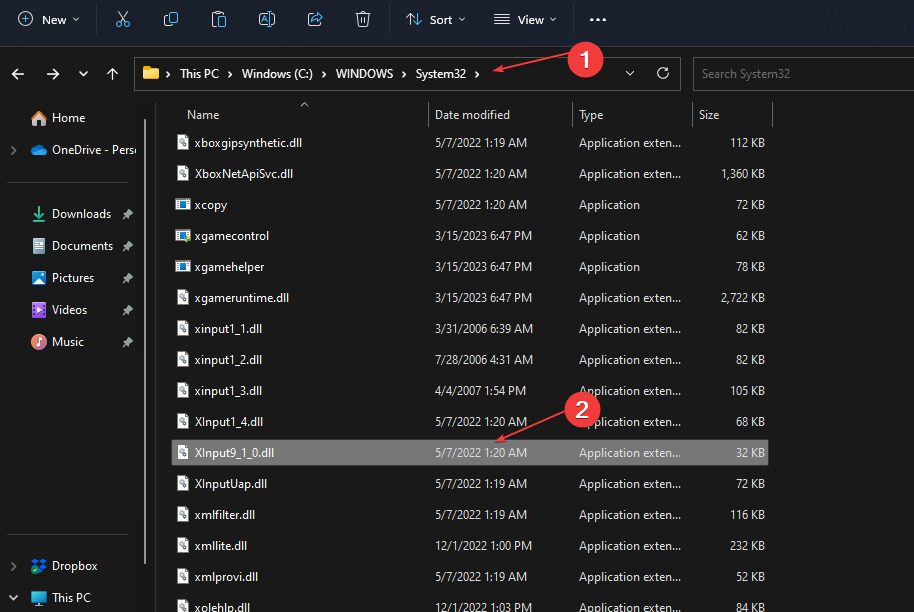
- After downloading, extract and copy the DLL file to the installation directory of the program where it is missing.
- Alternatively, you can move the DLL file either to your System directory, which is located in C:\Windows\System32, or for a 64-bit processor, move it to C:\Windows\SysWOW64\.
- Now, restart your PC.
Before downloading, make sure you check the description of each of the files to select the right processor (32-bit or 64-bit) for your system. It is also advisable that you go for the highest version.
2. Install the latest version of Microsoft DirectX
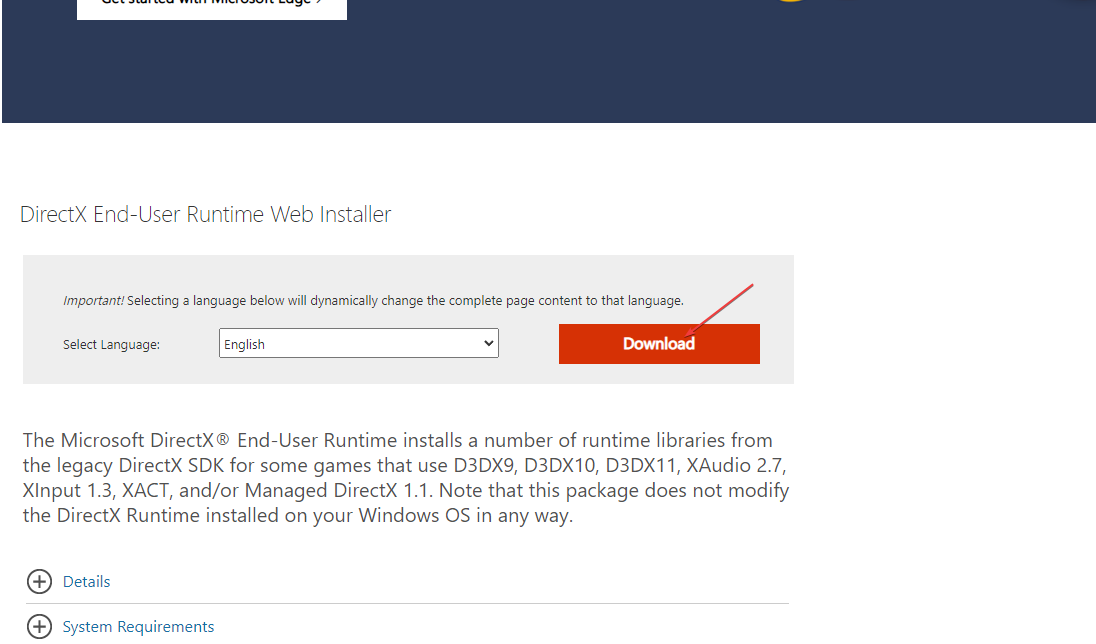
- Go to Microsoft’s official DirectX End-User Runtime Web Installer and click Download.
- Tick the checkbox for any additional downloads or ignore it and click on No thanks and continue.
- Save the file to a designated location on your PC.
- To install the DirectX updates, double-click the setup file and follow the on-screen instructions to complete the installation.
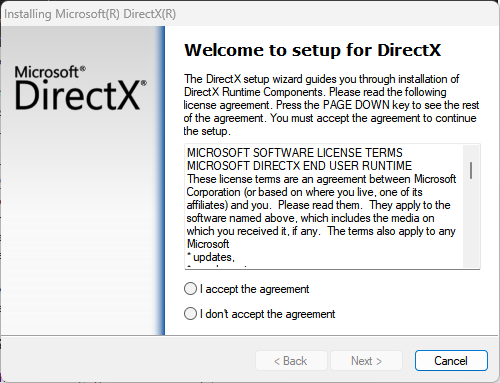
Upgrading your Microsoft DirectX is one of the possible ways to fix the Xinput9_1_0.dll missing error. The DirectX installation package on the official download page works for all versions of Windows.
3. Run a System File Checker
- Press the Windows key, type Command Prompt, and click on Run as administrator.
- Next, type the following and press Enter:
sfc /scannow
- Once completed, restart your PC and check if the error is fixed.
By running the SFC scanner, Windows Resource Protection will help determine what the problem is and fix it.
However, some users do encounter problems using the Command Prompt. You can check our detailed guide on what to do if you can’t run Command Prompt as an administrator.
As an alternative, it’s also recommended to use verified repair solutions specifically developed to fix DLL file errors or find missing files such as the Xinput9_1_0.dll.
4. Reinstall Visual C++ Redistributables
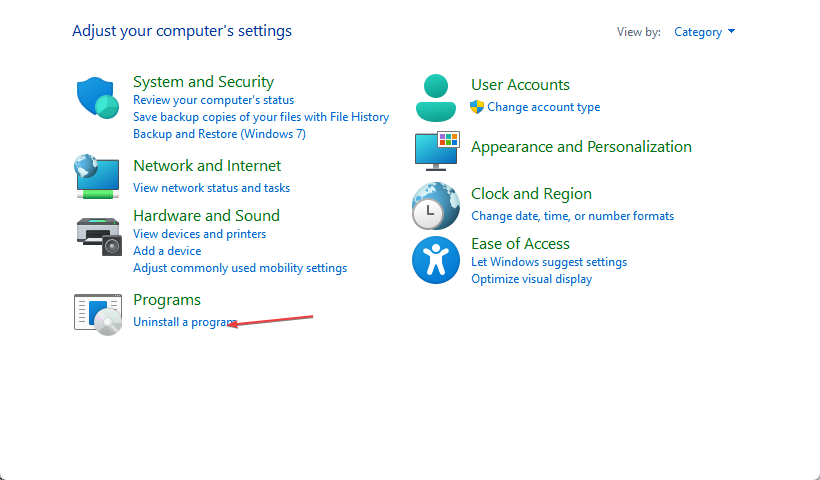
- Press the Windows key and select Control Panel. From the menu, click on Uninstall a program.
- Check the version of Microsoft Visual C++ Redistributable and click on uninstall.
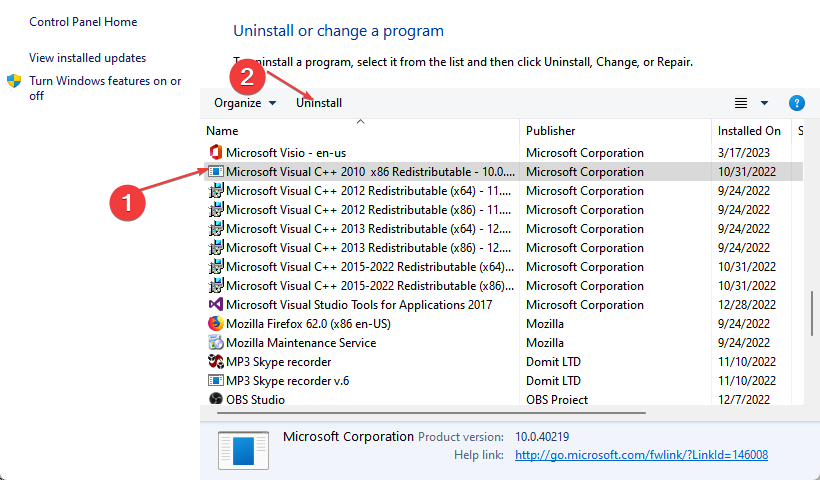
- Uninstall the rest of Microsoft Visual C++ Redistributable.
- Next, visit the official Microsoft website to download an older version of Visual C++ Redistributables.
- Run and install the installation file on your PC.
Some users reported that this step worked for them, so you should try it too. However, if this method does not help, check the next step.
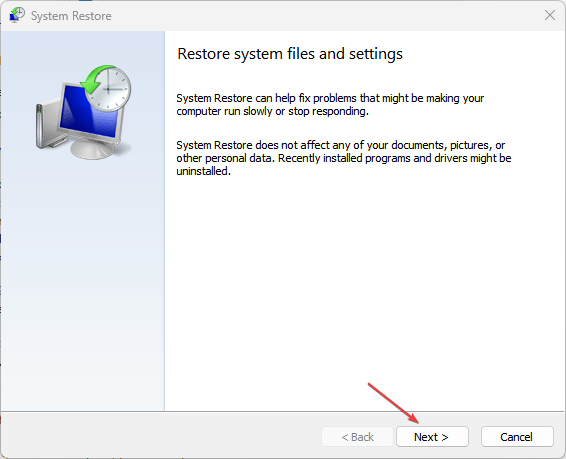
5. Perform a System Restore
- Press the Windows + R keys, type rstui, and press Enter.
- Once the System Restore window opens, click on Next to proceed.
- Next, select the restore point you wish to revert to and click on Next.
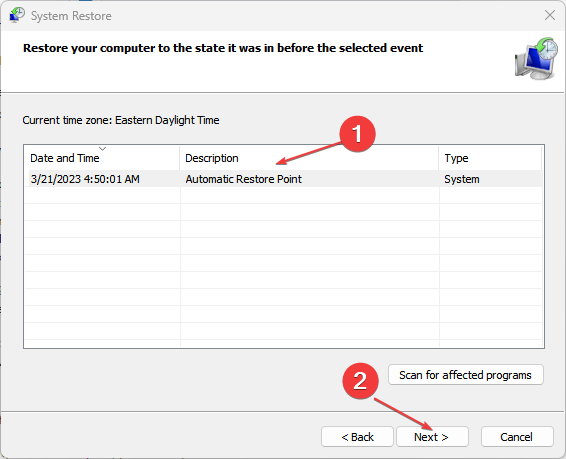
- Now click on Finish.
- Your PC will now restart and restore itself to the selected restore point.
Constantly creating a restore point is one of the ways to keep your data safe. You can use this as your last resort for fixing the Xinput9_1_0.dll error.
Regardless of the cause, the solutions compiled in this article for the Xinput9_1_0.dll missing issue can be safely applied to fix the error on your Windows PC.
You can also check our detailed guide on how to fix missing DLL files and the causes for Windows 10 users for further information.
If you have further queries on this guide, you can drop them in the comment section.
Read our disclosure page to find out how can you help Windows Report sustain the editorial team. Read more


Improve this guide


User forum
0 messages