Windows 10 MIDI drivers: How to install them in a few steps
![]() 4 min. read
4 min. read
![]() Updated on
Updated on
Share this article

Improve this guide
Read our disclosure page to find out how can you help Windows Report sustain the editorial team Read more
Key notes
- If you want to use multiple instruments on your device, you need to Install MIDI drivers.
- First, make sure to perform a system check with the Windows Troubleshooter.
- To prevent any issues from occurring, run the program in compatibility mode.
- Search for drivers manually or use trusty third-party software to automatically do it.

MIDI is the technical term for Musical Instrument Digital Interface, and it consists of a device that is able to connect to a multitude of musical devices.
MIDI drivers were originally made to control keyboards from a computer. MIDI drivers have evolved over the years and are now used by millions of Windows 10 users across the planet.
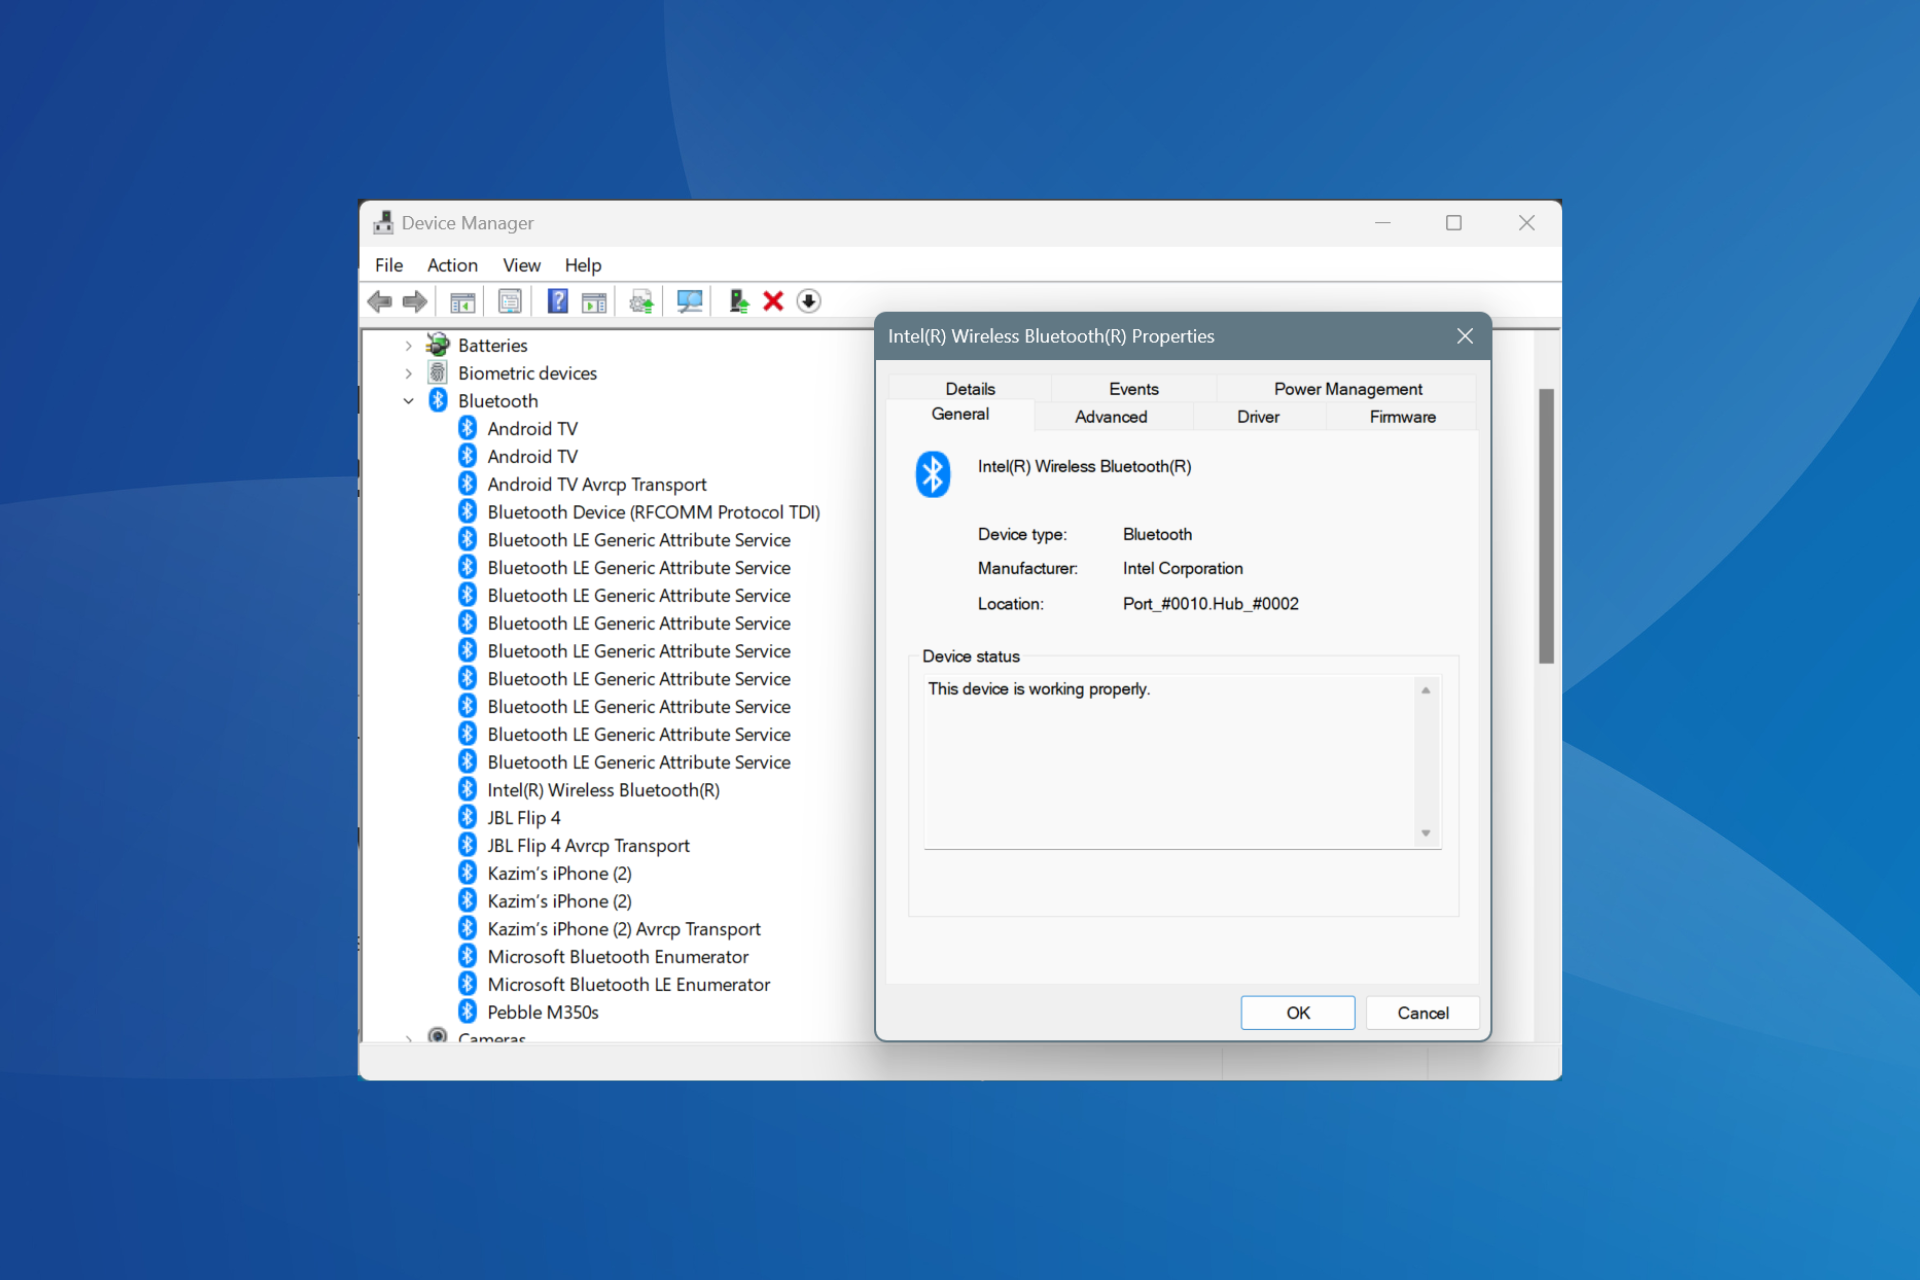
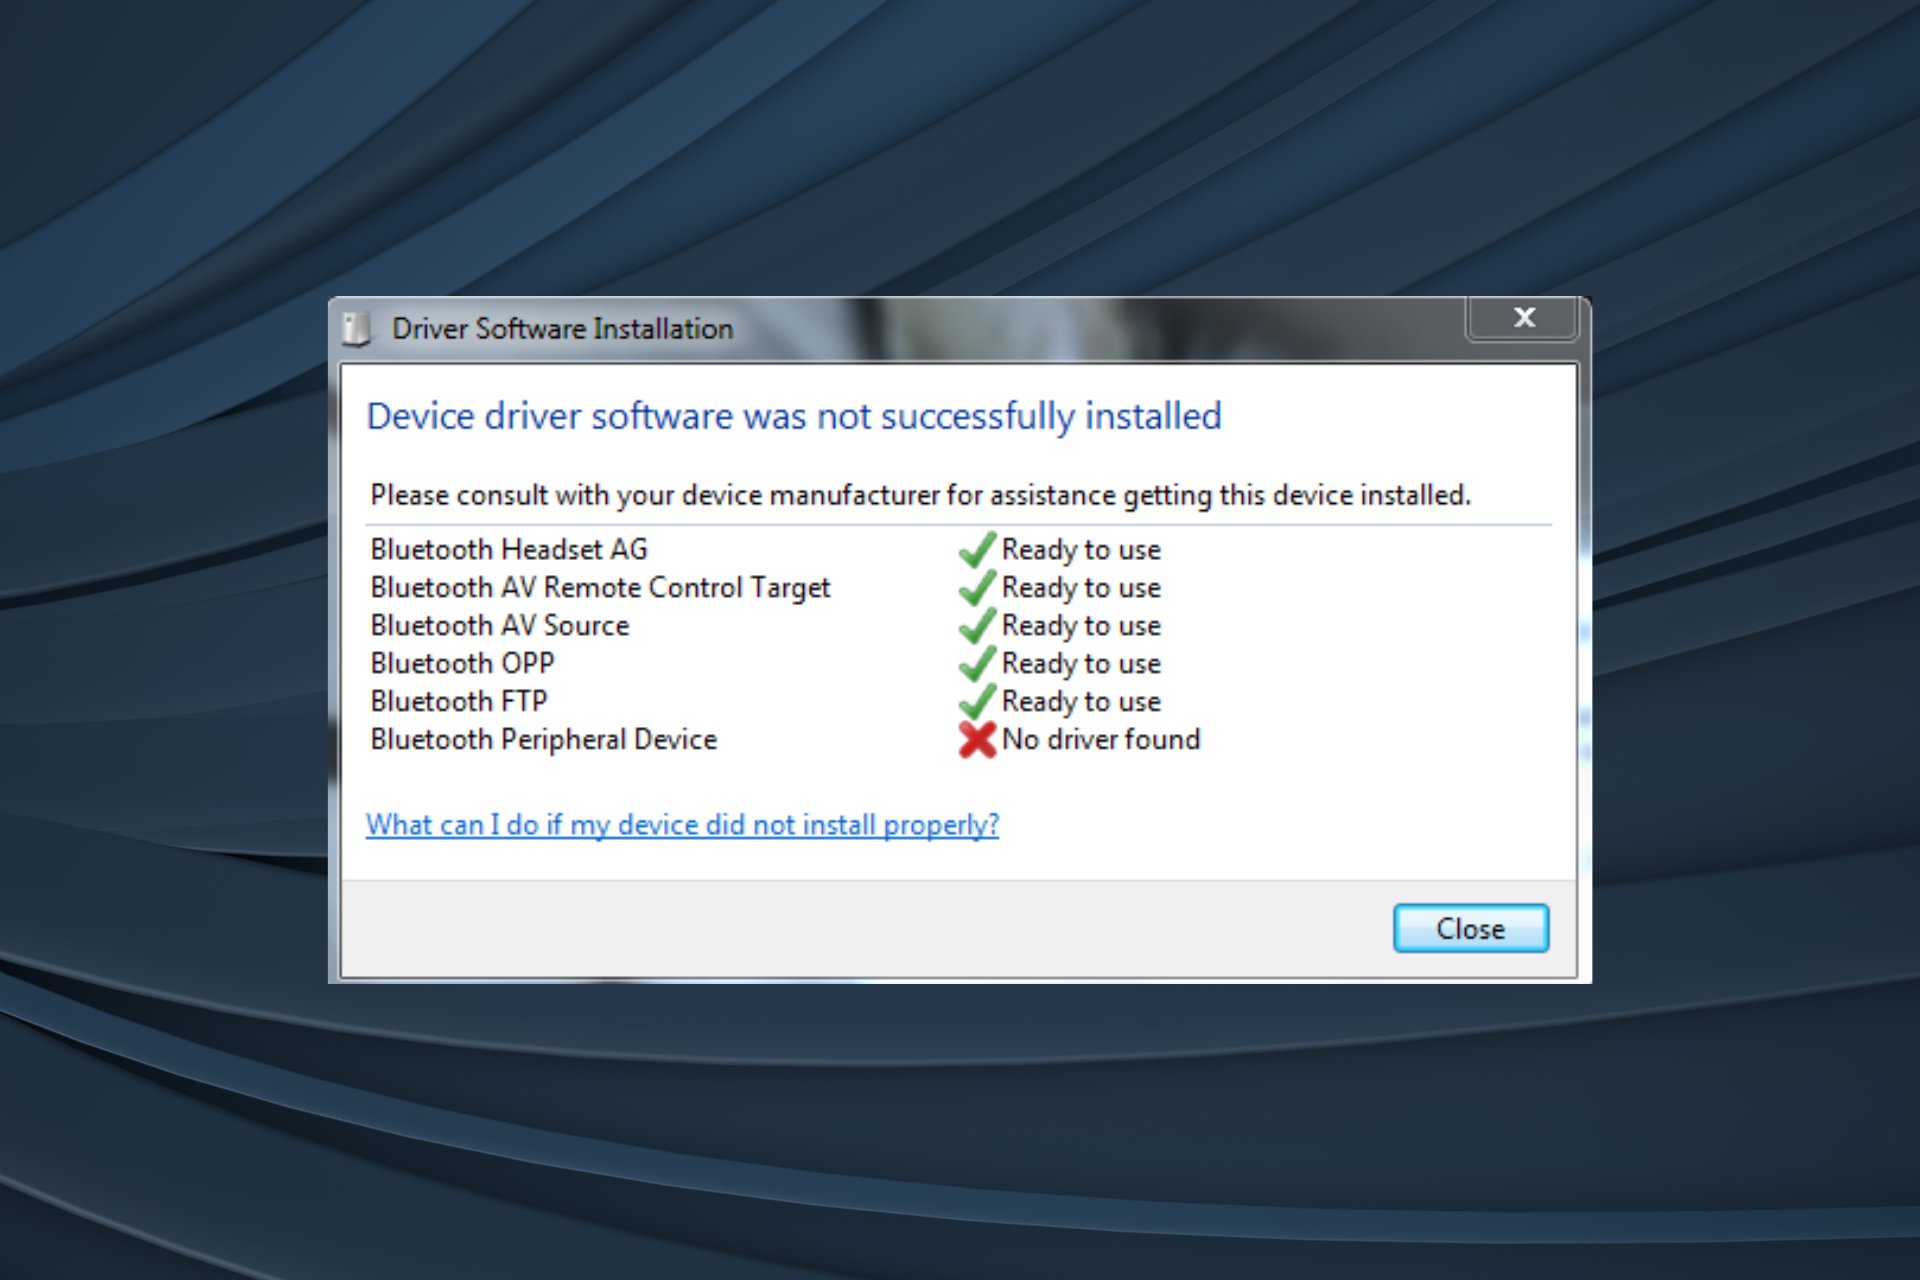
A particular case concerns Windows 10 Bluetooth midi drivers as these seem to be even more delicate and can easily fail to be recognized by Windows.
Does Windows 10 support MIDI over Bluetooth?
It does, yes. Simply open the Settings on your PC and go to Devices, then Bluetooth & other devices. In here, select Bluetooth and pair your device.
However, some users reported that their MIDI device was no longer recognized following a Windows update. If that is also your case, here’s what we suggest:
- Delete all the connected MIDI devices and try to pair them again (as shown above)
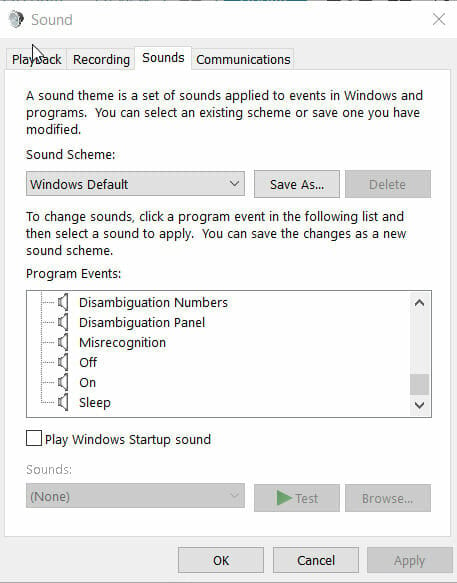
- Right-click the volume icon on the taskbar and select Sounds.
 If your MIDI device is missing, choose to Show disconnected/disabled devices and see if that helps.
How do I install MIDI drivers on Windows 10?
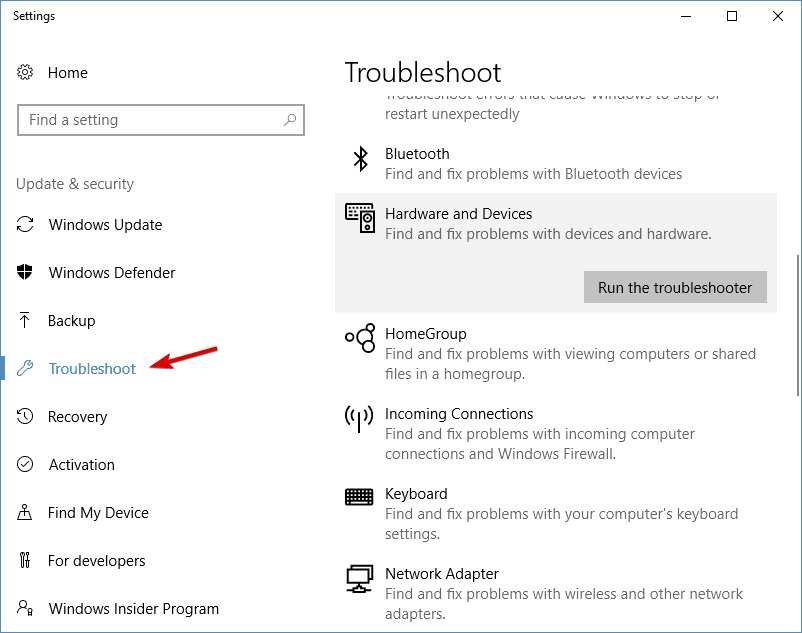
1. Use the Windows troubleshooter
- Navigate to the Taskbar search box.
- Type Troubleshoot.
- Select Troubleshoot from the list.
- Select Hardware and Devices from the Troubleshooter.

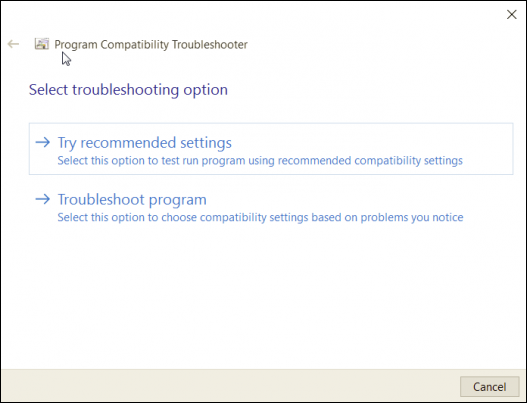
- Once the troubleshooter opens click Next.
- Select the program that is not functioning from the populated list.
- Select the desired troubleshooting option.

Most hardware is plug-and-play. This means that they just plug into the computer and the computer will install the correct drivers.
This doesn’t always work out in the users’ favor and the diver has to be downloaded from a different source. Before taking the time to look for a driver perform the following tasks to troubleshoot the issue:
The troubleshooter will test the program to ensure that it is working. Run the compatibility troubleshooter for any other programs that are not compatible.
Not Compatible? Not a Problem
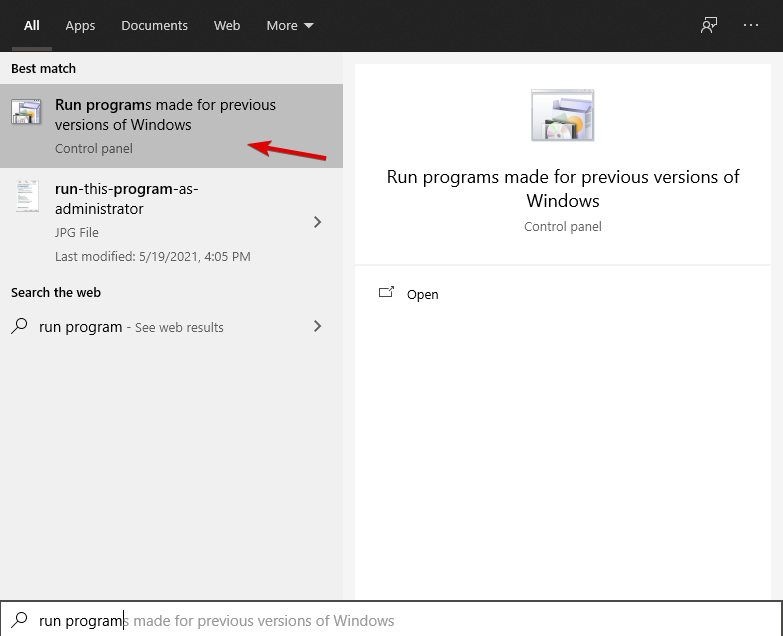
- Click in the taskbar search box.
- Type Run Programs.

- Select Run Programs Made for Previous Versions of Windows.
- This will open the Compatibility Troubleshooter.
- Follow the on-screen prompts.
So you’ve tried to run the troubleshooter and it didn’t work. That’s okay, get back up and try again. There is a way to make your program compatible with your version of Windows. Here’s how to do it:
Ensure that you run the Compatibility Troubleshooter for each program needing drivers.
Are you having trouble with the Windows Troubleshooter? Here’s a great guide on fixing the Troubleshooter if it stopped working for you.
2. Search for Drivers
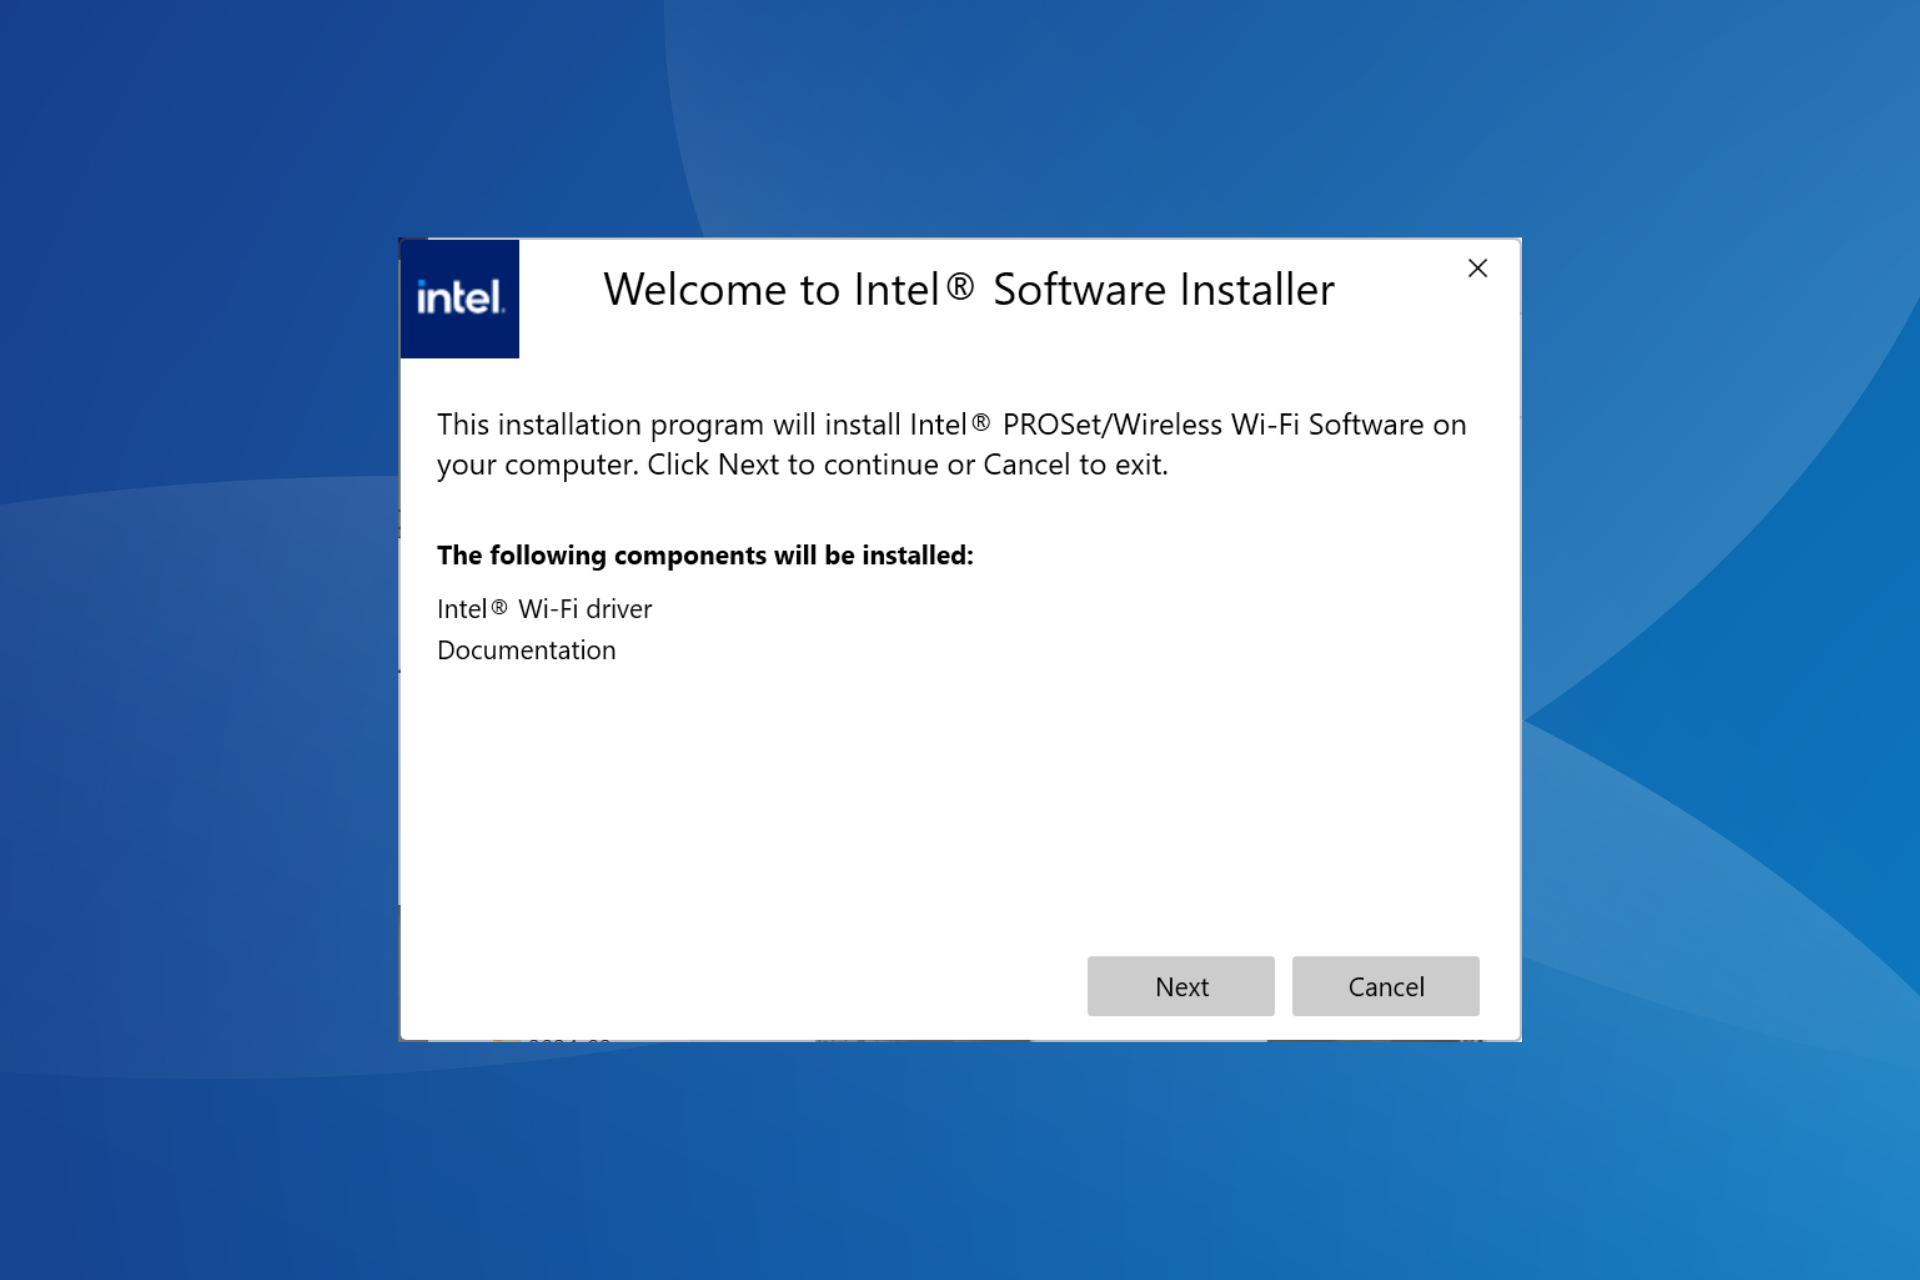
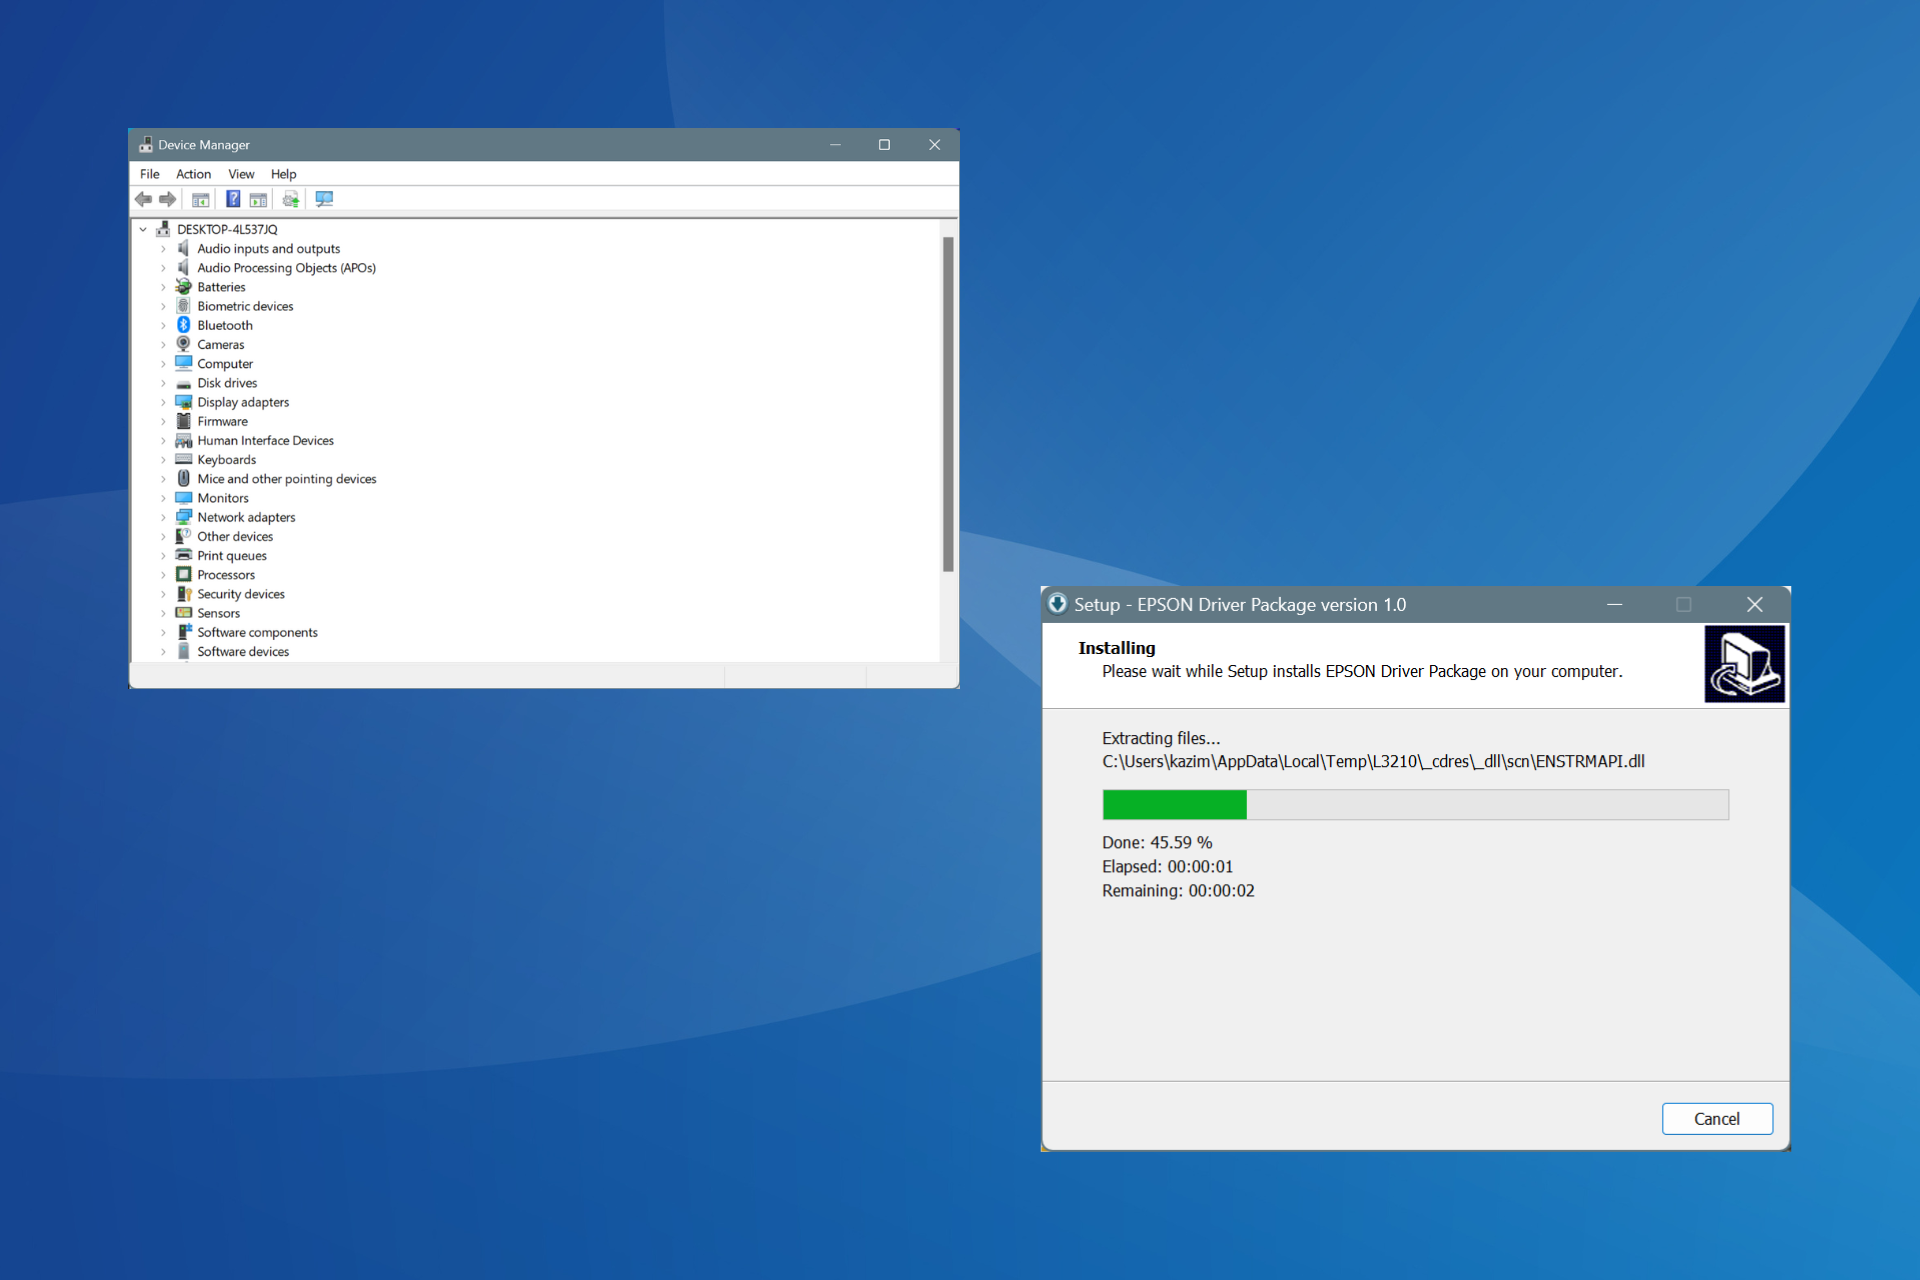
Manually installing drivers is your next option. Manual installation of drivers can be dangerous if you are downloading drivers from an unknown or unrecognized source.
Ensure that all drivers are downloaded from trusted sources such as manufacturers’ websites.
Update drivers automatically
If you don’t want to go through the trouble of manually searching the web for the latest available driver, we suggest using a third-party driver updater software that will automatically do it for you.
Not only will the software update your firmware easily, but it will also constantly scan your device for new drivers by itself, so you don’t even have to do that.
3. Run in Compatibility Mode
- Find the program that you’re looking to run in Compatibility mode.
- Right-click on the program and select Properties.
- Click on the Compatibility Tab.
- Click on the box under compatibility mode.

- Select the version of windows that the program is able to work on.
- Click on Apply.
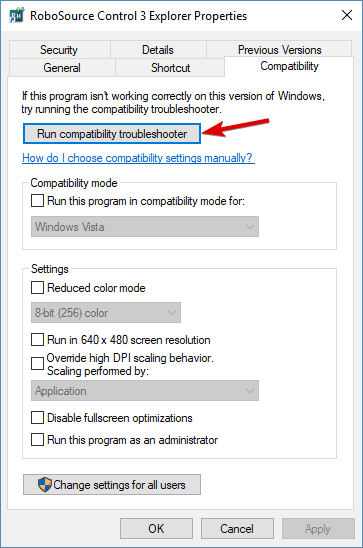
Most programs have the option to run in compatibility mode. To get your program to run in this mode, perform the aforementioned steps.
4. When All Else Fails
MIDI drivers are significantly harder to install in Windows 10 due to a number of compatibility issues. Each one of the fixes mentioned in this article could potentially fix the issue for your driver.
If you’ve run out of options call the manufacturer for your device and ask for assistance or for a location of compatible drivers.
That’s about it for this article. If you have anything to add regarding the subject, please feel free to do so in the comment section below.