0x8024800c Windows Update Error: 4 Ways to Fix it
This issue is likely caused by damaged system files
3 min. read
Updated on
Read our disclosure page to find out how can you help Windows Report sustain the editorial team Read more
Key notes
- The 0x8024800c error is a timeout issue that can arise from a problem with the data store (SoftwareDistribution) folder.
- Users have resolved the installer encountered an error 0x8024800c issue by clearing the data store for Windows Update.
- Repairing the system files is another potential Windows Update error 0x8024800c solution that worked for some of our readers.
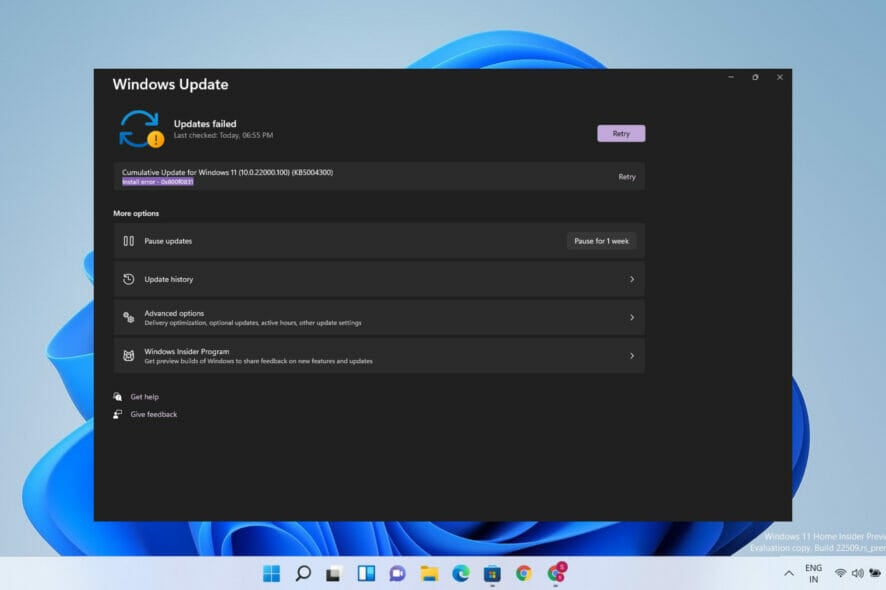
The 0x8024800c error is an issue some users have encountered when trying to update Windows. They have cited that issue to arise when trying to install updates with Windows Update Standalone Installer.
As a result, users can’t manually apply updates with Windows Update Standalone Installer because of the 0x8024800c error.
What causes the Windows Update error 0x8024800c?
What causes Windows Update error 0x8024800c isn’t entirely clear. However, this issue can have similar causes to other update errors. These are some of the potential 0x8024800c error causes:
- Damaged system files – Some system files need repairing.
- An out-of-sync SoftwareDistribution cache – The SoftwareDistribution data store is out of sync, meaning this error is a timeout issue (it has a WU_E_DS_LOCKTIMEOUTEXPIRED result string).
- Corrupted Windows Update components – Error 0x8024800c is caused by faulty Windows Update components (files).
Now that we know the reasons behind this problem, let’s get to the actual solutions.
How can I fix error 0x8024800c?
1. Use the Windows Update Troubleshooter
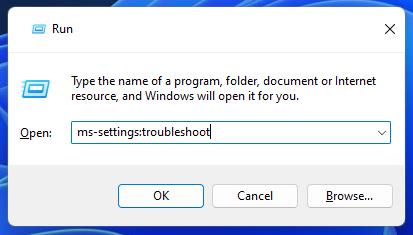
- To bring up the Run dialog, hold down the Windows key and press R at the same time.
- Type this command and press Enter or click OK:
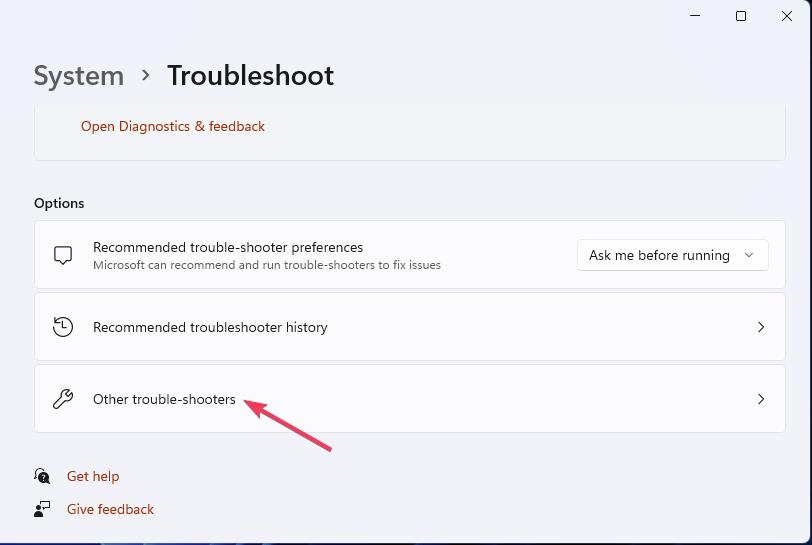
ms-settings:troubleshoot - You’ll need to click Other trouble-shooters in Windows 11 Settings.
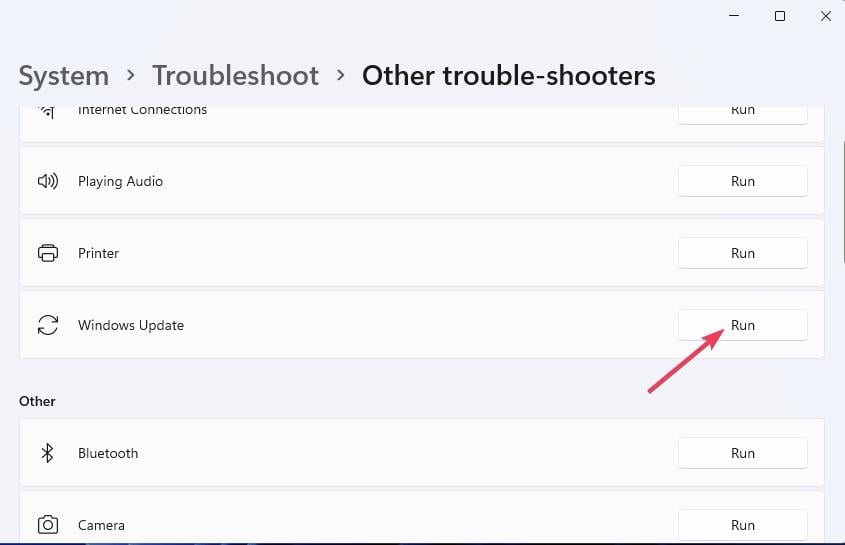
- Select the Run option for the Windows Update troubleshooting tool.
- Wait for the troubleshooting to finish and click close the troubleshooter when done.
2. Run an SFC scan
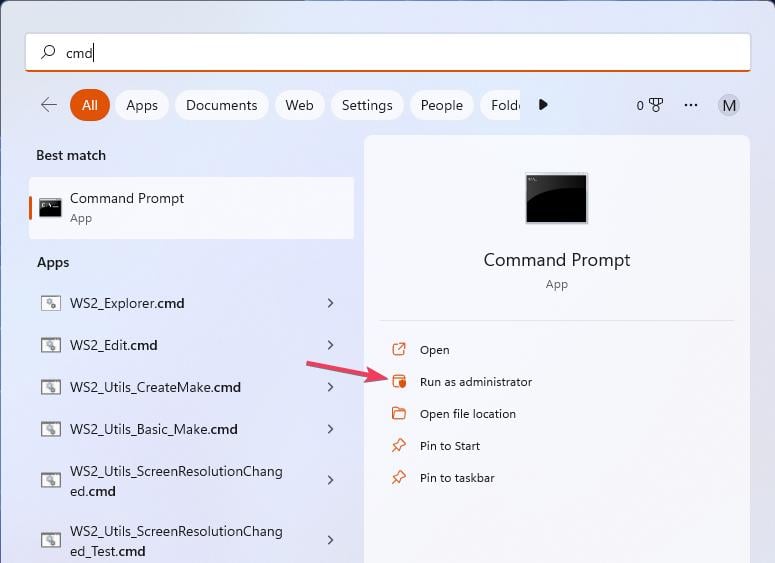
- Click the Start button, type cmd, and click the Run as administrator option along the right of your search tool.
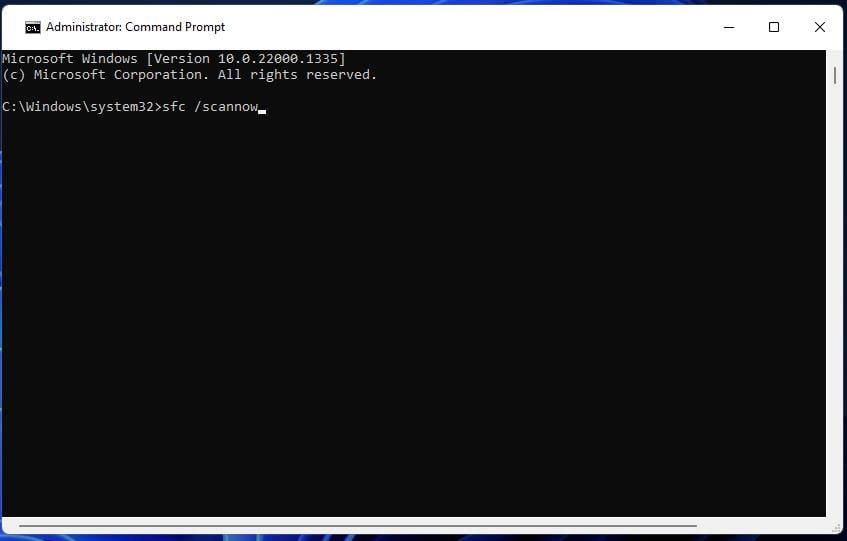
- Run a scan with the Windows SFC tool by executing this command:
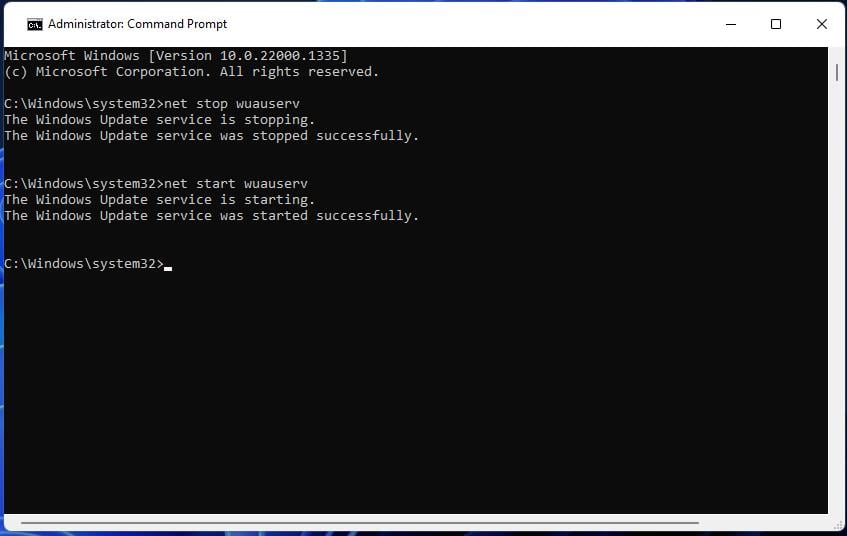
sfc /scannow - When the SFC scanning has finished, stop the Windows Update service by inputting this command:
net stop wuauserv - Then restart the Windows Update by executing this command:
net start wuauserv
3. Clear the SoftwareDistribution Folder
- Click the Start button, type cmd, and click the Run as administrator option from the results.
- Stop the update services by inputting these commands and pressing Enter:
net stop wuauserv
net stop cryptSvc
net stop bits
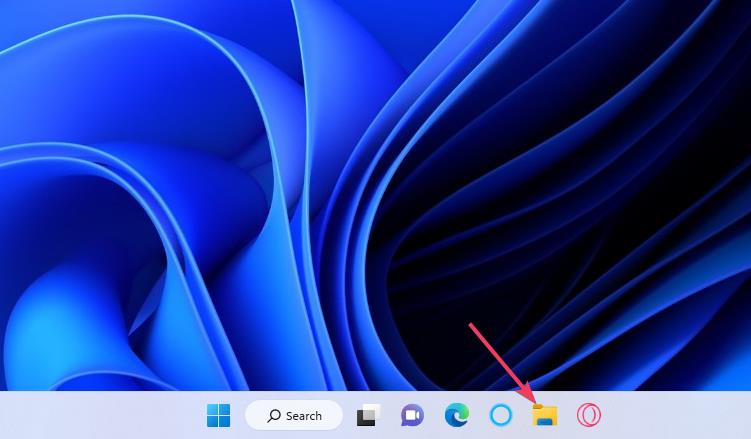
net stop msiserver - Open Windows File Explorer by pressing that file manager’s taskbar button.
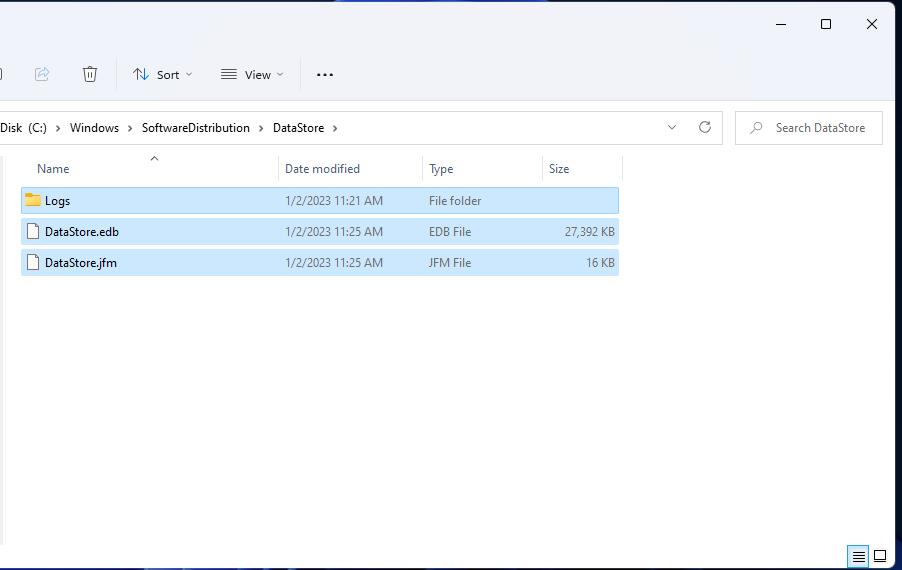
- Then open DataStore by inputting this path inside Explorer’s location bar:
C:\WINDOWS\SoftwareDistribution\DataStore - Select everything in DataStore by pressing the Ctrl + A key combination.
- Press the Del (Delete) key.
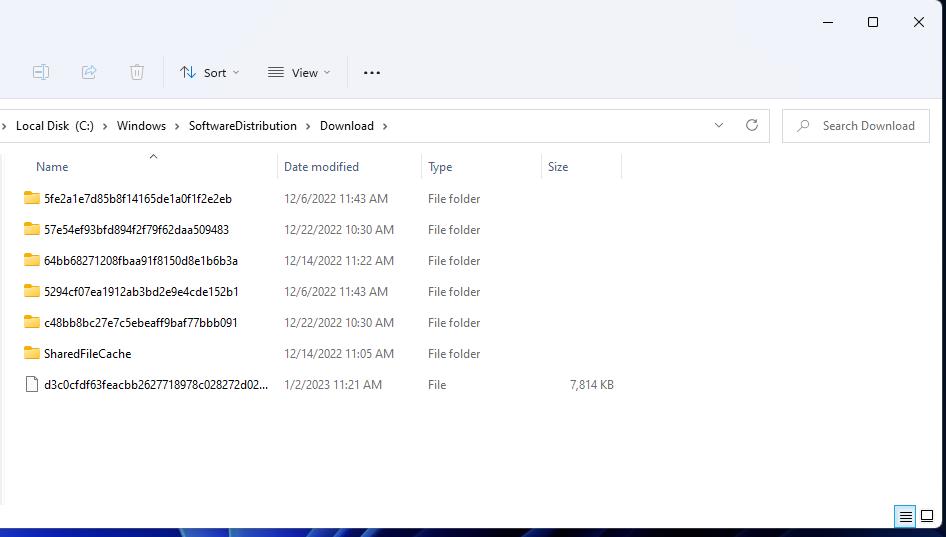
- Repeat the previous two steps for the Download subfolder at:
C:\Windows\SoftwareDistribution\Download - Then restart services with the following commands:
net start wuauserv
net start cryptSvc
net start bits
net start msiserver
4. Reset Update Components
Resetting Windows Update components will re-register update files and clear out some data folders. WR’s Windows Update script post includes instructions for how to set up or download a WSUS reset script.
There aren’t many potential resolutions confirmed to fix error 0x8024800c. However, the ones above have worked for some users. The third resolution is the most widely confirmed fix.
A full Windows reset might be another potential fix for error 0x8024800c. Consider applying such a resolution, as outlined in our guide to resetting Windows, if nothing above works for you.
You’re welcome to discuss the 0x8024800c error below. Have you found another way to fix this update issue in Windows 11? If so, let us know about your 0x8024800c solution in the comments section.

