Fix: Windows 10 Activation Error 0x87e10bc6 [6 Quick Ways]
Performing a system restore is a quick way to fix this issue
Key notes
- If you are dealing with the activation error 0x87e10bc6, it might be due to interference from your firewall.
- A quick yet effective solution to this issue is to run the Windows Activation troubleshooter.
- Another excellent fix you can apply is to restore your system to a point when it was working well.
After purchasing your Windows 10 license, you need to validate your product key to register your OS. The validation process goes through the Activation Server of Microsoft. If Windows 10 has trouble connecting to the server, activation will fail and show the error code: 0x87e10bc6.
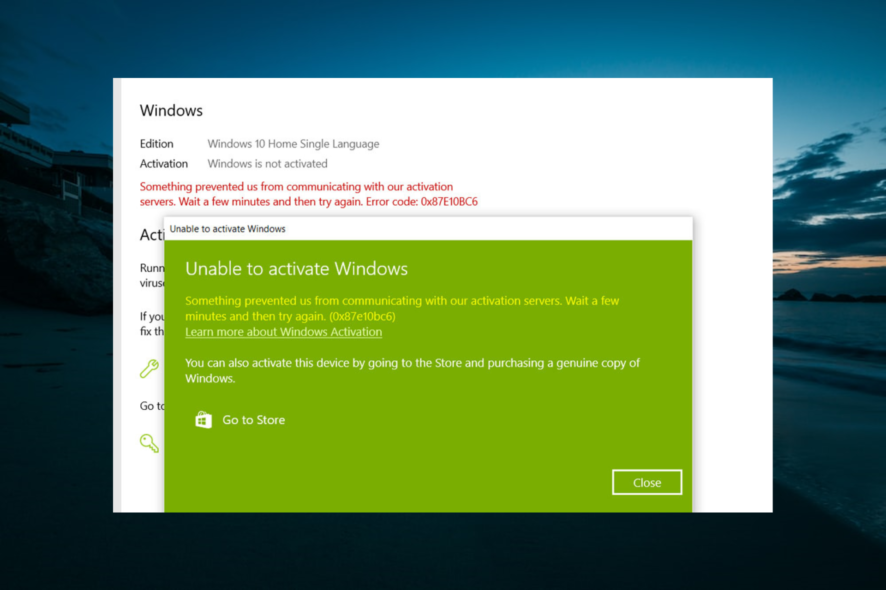
The full error message reads “Something prevented us from communicating with our activation servers. Wait a few minutes and then try again. Error code: 0x87e10bc6”.
If you are facing difficulty activating Windows 10 license, we have prepared the fixes to apply just like we did with the Activation Error 0xc0020036.
How do I fix error code 0x87e10bc6?
- Temporary Error
- Update Windows 10
- Run Activation Troubleshooter
- Check your Firewall
- Run Hardware and Device Troubleshooter
- Roll Back Windows Update with Restore Point
1. Restart your PC
At times, the Windows server 2019 or 2022 error code 0x87e10bc6 on Windows 10 may not be the issue with your system but on Microsoft’s end. If the activation servers are down for maintenance, the process may fail.
First, restart your PC and try to activate the license. If it does not work, wait a few minutes and try again.
2. Update Windows 10
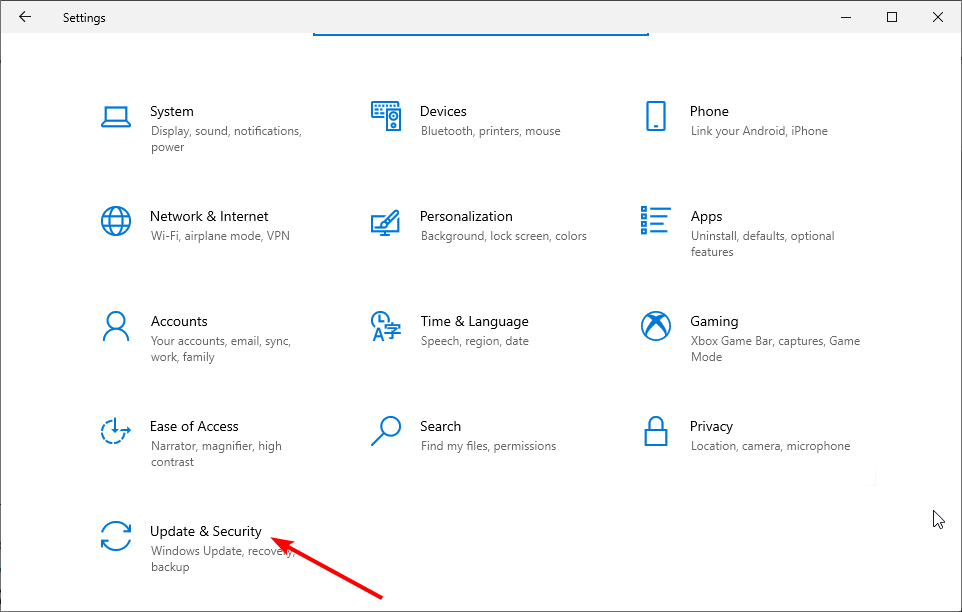
- Press the Windows key + I to open the Settings app and select Update and Security.

- Click the Check for update button.
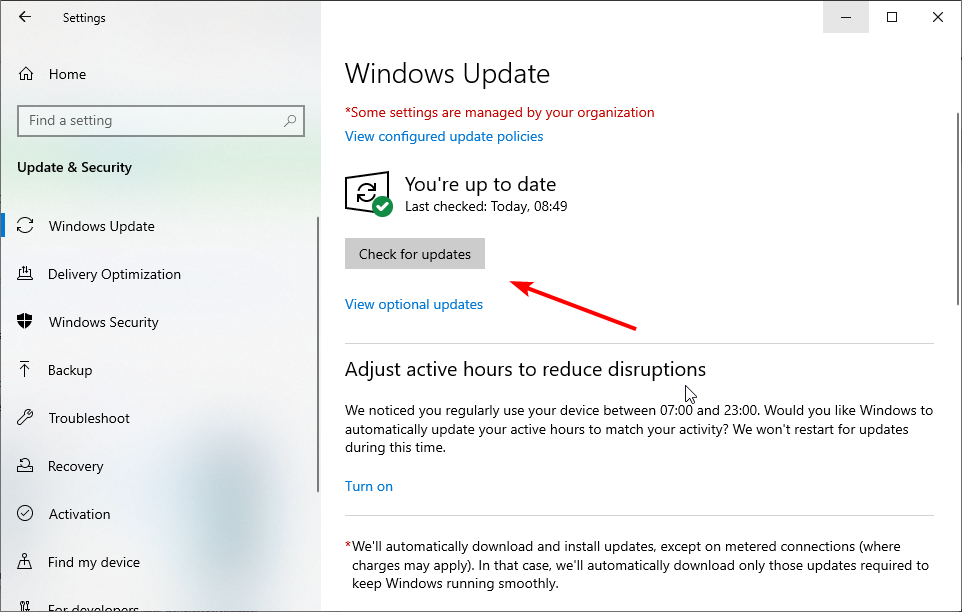
- Finally, install any available updates and restart your PC.
Users have reported that installing pending updates for the Windows OS has fixed the issue and allowed for successful activation. Check for any pending updates for Windows and install it.
3. Run the Activation troubleshooter
- Press the Windows key + I and select Update & Security.
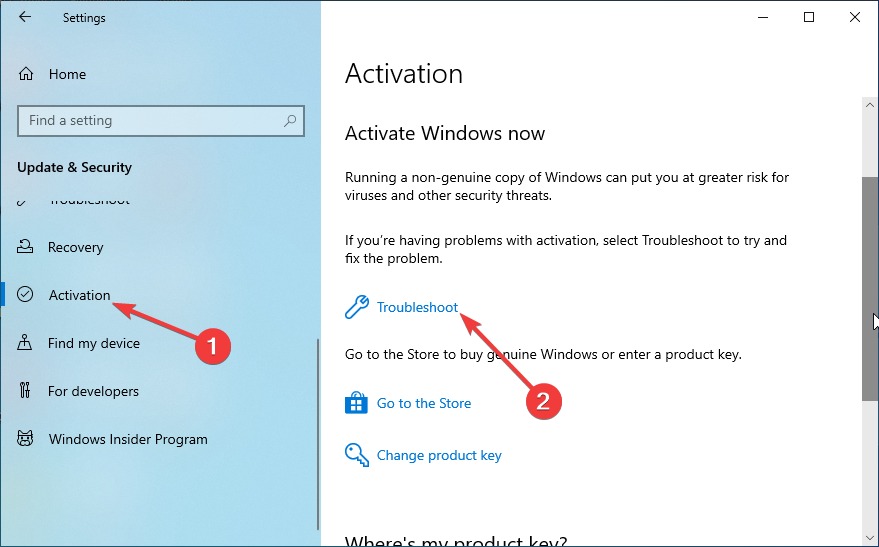
- Click Activation in the left pane.
- Now, select Troubleshoot and follow the on-screen instructions.
If you are facing the Windows 10 activation error 0x87e10bc6 on Microsoft Store or even the server 2019, something prevented us prompt, the Activation troubleshooter is the best-placed tool to help you fix them.
When the tool completes its diagnosis, make sure you apply the recommended fixes. Note that you must sign in as the administrator to use the Activation troubleshooter.
4. Disable your firewall temporarily
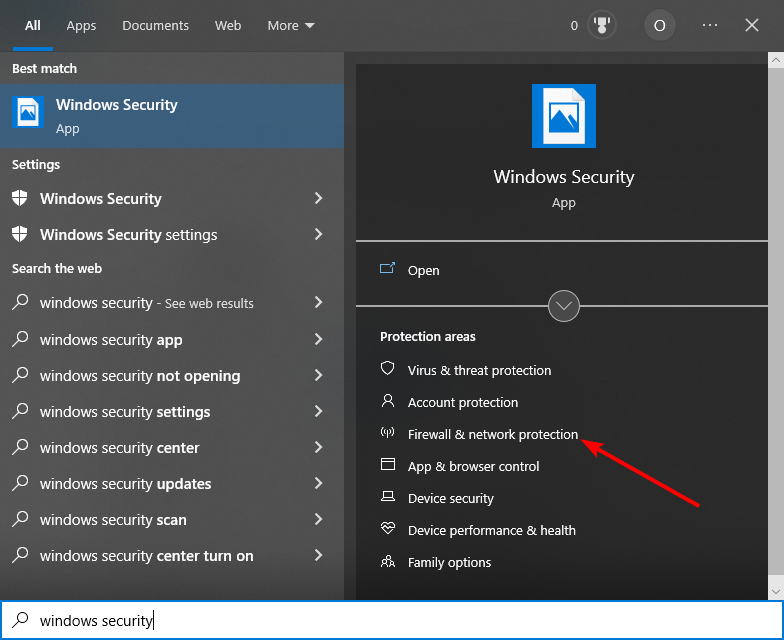
1. Press the Windows key, type Windows Security, and select Firewall and Network protection under Protection areas.
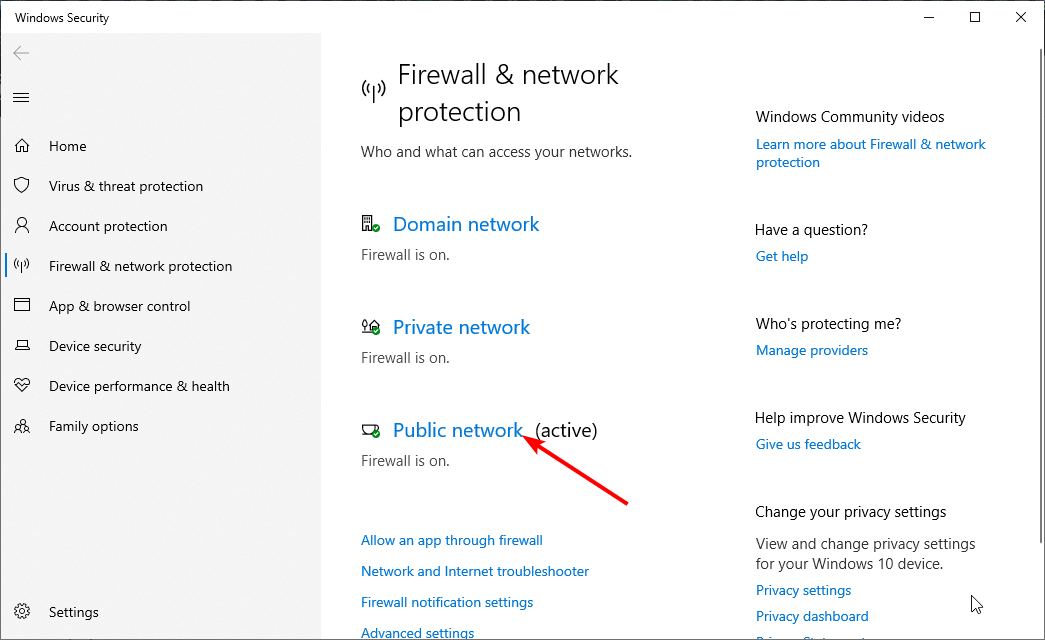
2. Select your Active Network (Private or Public).
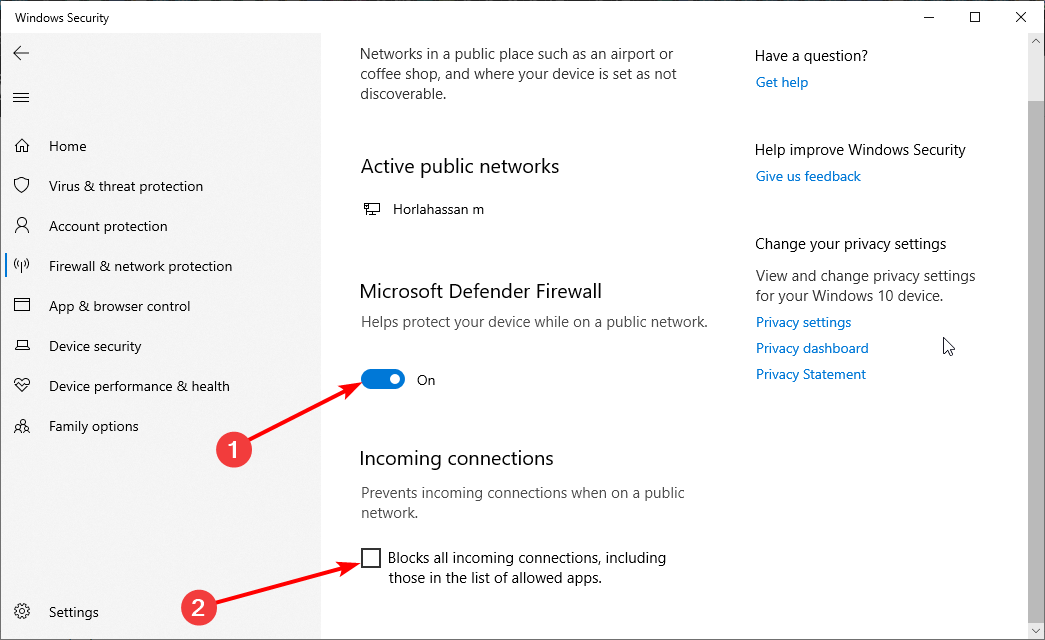
3. Turn off Windows Defender Firewall using the toggle switch.
4. Also, make sure under Incoming Connection, the Blocks all incoming connections, including those in the list of allowed apps box is unchecked.
5. Finally, close the Setting window and try the activation process again.
If you have a third-party Firewall installed, the Firewall may be blocking the connection to the server. You can try disabling the Firewall temporarily just get past the error 0x87e10bc6 to activate Windows 10.
After this, try to validate the license key again and check for any improvements.
5. Run Video Playback troubleshooter
- Press the Windows key + I and select Update & Security.
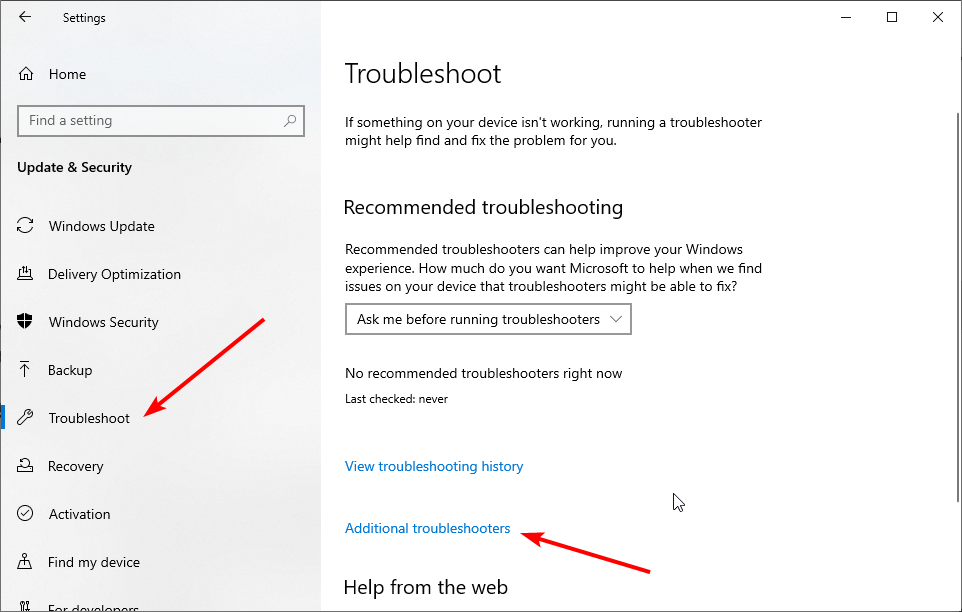
- Click the Troubleshoot option in the left pane and select Additional troubleshooters.
- Now, choose the Video Playback option and click Run the troubleshooter.
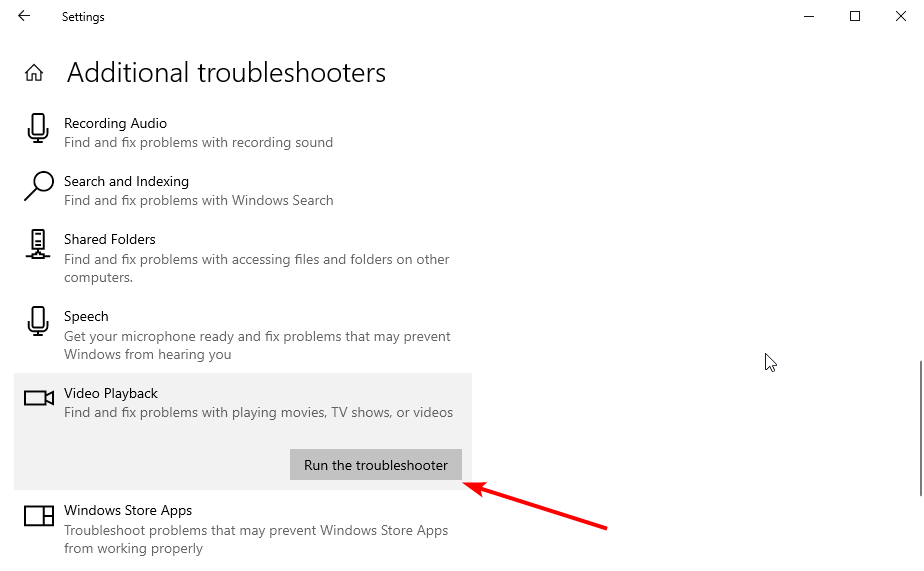
- Apply any recommended fix and check if the error persists.
- If a Windows Store app is causing the error, click on the Windows Store App option and select Run the troubleshooter.
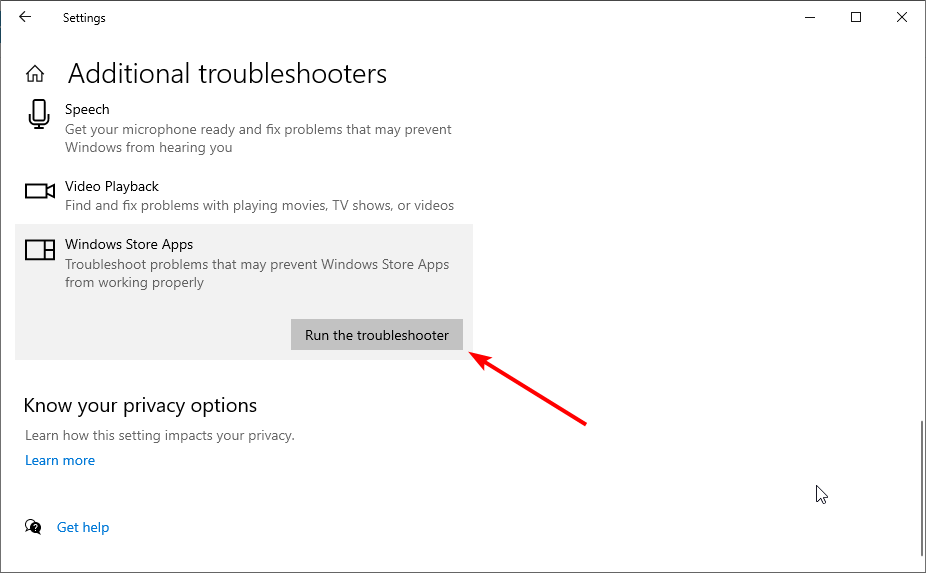
The 0x87e10bc6 error on Windows 10 can also affect your system hardware, like the DVD driver. If you are facing issues with your DVD player, try to run the Hardware and device Troubleshooter to fix it.
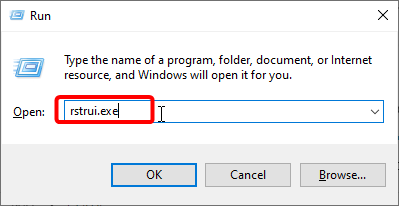
6. Perform a system restore
- Press the Windows key + R, type rstrui.exe, and click OK.
- Click the Next button in the window that pops up.

- Now, select a restore point and click the Next button.
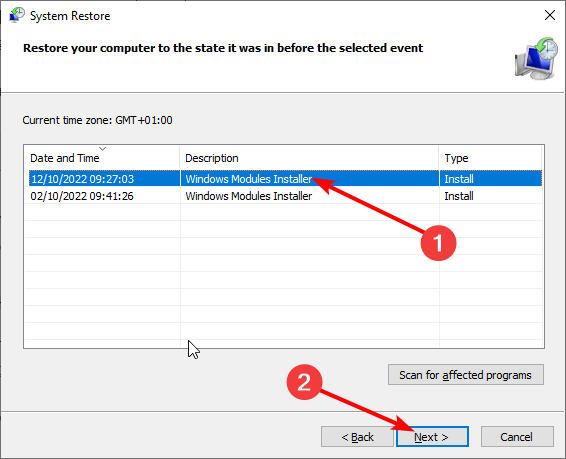
- Finally, click the Finish button to confirm the action and follow the onscreen prompt.
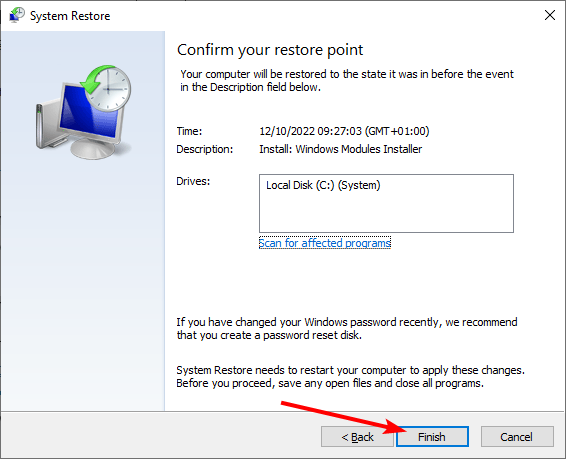
If the 0x87e10bc6 error on Windows 10 is caused after you received a Windows update, you can try to roll back the update using the System Restore Point for the time being. After Microsoft releases a fix for this error, you can install the latest update.
With that said, we can conclude it. We believe you now have everything you need to fix the Windows Activation error 0x87e10bc6 on Windows 10.
In the same vein, if you are troubled by the activation error 0xc004f211, check our detailed guide to fix it for good.
Feel free to let us know the solution that helped you fix this issue in the comments below.
Read our disclosure page to find out how can you help Windows Report sustain the editorial team. Read more


Improve this guide


User forum
0 messages