0xA00F4289 Webcam Error: 5 Ways to Fix It
Explore the expert tested methods to resolve the error
Key notes
- This error occurs if you have outdated webcam drivers, damaged webcam hardware or incorrect camera settings.
- To fix the error, you can update the webcam driver, check camera settings, or run Hardware and Devices troubleshooter.

Sometimes, you may encounter the 0xa00F4289 webcam error when trying to access the webcam via the inbuilt camera app. This problem occurs if there is a problem with the drivers or camera.
In this guide, we will discuss different methods to fix the issue right after talking about the causes.
What causes the 0xa00F4289 webcam error?
There could be many reasons for this webcam error; some of the common ones are mentioned here:
- Outdated webcam drivers – If the webcam drivers are outdated or corrupted, it can cause the 0xa00f4289 error. Try updating the drivers to the latest version to fix the issue.
- Third-party app interference – This error can occur if another app is using the webcam. Try closing or disabling it to resolve the issue.
- Incorrect camera settings – If the camera access settings for the app you are trying to use the webcam with are not set correctly, it can cause an error.
- Damaged webcam hardware -This error could appear if the webcam hardware is damaged or malfunctioning. In this case, replacing the webcam may be necessary.
Now that you know the reasons behind the issue, let us check out the solutions.
What can I do to fix the 0xa00F4289 webcam error?
Before engaging in advanced troubleshooting steps, you should consider performing the following checks:
- Restart your computer.
- Check for hardware damage.
- Reinstall the affected video conferencing app.
- If you are a laptop user, apply gentle pressure around the webcam.
If these small fixes didn’t work for you, check out the detailed methods to fix the problem.
1. Start the Windows Camera Frame Server service
- Press Windows + R to open the Run dialog box.
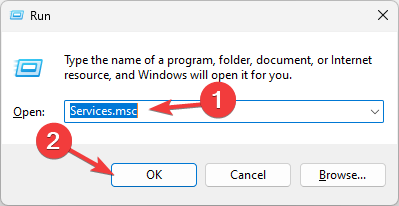
- Type services.msc and click OK to open the Services app.
- Locate the Windows Camera Framer Server service and double-click it to open Properties.

- Go to Startup type, select Automatic, and for Service status, click Start.
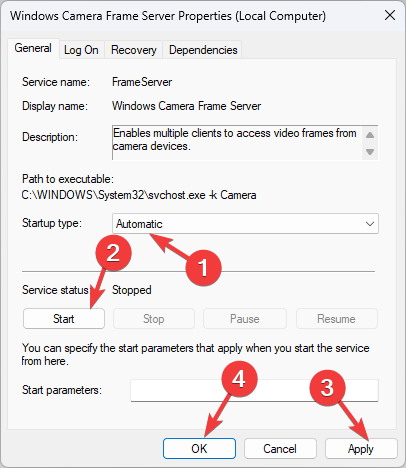
- Click Apply, then OK.
2. Enable camera access
- Press Windows + I to open the Settings app.
- Go to Privacy & security.
- Toggle on the switch for Camera access.
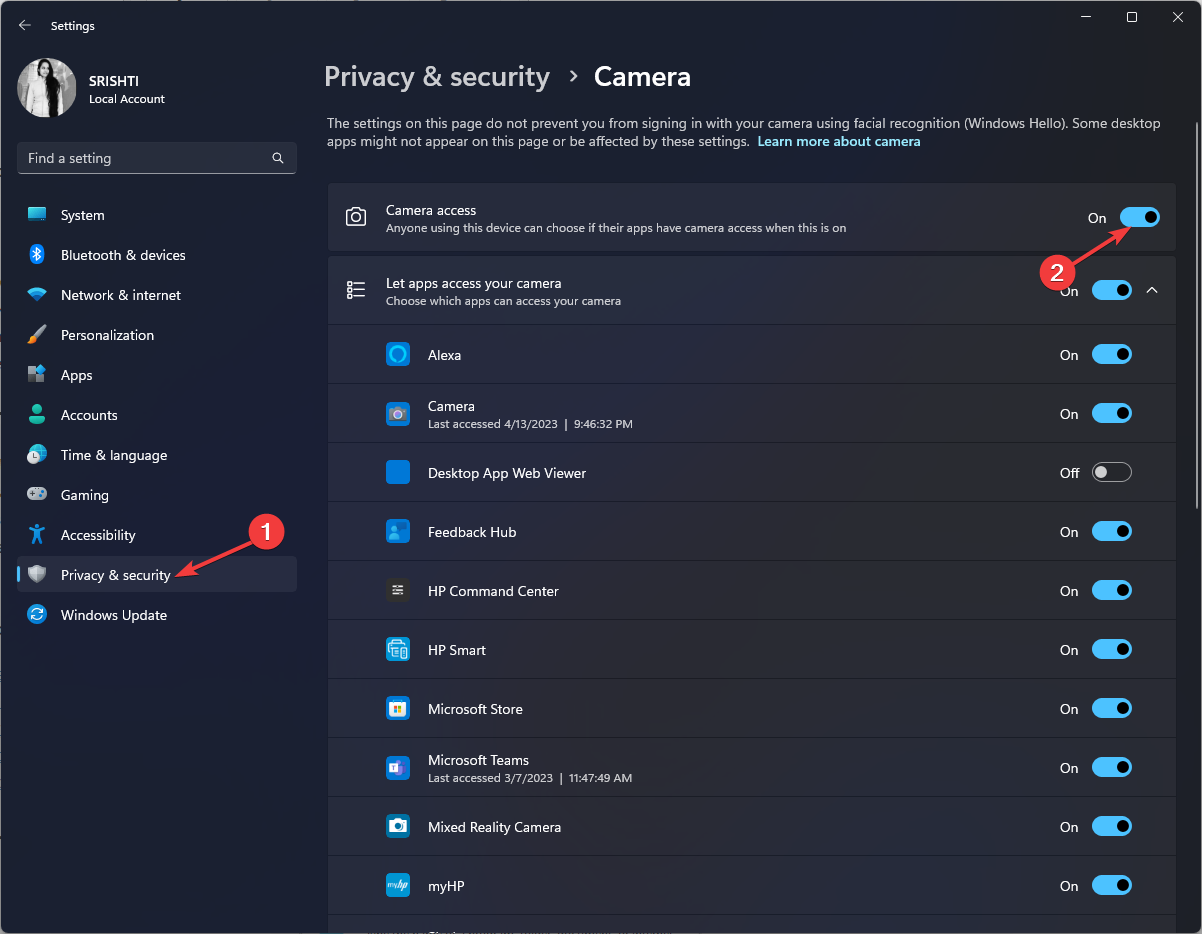
- Check the list of apps accessing the camera and close the Settings app.
3. Update the camera driver
- Press Windows + R to open the Run dialog box.

- Type devmgmt.msc and click OK to open Device Manager.
- Go to Cameras, select your camera, right-click, and choose Update driver.
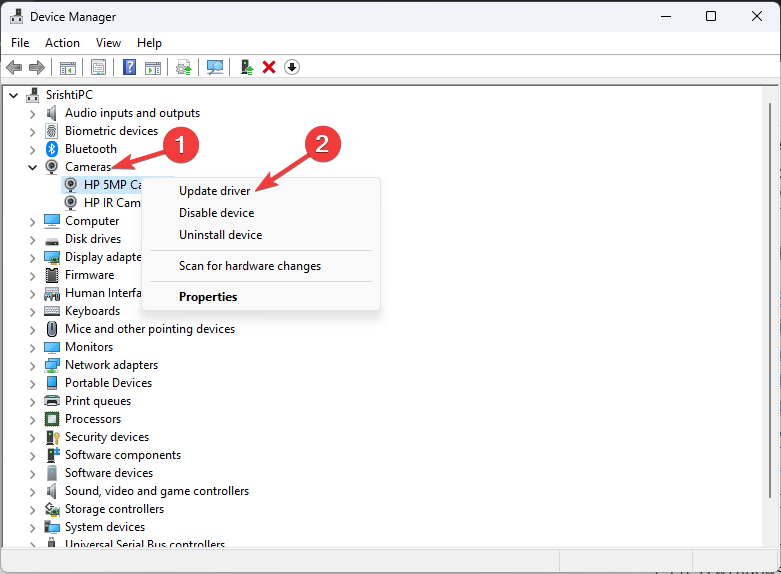
- Click Search automatically for drivers.
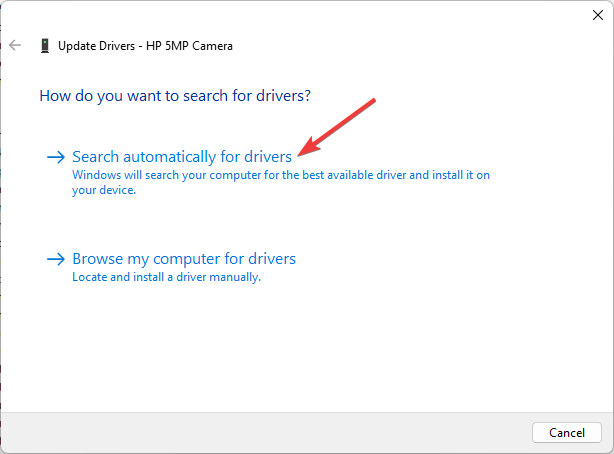
- Follow the on-screen prompts to complete the process.
Also, if you see any other webcams that you’re not using in Device Manager, right-click on them and select Uninstall device.
As an alternative, you can avoid the manual steps and choose a more reliable method to update the webcam or any other driver.
With the Outbyte Driver Updater software, it’s easy to run the scan on your PC and detect outdated drivers. Afterward, you can choose to update them all at once with a single click.
4. Run the Hardware and Devices troubleshooter
- Press the Windows key, type cmd, and click Run as administrator.
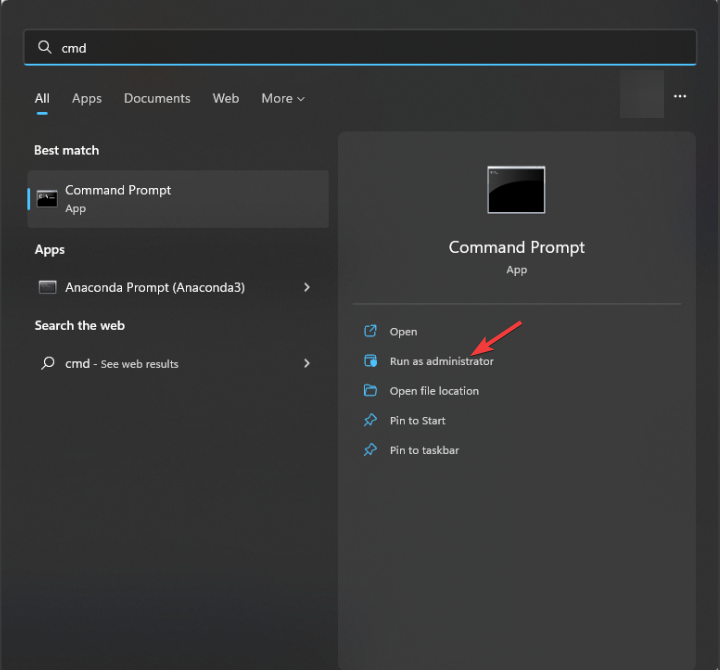
- Copy & paste the following command to open the Hardware and Devices troubleshooter and press Enter:
msdt.exe -id DeviceDiagnostic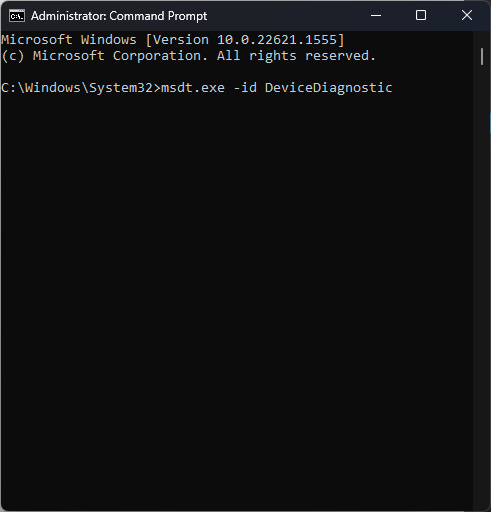
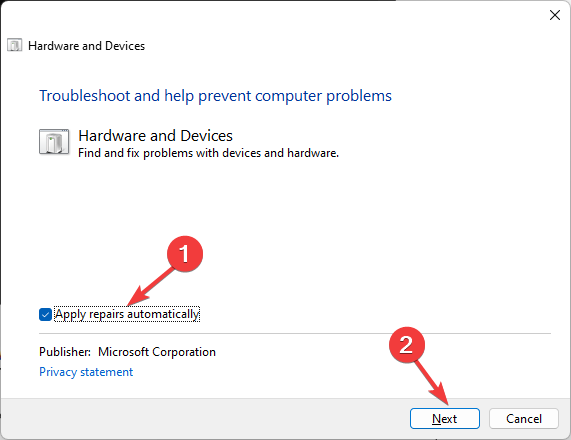
- Click Advanced.
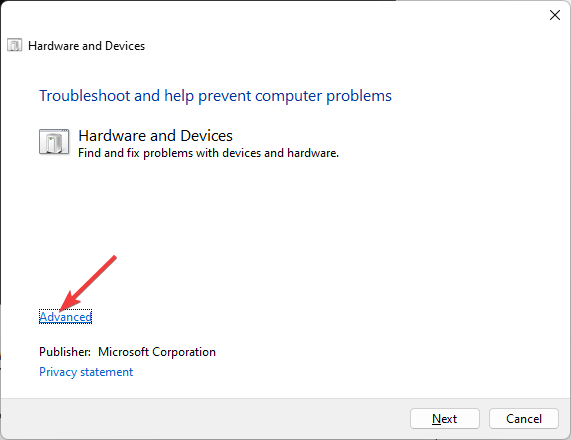
- Select Apply repairs automatically, then click Next.
- Now click Apply this fix if there are suggestions by the troubleshooter.
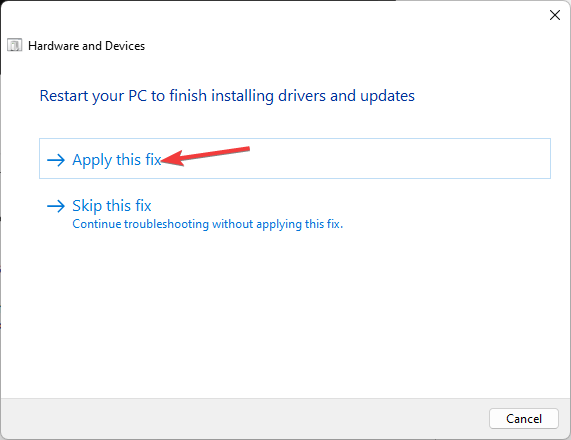
- Once the fixes are applied, try reinstalling the update again.
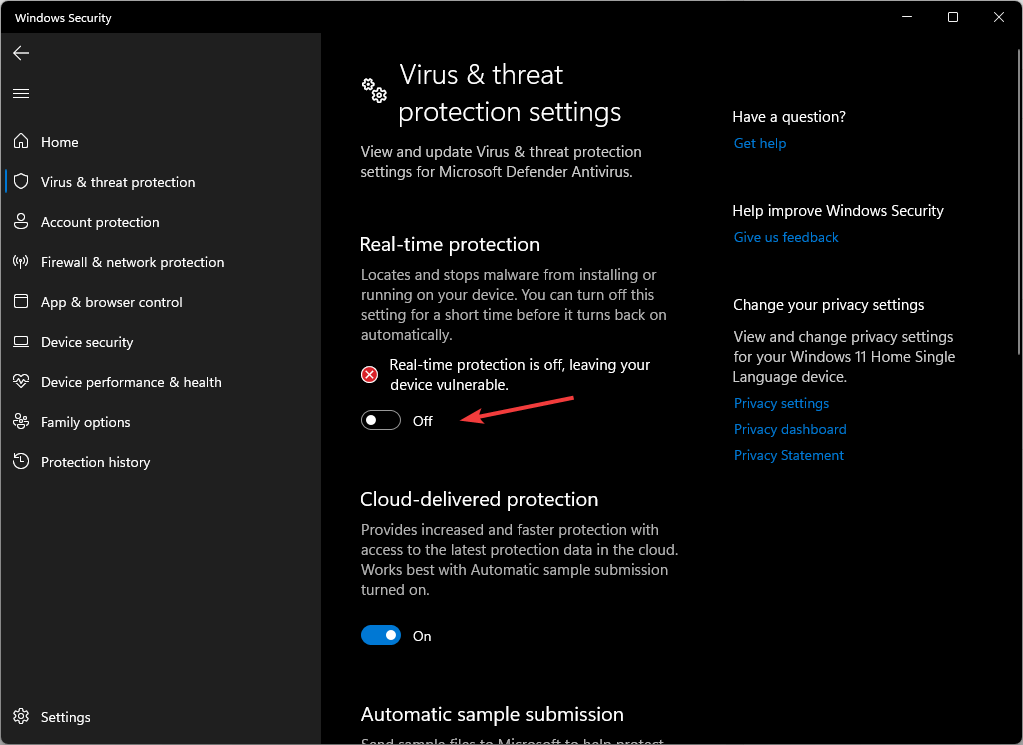
5. Disable antivirus software temporarily
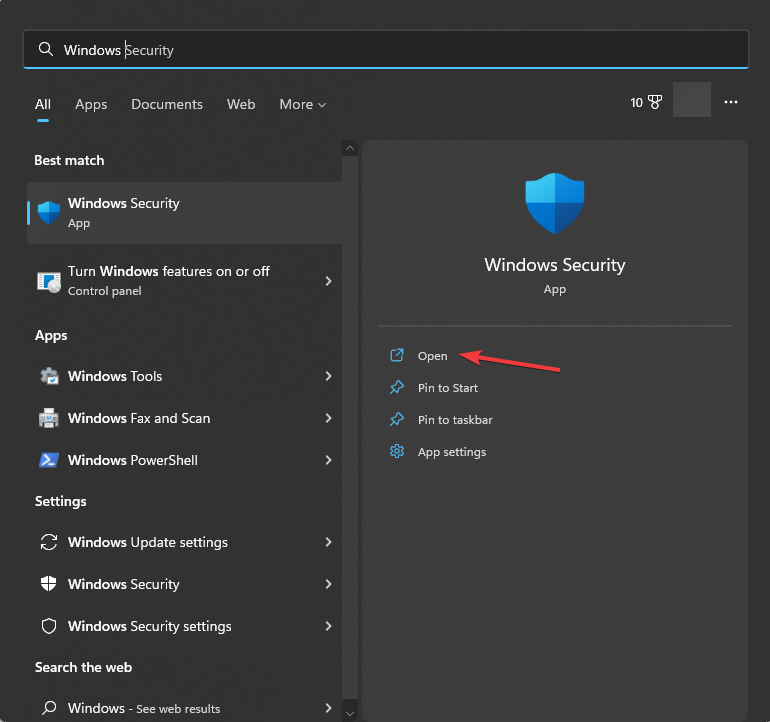
- Press the Windows key, type windows security, and click Open.
- Go to Virus & threat protection and click Manage settings.
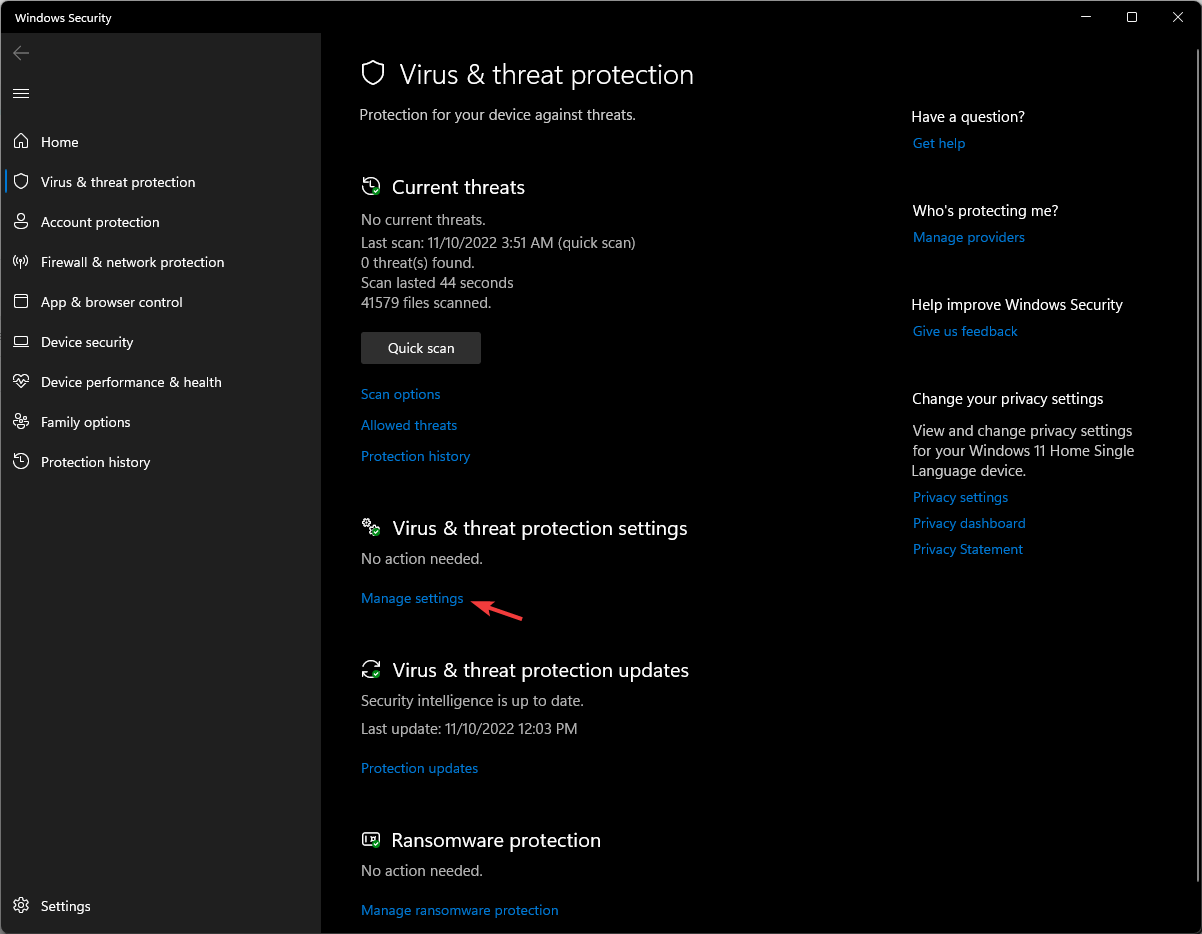
- Locate Real-time protection and toggle off the switch.
So, these are the methods that you can follow to fix the 0xa00F4289 Webcam error.
You may also need to take into account that you may need to replace your webcam in case it is damaged. We have a list of the best webcams for Windows 11 that might help in choosing the right one for you.
If you have any questions or suggestions, feel free to mention them in the comments section below.
Read our disclosure page to find out how can you help Windows Report sustain the editorial team. Read more


Improve this guide


User forum
0 messages