Thunderbolt Is Not Showing Attached Devices: 5 Ways to Fix It
Rest assured that these solutions have been tested by our experts
4 min. read
Updated on
Read our disclosure page to find out how can you help Windows Report sustain the editorial team. Read more
Key notes
- The Thunderbolt not showing associated devices may be caused by an outdated version of the BIOS, a broken Thunderbolt port, or a damaged cable.
- Updating the BIOS is a procedure you should follow carefully to avoid damaging your PC.
- Changing the settings for the onboard devices and cables in your motherboard's BIOS might resolve your problem.
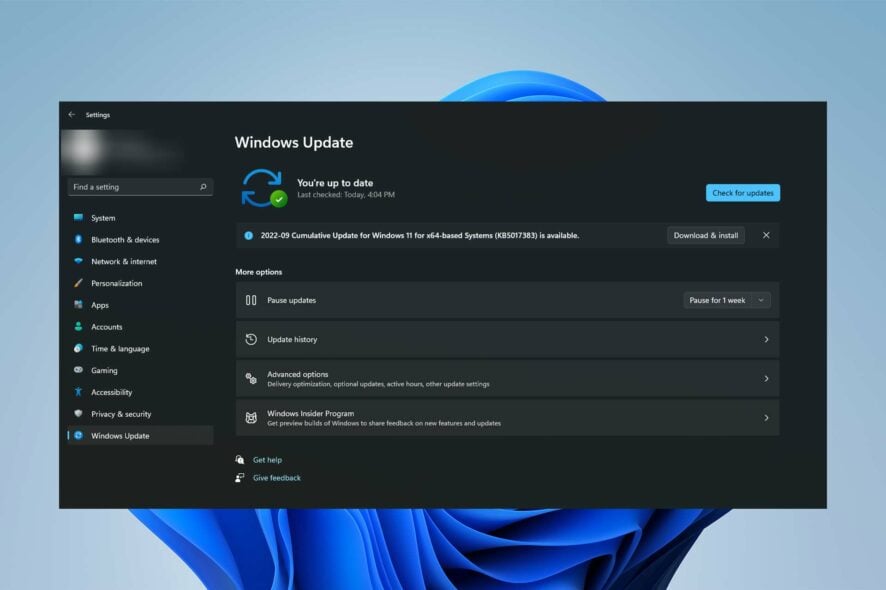
High transfer rates might make Thunderbolts an excellent option for transferring data, but setting one up can present challenges, like the Thunderbolt not showing attached devices.
Although this issue is irritating, there are several quick fixes that people who have previously dealt with it have proven to work.
In this post, we’ll examine all the potential fixes that can let your PC detect the devices connected to it by a Thunderbolt cable.
How do I approve the attached Thunderbolt devices?
You may notice a popup asking you to verify the recently connected device when you connect a Thunderbolt device for the first time to a Windows PC that supports Thunderbolt: New Thunderbolt devices have been attached, reads a dialog window.
- In the dialog box, click OK.
- On the Windows User Account Control pop-up, select Yes.
- Another dialog box displays the device’s name and offers the choices of Do Not Connect, Connect Only Once, or Always Connect. Click OK after selecting the preferred choice.
What can I do if Thunderbolt is not showing attached devices?
1. Check the device
Verify that the device is on and that the cords are attached. Ensure the power cable is plugged in if the device needs one.
Then, check that the Thunderbolt port has been thoroughly cleaned and is not damaged.
2. Enable Thunderbolt’s new connection configuration
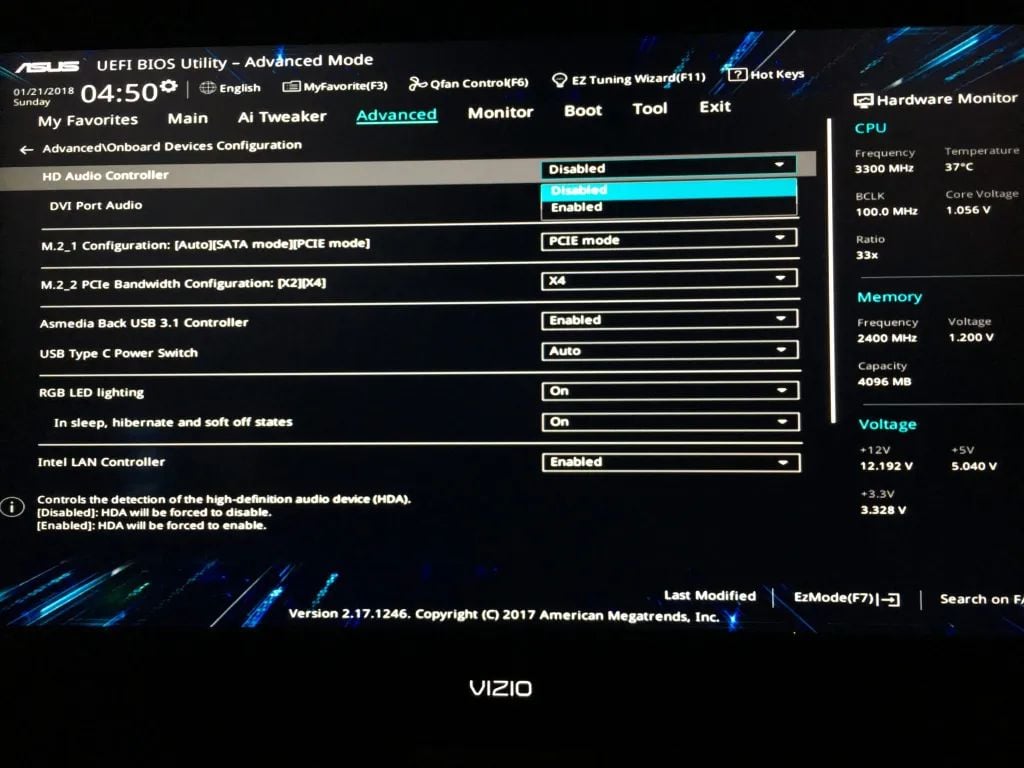
- To access BIOS Setup at boot, press F12 or the BIOS button.
- Access Onboard Devices options under Advanced and Devices.
- Verify that the setup for the Thunderbolt new connection or the Thunderbolt Controller is enabled.
- To save and leave BIOS Setup, press F10 or Save.
Suppose the Thunderbolt new configuration option is not enabled. In that case, BIOS won’t let any new connections through the Thunderbolt cable since BIOS is in charge of identifying any newly connected device or gadget to the motherboard or PC.
3. Update Windows
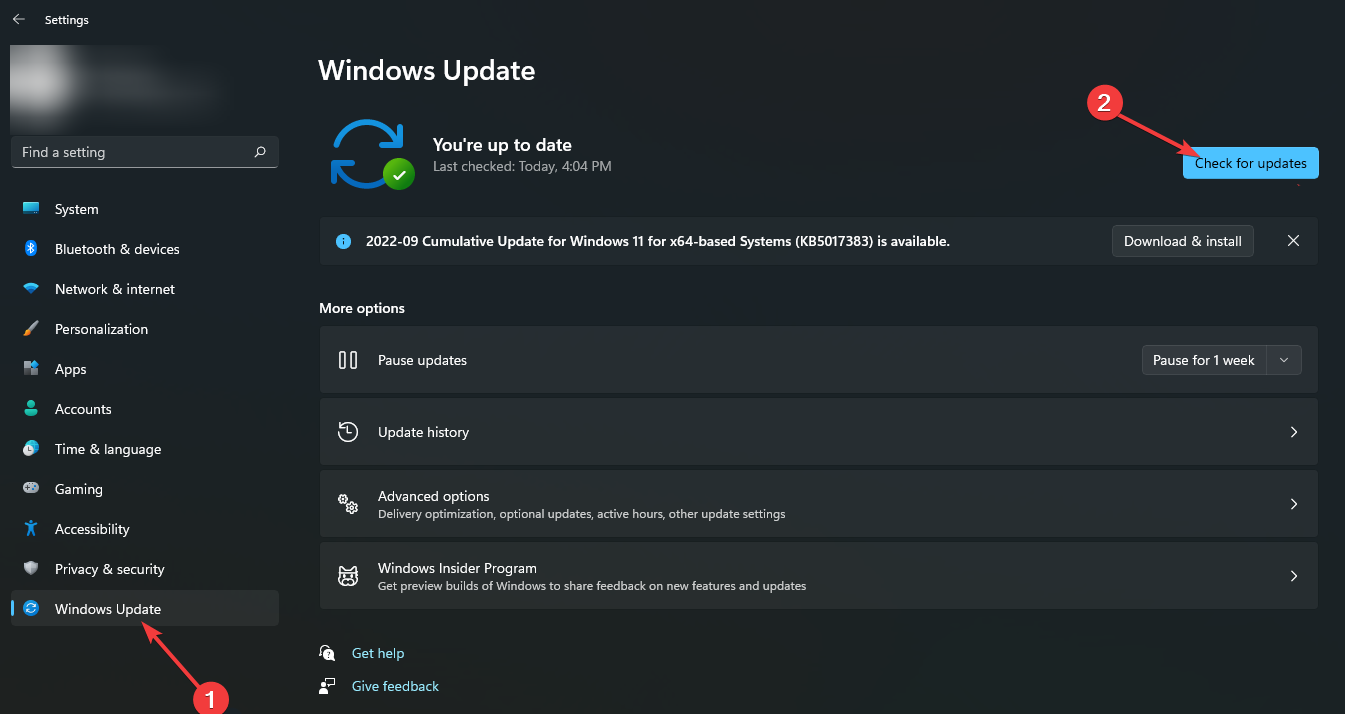
- Select Update & Security to open the Windows Update tab.
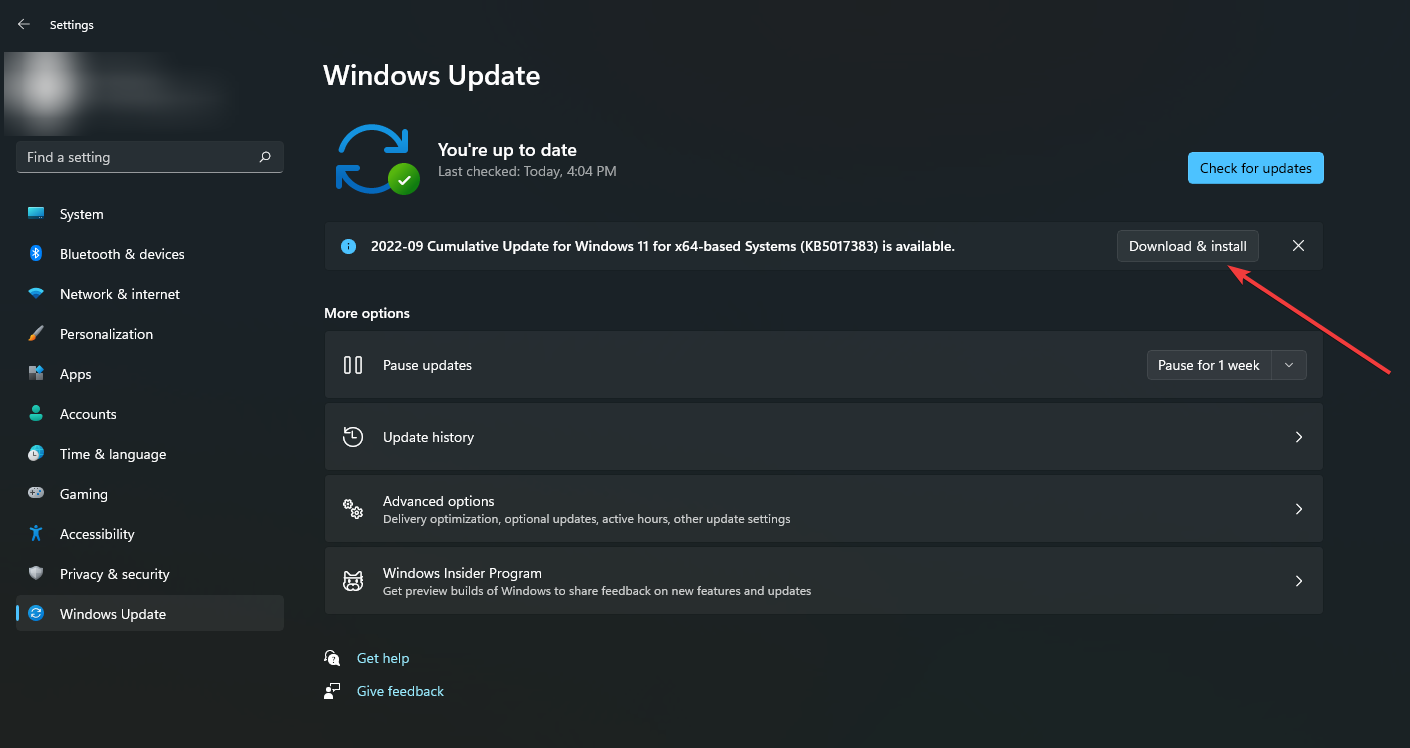
- Select Download and Install when a Windows feature update becomes available.
- If you cannot upgrade your version of Windows, choose to Check for Updates to download and install any available patch updates.
Windows may block Thunderbolt connections because of security concerns.
To protect your computer from threats, you must install security updates. However, it’s also essential to fix any bugs in the Windows security software that prevent safe transfers.
4. Update Thunderbolt firmware
The Thunderbolt ports on your computer might require updates to work correctly. A firmware update is all your device needs to do for effective data transfers.
For further information, click the website link for the computer manufacturer above. Please contact your computer’s manufacturer directly if they are not mentioned to acquire the most recent information.
5. Update your motherboard BIOS or UEFI
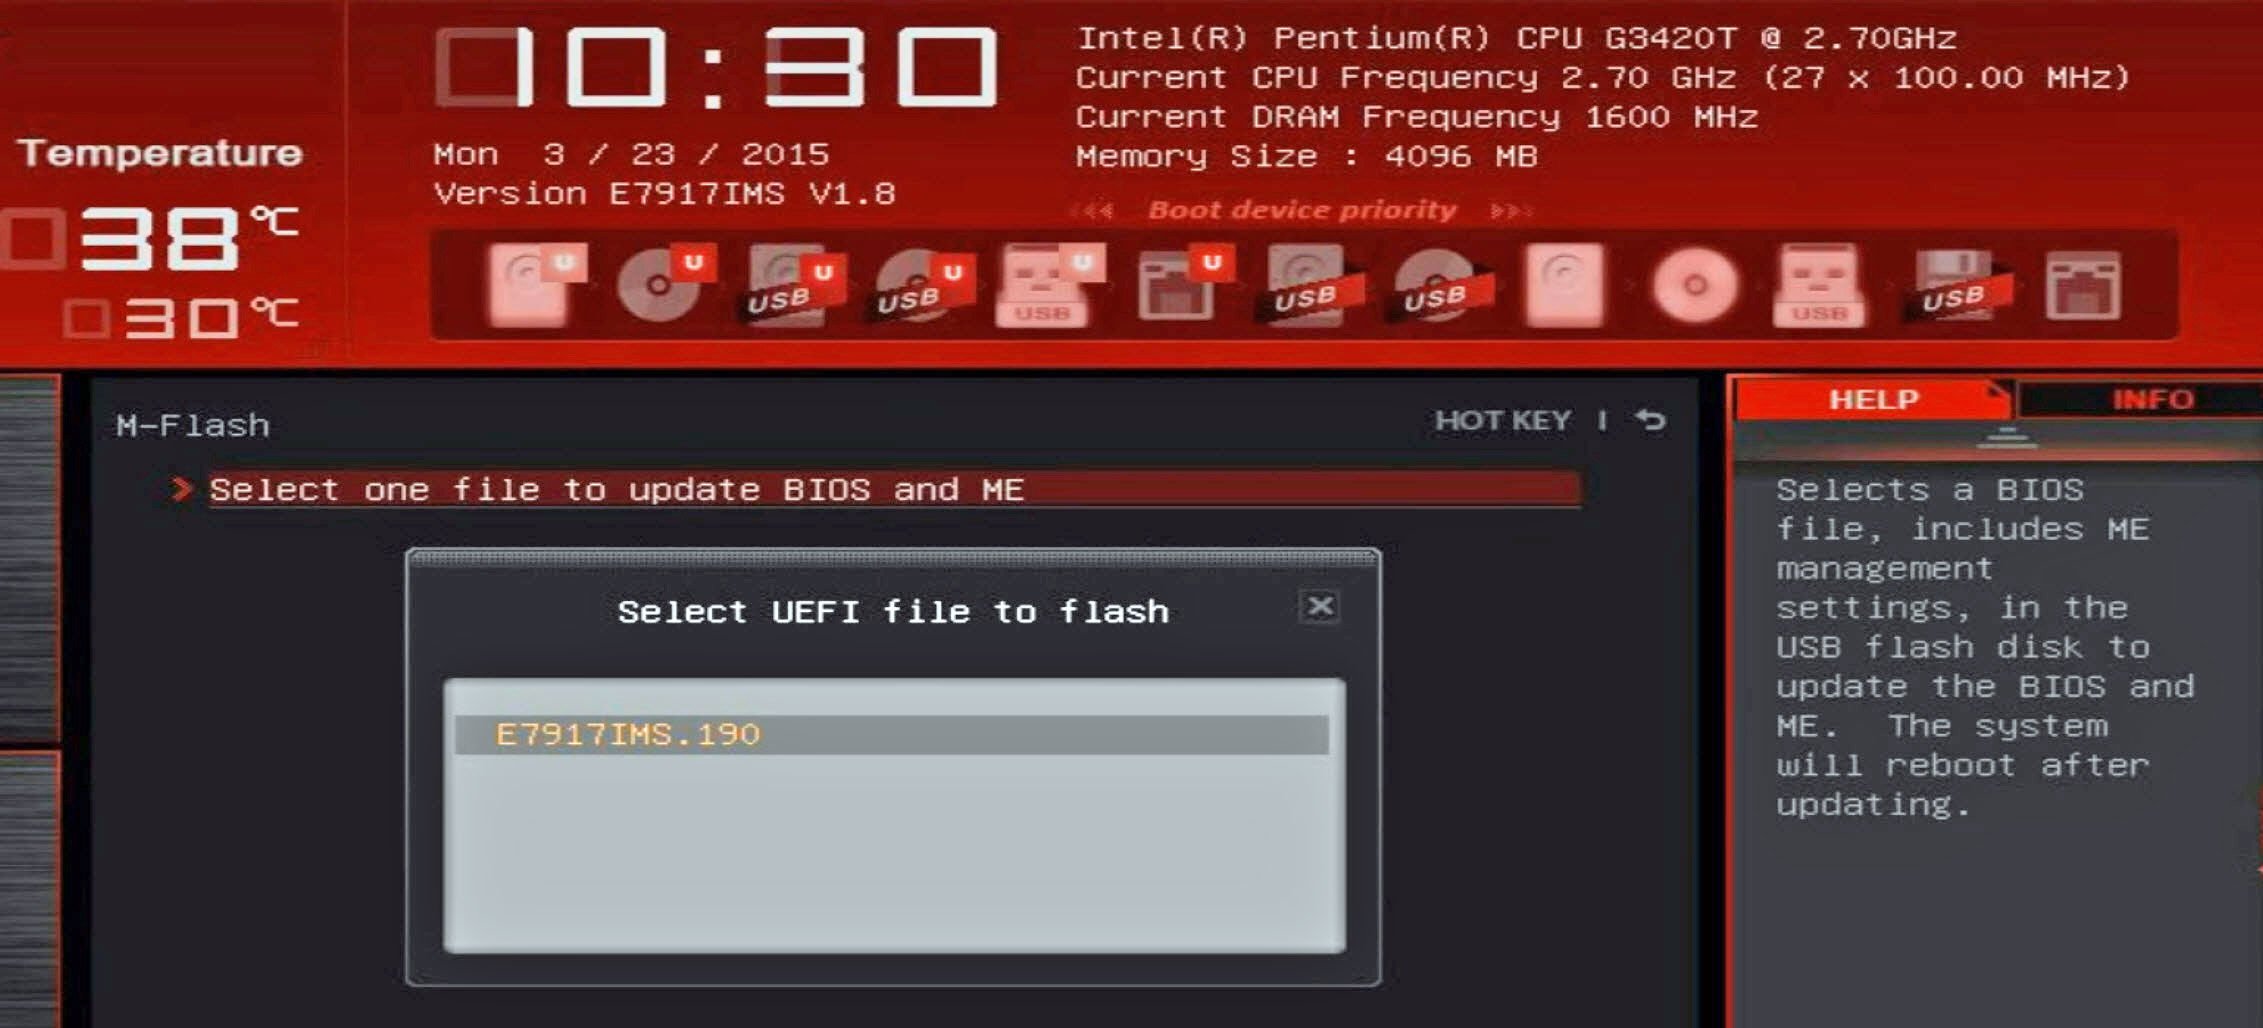
- Visit your computer motherboard manufacturer’s official site to download the latest BIOS or UEFI.
- Copy it to another USB flash drive after unzipping.
- Turn on your computer again and go into the BIOS or UEFI.
- Update the BIOS and/or UEFI using the menus.
In certain cases, updating the BIOS is required to fix bugs, enhance stability or performance, or allow the motherboard to support a Thunderbolt cable or other equipment.
Your computer can become useless if the BIOS upgrade encounters a problem. It may not be able to boot at all if there is a power outage or if the computer shuts down while upgrading. Although unlikely, it is nonetheless possible.
Does Thunderbolt need software?
Although you had to install a software program for Thunderbolt to work correctly in the early days, practically all devices now come with it preinstalled.
However, you still won’t be able to utilize a Thunderbolt device without this program. Even though this necessary software is preinstalled, you may need to update it frequently to keep Thunderbolt’s data transfer rates stable.
The maximum data transmission speed of a Thunderbolt 3 connection is 40 gigabytes per second, which is double the speed of a USB-C cable.
However, you must use a Thunderbolt cable with a Thunderbolt connector and not a USB-C connection to get these data transfer speeds.
Most current laptops and motherboards feature a thunderbolt connector, although certain models can still not support Thunderbolt.
It is worth noting that these modern laptops may experience problems like Thunderbolt not showing associated devices, which may be resolved using the solutions mentioned above.
In the comment section below, let us know if you were able to fix Thunderbolt not showing attached devices issue.





User forum
0 messages