NetSupport Your Demonstration Period Has Expired: 5 Easy Fixes
This error can be triggered by malfunctioning parts of a startup app
![]() 4 min. read
4 min. read
![]() Updated on
Updated on
Share this article

Improve this guide
Read our disclosure page to find out how can you help Windows Report sustain the editorial team Read more
Key notes
- The NetSupport demonstration period has expired error message occurs on startup.
- It is not always associated with any program on the PC and can occur due to corrupt files or programs.
- An SFC scan and Safe Mode start will fix the error.
Unknown programs and files often find their way into the system, causing issues with how the computer works.
These unwanted programs can start during boot, resulting in the NetSupport Your demonstration period has expired error.
What does NetSupport your demonstration period has expired mean?
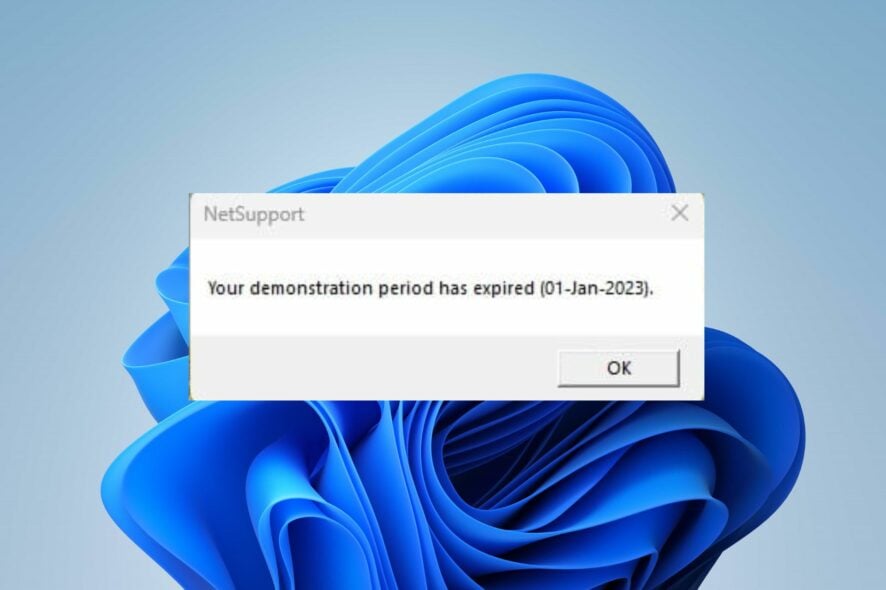
Windows users complain about running into the NetSupport: your demonstration period has expired error message when they start their PC. A startup program on your PC prompts the error message.
Furthermore, there is no particular cause for the error message as it is not linked to any app or service. Hence, it may be that the error is due to corrupt system files on the computer. They can impede the computer’s performance, causing it to run into errors.
Also, the error may occur due to a malfunctioning component of an installed app on the PC. However, users can fix the error by troubleshooting their PC.
How do I fix NetSupport Your demonstration period has expired?
We recommend you apply the following preliminary checks:
- Uninstall recently installed apps on your PC.
- Disable third-party antivirus software temporarily to see if it changes the situation.
- Restart your PC and check if the error message pops up.
If the error persists, proceed with the following solutions to fix this problem quickly.
1. Restart Windows in Safe Mode
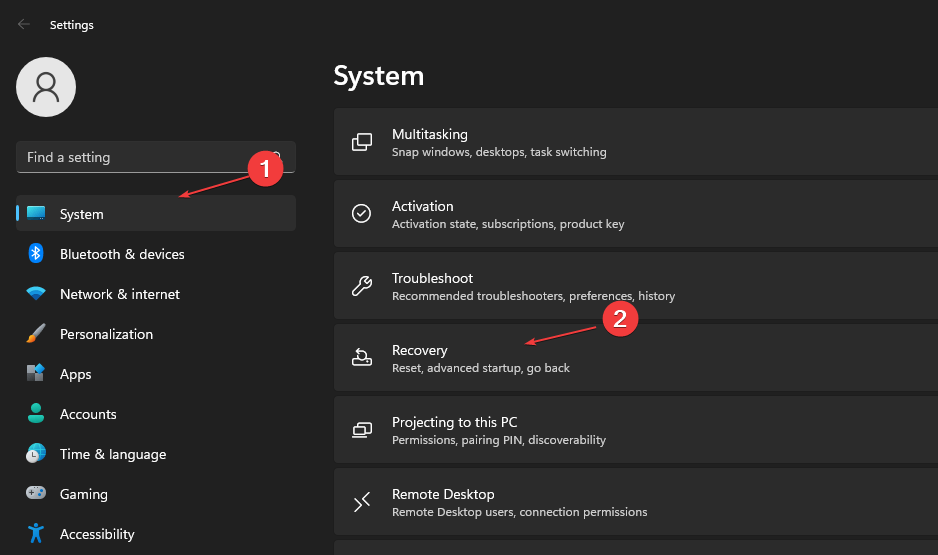
- Press Windows + I key to launch the Settings app.
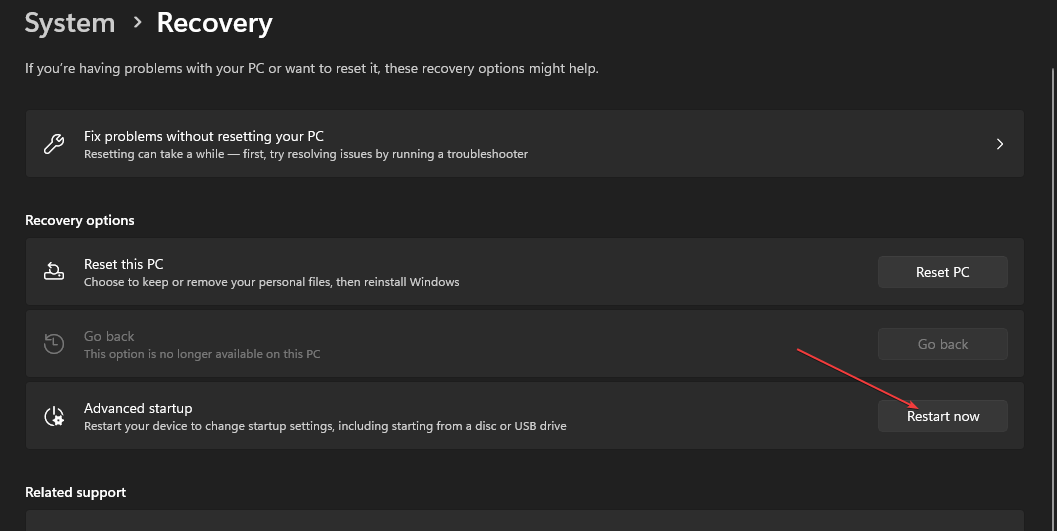
- Click on System and choose Recovery from the right pane.

- Go to Advanced Startup, then click Restart now.

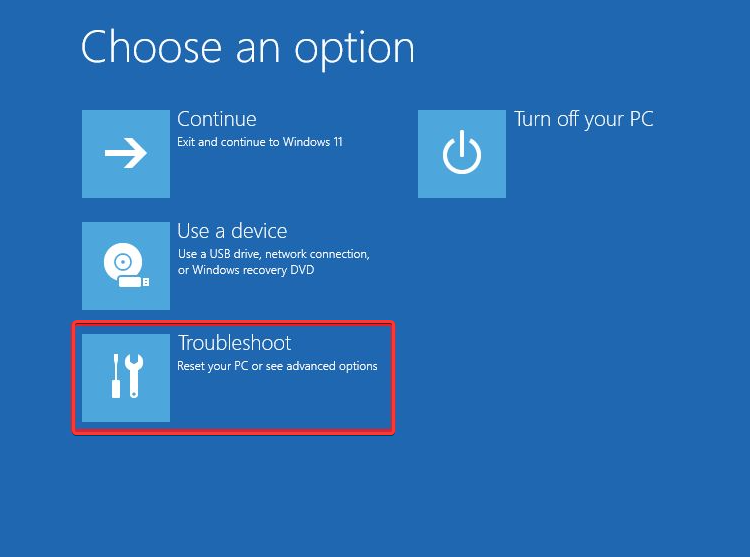
- Windows will automatically restart into System Recovery, then click on Troubleshoot.

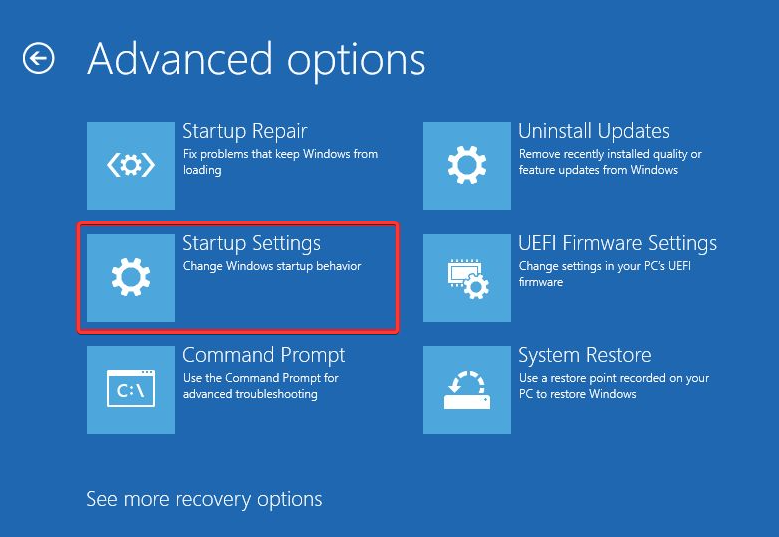
- Select Advanced Options and click on the Startup Settings option.

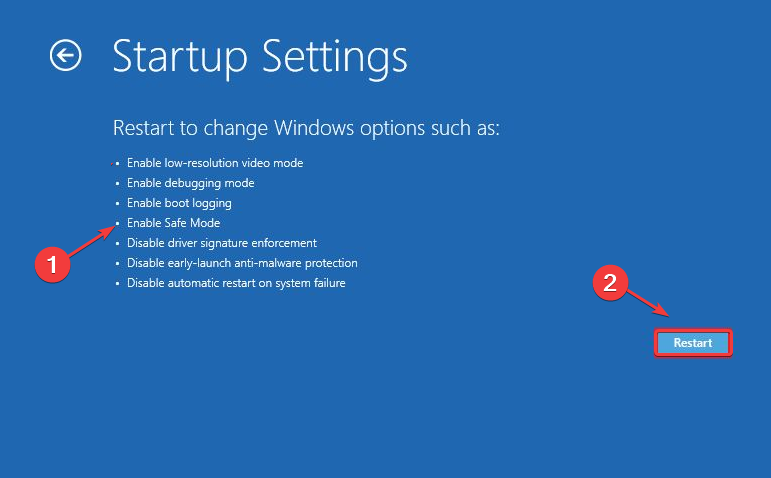
- Press the F4 key to enter Safe Mode and click Restart.

Restarting Windows in Safe Mode will minimize the number of programs that start when the system boots. It can stop the error from occurring when logging in.
Read our guide on how to fix the Safe Mode not working on Windows 11 if you run into trouble with this solution.
2. Run an SFC scan
- Left-click the Start button, type Command Prompt, and click the Run as administrator option.
- Click Yes on the User Account Control prompt.
- Type the following command and press Enter:
sfc /scannow
- Restart your PC and check if the error persists.
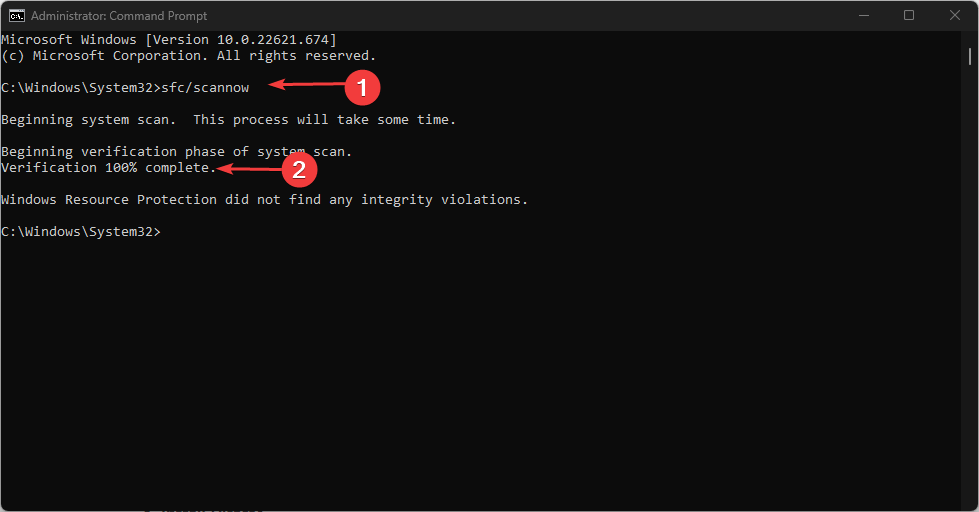
An SFC scan will detect corrupt system files that can prevent the user profile from loading. You can check how to fix the run-as-administrator option if it’s not working on your PC.
3. Rename the svrwebui.exe file
- Press Windows + E to launch File Explorer.
- Navigate to the following path:
C:\ProgramData\regid.1993-06.com.microsoft - Right-click on the svrwebui.exe executable file, then select the Rename option from the drop-down.

- Type svrwebui.exe~~~ and press OK to save it.
- Restart your PC and check if the NetSupport error persists.
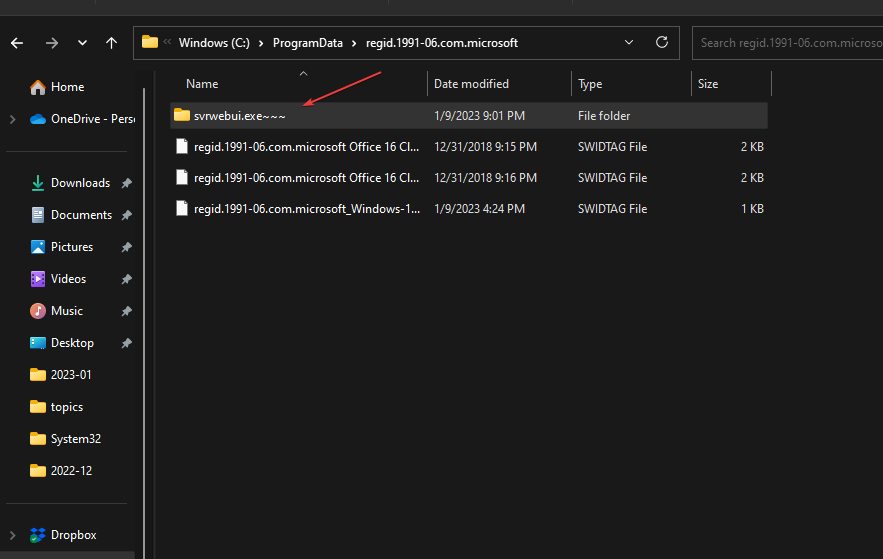
Renaming the svrwebui.exe executable file on your PC will prevent the services dependent upon it from running when you boot your system.
4. Enable Real-time protection in Windows Defender
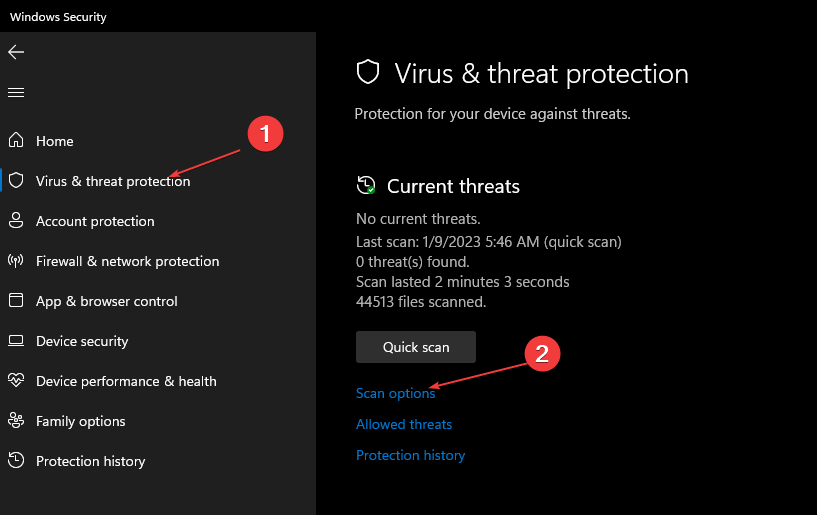
- Left-click the Start button, type Windows Security, then click Enter.
- Select Virus & Threat Protection from the menu and click on the Scan options.

- Select Full scan to initiate an extensive scan, then click the Scan now button.

- Wait while the scan completes, then navigate to the Virus & threat protection option.
- Click on Manage settings and toggle on the Real-time protection option to enable the Windows Defender Antivirus.

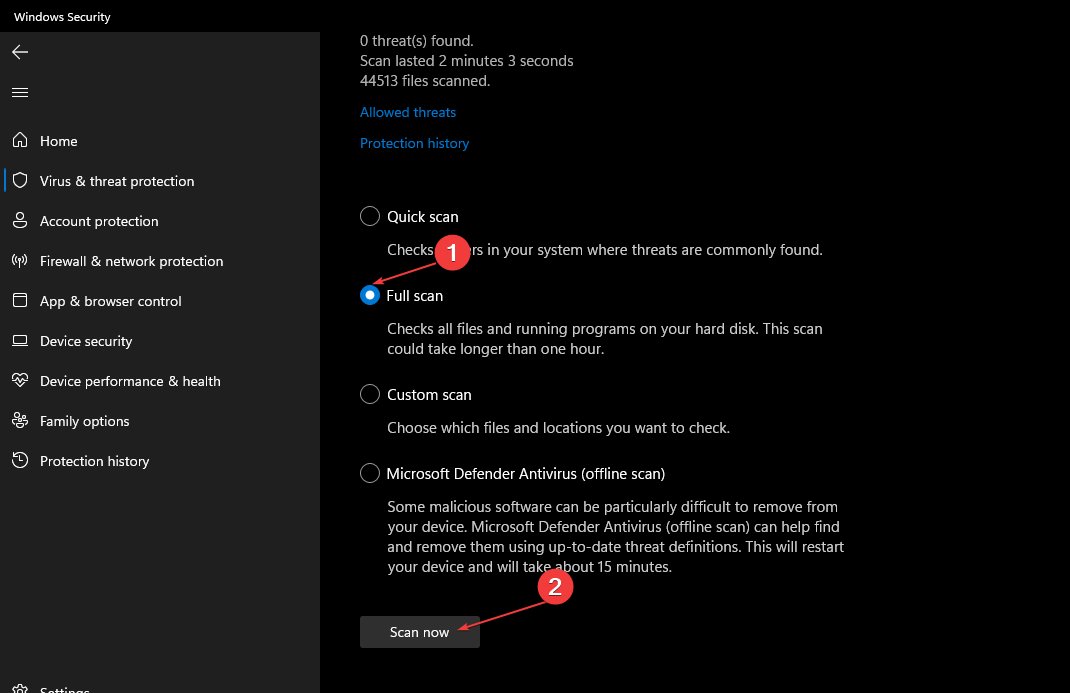
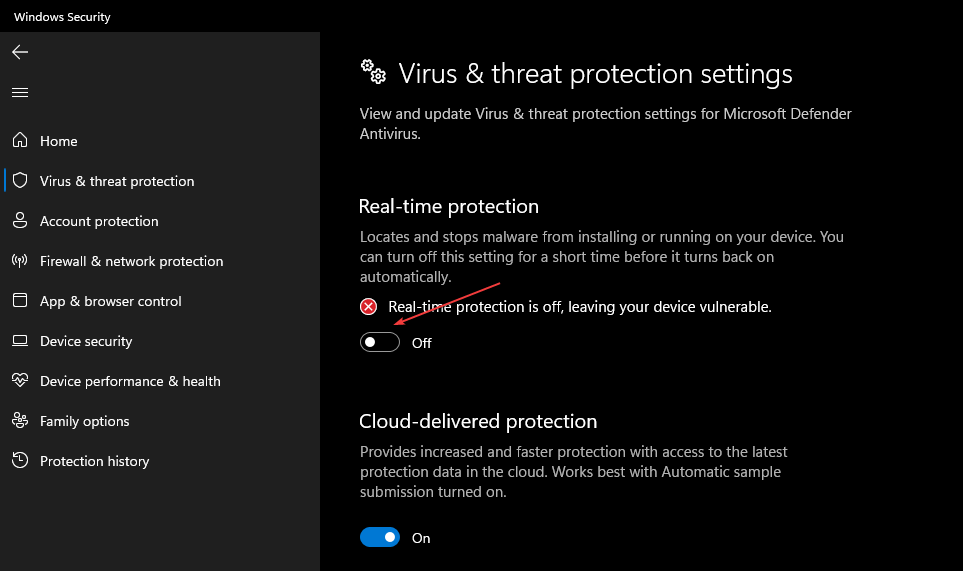
The Full scan will detect and remove any malicious activity on your PC. Also, the Real-Time protection feature will prevent further attacks on your PC.
Read how to fix the Windows Virus and threat protection not working on Windows 11 if you have issues using it.
Unfortunately, sometimes, a Windows Defender scan will not be very effective, so if you still have issues, get a better third-party antivirus and run a full scan.
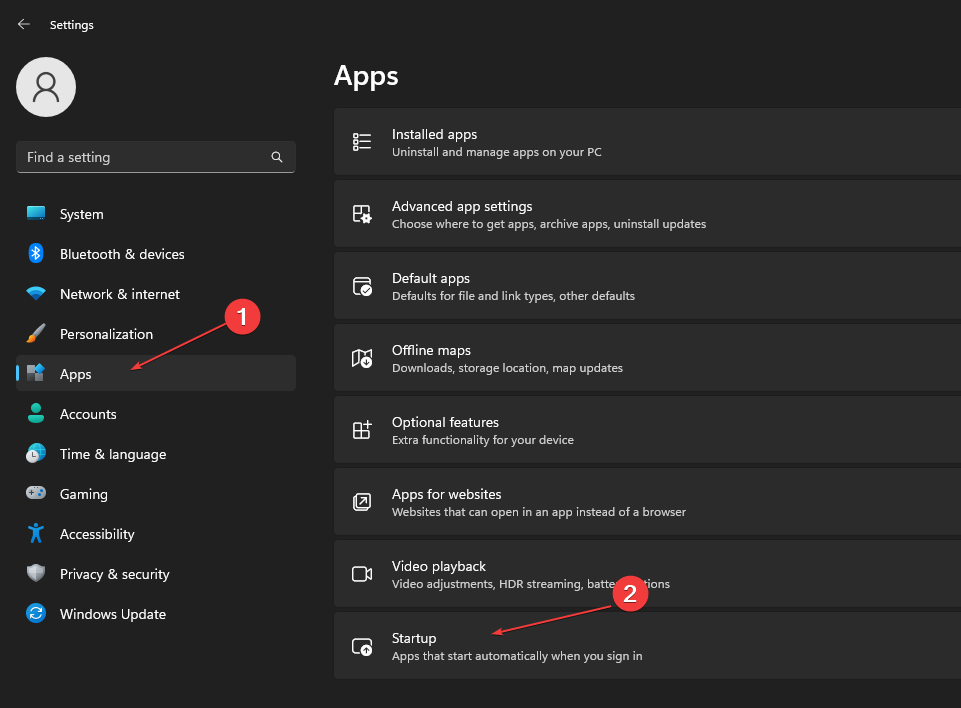
5. Disable non-Microsoft Startup Programs
- Press Windows + I to launch the Windows Settings app.
- Click on Apps from the right pane and select the Startup navigation option.

- Toggle off the switch next to any programs not associated with Microsoft to disable the startup apps.

- Close the Settings app and restart your PC to check if NetSupport persists.
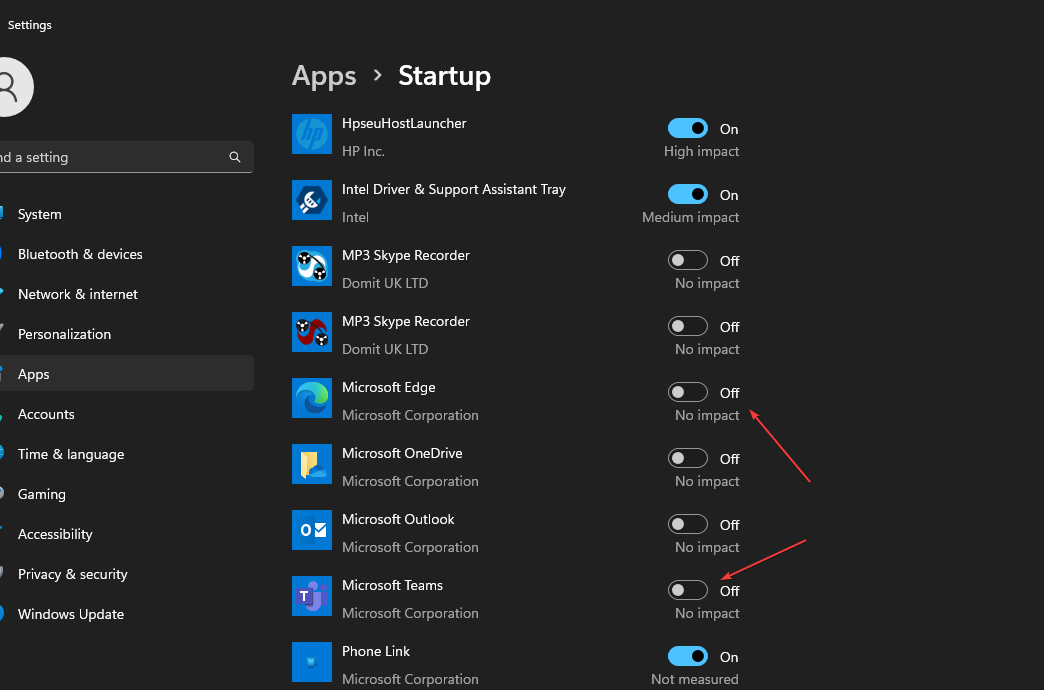
Disabling non-Microsoft startup programs will prevent third-party apps from running when you boot your PC.
In addition, our readers may be interested in the trial period for this app has expired error in Windows and some fixes.
If you have further questions or suggestions on fixing NetSupport, your demonstration period has expired error, kindly use the comments section.