Enable & Use Remote Desktop on Windows 11 [5 Tips]
Using the Settings app is a straightforward approach
3 min. read
Updated on
Read our disclosure page to find out how can you help Windows Report sustain the editorial team. Read more
Key notes
- The Remote Desktop on Windows 11 is essential for connecting to a computer running the new OS remotely.
- You will be able to turn on this setting on the Pro and Enterprise editions of Windows 11.
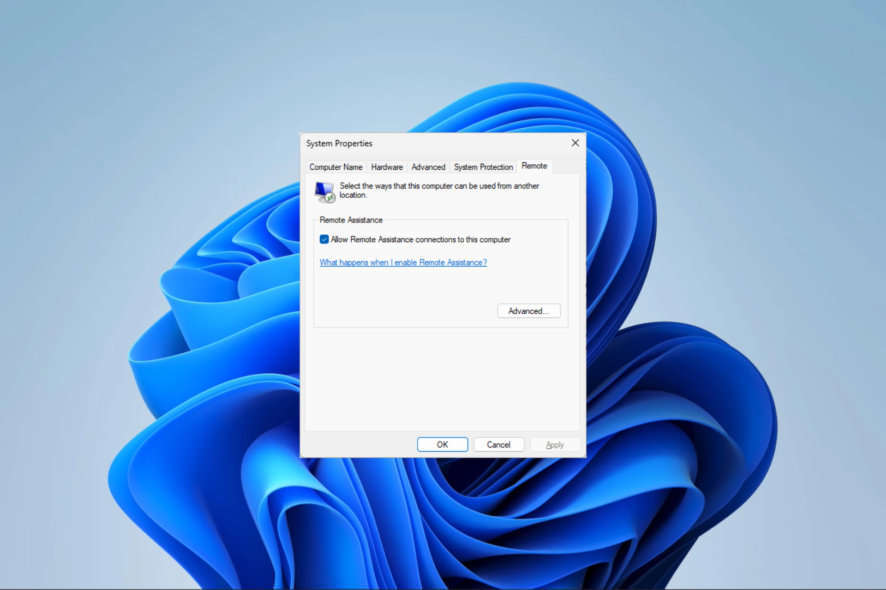
Are you considering using your Windows 11 desktop in a different room within your home? Instead of physically going there, you can conveniently access it remotely from your phone or tablet. You, however, need first to enable Windows 11 Remote Desktop.
There are a few options to accomplish this, and this our guide will take you through some of the most practical solutions.
Does Windows 11 support Remote Desktop?
Yes, Windows 11 supports Remote Desktop. However, it works only with Windows 11 Pro and Enterprise editions. So for users of the Windows 11 Home edition, there may not be much you can do.
Once you are on an edition that supports the service, you can learn how it is enabled and used on Windows 11.
How to enable Remote Desktop on Windows 11?
1. Enable Remote Desktop using the Control Panel
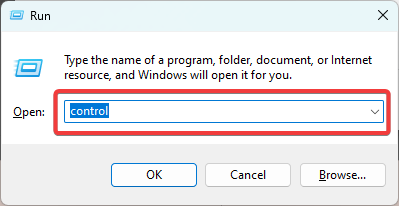
- Press Windows + R to open the Run dialog.
- Type control and hit Enter.
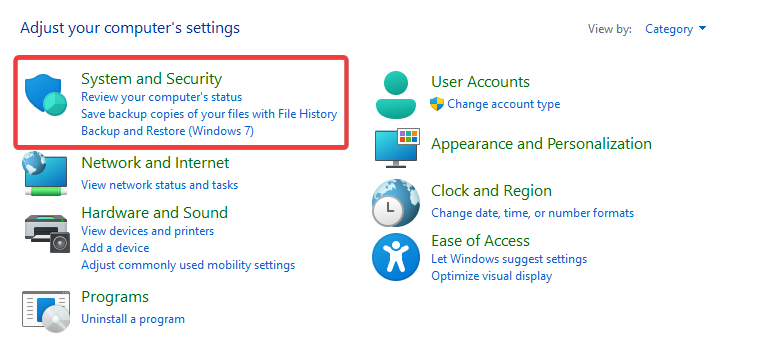
- Click on Systems and Security.
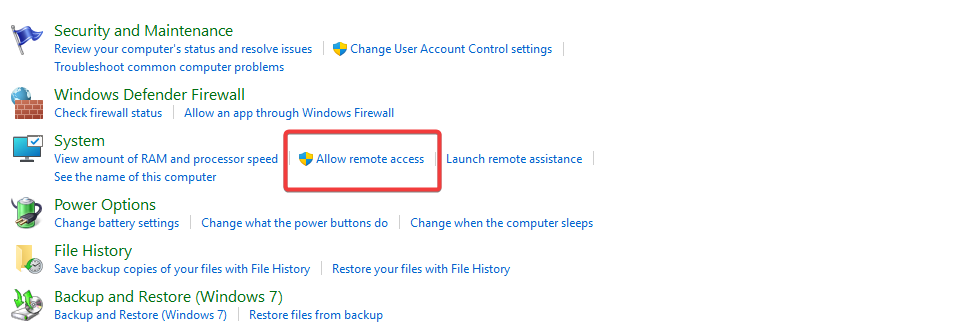
- Select Allow remote access under the System menu.
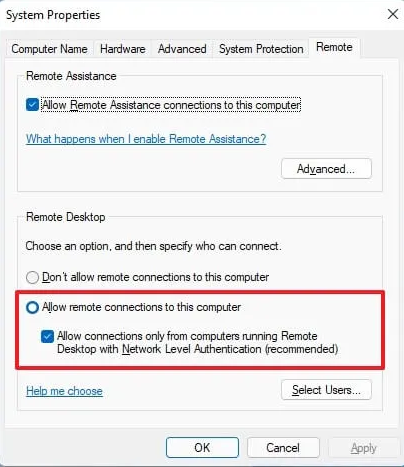
- To enable remote access, go to the Remote Desktop section and choose the Allow remote connections to this computer setting.
- Hit Apply and OK.
2. Enable Remote Desktop from Windows 11 Settings
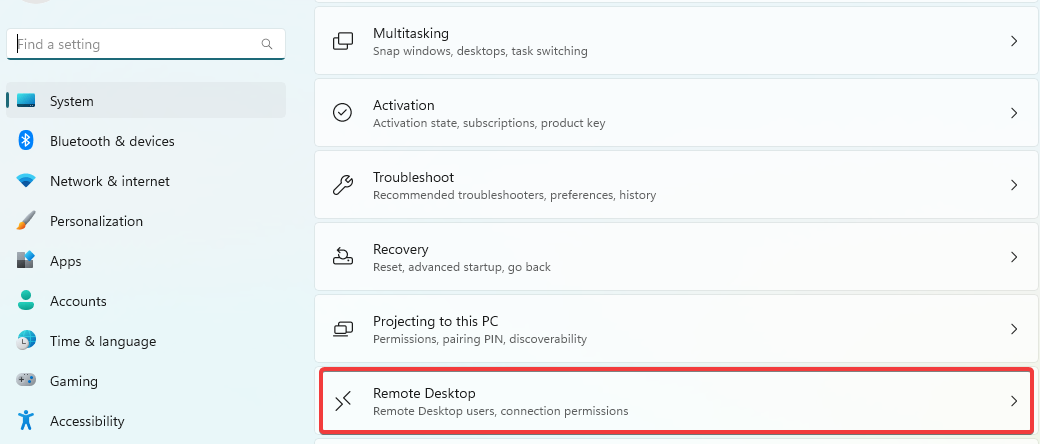
- Press Windows + I to open the Settings app.
- On the right pane, click on Remote Desktop.
- Toggle on the Remote Desktop switch.
- Finally, confirm your choice if prompted.
3. Enable Remote Desktop using the Command Prompt
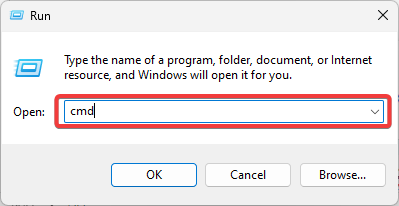
- Press Windows + R to open the Run dialog.
- Type cmd and hit Ctrl + Shift + Enter.
- Input the script below, then hit Enter.
reg add "HKEY_LOCAL_MACHINE\SYSTEM\CurrentControlSet\Control\Terminal Server" /v fDenyTSConnections /t REG_DWORD /d 0 /f - Allow Remote Desktop through the firewall by inputting the script below and hitting Enter (This is an optional step).
netsh advfirewall firewall set rule group="remote desktop" new enable=Yes
After following the necessary steps, the Remote Desktop feature will be activated, and the firewall settings will be configured accordingly, granting you remote access to the computer.
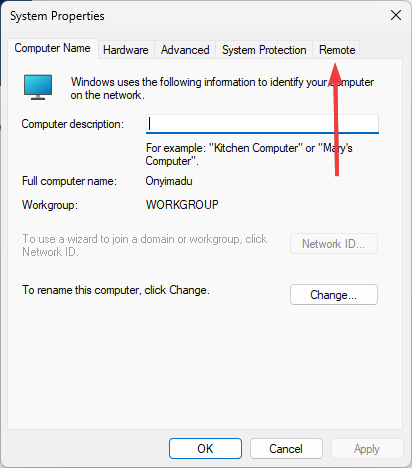
4. Using System Properties
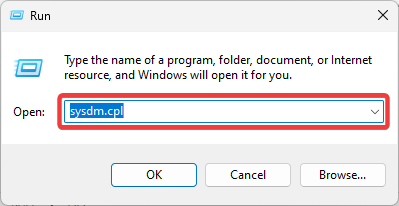
- Press Windows + R to open the Run dialog.
- Type sysdm.cpl and hit Enter.
- Click the Remote tab.
- To enable remote access, go to the Remote Desktop section and choose the Allow remote connections to this computer setting.
- Hit Apply and OK.
5. Enable Remote Desktop from the Windows 11 PowerShell
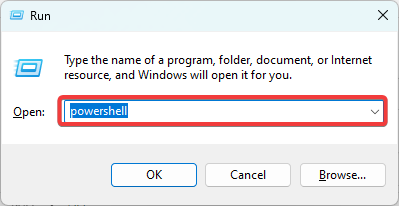
- Press Windows + R to open the Run dialog.
- Type powershell and hit Ctrl + Shift + Enter.
- Type the script below and hit Enter:
Set-ItemProperty -Path 'HKLM:\System\CurrentControlSet\Control\Terminal Server' -name "fDenyTSConnections" -value 0 - Allow Remote Desktop through the firewall by inputting the script below and hitting Enter (This is an optional step).
Enable-NetFirewallRule -DisplayGroup "Remote Desktop"
Once you have completed the necessary steps, you will be able to utilize Remote Desktop on Windows 11 to access your device from afar, even with the firewall activated.
You may go through our comprehensive guide on opening a problematic PowerShell if you can not access the utility.
This is as much as we explore in this guide. If you have followed through, you will realize there are so many options. Simply stick to whichever seems the most accessible.
We, however, would like to know your preferred choice, so please leave us a comment below.







User forum
1 messages