Luafv.sys BSOD: 4 Ways to Fix It for Good
We recommend a malware scan before other fixes
![]() 4 min. read
4 min. read
![]() Updated on
Updated on
Share this article
Improve this guide
Read our disclosure page to find out how can you help Windows Report sustain the editorial team. Read more
Key notes
- BSOD errors may be caused by different factors and for some users, the luafv.sys driver may spark the error.
- The luafv.sys driver is responsible for implementing the LUA file system, a security feature that helps protect the system by limiting user privileges.
A lot of our readers dread BSODs and for good reason. It comes with sudden system crashes, and often you do not get an explanation. The luafv.sys BSOD is just one of many such problems.
This guide looks into it, explains some probable causes, and gives you the top recommended solutions.
What causes the luafv.sys BSOD?
If you encounter the luafv.sys BSOD (Blue Screen of Death) error, it’s likely due to problems with the luafv.sys driver file that’s linked to the Windows operating system. Any of the following may be a factor:
- Driver conflicts – If there are issues or clashes between the luafv.sys driver and other drivers on the system, it may result in a BSOD error. Such occurrences can happen because of outdated, incompatible, or faulty drivers.
- Corrupted system files – In case the luafv.sys file or any other system files associated with it get damaged or corrupted; it can lead to a BSOD error.
- Malware or viruses – There are instances where harmful software specifically targets and corrupts the luafv.sys file and other associated system files.
How do I fix the luafv.sys BSOD?
Before exploring any complex fixes, we recommend the following workarounds:
- Restart the computer – A simple restart may suffice after a BSOD crash. The reboot may fix a minor glitch that causes the error.
- Run a scan – Since malware is a dominant factor, ridding your computer of malware with a robust antivirus is recommended before further troubleshooting.
If the BSOD persists after the above pre-solutions, we recommend you continue with the fixes below.
1. Update drivers
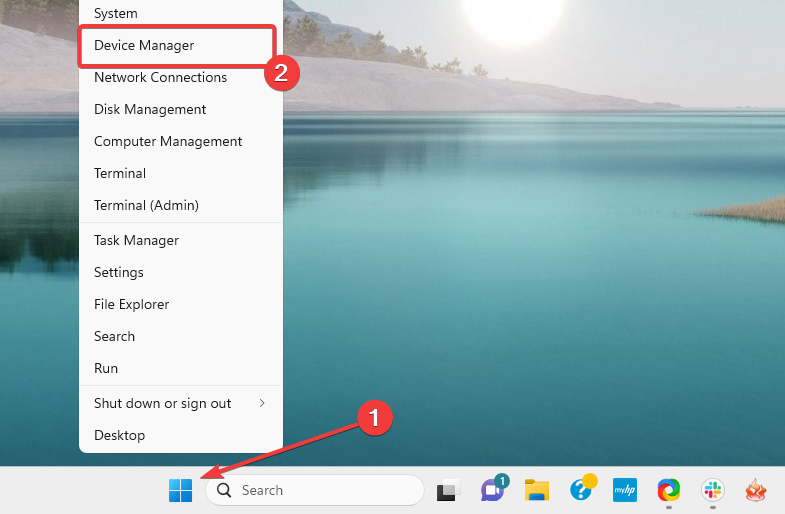
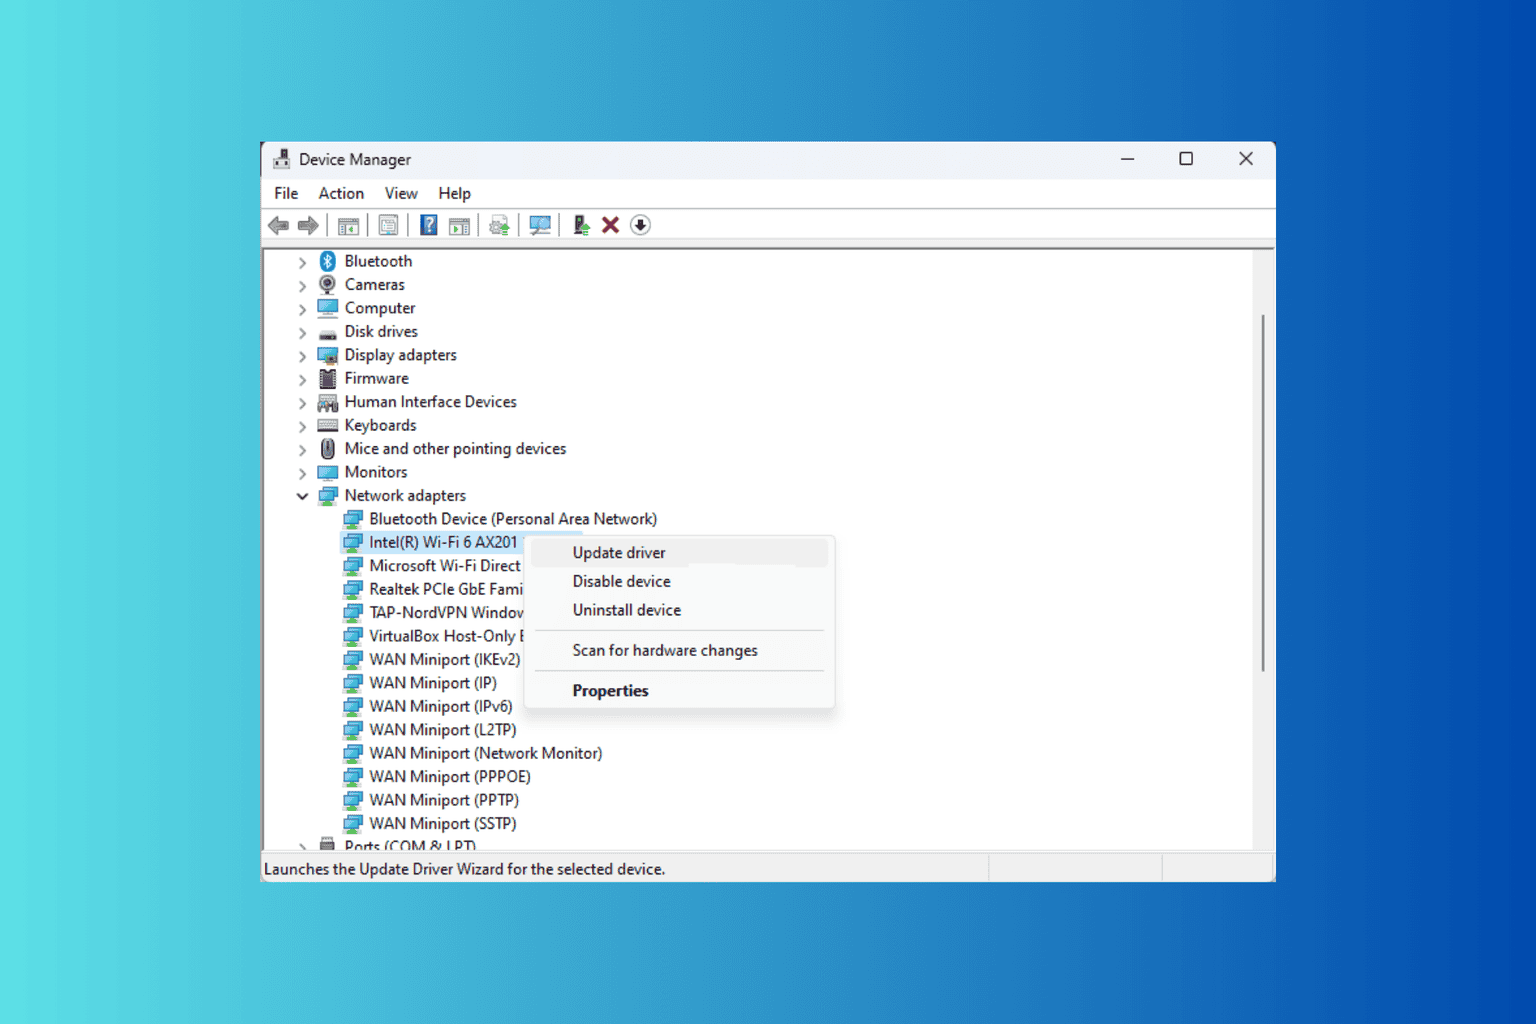
- Press the Start menu and click on the Device Manager option.

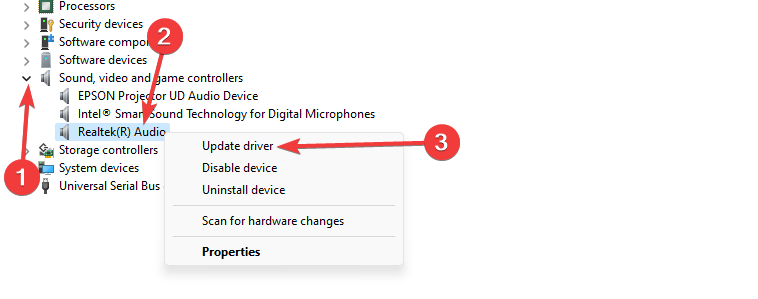
- Expand any category with outdated drivers (they usually have a yellow badge), right-click on your driver, and click Update driver.

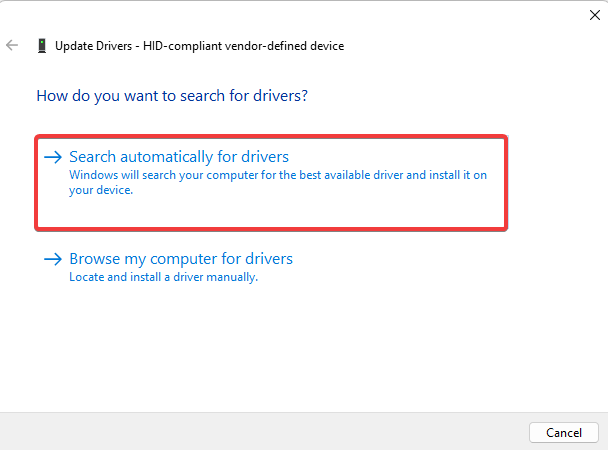
- Select the option that reads Search automatically for browsers in the following window.

- Follow any on-screen prompts to complete the download and update.
2. Run the DISM and SFC scans
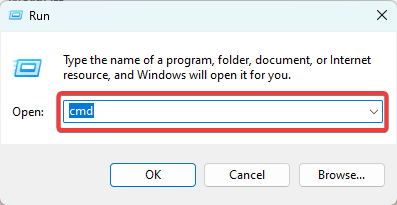
- Press Windows + R to open the Run dialog.
- Type cmd and hit Ctrl + Shift + Enter.

- Input the script below and hit Enter.
DISM.exe /Online /Cleanup-image /Restorehealth
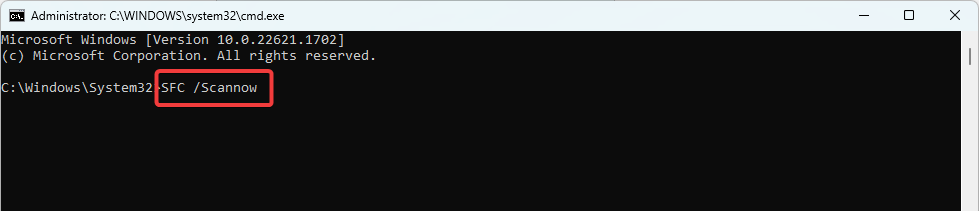
- Type in the script below and hit Enter to run the SFC scan.
SFC / Scannow
- Restart the computer if required and verify it fixes the luafv.sys BSOD.

If you want to choose an automated procedure, we recommend you use a dependable third-party repair tool.
3. Get the latest OS updates and security patches
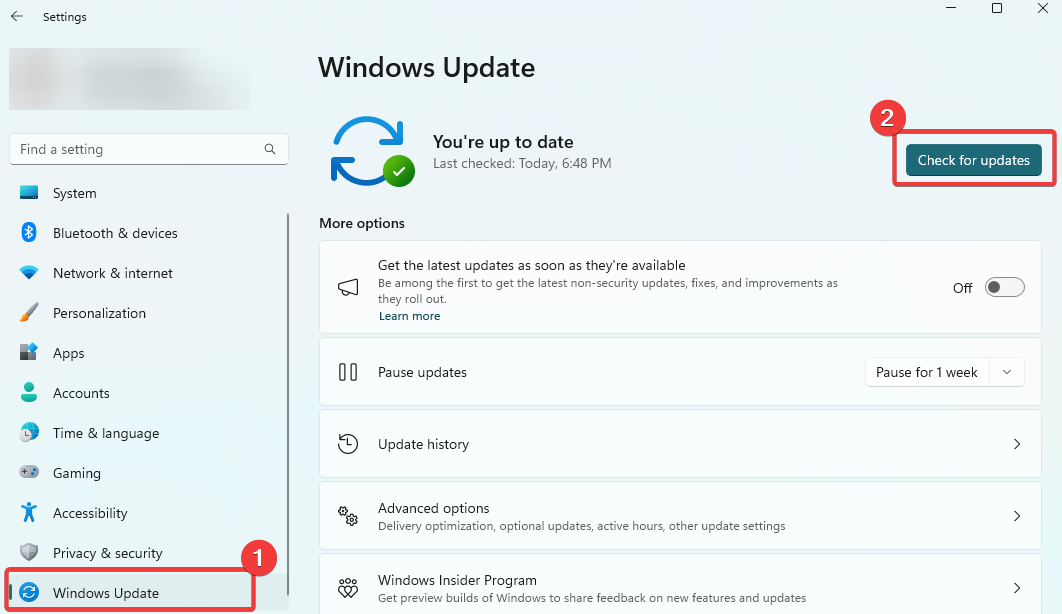
- Press Windows + I to open the Settings app.
- On the left pane, click Windows update, then select Check for updates on the right.

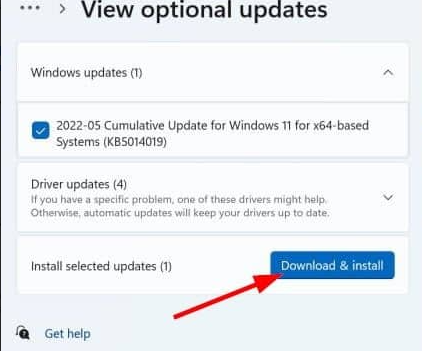
- If there are updates, click Download & Install.

- Wait for all updates to be installed, and if required, finally restart your computer and see if it fixes the luafv.sys BSOD.
4. Perform a system restore
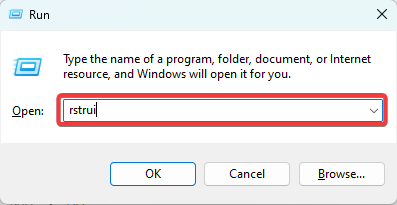
- Press Windows + R to open the Run dialog.
- Type rstrui, and hit Enter.
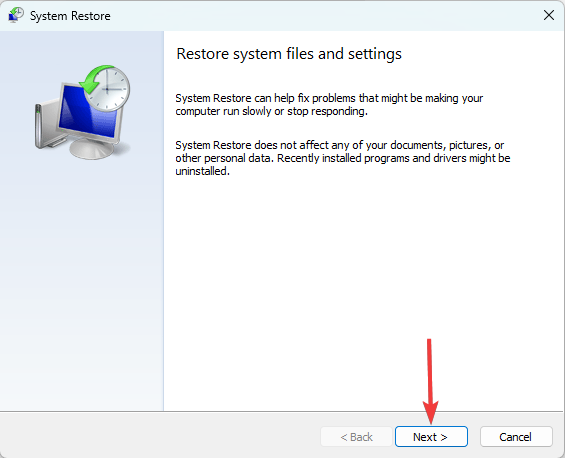
- Click the Next button.

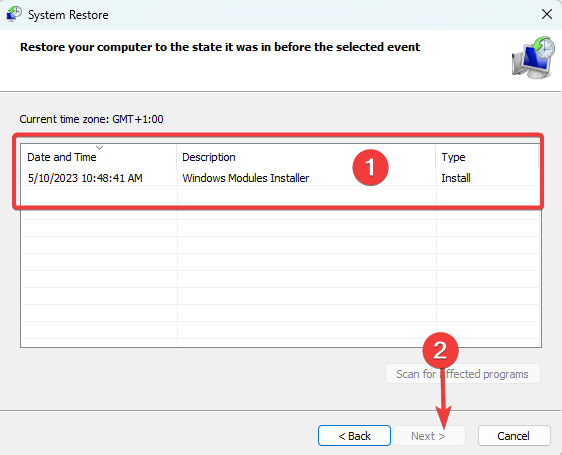
- Select a restore point and hit Next.

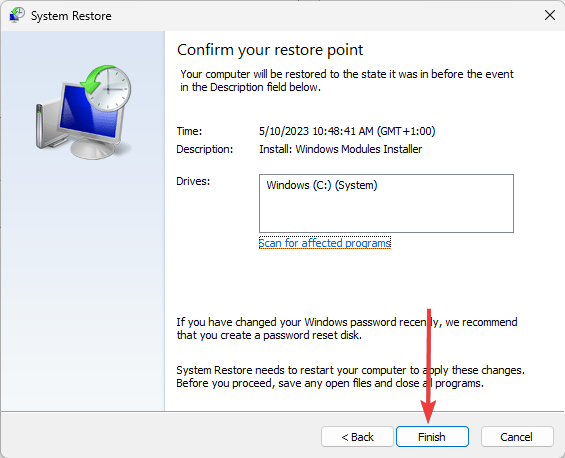
- Click on Finish.
- The computer would restart in the process, but at the end, verify that it fixes the luafv.sys BSOD.
Any of the above fixes should work for the BSOD error. You should note that we have not written them in any particular order, so you should start with whichever feels the most applicable.
In rare cases, you may need to start the computer in Safe Mode before applying the fixes. So, we have written a comprehensive guide on entering Safe Mode in Windows 11.
Lastly, in the comments section below, let us know which fixes worked for you.

User forum
0 messages