5 Ways to Turn Off USB Storage Ports on Windows 11
The easiest way is to use the Registry Editor
![]() 5 min. read
5 min. read
![]() Published on
Published on
Share this article
Improve this guide
Read our disclosure page to find out how can you help Windows Report sustain the editorial team. Read more
If you want to prevent people from connecting USB devices and protect your data,, you need to turn off USB storage on your Windows computer. In this guide, we will discuss some of the easiest methods to do so. Read on!
How can I turn off USB storage ports on Windows 11?
1. Using the Registry Editor
 NOTE
NOTE
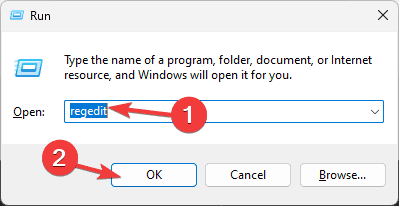
- Press Windows + R to open the Run window.

- Type regedit and click OK to open the Registry Editor.
- First, you should back up the registry entries to import them if anything goes wrong. Go to File, and select Export from the context menu. In the following window, type in the file name and click Save.

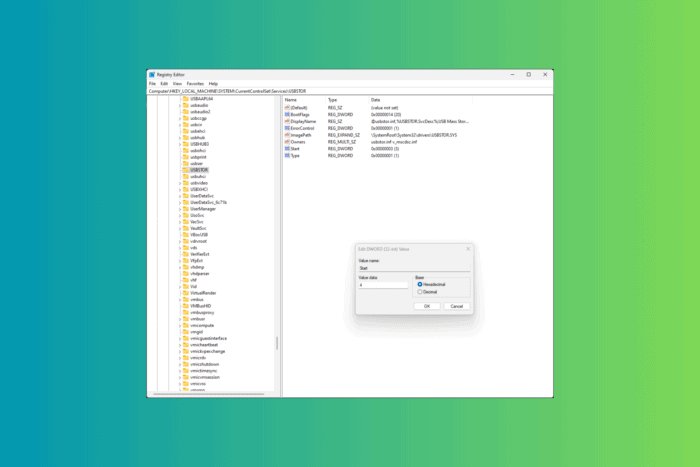
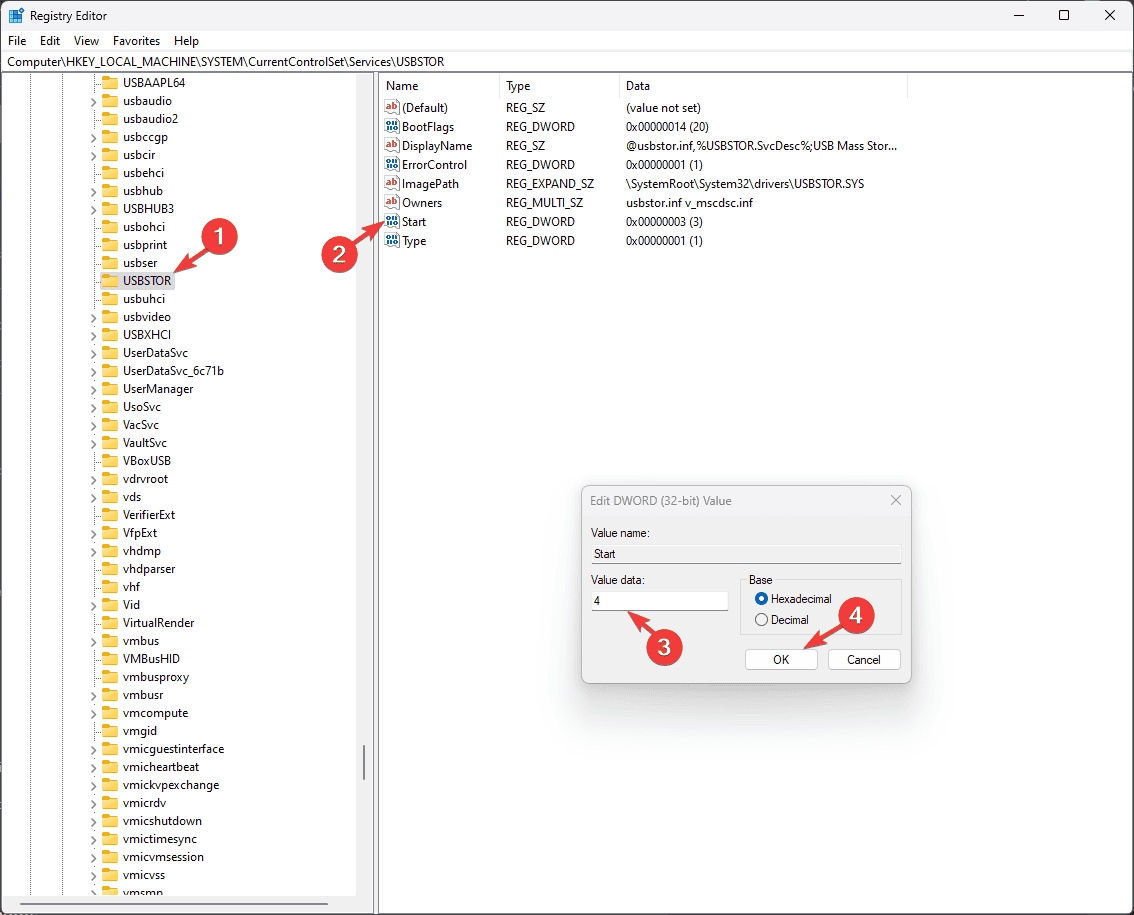
- Navigate to this path:
Computer\HKEY_LOCAL_MACHINE\SYSTEM\CurrentControlSet\Services\USBSTOR - From the details pane on the right, locate Start DWORD and double-click it.

- For Value data, replace 3 with 4, select Hexadecimal, and click OK to save the changes.
- Close Registry Editor and restart your computer.

2. Using the File Explorer
NOTE
2.1 Add user or group to deny permissions
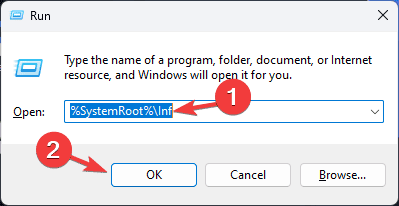
- Press Windows + R to open the Run window.
- Type %SystemRoot%\Inf and click OK to open the Inf folder in Windows File Explorer. Alternatively, you can follow this path: C:\Windows\INF\usbstor.pnf in Windows File Explorer; however, don’t forget to replace C with the system drive letter of your computer.
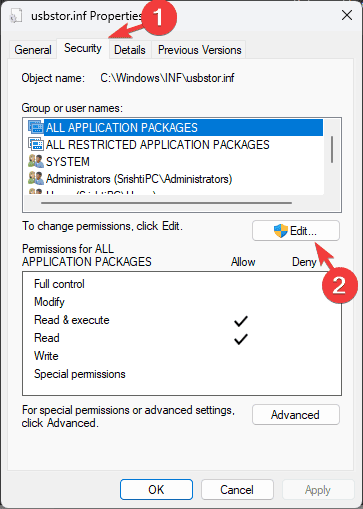
- Right-click the file and select Properties from the context menu.
- Go to the Security tab.
- Under the Group or user names section, click Edit or Advanced.

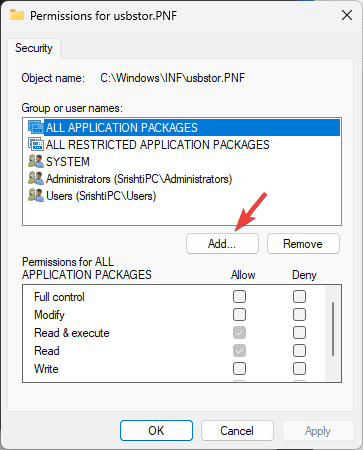
- Click Add to add the user or group that you want to prevent from accessing USB ports.

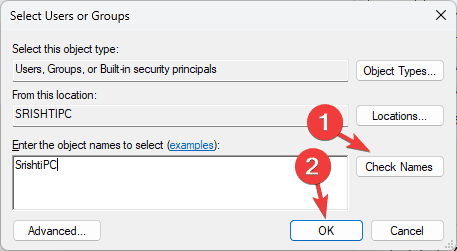
- Type the name of the user or group and click Check Names to verify.

- Click OK.
2.2 Set deny permissions for the user/group you add
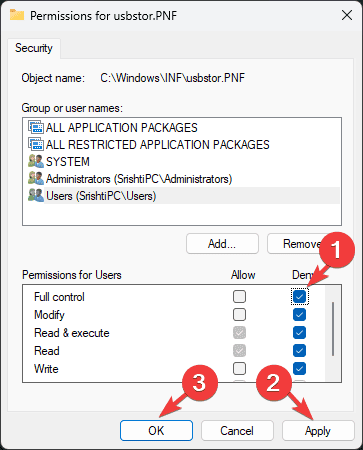
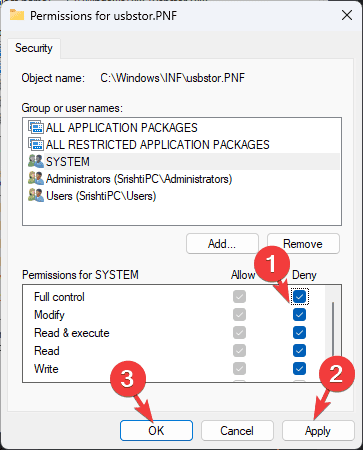
- Once the user or group is added to the Group or user names list, select it and click the Deny checkbox next to Full Control.
- Click OK to apply the changes.
2.3 Add System account to the Deny list
- In the Usbstor.pnf properties window, go to the Security tab, locate and select SYSTEM account from the Group or user names list.
- Click the Edit button.
- Click Add to add the SYSTEM account if it is not listed.
- Next, click Check Names, then hit OK.
- Now select SYSTEM, and under the Permissions list for SYSTEM, Select Deny for Full Control option.
- Click OK and OK to close the window.
2.4 Set Deny Permissions for Usbstor.inf
- Navigate to this path: C: WINDOWSInfusbstor.inf in Windows File Explorer. Remember to replace C with the system drive letter.
- Right-click Usbstor.inf and select Properties from the context menu.
- Go to the Security tab and follow the steps mentioned in 2.1, 2.2, and 2.3 to deny permissions to access USB storage devices on the computer.
3. Using the Group Policy Editor
- Press Windows + R to open the Run window.
- Type gpedit.msc and click OK to open the Group Policy Editor.
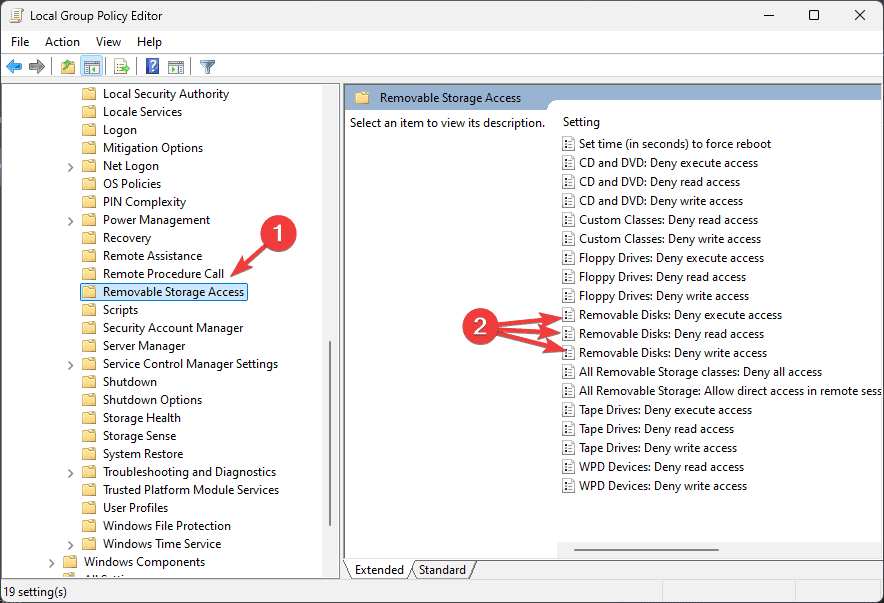
- Navigate to this path:
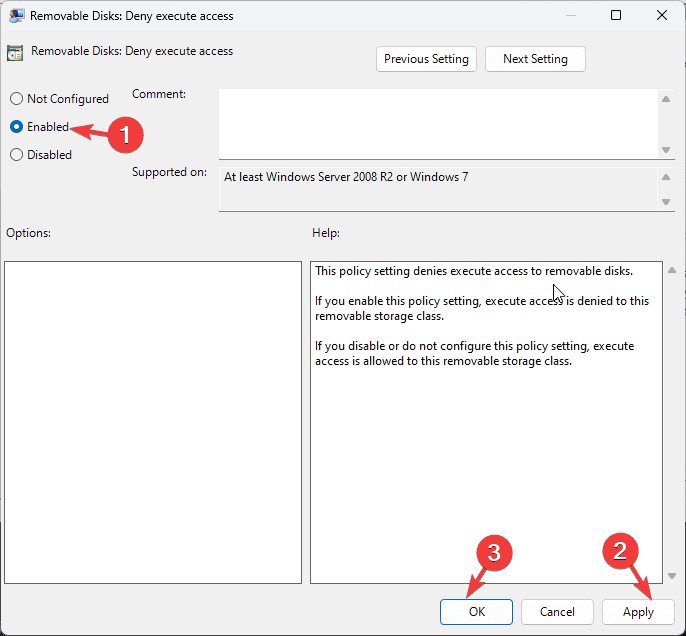
Computer Configuration\Administrative Templates\System\Removable Storage Access - From the right pane, locate the Removable Disks: Deny execute access setting. Double-click it to open its properties.

- Select Enabled, click Apply, then OK to save the changes.

- Now look for Removable Disks: Deny read access, and Removable Disks: Deny write access settings, and follow steps 4 and 5.
- Close Group Policy Editor and restart your PC.

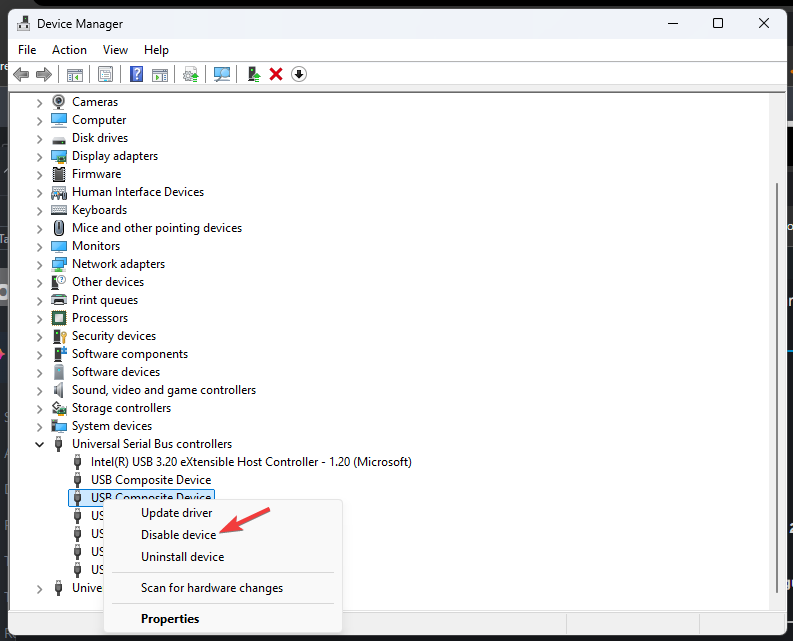
4. Using the Device Manager
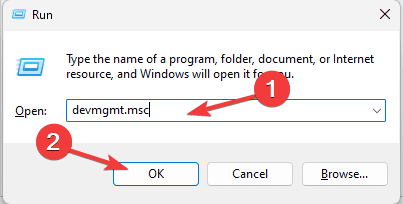
- Press Windows + R to open the Run window.

- Type devmgmt.msc and click OK to open the Device Manager.
- Locate Universal Serial Bus controllers and click it to expand the category.

- Right-click on all the entries one by one and select Disable device for each entry. Click Yes to confirm the choice.
5. Using BIOS
- Save your work on the computer and restart your computer.
- Press the designated key to enter the BIOS/UEFI setup during the startup process. Usually, the keys are F2, F10, Del, or Esc. If unsure, you can type in the manufacturer’s name and search for it online.
- Once in BIOS, navigate the menu with the arrow keys on your keyboard.
- Locate USB Configuration. You can find them in categories like Advanced, Integrated Peripherals or Onboard devices.
- Look for options like USB Ports, USB Controller, and USB Legacy Support, and using the arrows, choose Disabled for the setting.
- Press F10 to save and exit the BIOS to restart your computer normally.
- If prompted, click Yes or OK to save the changes.
How can I turn off USB storage ports on Windows 10?
You can follow the steps mentioned above to quickly disable USB storage ports on your Windows 10 computer.
To conclude, you can disable ports on multiple computers using the Group Policy Editor. However, you can follow the Registry Editor to turn off removable storage access for individual devices.
If you want to enable the ports blocked by your administrator, you can use any of the methods mentioned above and reverse-engineer the steps. If you still need help, follow this guide.
In case the USB ports are open but the Windows 11 computer does not recognize the USB device, it could be a faulty driver; to learn more, read this guide.
If you have any questions or suggestions about the topic, feel free to mention them in the comments section below. We will be happy to help!


User forum
0 messages