PCI Express Root Port Driver Windows 11: Installation/Update Guide
![]() 7 min. read
7 min. read
![]() Published on
Published on
Share this article
Improve this guide
Read our disclosure page to find out how can you help Windows Report sustain the editorial team. Read more
Are you wondering how to install the PCI Express Root Port driver in Windows 11? You’ll find the steps in this detailed guide.
If your PCI Express Root Port driver is outdated or corrupted, you’ll mostly face the following issues:
- Error Code 10 prevents new or existing hardware from using the problematic PCI Express Root Port. The hardware or its software user interface might stop working unexpectedly or won’t start at all.
- Error Code 12 indicates that multiple hardware or virtual devices use the same PCI Express Root Port. This is usually because of the outdated driver.
- Blue Screen of Death (BSOD) issues with error messages like, “SYSTEM_SERVICE_EXCEPTION” and “DRIVER_IRQL_NOT_LESS_OR_EQUAL“.
- Your Windows 11 PC won’t recognize the new or existing hardware despite installing all the necessary device drivers provided by the manufacturer.
- The PCI Express hardware might show extensively reduced performance.
However, if you’re seeing warnings from a third-party driver updater but there are no apparent issues related to the PCI Express hardware, you can rest easy.
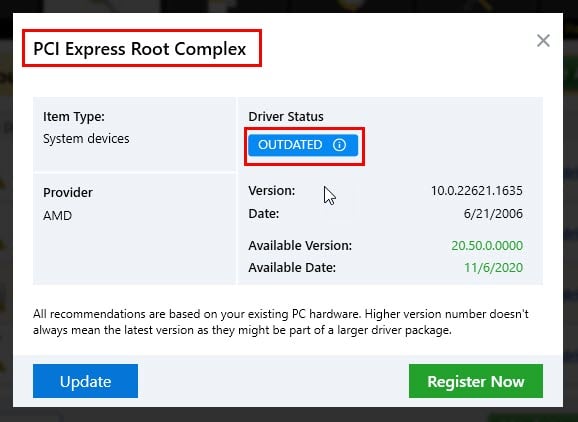
In this scenario, you don’t need to take any action. The driver updater is likely just trying to get you to buy a subscription.
How To Install PCI Express Root Port Driver Windows 11
I’ve organized various ways to download and update the driver, starting with the simplest ones:
Via Windows 11 Device Manager Tool
If the PC is connected to the internet, try these steps:
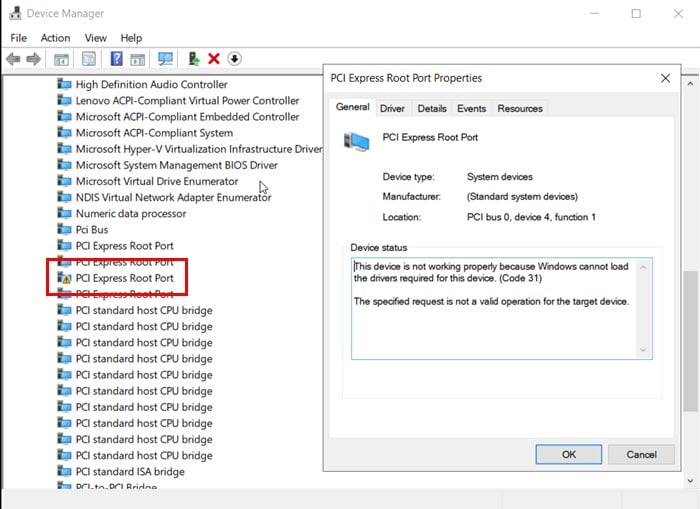
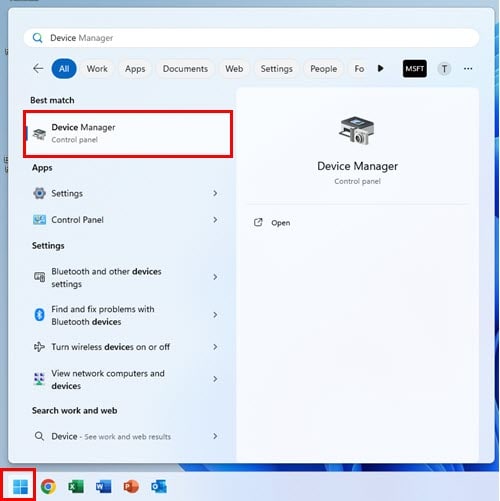
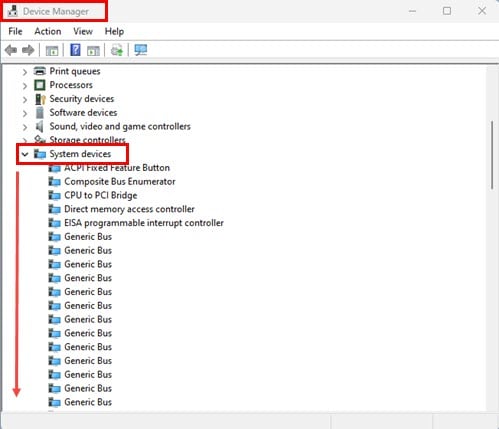
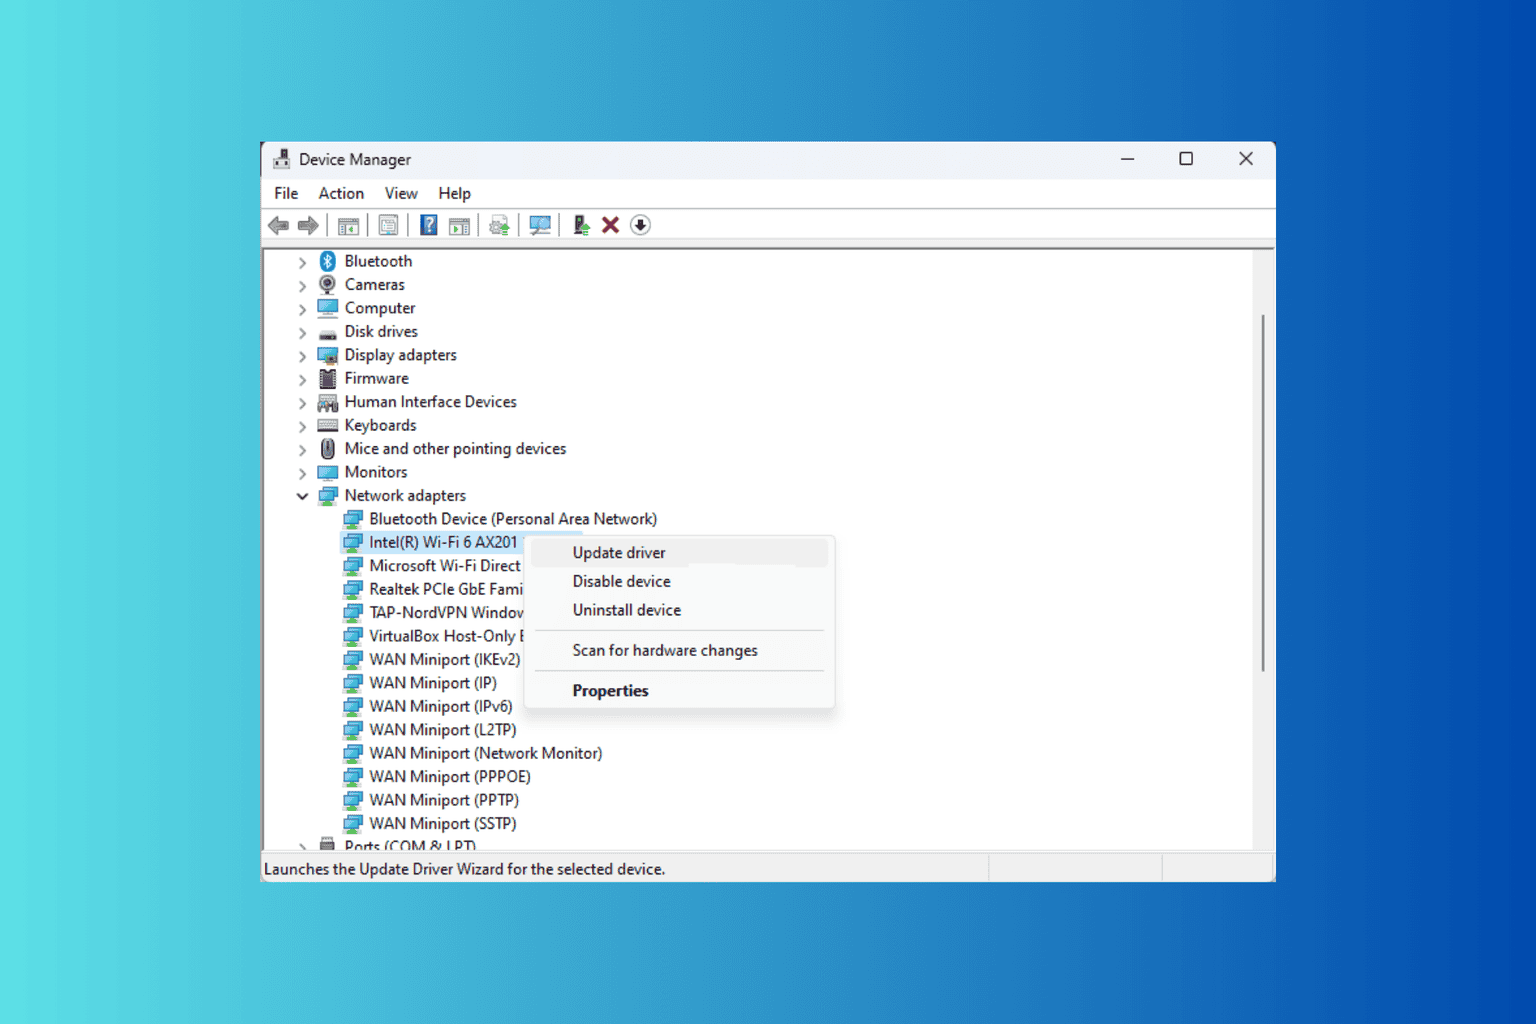
- Open the Device Manager tool from the Start menu.
- Scroll down to System devices.
- Click on the tiny arrow to the left of the item to expand its tree of dependent devices.
- You might need to scroll down to find the problematic PCI Express Root Port.
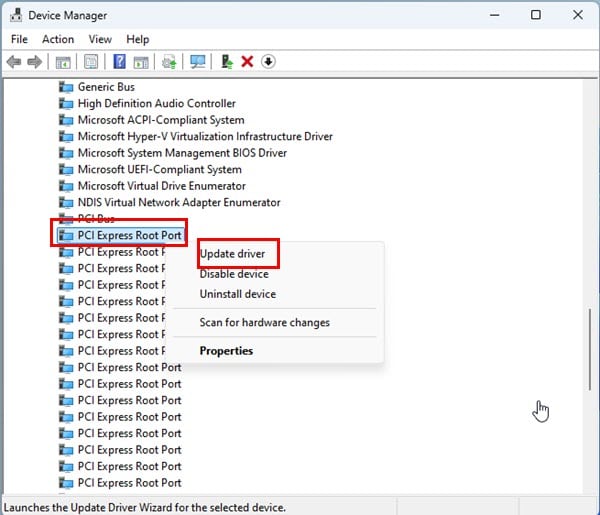
- Once you’ve located the device, right-click on that.
- From the context menu, select the Update driver option.
- Choose the Search automatically for drivers option on the next dialog box.
- Windows 11 should automatically locate the source driver online and update it.
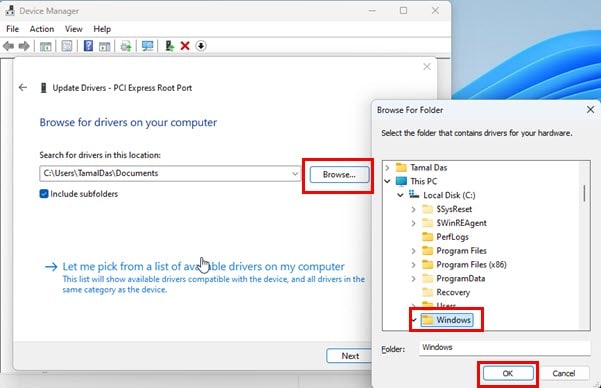
If you’re not connected to the internet, follow these instructions until step 7 and select the Browse my computer for drivers option.
You should see the file browsing interface. Hit Browse and select the Windows directory within the Windows 11 setup drive.
Using the Intel Chipset Driver Package
All motherboard manufacturers provide the relevant Intel Chipset driver as a DVD or in digital form online.
For example, if your PC is running on a Gigabyte B660M DS3H AX motherboard, you can download the compatible Intel Chipset driver from Gigabyte’s official website.
First, you’ll have to find out its make and model from the System Information tool in the Start menu.
An information window will open where you’ll find details including the BaseBoard Manufacturer and Product names.

Now, search Google with phrases like Gigabyte B660M DS3H AX chipset driver. It should show you the driver download portal at the top of the search results.
Once there, download and install the following driver files:
- Intel Chipset driver: Always pick the latest edition. There should be more than one available with dates and version numbers.
- Intel INF Installation: Download and install all the versions available in the portal.
Via Windows 11 Updater
If you haven’t updated the PC for quite a while, your system might be missing the latest PCI Express Root Port drivers. So, update by following these steps:
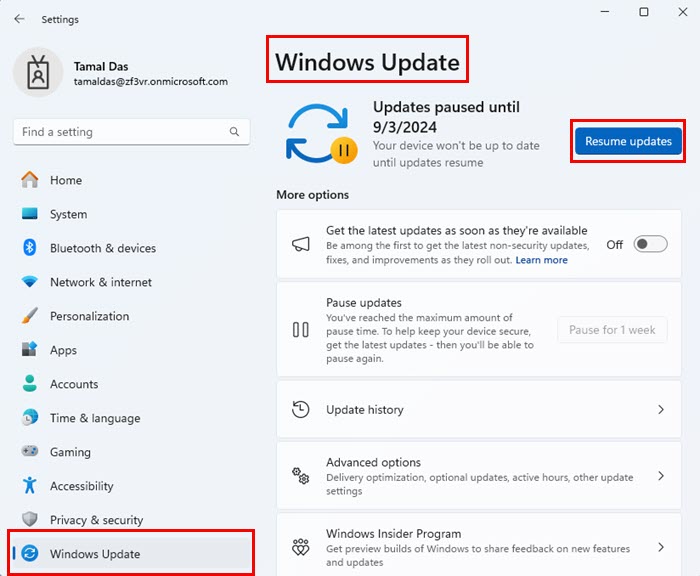
- Press Windows + I on the keyboard to launch the Settings app.
- Click on the Windows Update menu on the left side navigation panel.
- Select Resume updates or Check for updates on the right.
Using the PowerShell Terminal
If you’ve downloaded the required PCI Express Root Port driver files from a third-party source and you’re wondering how to install them, follow these steps:
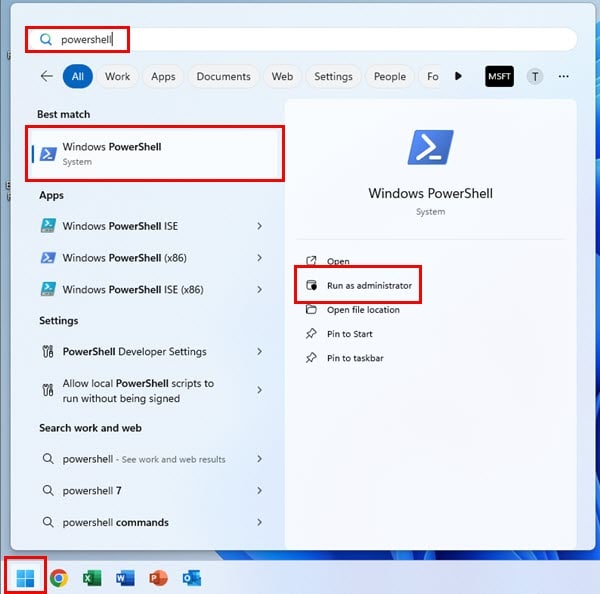
- Open the Start menu and type PowerShell.
- Select the Run as Administrator option available on the right.
- Now, execute any of the following scripts in the PowerShell terminal:
pnputil -i -a path\to\your\driver.infOr
pnputil -i -a C:\driver.inf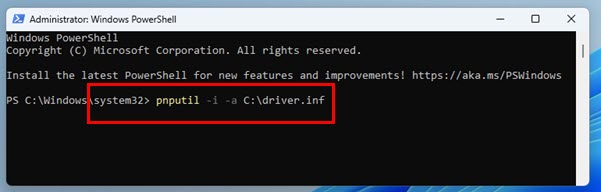
Or
pnputil -i -a C:\driver.exe- Make sure you edit the script to include the correct file locations. For example,
path\to\your\driver.infwith a driver location likeC:\driver.inf. - Once installed, verify the action by running this script:
Get-WmiObject Win32_PnPSignedDriver | Where-Object {$_.DeviceName -like "*PCI Express Root Port*"}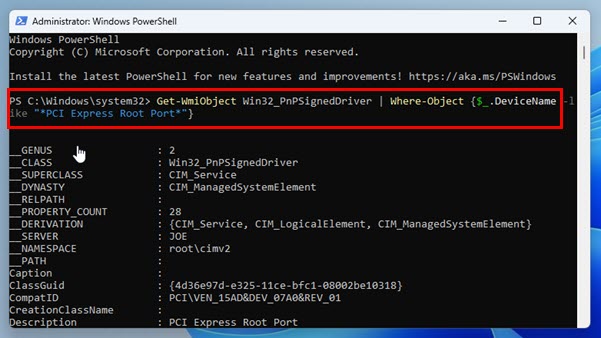
Run the SFC and DISM Scans
You might not need to install a driver to fix the yellow triangle warnings for multiple PCI Express Root Ports in the Device Manager. Instead, you can simply run an SFC scan to fix the existing driver files:
- Press Windows + X on the keyboard to launch the Power User menu.
- Click on the Terminal (Admin) option.
- PowerShell with elevated privileges will open.
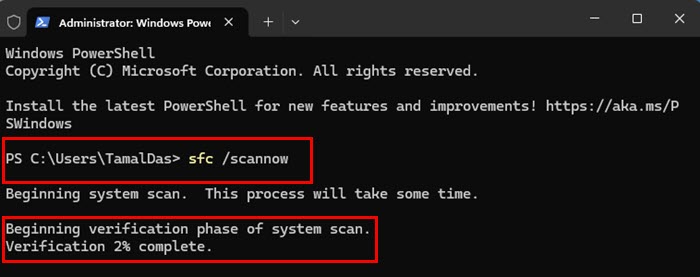
- In the console, enter the following command and hit Enter:
sfc /scannow- Wait for the scanning process to complete.
Restart the PC so that the changes can take effect.
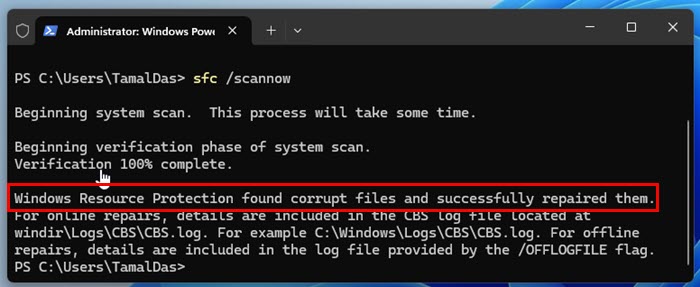
However, if you see the following message, you’ll also have to do a DISM scan:
- Windows Resource Protection found corrupt files but was unable to fix some of them.
Here’s how to perform a DISM scan:
- Open PowerShell with admin rights by following the steps mentioned earlier.
- Copy and paste this command into the terminal and hit Enter:
DISM /Online /Cleanup-Image /RestoreHealth- Wait for the result.
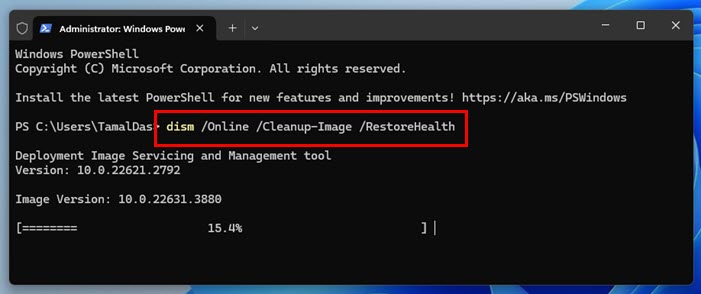
Usually, you’ll get the following result.
- Component store corruption detected: DISM will attempt to restore the Windows 11 files including crucial PCI Express drivers.
You can reboot the PC and check if the relevant hardware or software is working now.
Perform a System Restore
Has the newly added or existing PCI Express hardware worked as expected before? If so, you don’t necessarily need to troubleshoot the PCI Express Root Port driver issue separately. A system restore can fix the issue for good.
- Go to the Start menu and type Restore.
- Select the Create a restore point option.
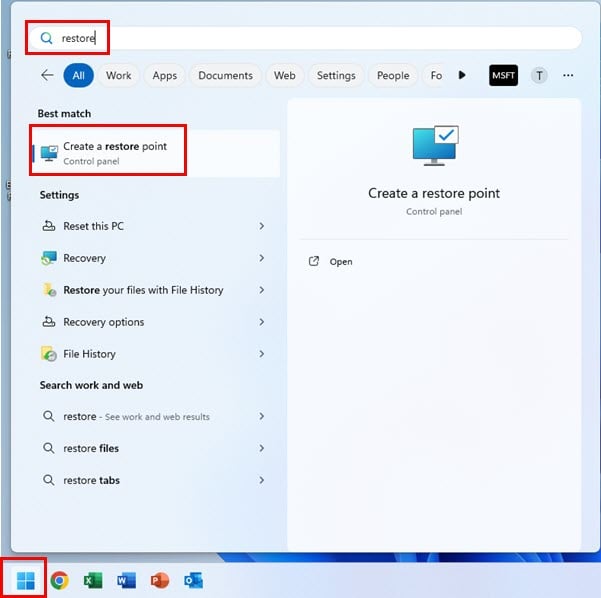
- The System Properties dialog box will open.
- There, click on the System Restore button in the System Protection tab.
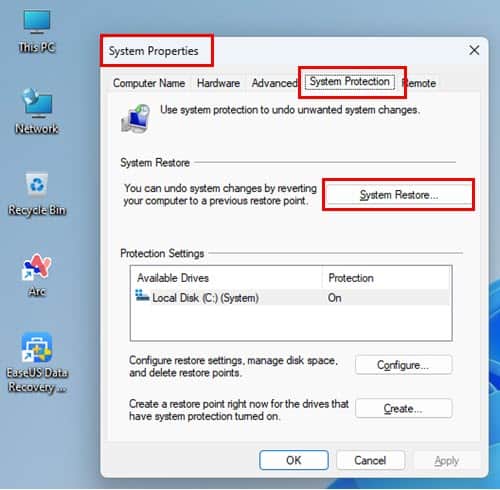
- Now, you’ll see the System Restore wizard.
- Click Next and choose a restore point created near a date when the hardware worked properly.
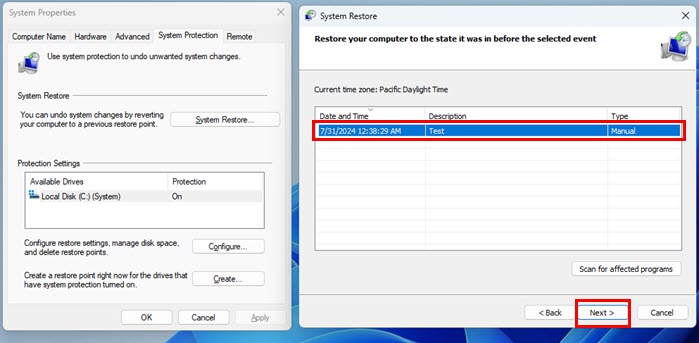
- Select Next.
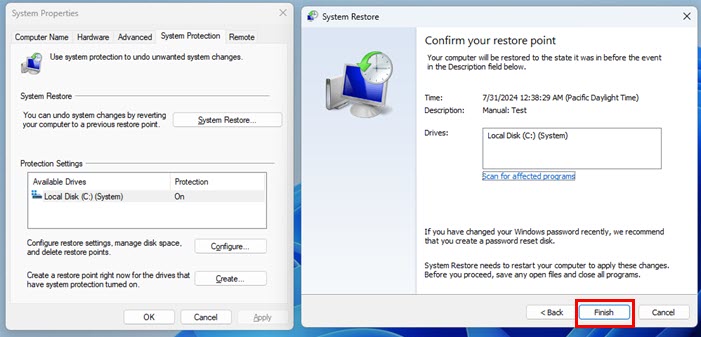
- Hit the Finish button to start the system restore process.
This method is applicable only if you’ve enabled the Windows System Restore feature previously.
Repair the Windows 11 OS
First, make sure you have Windows 11 Bootable USB installation media at hand. Now, follow these steps:
- Connect the bootable USB media to the PC.
- Restart the PC.
- Access the UEFI or BIOS menu.
- During POST, you’ll see the dedicated key you must press to access UEFI or BIOS, like the F8, F2, or Delete keys.
- Change the default boot media to the USB stick you’ve connected.
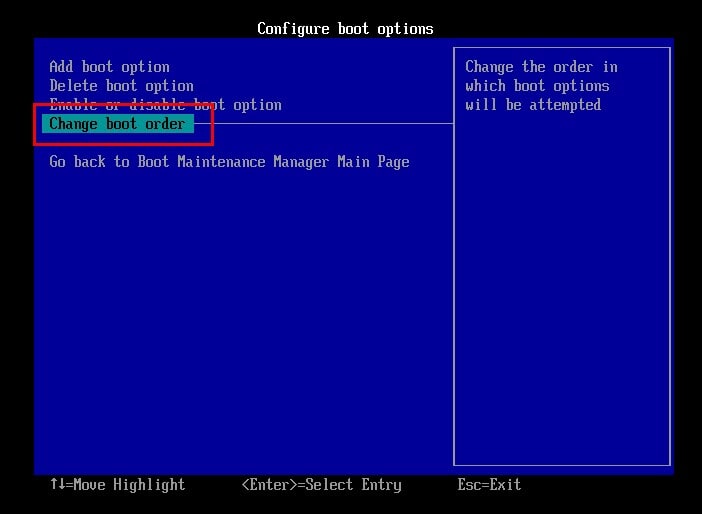
- Now, save and exit the UEFI or BIOS.
- The PC will boot from the bootable USB media.
- You should see the Windows 11 setup screen.
- Click on the Repair your computer option at the bottom.
- Follow on-screen instructions to repair the PC.
Summary
So, there you have it! These are the tried and tested methods to update or download the PCI Express Root Port driver for Windows 11.
If you keep seeing warnings from third-party driver updater tools without experiencing real issues, you can ignore this. However, if you’re facing device PCI problems for real, these troubleshooting ideas are worth checking out.


User forum
0 messages