How to Repair Windows 10 PC Using DISM Commands [2026]
Scan and fix corrupt files with the free built-in tool on your PC
Key notes
- Windows 10 has quite a few tricks up its sleeve when it comes to fixing broken things, and the DISM command is one of them.
- There are different commands to explore to run DISM when other built-in tools such as SFC fail.
Operating systems can break down, files can get corrupt, and sometimes fixing and restoring those files to their original state is needed.
There are many repair tools for Windows 10 that will scan and fix your files, and today, we’re going to focus on the DSIM tool.
So, without further ado, let’s get started.
What is DISM on Windows 10?
When you start getting errors such as Blue Screen of Death (BSoD), it signifies that some of your Windows files might be corrupt and need fixing.
The same goes when applications start crashing or certain Windows 10 features stop working.
This is where the DISM (Deployment Image & Servicing Management) comes in. It will scan your system for corrupt files and repair any corrupt sectors.
It is mainly used if the second built-in tool for repairing Windows 10 fails. DISM fixes component store corruption that prevents SFC from running correctly.
Should I run DISM or SFC first?
Another built-in option for repairing Windows is SFC (System File Checker). This command scans your Windows and checks for corrupt files.
If any corrupt files are found, SFC will try to replace them. However, sometimes corrupt files can even affect SFC.
Whenever you cannot perform an SFC scan, it’s time to call the cavalry. And this is where DISM comes into play. If SFC is corrupt and doesn’t work for some reason, you can use DISM to restore it.
How do I run DISM Cleanup on Windows 10?
1. Run directly from Command Prompt
- Use Cortana to search for cmd.
- Right-click on Command Prompt and choose Run as administrator.
- Type the command below:
DISM /Online /Cleanup-Image /RestoreHealth - Press Enter to run the command.

- Wait for it to perform the scan. It can take about five to ten minutes, sometimes more.
After DISM has finished its scan, restart your computer. Note that if the progress bar gets stuck on 20 percent, don’t worry. That’s perfectly normal. You need to be patient.
2. Use DISM with ISO file to fix a Windows recovery image
- Mount your Windows 10 .iso file by double-clicking it.
- Open Command Prompt or PowerShell as administrator.

- Check for system health by running these commands:
dism /online /cleanup-image /scanhealthdism /online /cleanup-image /checkhealthdism /online /cleanup-image /restorehealthDISM /Online /Cleanup-Image /RestoreHealth /source:WIM:X:SourcesInstall.wim:1 /LimitAccess - Remember to replace X with the letter drive on which your Windows 10 ISO is mounted.
With the command above, you should be able to use DISM with ISO to repair a Windows image on your PC. Remember to restart your computer after the process is complete.
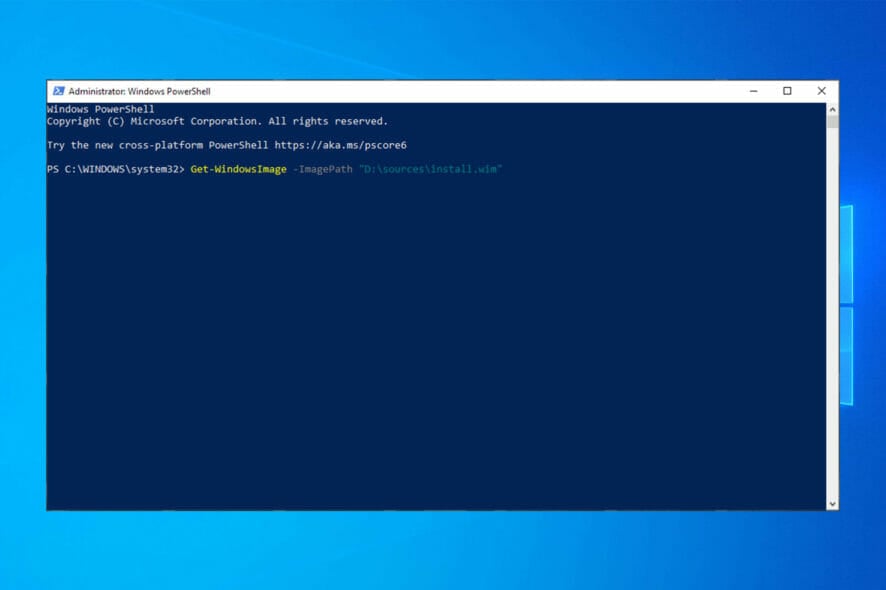
3. Use DISM offline repair Windows 10
- Connect Windows 10 installation media to your PC.
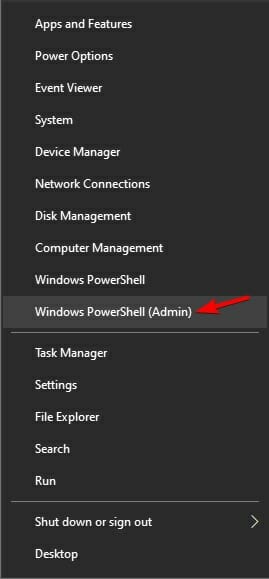
- Press Windows key + X and choose Windows PowerShell (Admin).
- Run the following command:
Get-WindowsImage -ImagePath "D:\sources\install.wim"
- Find the image index that matches your Windows edition. In our case, it was:
ImageIndex = 6 - Run one of these commands:

DISM /online /cleanup-image /restorehealth /source:WIM:D:\sources\install.wim:6 /limitaccessOr:DISM /online /cleanup-image /restorehealth /source:ESD:D:\sources\install.esd:6 /limitaccess - Wait for the process to finish.
This is a useful little trick you can use if DISM has failed on Windows, so we encourage you to try it.
Many users also reported that this method helped them with Many users also reported that this method helped them with DISM source files could not be found error. If you are on the latest OS, check our detailed DISM commands guide for Windows 11 for updated steps.
4. Use alternative software
We did mention that two main built-in tools can deal with corruption.
But you can also employ the help of powerful system repair software. You can perform a full system scan automatically, effortlessly, and without having to deal with any line of commands whatsoever.
The results will be just as good. Thus, you will obtain an error-free, corruption-liberated system that will work like a charm for years to come.
Will DISM delete my files?
As mentioned earlier, DISM scans for corrupt files and fixes them. Its major purpose is to repair corrupt files and sectors and not to delete files.
It logs issues found and repaired and won’t affect your data or apps.
As you can see, SFC and DISM are quite useful tools and aren’t too hard to use. To learn more, we suggest reading our guide about the difference between CHKDSK, SFC and DISM.
In the best-case scenario, they can save you from a clean reinstall of Windows 10. So, if you notice any system errors or Windows functions not working, make sure that you give SFC and DISM a try.
To learn more, don’t miss our What is dismhost.exe guide for more information. We also have a guide on how to fix Elevated permissions are required to run DISM message, so don’t miss it.
If you run into any problems using DISM, feel free to drop us a message in the comments below.
Read our disclosure page to find out how can you help Windows Report sustain the editorial team. Read more


Improve this guide


User forum
6 messages