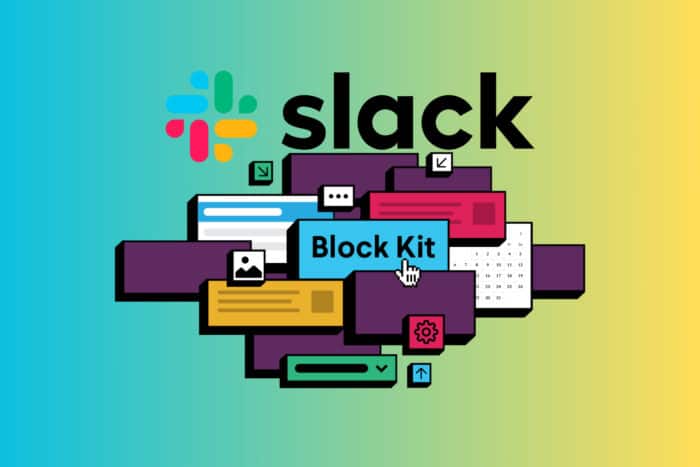
Slack Block Kit: Everything You Need to Know
The Block Kit is very useful for Slack customization
![]() 4 min. read
4 min. read
![]() Published on
Published on
Share this article
Improve this guide
Read our disclosure page to find out how can you help Windows Report sustain the editorial team. Read more
Unlocking the potential of Slack Block Kit can transform your Slack applications into interactive and engaging experiences. Whether you’re a developer or a power user, understanding how to leverage Slack’s Block Kit components can make a significant difference.
What is Slack Block Kit?
Slack Block Kit is a UI framework designed to help developers create rich and interactive content within Slack applications. It comprises reusable components called blocks that can be stacked and arranged to form sophisticated layouts for various Slack surfaces like messages, modals, and Home tabs.
1. Understanding Blocks and Block elements
- Blocks: Visual components used to build layouts.
- Types: Section, Image, Context, Divider, Actions, etc.
- Usage: Each block type has specific use cases like displaying text, images, or interactive elements.
- Block Elements: Interactive components within blocks.
- Examples: Buttons, Select menus, Date pickers, etc.
- Usage: Add interactivity to your messages by including these elements within appropriate blocks.
- Composition Objects: Define the content and properties within blocks and block elements.
- Examples: Text objects, Option objects, etc.
- Usage: Offer granular control over the data displayed and the way it is formatted.
2. Creating a Basic Block Kit message
- Open the Block Kit Builder from Slack’s official documentation.
- Select the block types you need (e.g., Section, Image, Button).
- Configure and preview each block.
- Combine blocks into a single JSON payload.
Example JSON:
{
  "blocks": [
    {
      "type": "section",
      "text": { "type": "mrkdwn", "text": "*Welcome to Slack Block Kit!*" }
    },
    {
      "type": "image",
      "image_url": "https://example.com/my-image.png",
      "alt_text": "Example image"
    },
    {
      "type": "actions",
      "elements": [
        {
          "type": "button",
          "text": { "type": "plain_text", "text": "Click me" },
          "action_id": "button_click"
        }
      ]
    }
  ]
}
How it Helps: This provides a structured way to start creating complex messages with rich formatting and interactivity.
3. Enhancing messages with interactivity
- Adding Buttons:
- JSON Configuration: Add a button element within an actions block.
{ "type": "button", "text": { "type": "plain_text", "text": "Learn More" }, "url": "https://example.com" }- How it Helps: Buttons allow users to take immediate action, such as opening a link or submitting a form.
- Using select menus:
- JSON Configuration: Add a select menu for user choices.
{ "type": "static_select", "placeholder": { "type": "plain_text", "text": "Choose an option" }, "options": [ { "text": { "type": "plain_text", "text": "Option 1" }, "value": "option_1" }, { "text": { "type": "plain_text", "text": "Option 2" }, "value": "option_2" } ] }- How it Helps: Select menus simplify choices, improving the user experience.
4. Building and prototyping with Block Kit Builder
- Accessing Block Kit Builder:
- Navigate to Block Kit Builder on Slack’s official site.
- Use the drag-and-drop interface to add and arrange blocks.
- Testing and Previewing:
- Make real-time adjustments to the JSON payload.
- Preview how your message will look in Slack.
5. Handling user interactions
- Setup Interactive Components:
- Define action_id for each interactive element.
- Example for a button:
{ "type": "button", "text": { "type": "plain_text", "text": "Submit" }, "action_id": "submit_action" } - Setting Up Backend:
- Create an endpoint to handle user interactions.
app.post('/slack/actions', (req, res) => { const payload = JSON.parse(req.body.payload); if (payload.actions[0].action_id === 'submit_action') { // Handle action } });- How it Helps: Ensures that your application can respond to user inputs, making it truly interactive.
By following this guide, you can effectively utilize Slack’s Block Kit to create engaging, interactive, and accessible Slack applications. Always remember to test your interactive elements thoroughly and keep accessibility in mind to provide the best user experience.
While you’re at this, you may also learn how to integrate Salesforce in Slack. You may also find useful our guide on how to create and add a poll in Slack.
Did you manage to start with the Slack Block Kit? Let us know in the comments below.


User forum
0 messages