XMP 1 or XMP 2: What is the Difference and Which One is Better?
The differences between XMP 1 and XMP 2 are not that dramatic
![]() 3 min. read
3 min. read
![]() Published on
Published on
Share this article

Improve this guide

Choosing between the XMP 1 or XMP 2 profiles can be a bit confusing, especially if you’re looking to boost your system’s performance without compromising stability. Choosing the right XMP profile depends on the configuration of your PC, so we will also explain how to make your own assessment.
XMP 1 and XMP 2 – Differences and the right choice
1. What are the differences between XMP 1 and XMP 2
XMP 1 typically offers a stable, board-validated profile optimized for compatibility. This makes it ideal for most users, especially those focused on system stability.
XMP 2 uses the memory module’s default XMP timings, which might offer higher performance but can introduce instability in some systems. If you’re into tweaking and fine-tuning, this profile could be beneficial.
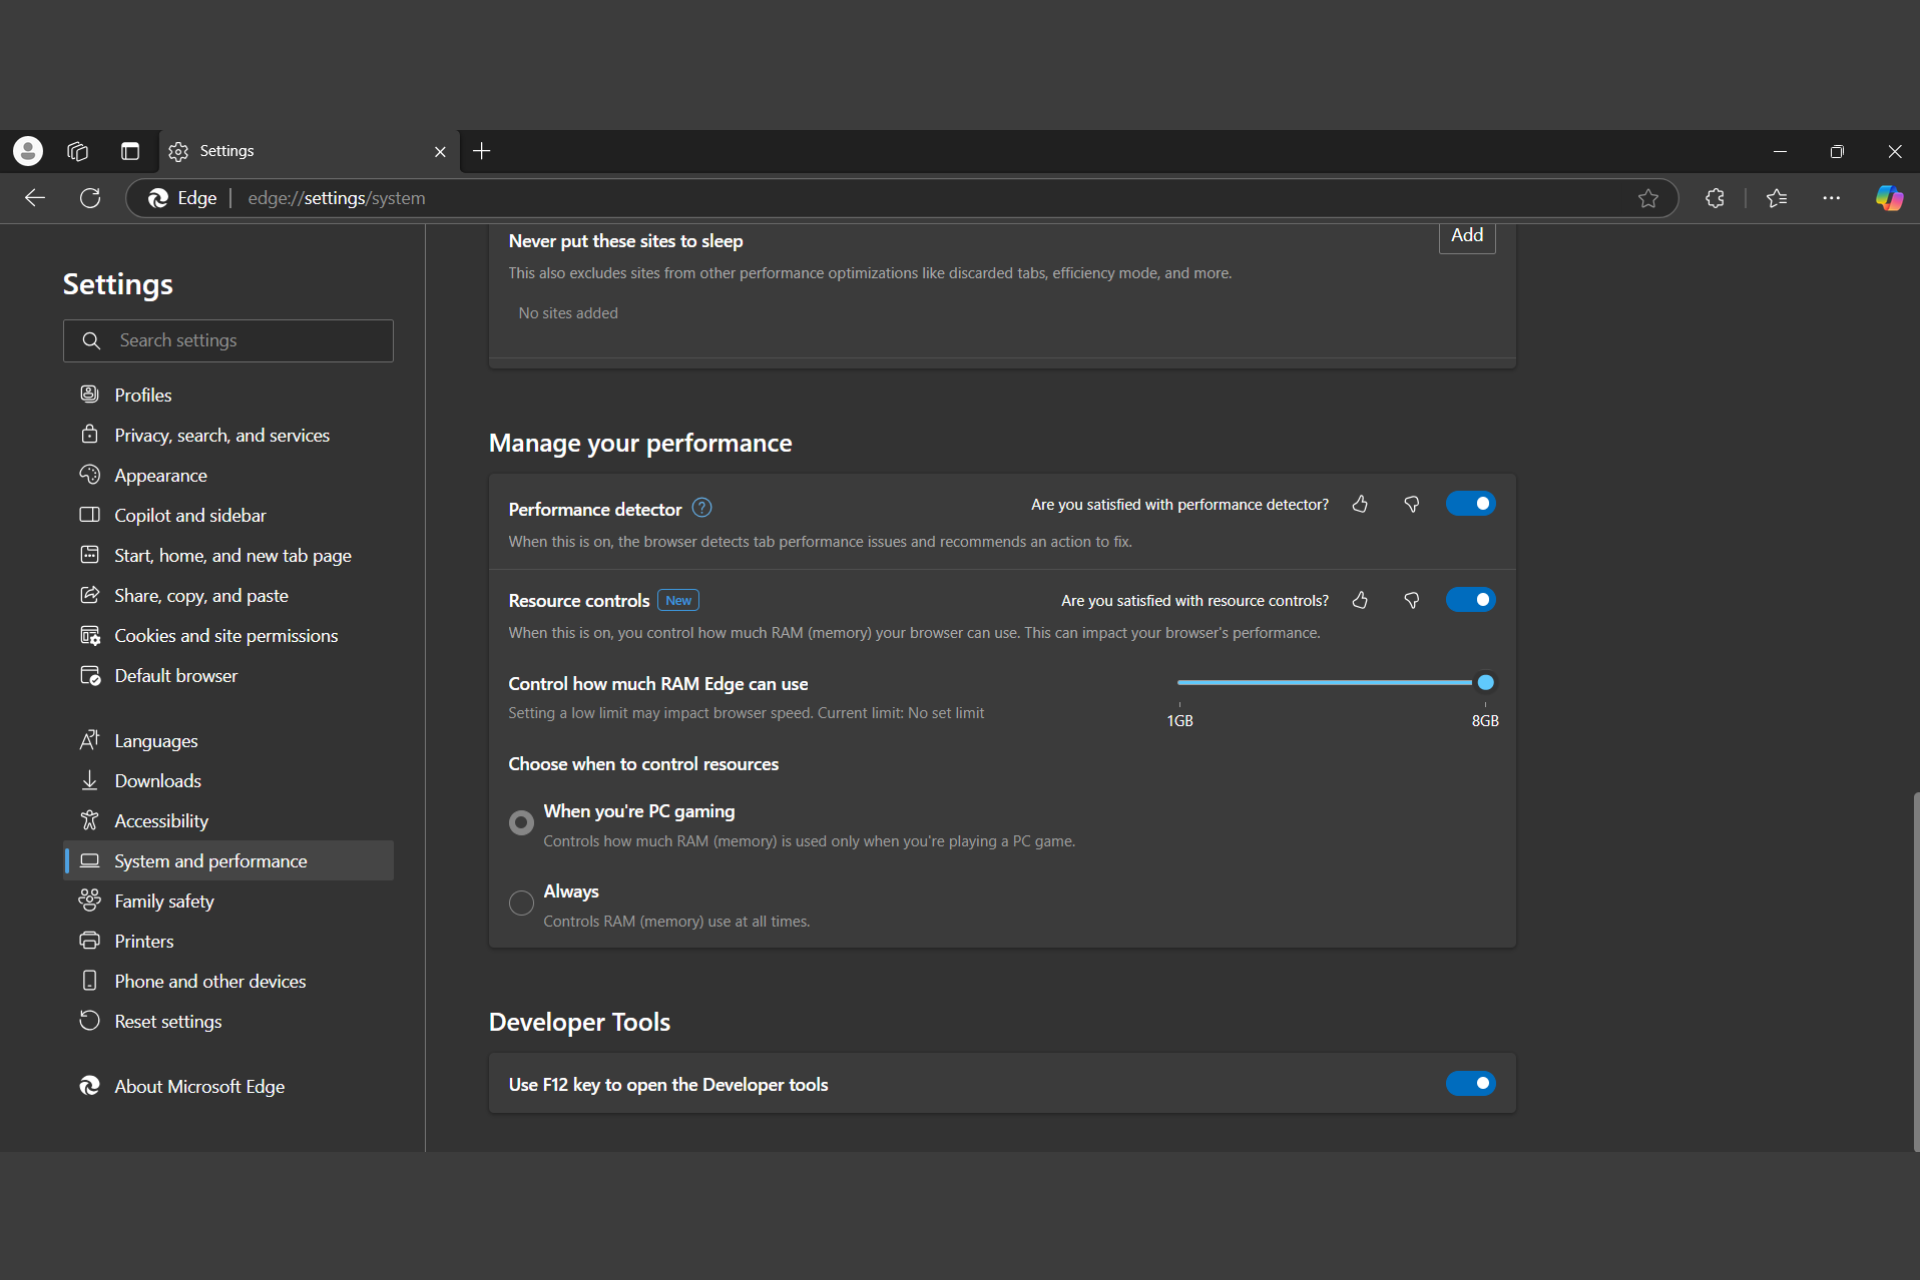
In some BIOS software, you don’t even have the choice to change between the XMP profiles so that will be the end of this conundrum. If you do have the choice, read below to learn how to determine which is the right one for you. But first, here’s how to change the XMP profile in BIOS.
2. Change the XMP profile from BIOS
- Restart your computer and press the designated key (usually DEL or F2) to enter BIOS.
- Navigate to the memory or DRAM settings section.
- Choose XMP 1 or XMP 2 from the available profiles.
- Confirm the changes and exit BIOS. Usually, you will need to press F10.
3. Compare timings and choose the best profile
- Download and install CPU-Z from the official website.
- Open the program and navigate to the Memory tab.
- Take note of the timings and frequency for both XMP 1 and XMP 2.
- Reboot into BIOS and choose the profile with the preferred timings.
- Confirm the changes and exit BIOS.
By comparing the timings, you can select the profile that better suits your performance and stability needs. This method ensures you’re making an informed decision.
4. Check for stability issues
- Follow previous steps to enable XMP 1 or XMP 2.
- Use software like MemTest64 or Prime95 to test for stability.
- Look for any crashes, stutters, or errors during the test.
- If you encounter issues, try switching to the other XMP profile and repeat the tests.
This method helps you determine which profile runs more stable on your specific setup, ensuring reliable performance.
5. Manual overclocking for advanced users
- Enter BIOS and disable the XMP profiles.
- In the DRAM settings, manually set the memory timings and frequency based on the desired performance (if this feature is available).
- Confirm the changes and exit BIOS.
- Run stability tests like Prime95 or MemTest64 to ensure the system is stable.
For advanced users, manual overclocking allows for fine-tuned adjustments beyond what pre-set XMP profiles offer. This can achieve optimal performance tailored to your needs but requires thorough testing to ensure stability.
If you get the wrong RAM speed in the tests, check the highlighted guide to learn how to fix this issue. For beginner overlockers, we also have a guide on DRAM frequency and how to set it up properly.
Remember, always back up your settings before making changes in BIOS, and keep your system drivers up to date to avoid potential conflicts.
For any other questions or suggestions, feel free to use the dedicated comments section below.


User forum
0 messages