6 Ways to Fix Printer That is Printing ASCII Characters
From unreadable to readable in a few steps
![]() 4 min. read
4 min. read
![]() Published on
Published on
Share this article
Improve this guide
Read our disclosure page to find out how can you help Windows Report sustain the editorial team. Read more
When your printer is printing ASCII characters instead of the print job you’ve sent, something must be off with your settings.
ASCII is a standard format used between printers and computers that ensures the commands sent to your printer are interpreted and translated to visual text you can understand.
Your printer may print ASCII characters instead of normal readable text if you’ve recently configured your printer settings, have outdated drivers, or your printer firmware is out-of-date.
It is also possible that you’re printing from an application that requires special ASCII character handling or the software itself has compatibility issues with your printer.
How can I fix my printer printing ASCII characters?
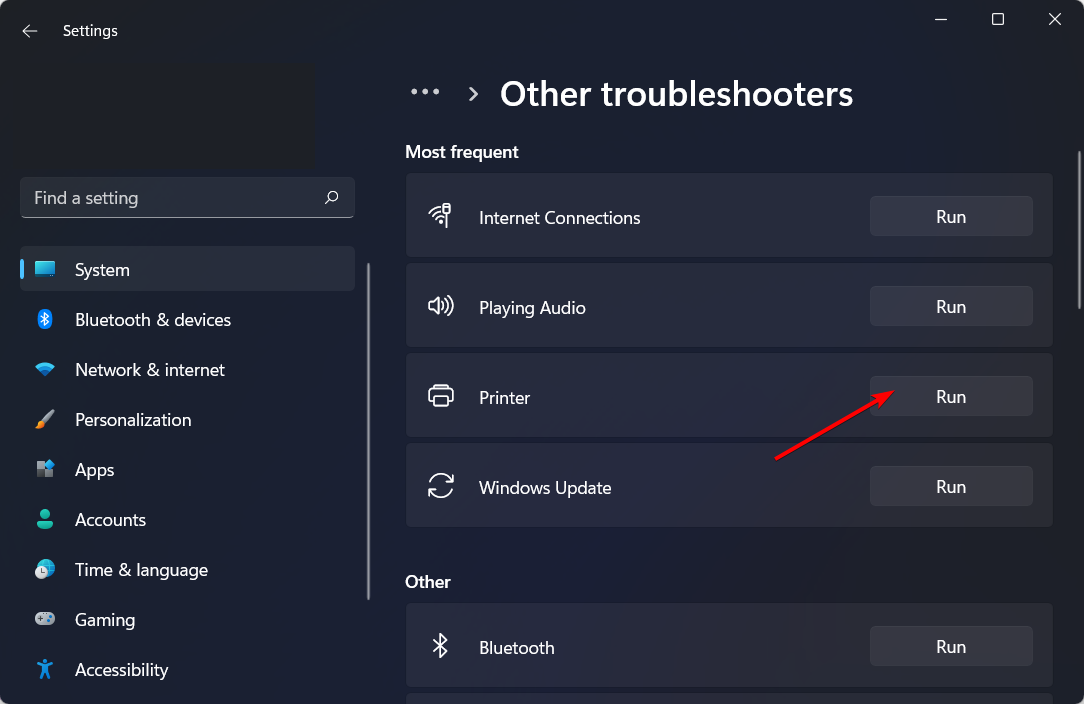
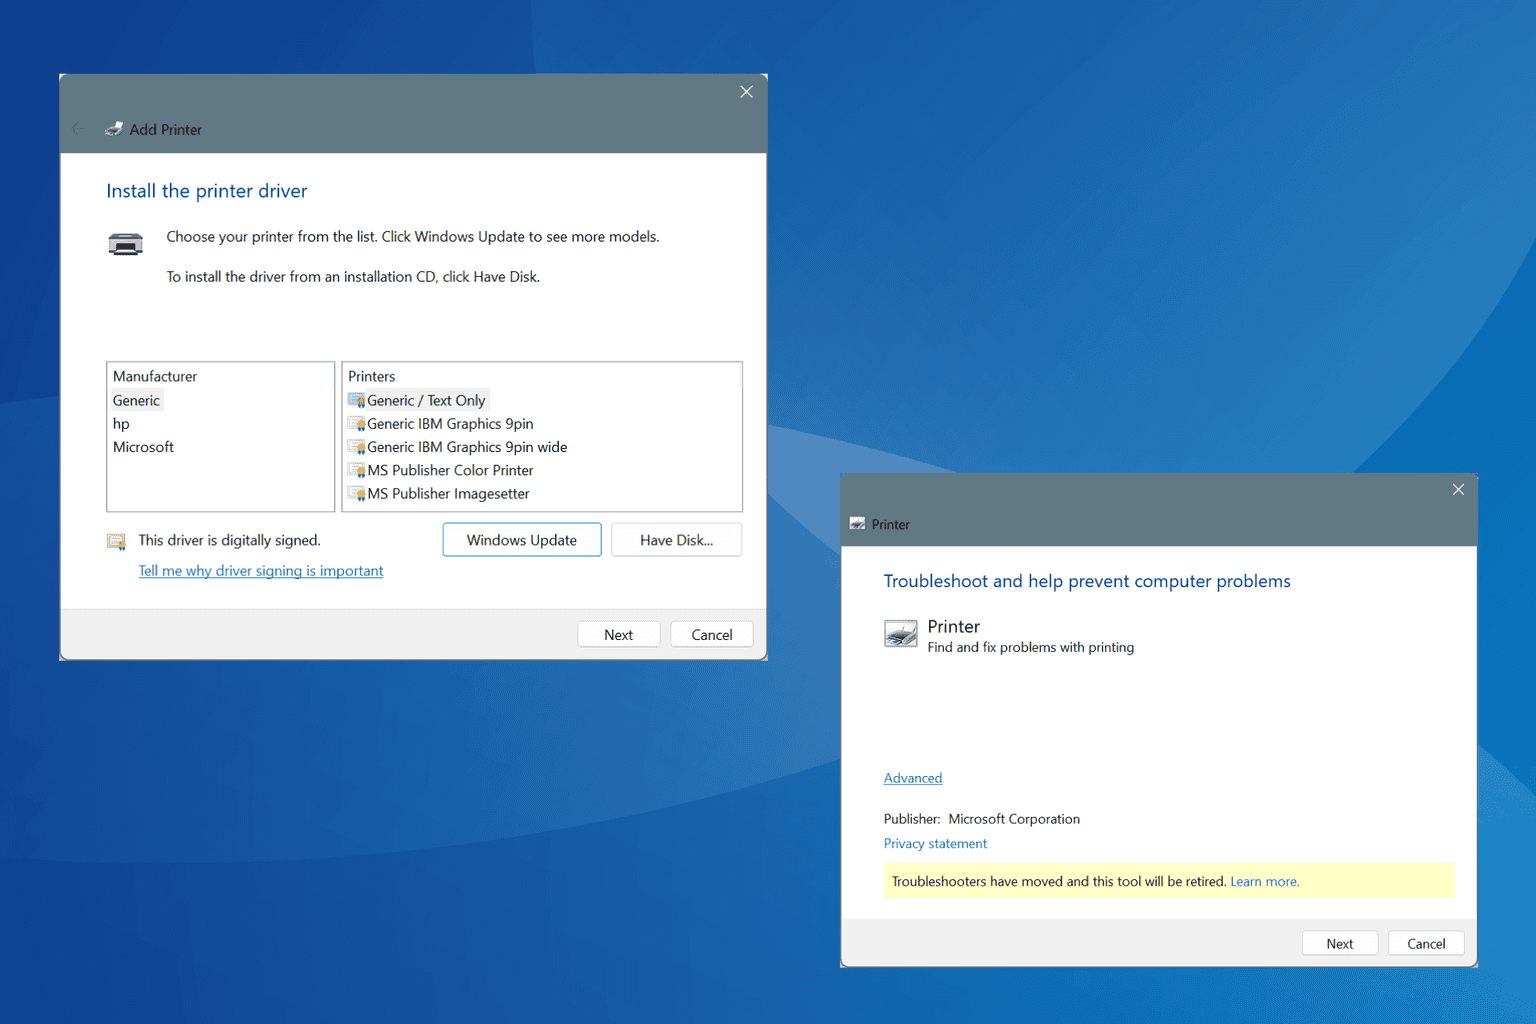
1. Run the Printer troubleshooter
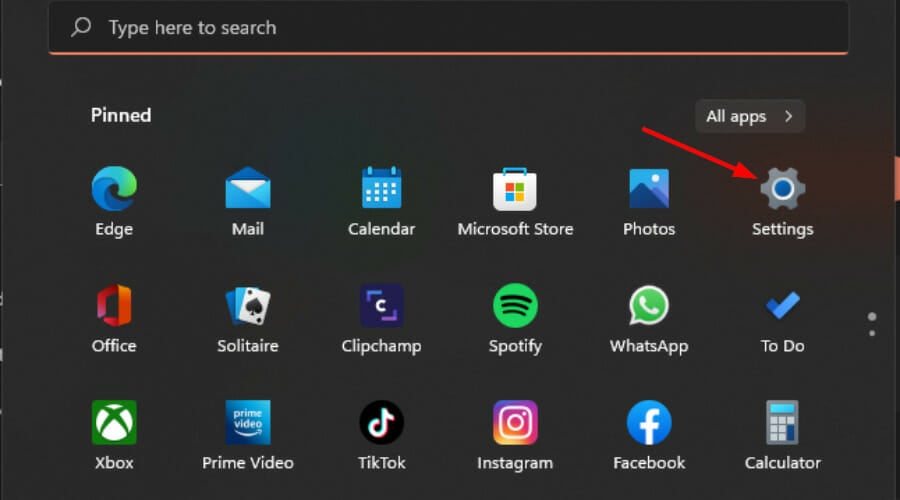
- Hit the Windows key and click on Settings.

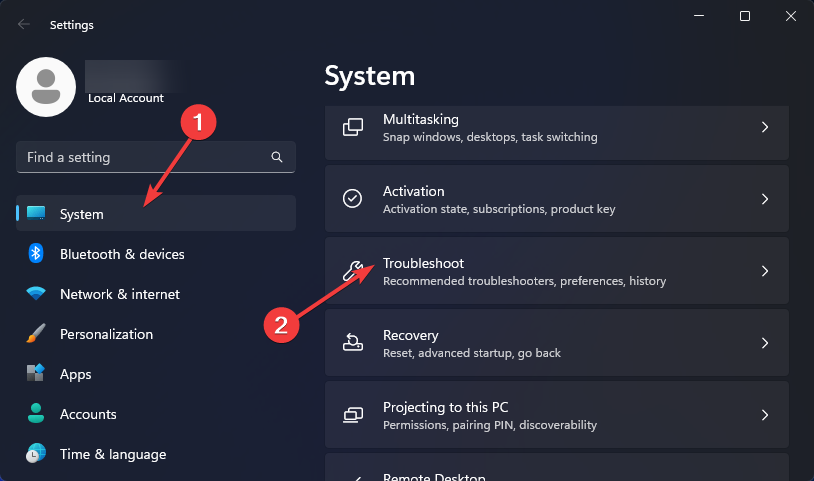
- Select System on the left pane, then click Troubleshoot on the right.

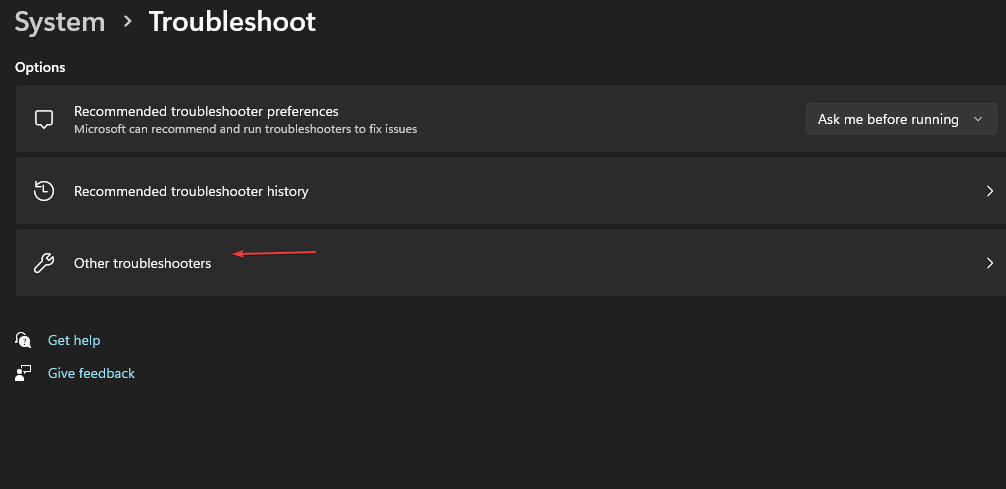
- Click on Other troubleshooters.

- Find the Print troubleshooter and click the Run button next to it.

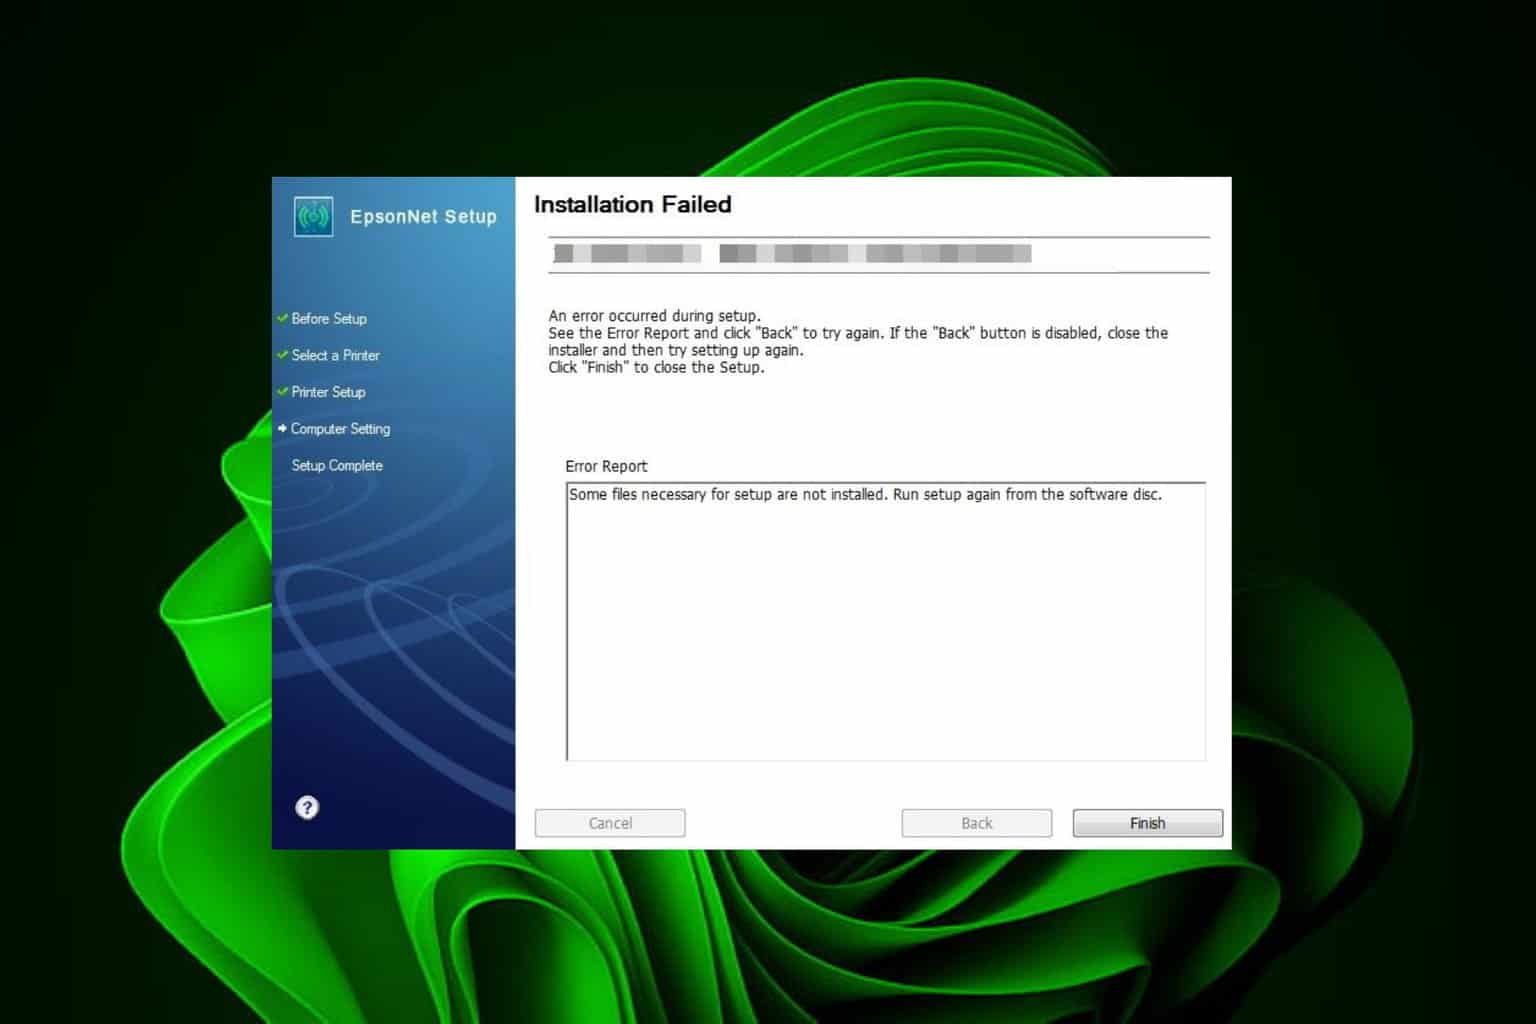
2. Update your printer software
- Navigate to your browser and go to the Software and Driver Downloads page for HP printers.

- Click on Printers, enter the required model number, and press the Submit button.
- Expand the Firmware category on the printer’s software page.

- Click Download to save the firmware listed there to a folder.
- Open the folder that includes the downloaded firmware. Then open the firmware file and follow the on-screen instructions to install the latest firmware.


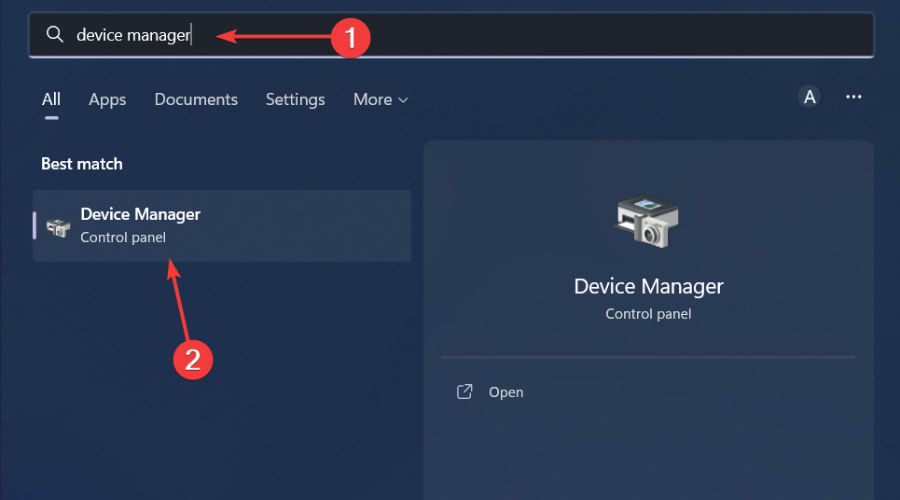
3. Update the Printer drivers
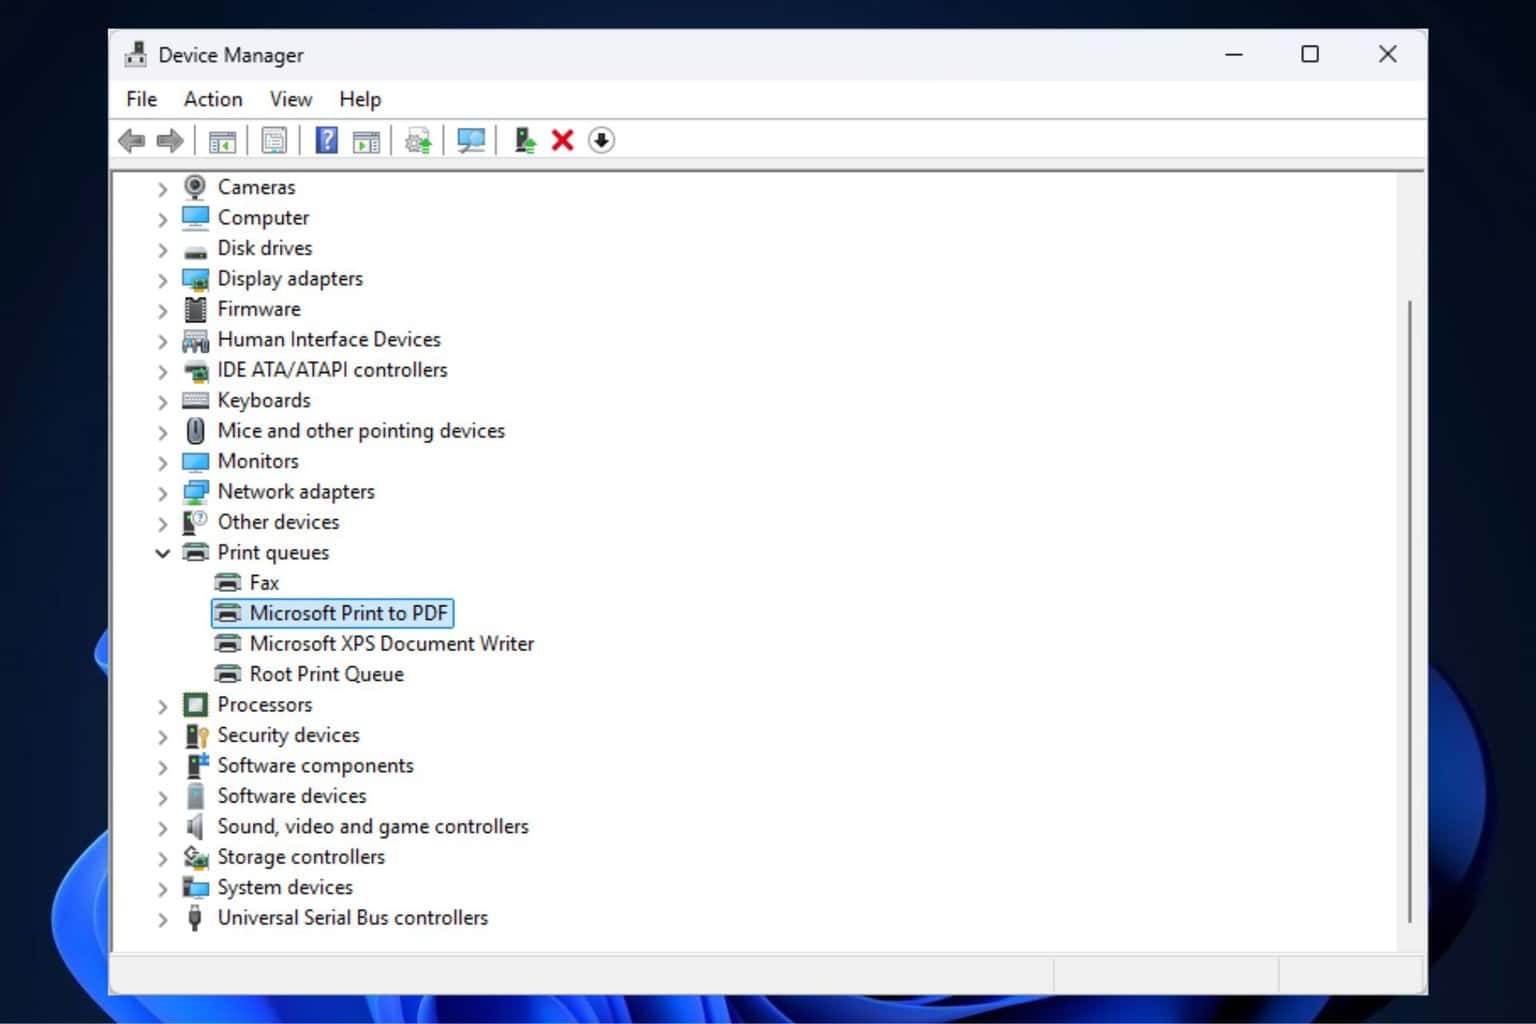
- Hit the Windows key, type Device Manager in the search bar, and click Open.
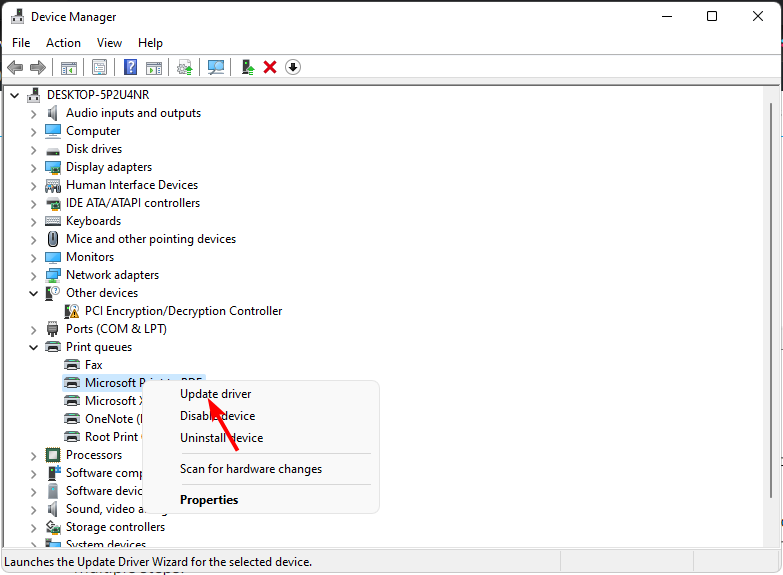
- Navigate to Print queues, locate your printer, right-click on it, and select Update driver.

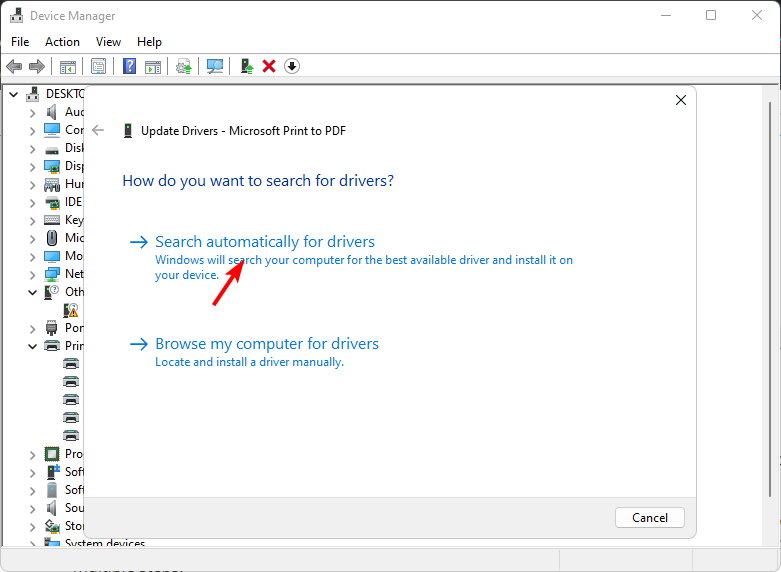
- Select Search automatically for updated drivers.

- Windows will find the most suitable driver and recommend you install it.
4. Run your printer’s maintenance tool
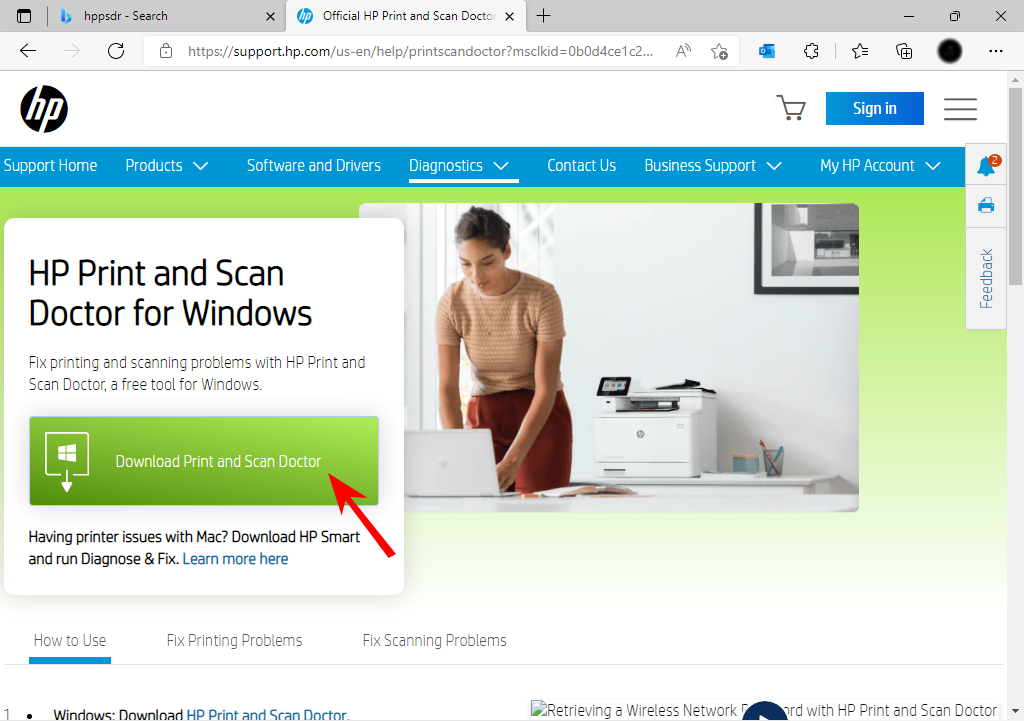
- Download the HP Print and Scan Doctor application.

- Open HPPSdr.exe from the download location. You might need to be an administrator to be able to do this.
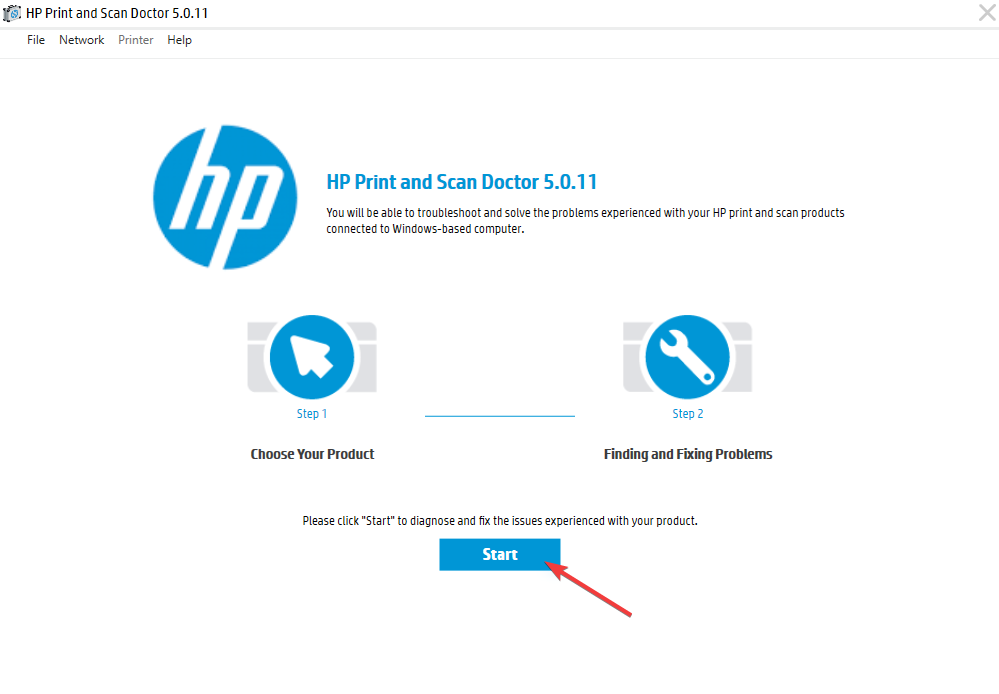
- Click on Start and select your printer. If your printer is not present, reboot your printer, then choose Retry.

- Follow the prompts the application gives you and choose Yes if it asks to turn on printer updates. Then set your default printer.
- Now, select the printer that the Problem with printhead error arises for, and click the Next button.
- Select the Fix Printing option.

- HP Print and Scan will then display some troubleshooting results. Follow the troubleshooting instructions if the software displays any X crosses, highlighting unresolved printer errors.
Most printers have their own maintenance and troubleshooting tool but if it doesn’t, move on to the next solution.
5. Cancel the print job and reset the printer
 NOTE
NOTE
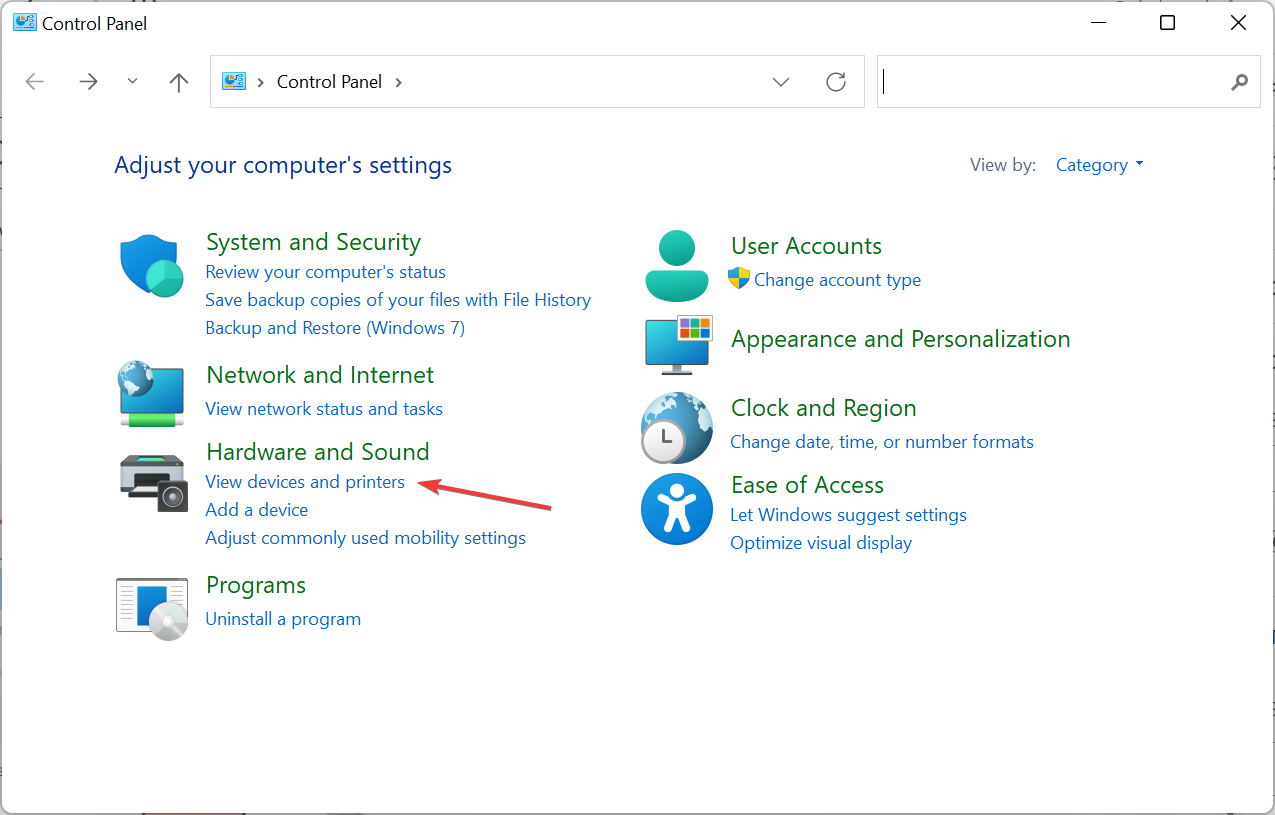
- Press Windows + R to open Run, type Control Panel, and click OK or hit Enter.

- Click on View devices and printers under Hardware and Sound.

- Now double-click on your HP printer.
- Cancel all the print jobs assigned to the printer.
- Power off the printer and disconnect the cable for at least 30 seconds.
- Reconnect the power cable, and turn on the printer while pressing the Resume button for 10-20 seconds.
- Once the Attention light turns on, release the Resume button.
- Now, wait a few moments while the Attention and Ready lights blink, indicating that the reset is in process.

Cancelling a print job and resetting your printer to default settings will allow you to start in a clean slate. If there were any misconfigured settings, they’ll be deleted.
6. Uninstall and reinstall your printer
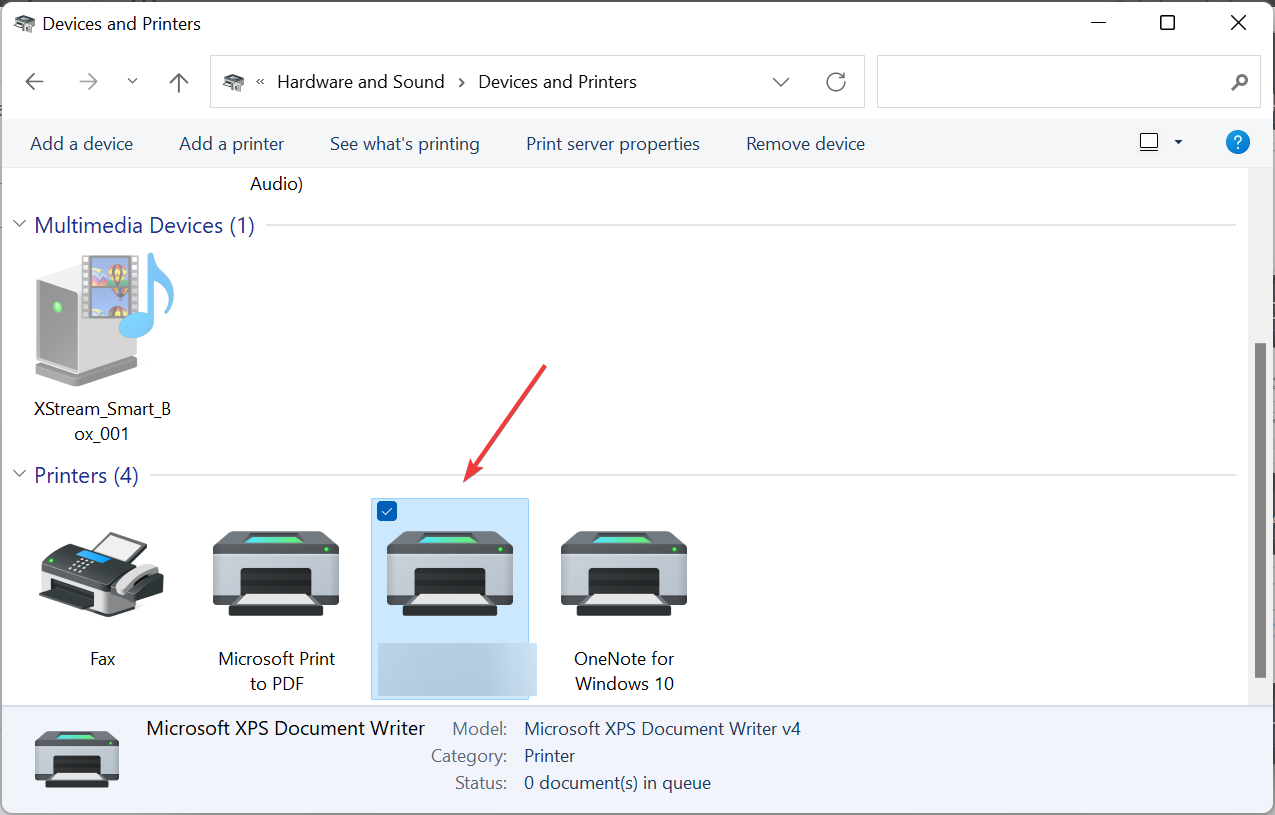
- Open the Control Panel, and select View devices and printers under Hardware and Sound.
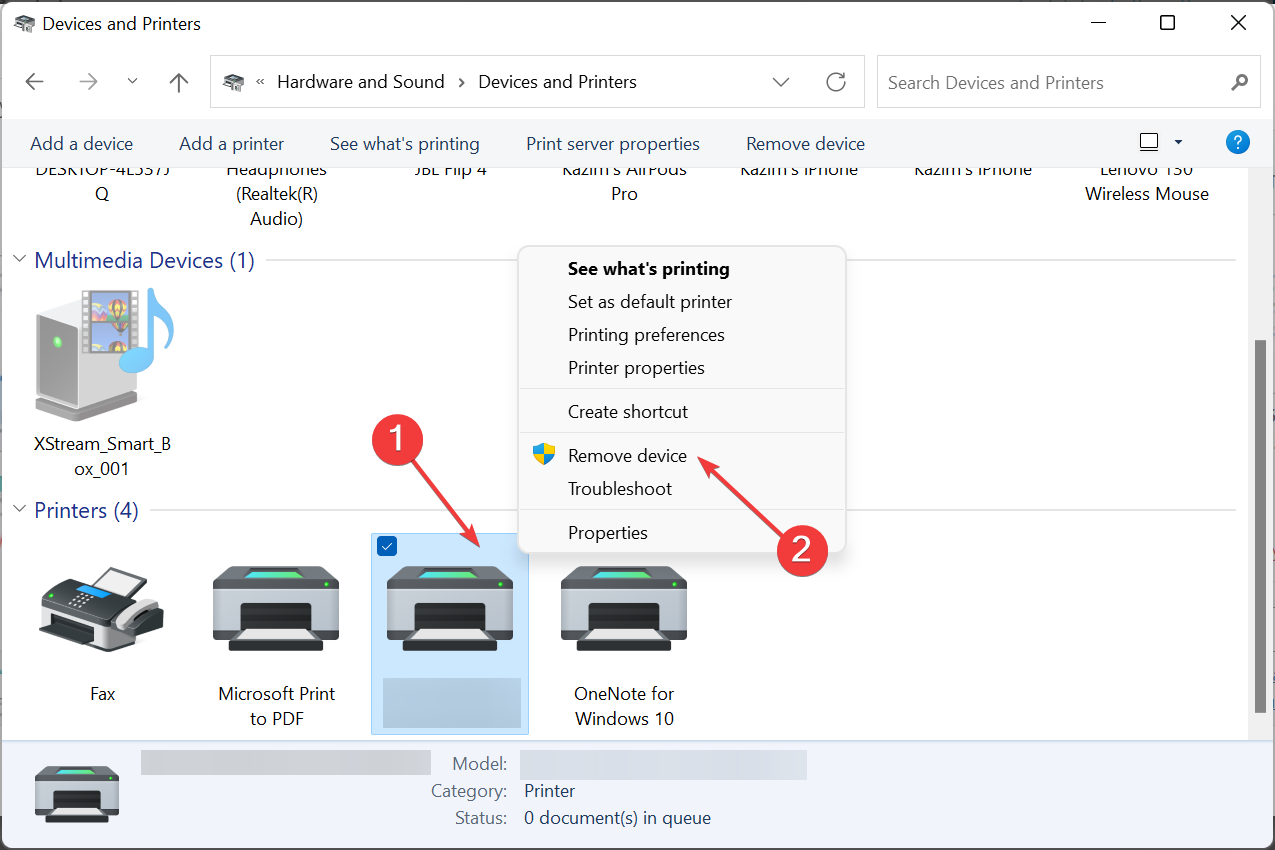
- Now right-click on the problematic printer and select Remove Device.

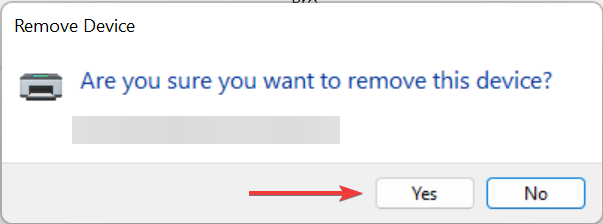
- Click Yes to confirm the action.

- Next, click the taskbar’s magnifying glass icon.

- Type Control Panel within the search tool that opens then select Control Panel to open that window.
- Next, select Large Icons on the View by drop-down menu.

- Click Devices and Printers in the Control Panel.
- Then press the Add a printer button.

- Choose a printer on the Add a device window, and press the Next button to install it.
- Press the Finish button after the printer has been added.


In another similar situation, you may also find that your printer is printing gibberish but rest assured we’ve already tackled how to bypass this too.
Hopefully, your printer is back to printing normal and readable visual text and not ASCII characters anymore. Should the issue persist, contact your printer’s manufacturer and see if they have any additional solutions.
That’s all from us but do let us know if you have any other solutions not mentioned here. Feel free to share them with us in the comment section below.
User forum
0 messages