4 Simple Ways to Fix the MBR_CHECKSUM_MISMATCH 0x0000008B Error
First, scan your computer for malware
![]() 6 min. read
6 min. read
![]() Updated on
Updated on
Share this article
Improve this guide
Read our disclosure page to find out how can you help Windows Report sustain the editorial team. Read more
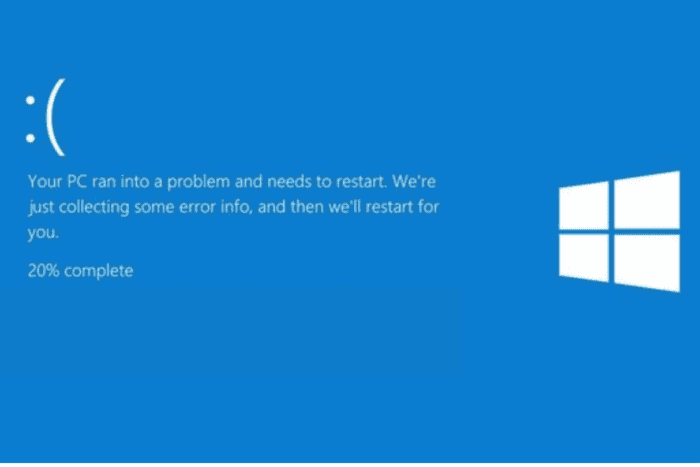
The MBR_CHECKSUM_MISMATCH 0x0000008B bug check happens during the boot process when the MBR checksum calculated by the Microsoft Windows operating system for the Master Boot Record doesn’t match the checksum provided by the loader.
This usually happens when your system is infected with a virus. In this guide, we will discuss the steps to fix the Blue Screen MBR_CHECKSUM_MISMATCH 0x0000008B error.

Secure your devices with award-winning cybersecurity technology.

Maximize your PC's security and performance with top-notch digital threat detection.

Keep secure with groundbreaking AI detection and prevention technology.
Browse the web securely for up to 3 devices across Windows, Mac, iOS or Android systems.

Best security tool for intense browsing activity.
How can I fix the MBR_CHECKSUM_MISMATCH 0x0000008B error?
1. Use a bootable ISO image of your antivirus
 NOTE
NOTE
1.1 Create a bootable antivirus recovery tool
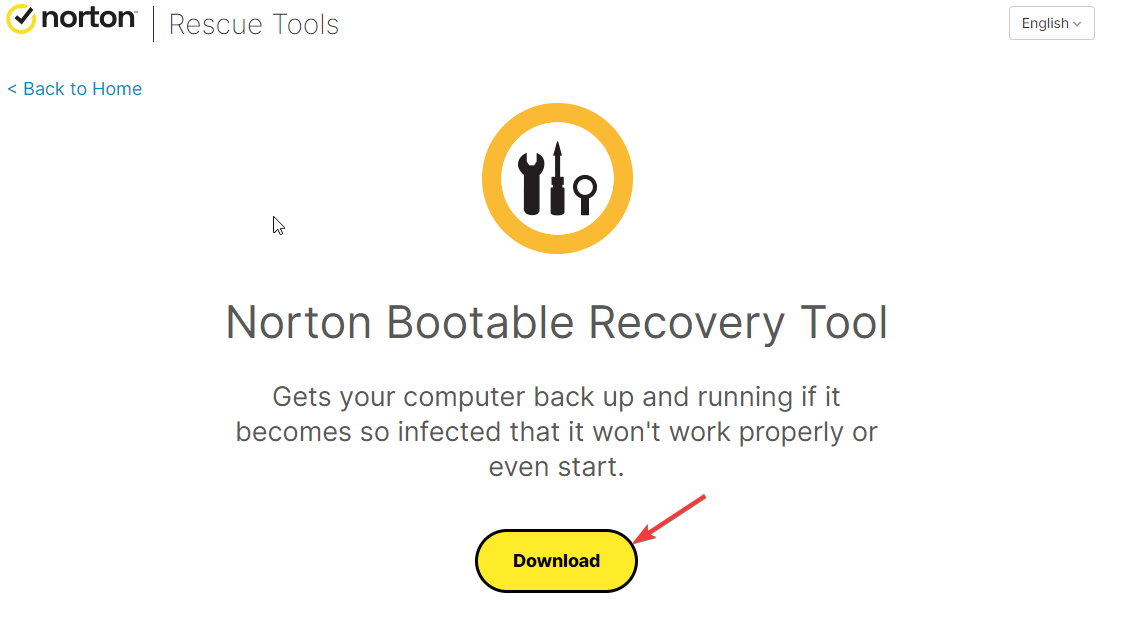
- Go to the antivirus website you use and download its ISO file. We are using Norton Antivirus to demonstrate the steps.
- Click Download.

- Once downloaded, go to Rufus’ official website and click Download.
- Now, double-click the downloaded file and click Yes to launch Rufus with admin privileges.
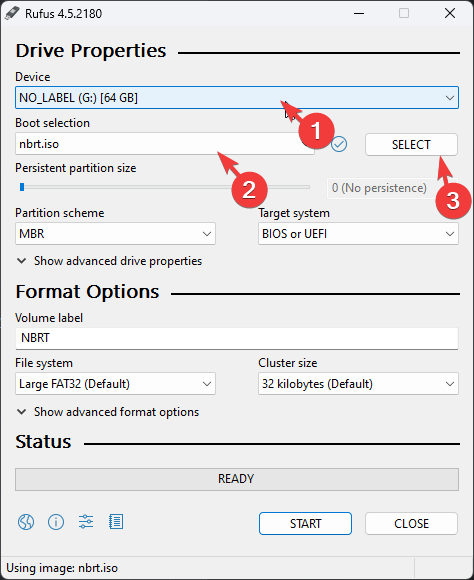
- Insert the USB drive and wait until it gets detected on the Rufus window.
- Under Boot selection, click the Select button.

- Navigate to the location where you have saved to the nbrt.iso and click Open.
- Click Start.
- Then, click OK. Once the process is completed, you will see the Status as Ready in Green and click Close.
1.2 Scan your computer using the bootable USB drive
- Insert the USB drive into your infected computer, then press F2 or Del according to your device’s manufacturer to enter the BIOS setup utility.
- Go to the Boot tab and navigate to the boot order options in the BIOS menu.
- Use the arrow keys to select USB drive for boot options, then press F10 to save and exit the BIOS menu.
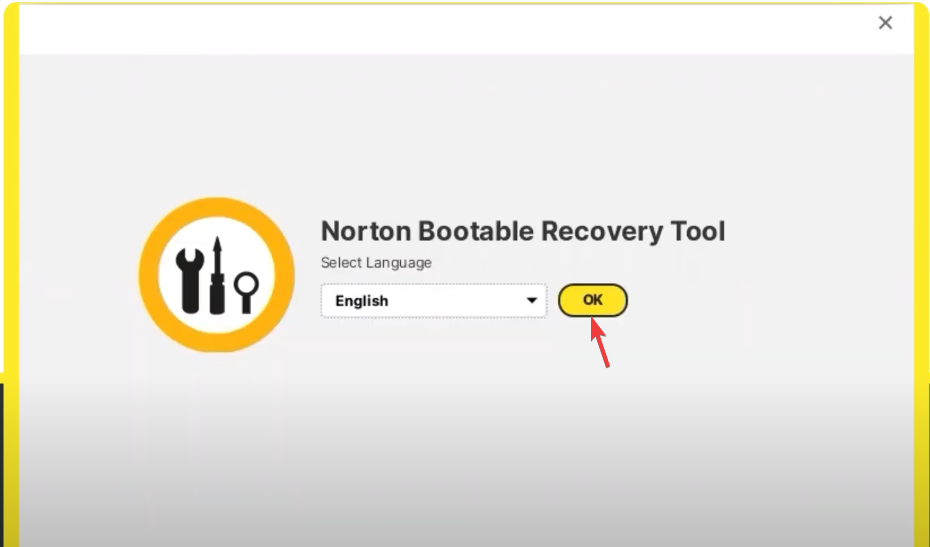
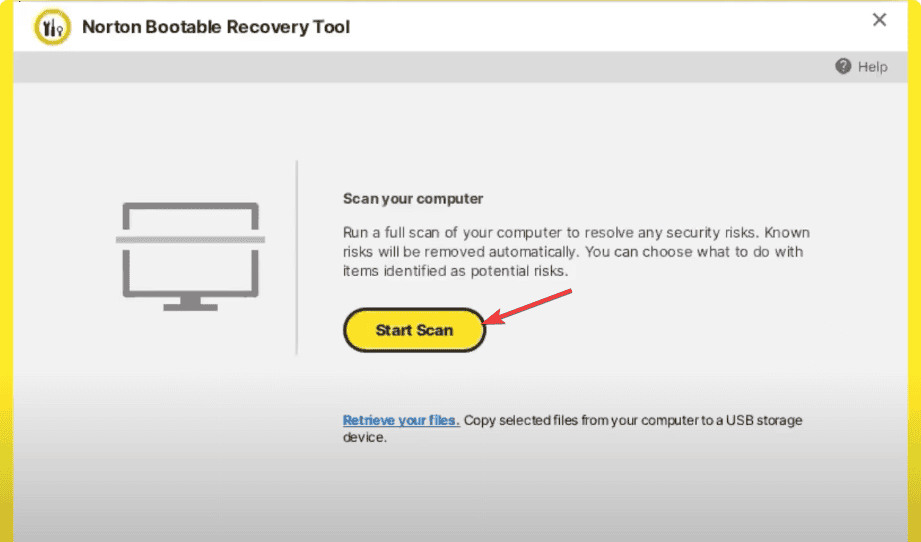
- Your computer will restart, and the bootable antivirus setup will open. Select Language, then click OK.

- Click Agree.
- Then, click Start Scan and wait for the scan to complete. If you see infected files, click Fix to remove them and clean your computer.
- Click Reboot and remove the USB flash drive.
2. Perform a CHKDSK scan
NOTE
- Press the Power button on your PC to start it.
- When you see the Windows logo during booting, press the Power button again to shut down your computer. Repeat the power-on and power-off process three times.
- In the third restart, you will see a blue screen, which means you have accessed the Windows Recovery Environment (WinRE).
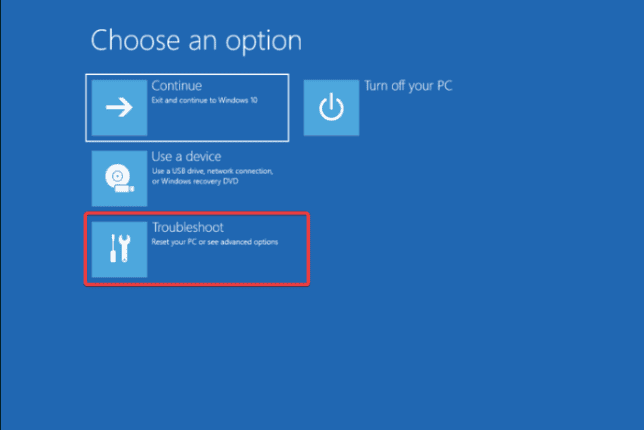
- Click Troubleshoot on the Choose an option screen.

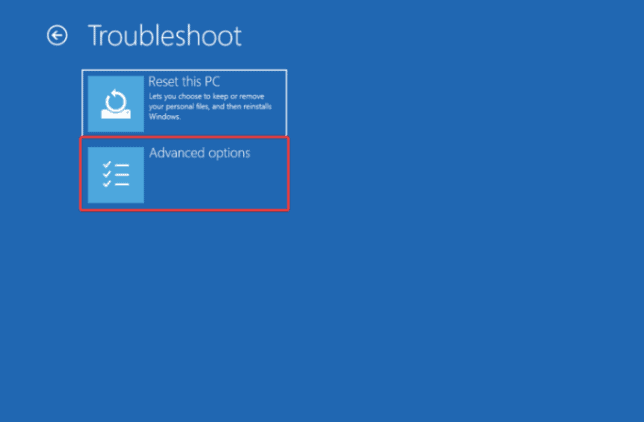
- Select Advanced options.

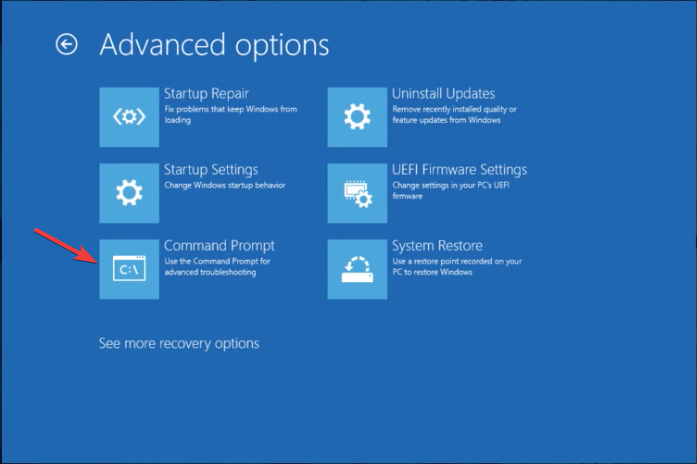
- On the Advanced Options screen, choose Command Prompt.

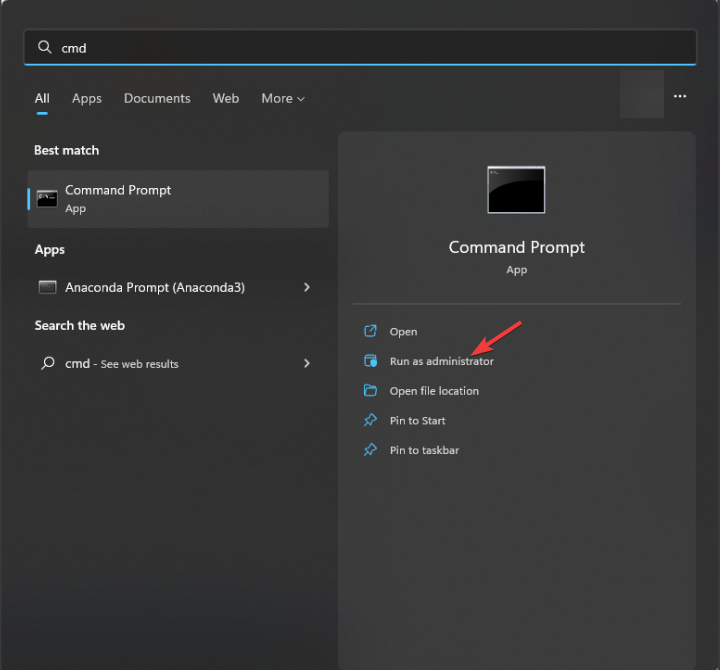
- If your computer can boot up normally, press the Windows key, type cmd in the search bar, and click Run as administrator.

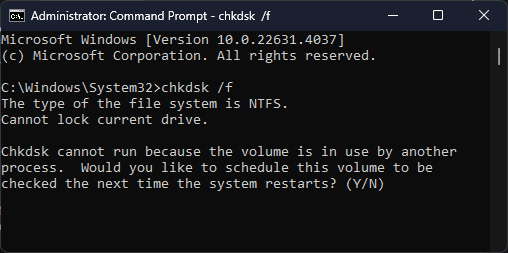
- Type the following command to check for disk errors and attempt to fix them and hit Enter:
chkdsk /f
- Click Y if prompted and wait for the process to complete.
- Reboot your computer to save the changes.
3. Repair the MBR
- Press the Power button on your PC to start it.
- When you see the Windows logo during booting, press the Power button again to shut down your computer. Repeat the power-on and power-off process three times.
- In the third restart, you will see a blue screen, which means you have accessed the Windows Recovery Environment (WinRE).
- Click Troubleshoot on the Choose an option screen.
- Select Advanced options.
- On the Advanced Options screen, choose Command Prompt.
- To repair the MBR without modifying the partition table, type the following command and press Enter:
bootrec /fixmbr - Copy & paste the following command to write a new boot sector, and hit Enter:
bootrec /fixboot - Restart your computer to save the changes.
4. Perform a clean installation of Windows
NOTE
4.1 Create an installation media
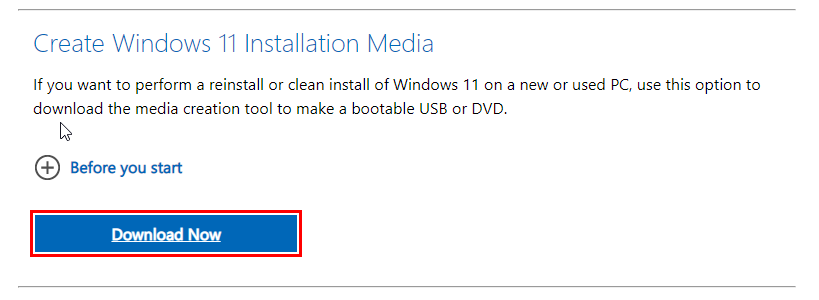
- On another computer, visit the Microsoft Windows 11 download page and click Download Now for the Media Creation tool.

- Once the download is complete, connect the USB drive, double-click the Media Creation tool to run it, and click Yes on the UAC prompt.
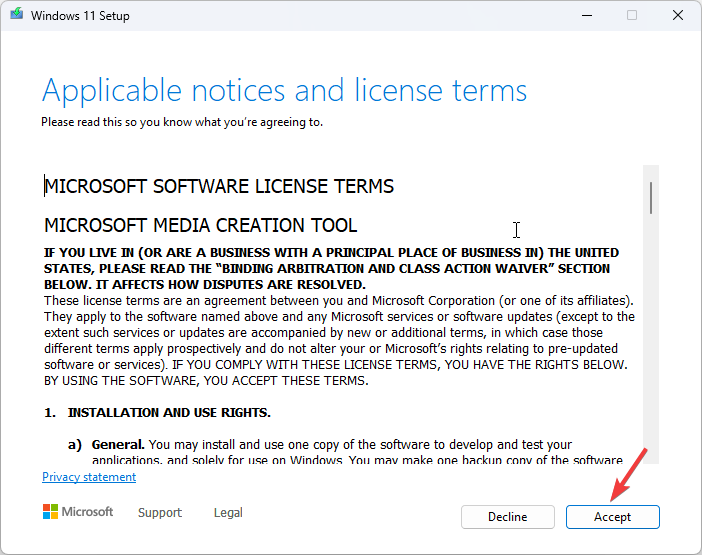
- Click Accept to agree to the license terms and agreements.
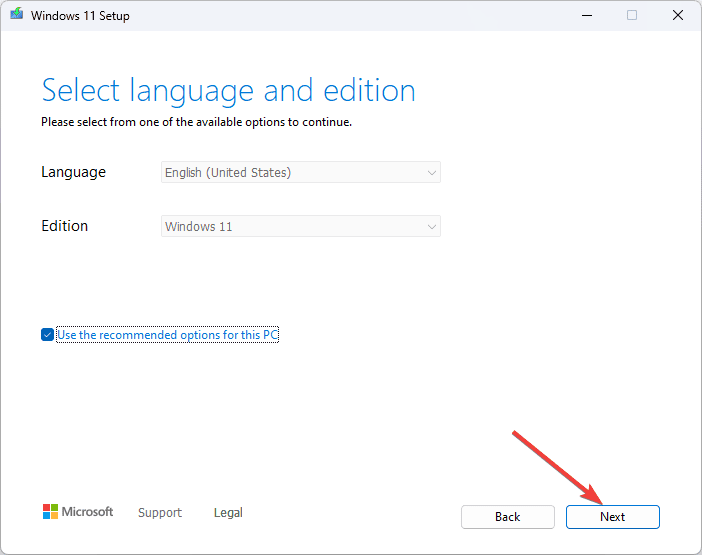
- Now, choose a language, edition, and architecture (32-bit or 64-bit) for Windows 11, then click Next.

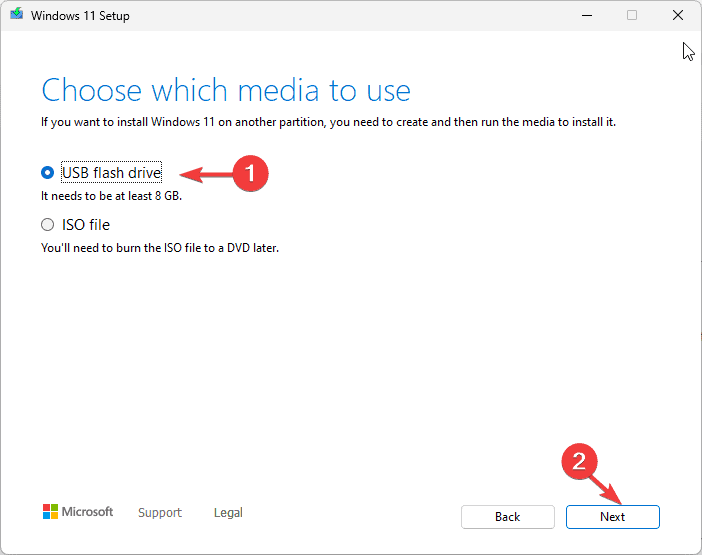
- Select USB flash drive and click Next.
- Choose the USB drive that you want to use and click Next.
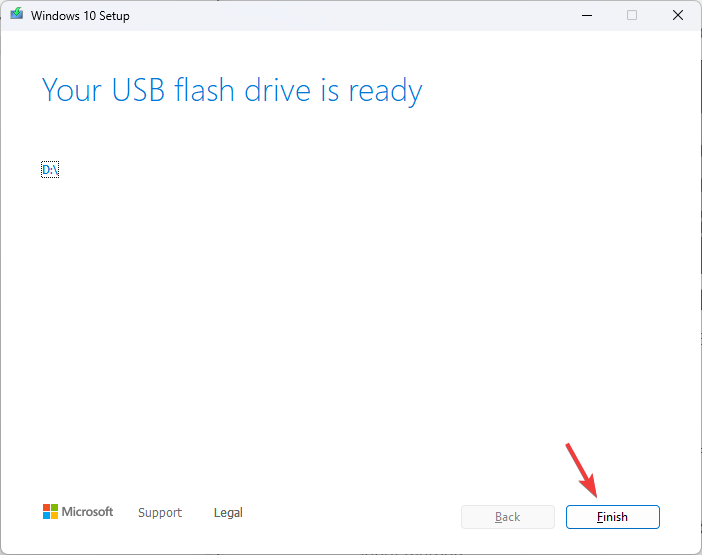
- Follow the on-screen steps to create a USB bootable media, then click Finish.
4.2 Install Windows 11
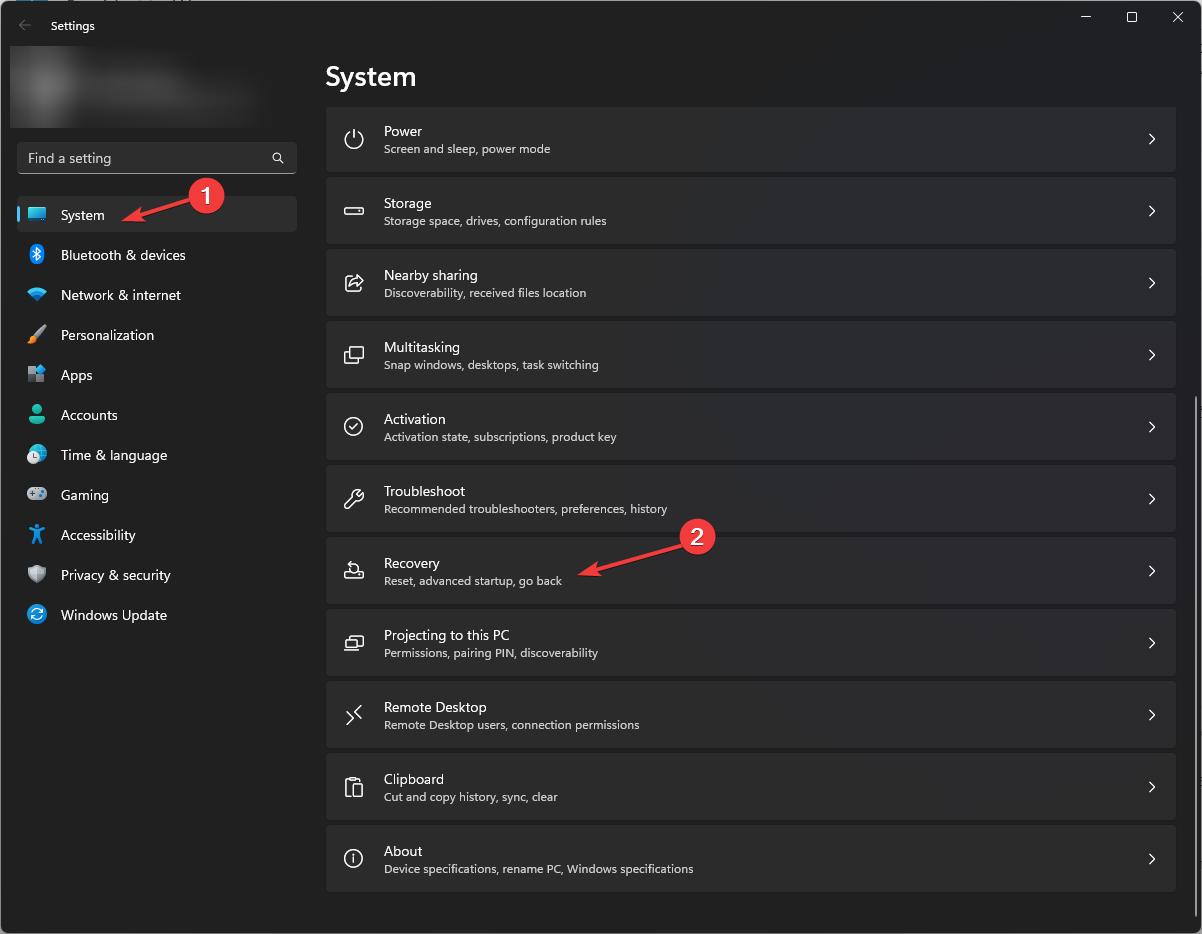
- Connect the USB drive to the targeted computer, then press Windows + I to open Settings.
- Go to System, then click Recovery.

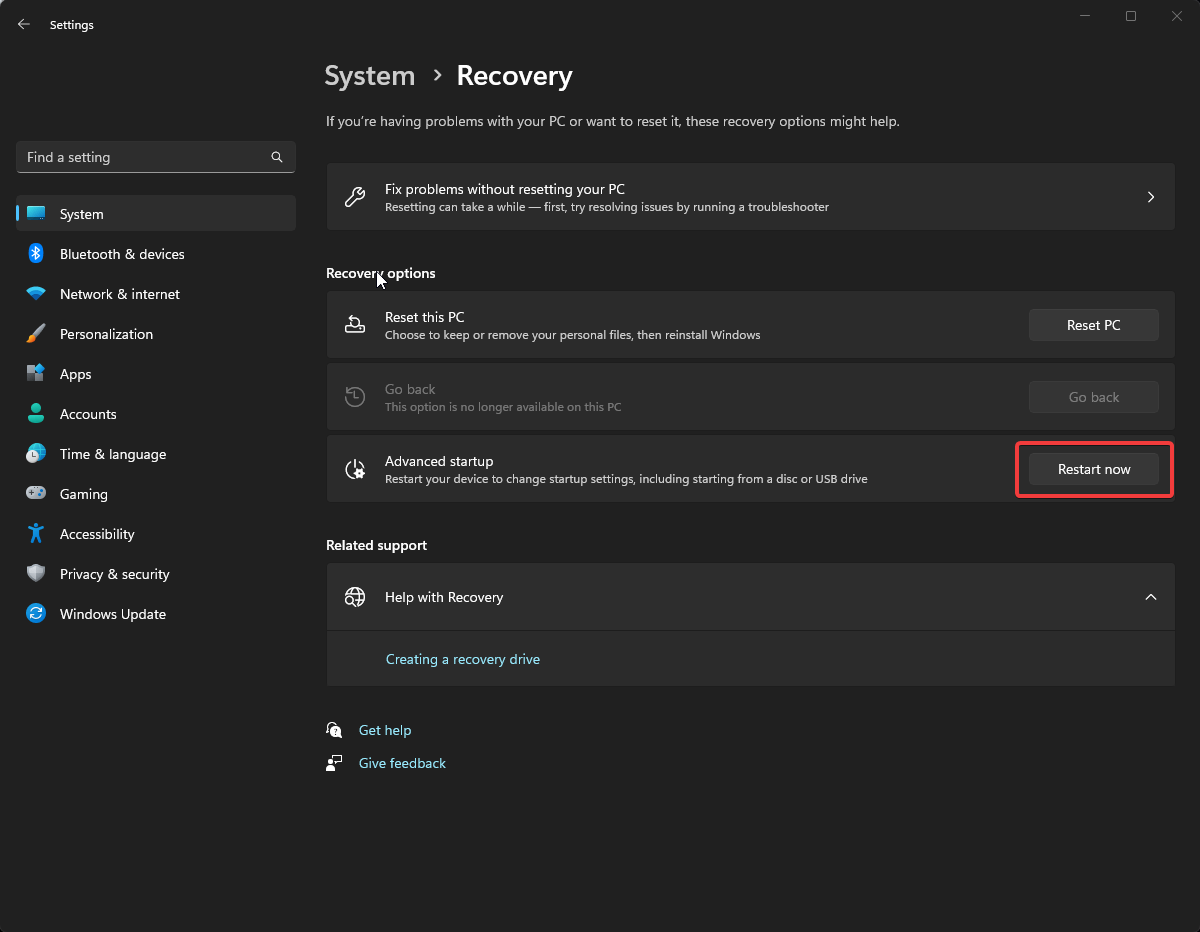
- Go to Advanced startup, and select Restart now.

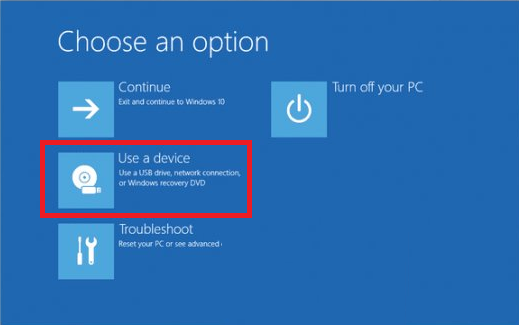
- On the blue screen, choose Use a device. If you don’t find it, restart your computer in BIOS mode and select a USB device to boot.

- Choose language and other suitable options on the first screen, and click Next.
- Click Install now.
- Place a checkmark next to the I accept box to accept the license terms and click Next.
- Select Custom: Install Windows only (advanced).
- Next, you will get a list of drives and partitions. You can select them and click Delete to remove them. Once done, click OK if you see Windows Setup notification.
- Click Next.
- The installation will start now; once complete, your device will restart.
- Follow the on-screen prompts to complete the process.
4.3 Configure Windows settings
- Once the installation is done, choose your region and keyboard layout.
- Connect to the Wi-Fi network when prompted.
- Next, sign in with a Microsoft account or create one if you don’t have one already.
- Choose the privacy settings per your preferences, then follow other prompts to set up other features.
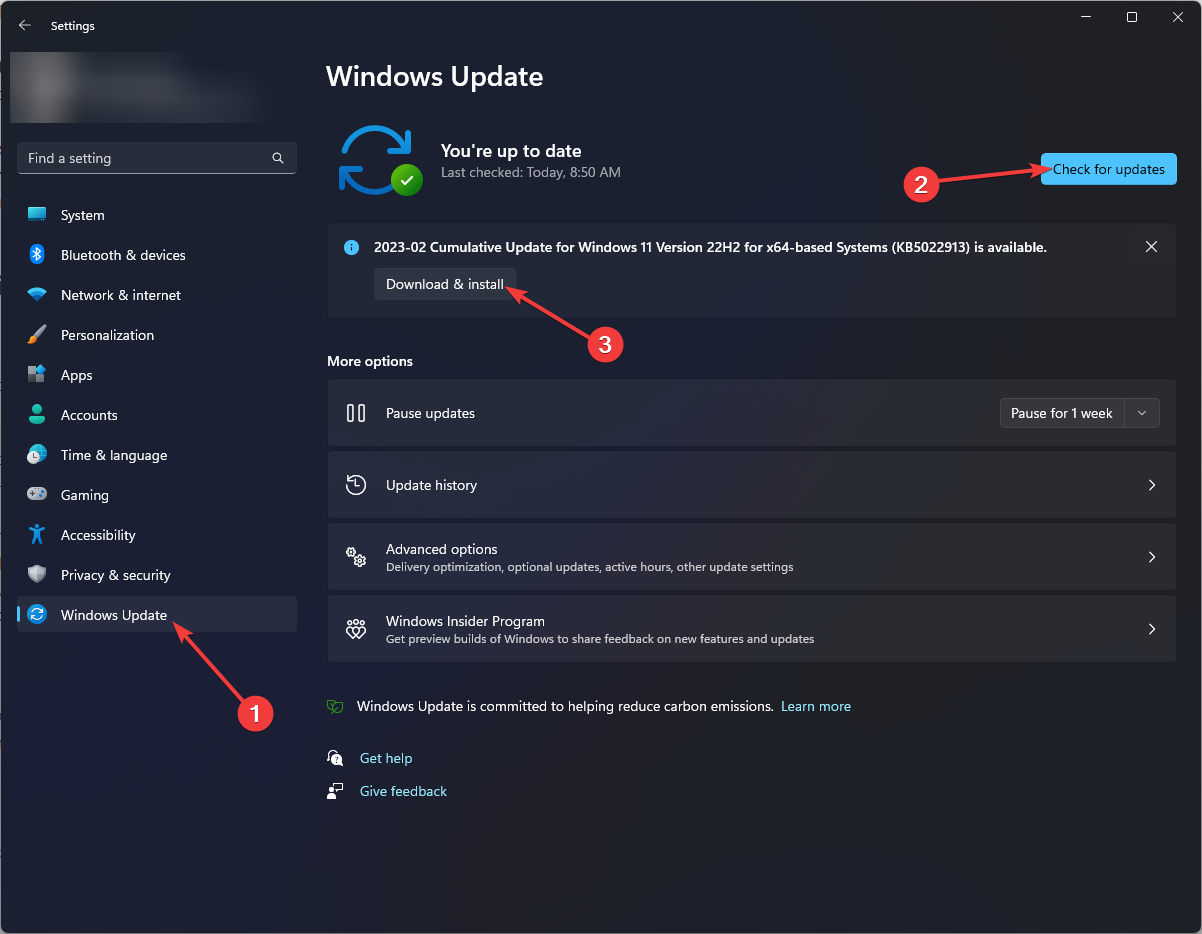
- Once the setup is complete, go to Windows + I to open Settings and go to Windows Update.
- Click Check for updates.
- If there is an update available, click Download & install to download it.
If you face this problem on Windows 10 and want to fix it via a clean install, check out this quick guide to performing a Windows 10 repair upgrade.
Remember to avoid issues like MBR_CHECKSUM_MISMATCH, keep your operating system, antivirus, and other security tools updated to the latest version. Also, perform regular backups to external storage or cloud services to safeguard your data.
If you have any questions or suggestions about the MBR_CHECKSUM_MISMATCH BSoD error, feel free to mention them in the comments section below.


User forum
0 messages