How to Download & Set Up Jira Software for Windows 11
Download for free from the official website
3 min. read
Updated on
Read our disclosure page to find out how can you help Windows Report sustain the editorial team. Read more
Jira is a popular project management tool to effectively keep track of the work and tasks at hand. It’s available for all major operating systems, including Windows, MacOS, and Linux.
The project management tool is employed by countless organizations worldwide and helps streamline tasks right from the initial stages to bug tracking and future development. If you are planning to download Jira (previously called Jira Software) on Windows 11, it won’t take more than a few minutes!
How can I download and install Jira on Windows 11?
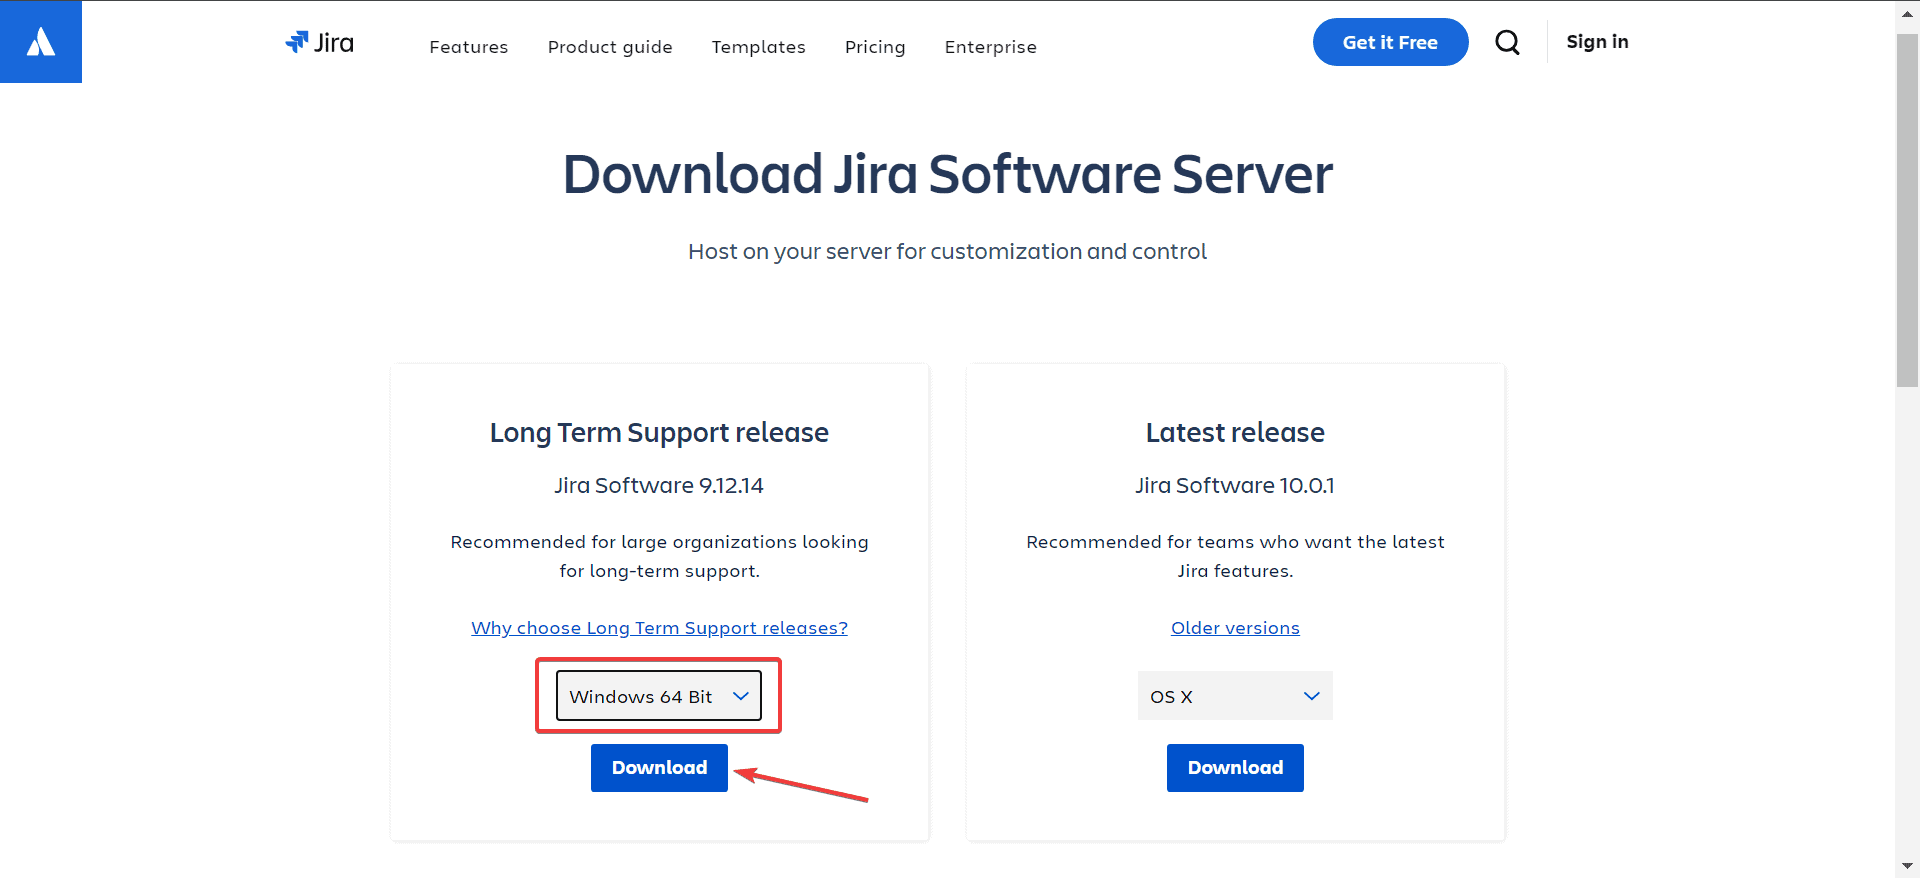
- Go to Atlassian’s official website, select the preferred download option from the dropdown menu, and click on Download. While I am downloading a long-term support release, you can get the latest release as well.
- Accept the license agreement by ticking the checkbox, and then click on Submit. The download may take some time since it’s a 570 MB installer.
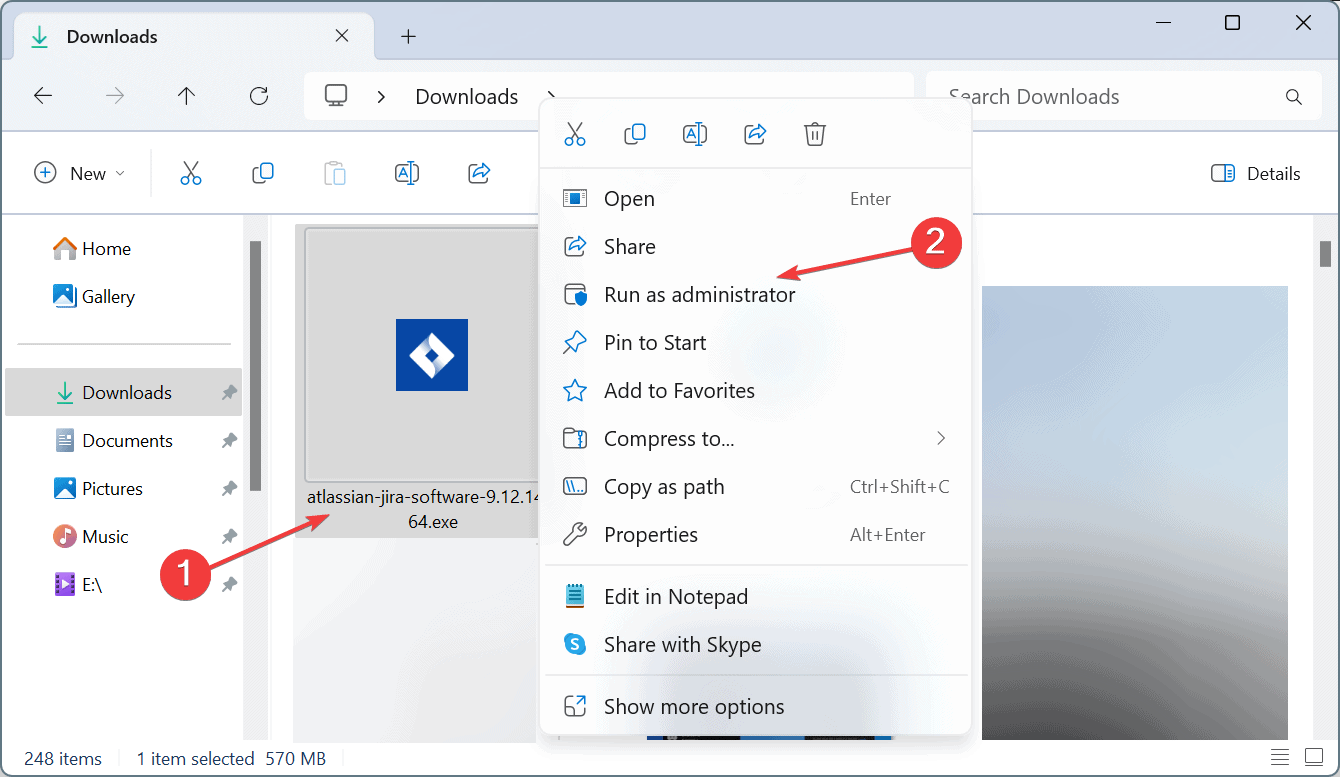
- Once done, right-click on the installer (.exe file) and select Run as administrator. This is critical since you need administrative privileges for complete installation. Running it without the privileges will throw a warning.
- Click Yes in the UAC prompt.
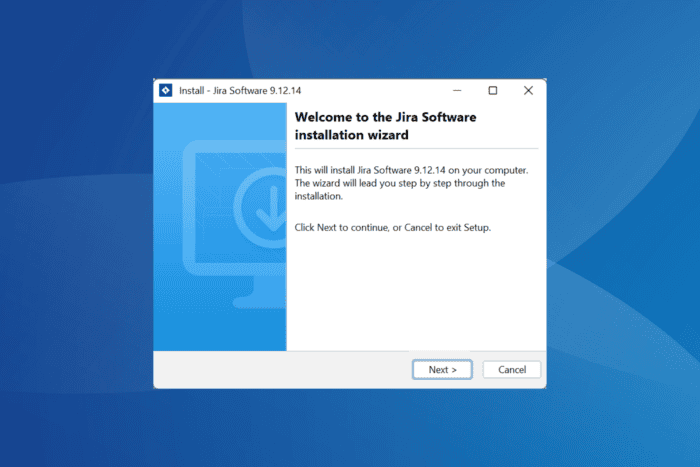
- Click on Next to proceed.
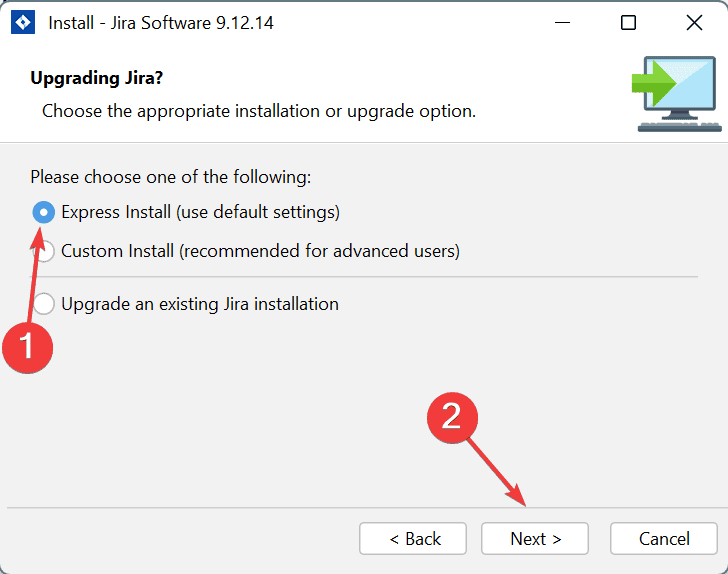
- Select the Express Install option and click on Next. This installs Jira with the default settings and is the ideal choice unless you want some customizations.
- Click Allow in the confirmation prompt.
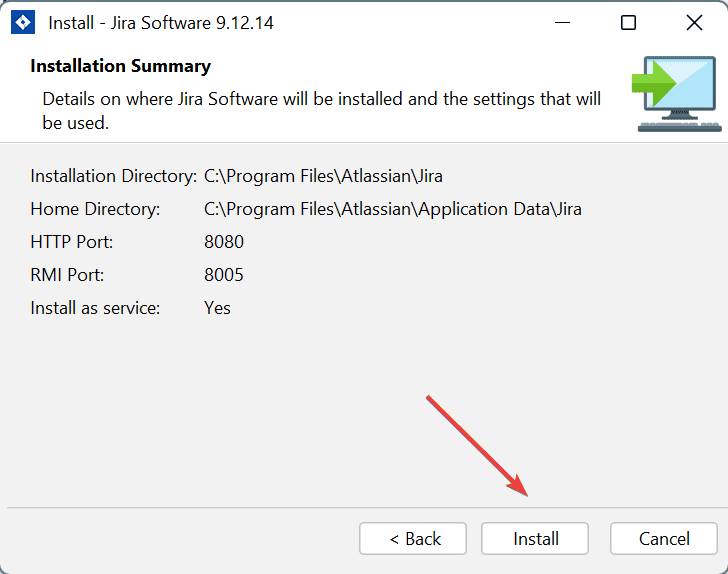
- Click on Install to start the process. On my Windows 11 PC, the installation took a little less than a minute.
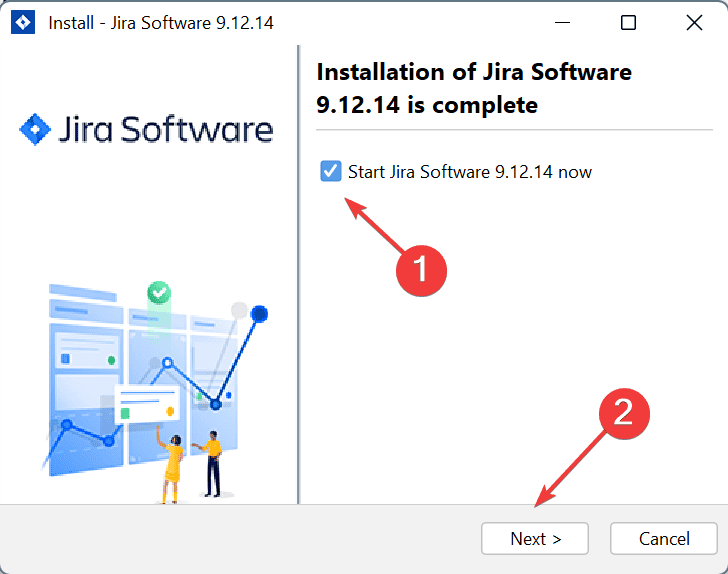
- After the installation is complete, tick the checkbox for Start Jira Software now and click Next.
- When it appears, tick the checkbox for Launch Jira Software in browser, and click Finish.
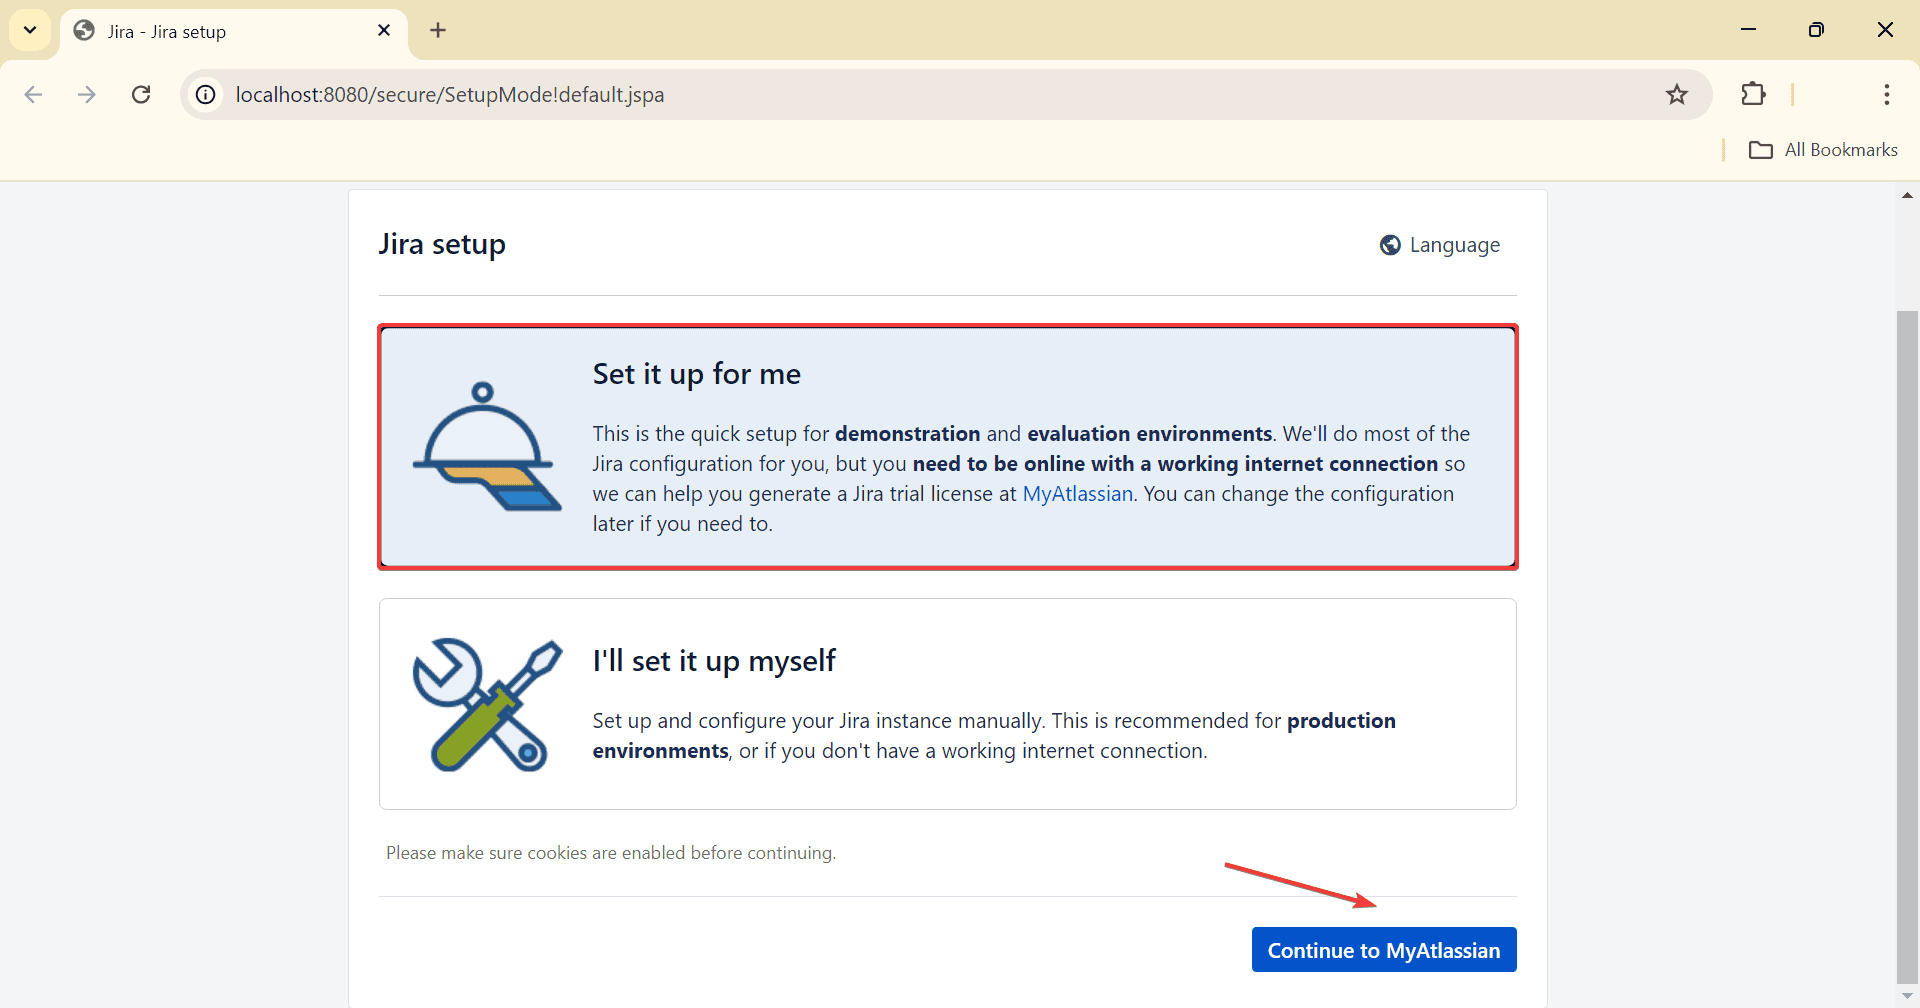
- In the browser window that opens, select Set it up for me, and click on Continue to MyAtlassian.
- If you already have an account, log in. For those who haven’t yet signed up, click on Create an account.
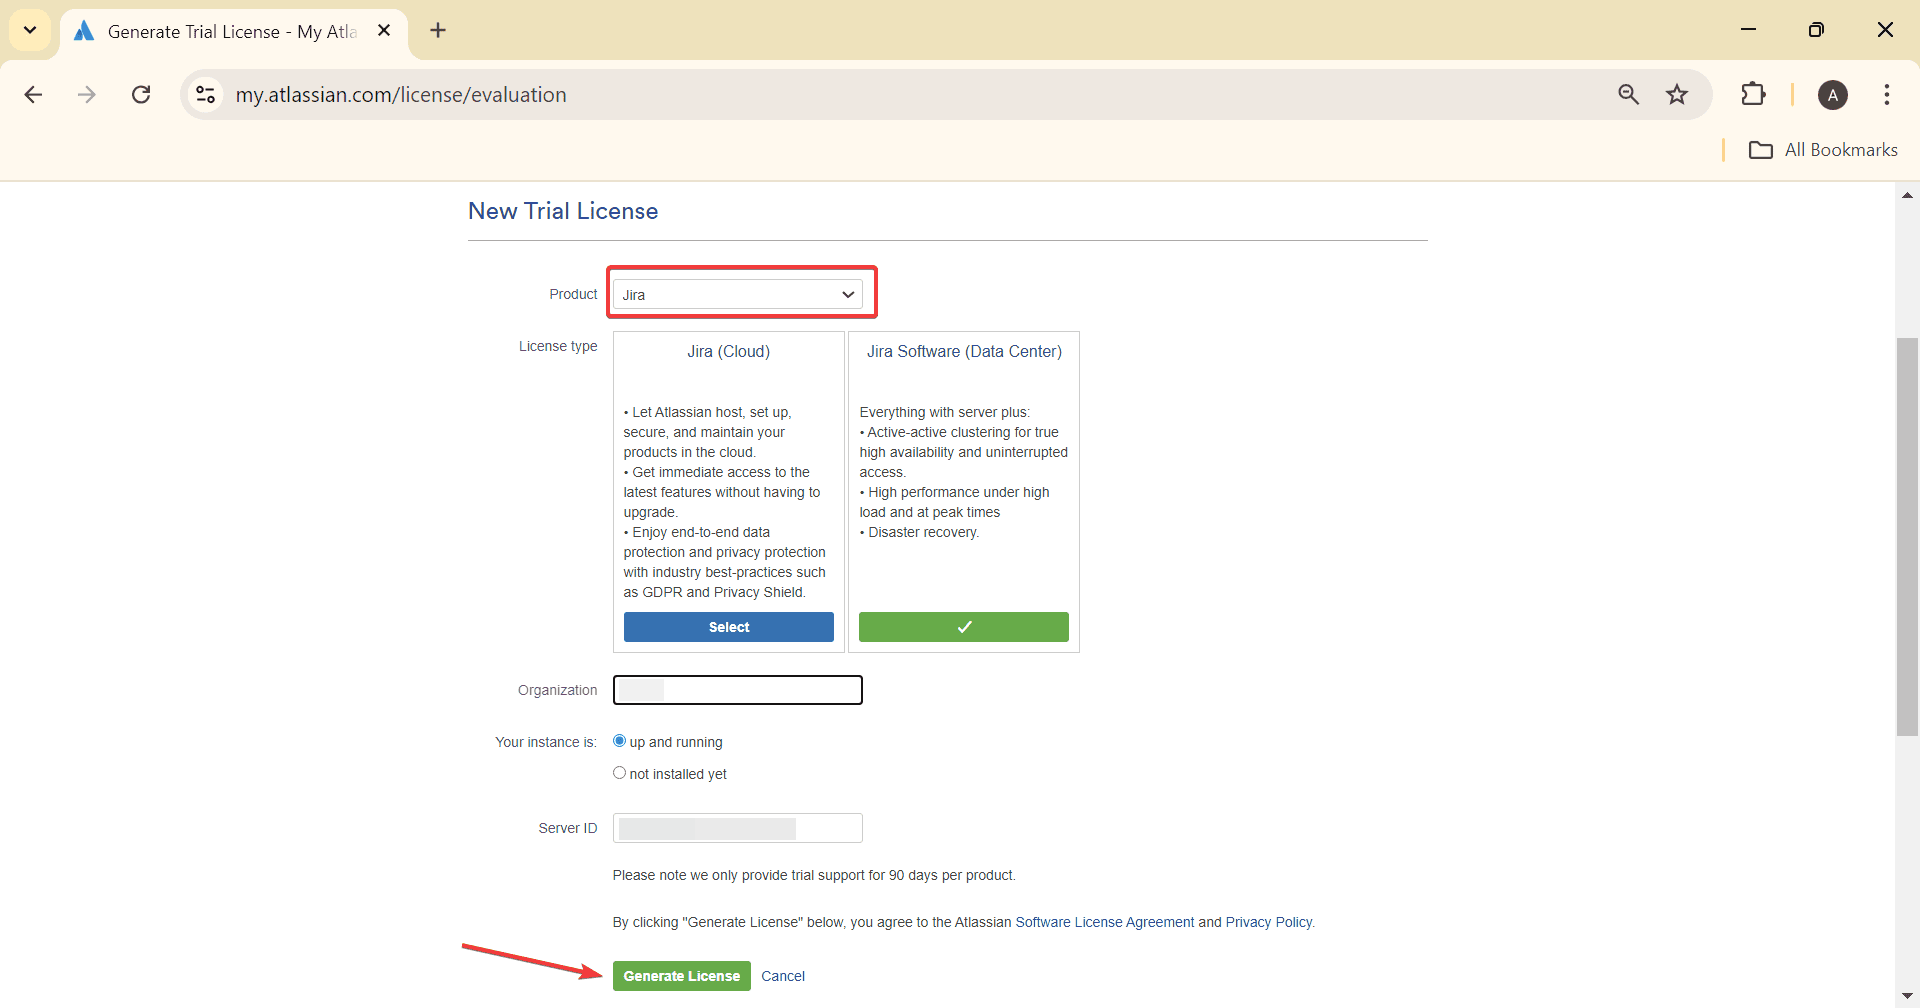
- Once done, you will be asked to generate a license. Pick the product from the dropdown menu, choose a license type, enter the name of the organization, and then click on Generate License.
- Click Yes in the confirmation prompt.
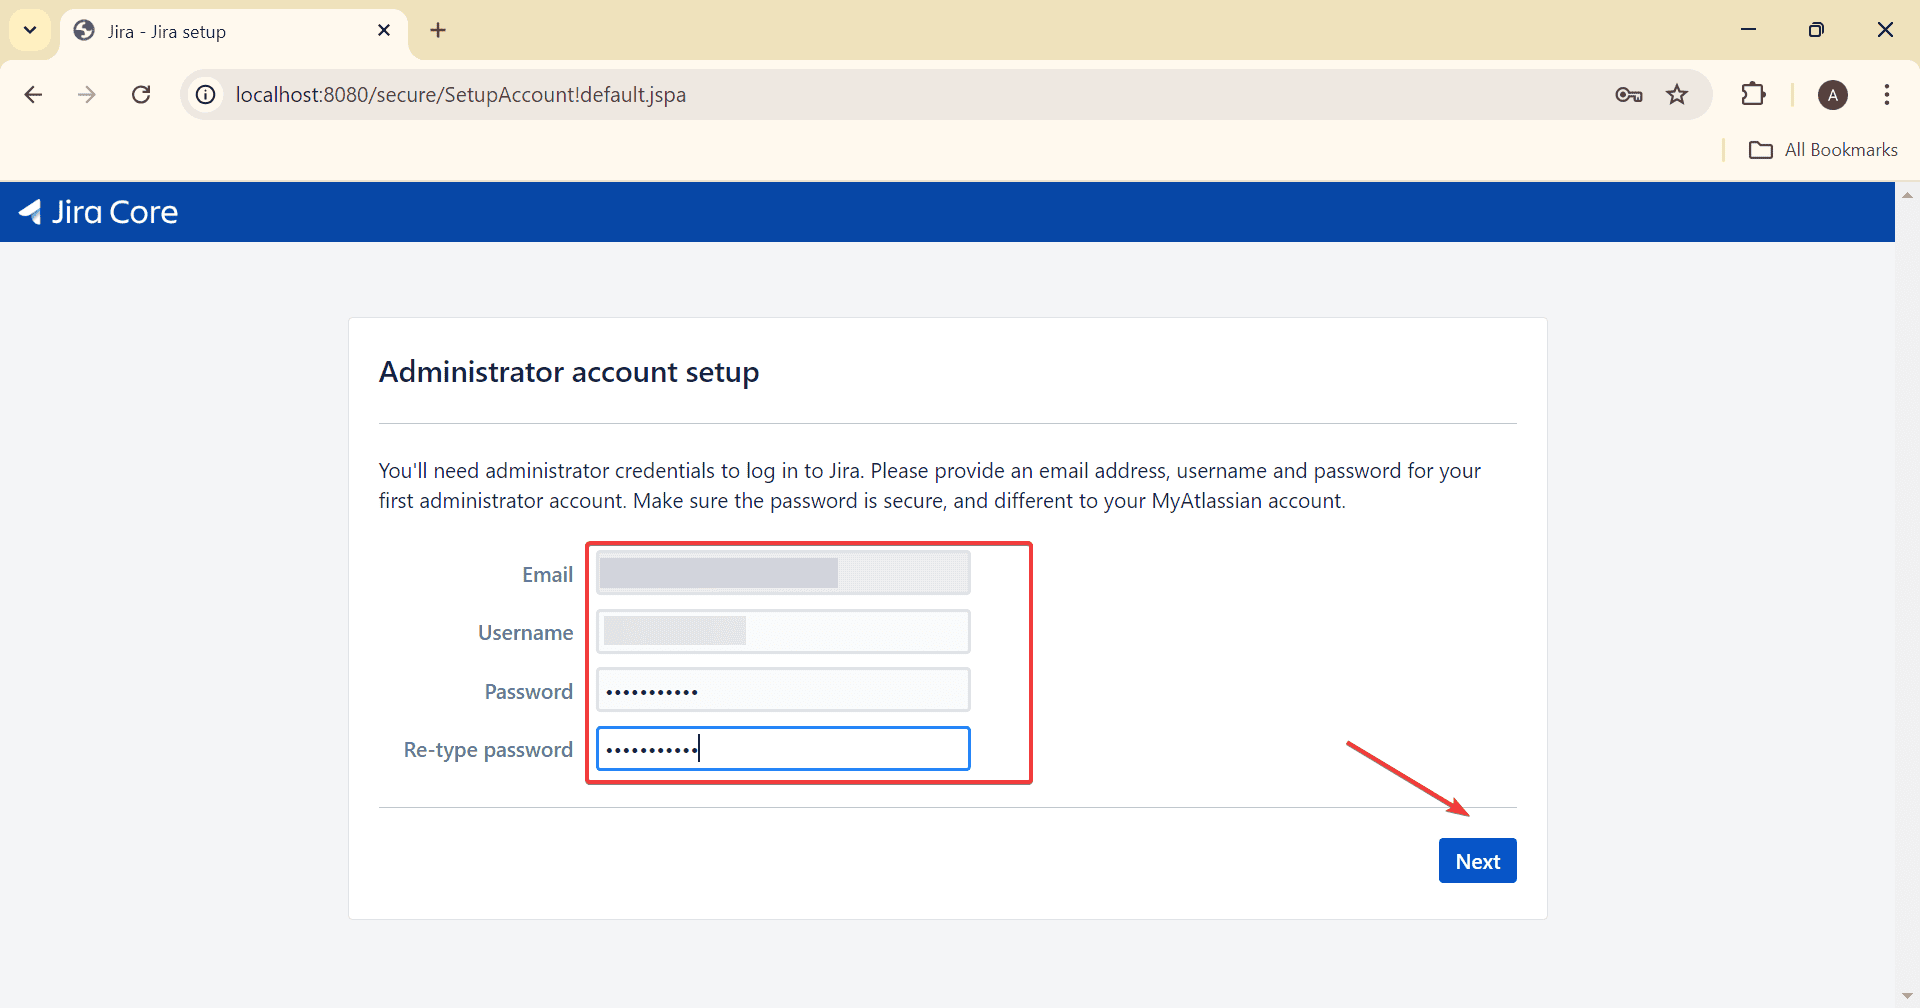
- Fill out all the details to create an administrator account, and then click on Next.
- Wait for a few minutes for the initial setup to complete, and then click on Let’s get started to start using Jira.
The entire Jira download, install, and setup process took me less than 15 minutes.
So, if you want to download Jira for Windows 11 and deploy it across development, management, operations, or marketing teams, go ahead and do it right away!
If your browser is not supported by Jira, discover the expert-recommended browsers compatible with Jira and download one.
We also have a new guide on how to download SysAid on Windows 10, but the same steps can be applied if you’re using the latest edition on Windows.
For any queries or to share what you like about Jira, drop a comment below.

User forum
0 messages