How to Fix the VHD_BOOT_INITIALIZATION_FAILED BSoD
This is most likely an USB port issue when booting from an external drive
3 min. read
Updated on
Read our disclosure page to find out how can you help Windows Report sustain the editorial team. Read more

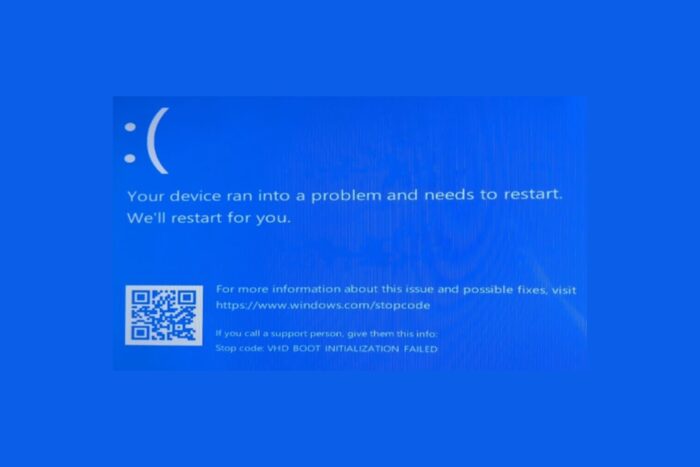
The VHD_BOOT_INITIALIZATION_FAILED BSoD comes with the error code 0x0000012F (0x12F) and occurs when the system couldn’t boot from a VHD. VHD stands for Virtual Hard Disk, but particularly, this issue may appear when booting from an external SSD in USB 3.0 mode. In this case, using a USB 2.0 cable will help you boot normally.
First, check if the VHD is configured correctly and try installing it on a different partition on an internal drive if possible. Also, this problem appears when using Ventoy or Lexar external drives, so you may also try installing the VHD on another external drive/ USB stick.
How do I fix VHD_BOOT_INITIALIZATION_FAILED BSoD?
1. Update or reenable the drivers
- Right-click the Start button and select Device Manager.
- Expand the Universal Serial Bus controllers section, right click on the USB 3.0 and USB 3.1 drivers and select Update driver.
- Next, click on Search automatically for drivers and follow the on-screen instructions to install any new drivers if available.
- You may also opt for disabling and reenabling the drivers in Step 2.
If this doesn’t work, go to your external drive manufacturer’s website and download the correct driver for your device and system. USB 3.0 is a pretty new standard and Windows still doesn’t have all the updated drivers from all manufacturers, so this method may help you fix the problem quickly. As we mentioned above, another solution is to use a USB 2.0 cable on a USB 3.0 or USB 2.0 port instead.
2. Enable USB Always on in BIOS
- Restart your PC and press the designated button to enter BIOS (usually it’s F2, Tab or Esc, but it may be different on your machine).
- Here, go to the Power settings or Advanced settings and look for an option called USB Always on and enable it.
- Save the settings and exit BIOS (usually, it’s the F10 key).
VHD boot initialization failed also occurs when the USB port is not powered fast enough during initialization or when the system turns back from sleep or hibernation. Turning on this feature will fix the problem, but that will also mean that all your USB ports will be always on.
You may also adjust the settings in Windows 11 USB Selective Suspend to prevent the OS from cutting the power to your USB ports.
To conclude this guide, if you’re getting the Ventoy VHD boot initialization failed, try installing the correct driver or try using another drive. Also, try with a USB 2.0 cable or another port and enable USB Always on in BIOS.
Another recommendation is to ensure minimum possible space when creating a VHD or VHDX image. You may also check our guide on how to fix the VHD_BOOT_HOST_VOLUME_NOT_ENOUGH_SPACE BSoD that may occur in this process.
If you know about other solutions to fix the VHD_BOOT_INITIALIZATION_FAILED BSoD, let us know in the comments below.


User forum
0 messages