How to Fix The MSVCR120_CLR0400.DLL Could Not Be Located Error?
Reinstalling the affected app can help you fix the problem
6 min. read
Updated on
Read our disclosure page to find out how can you help Windows Report sustain the editorial team. Read more
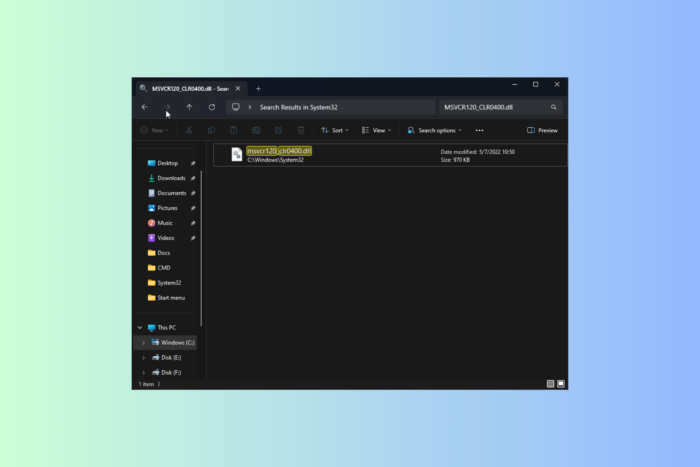
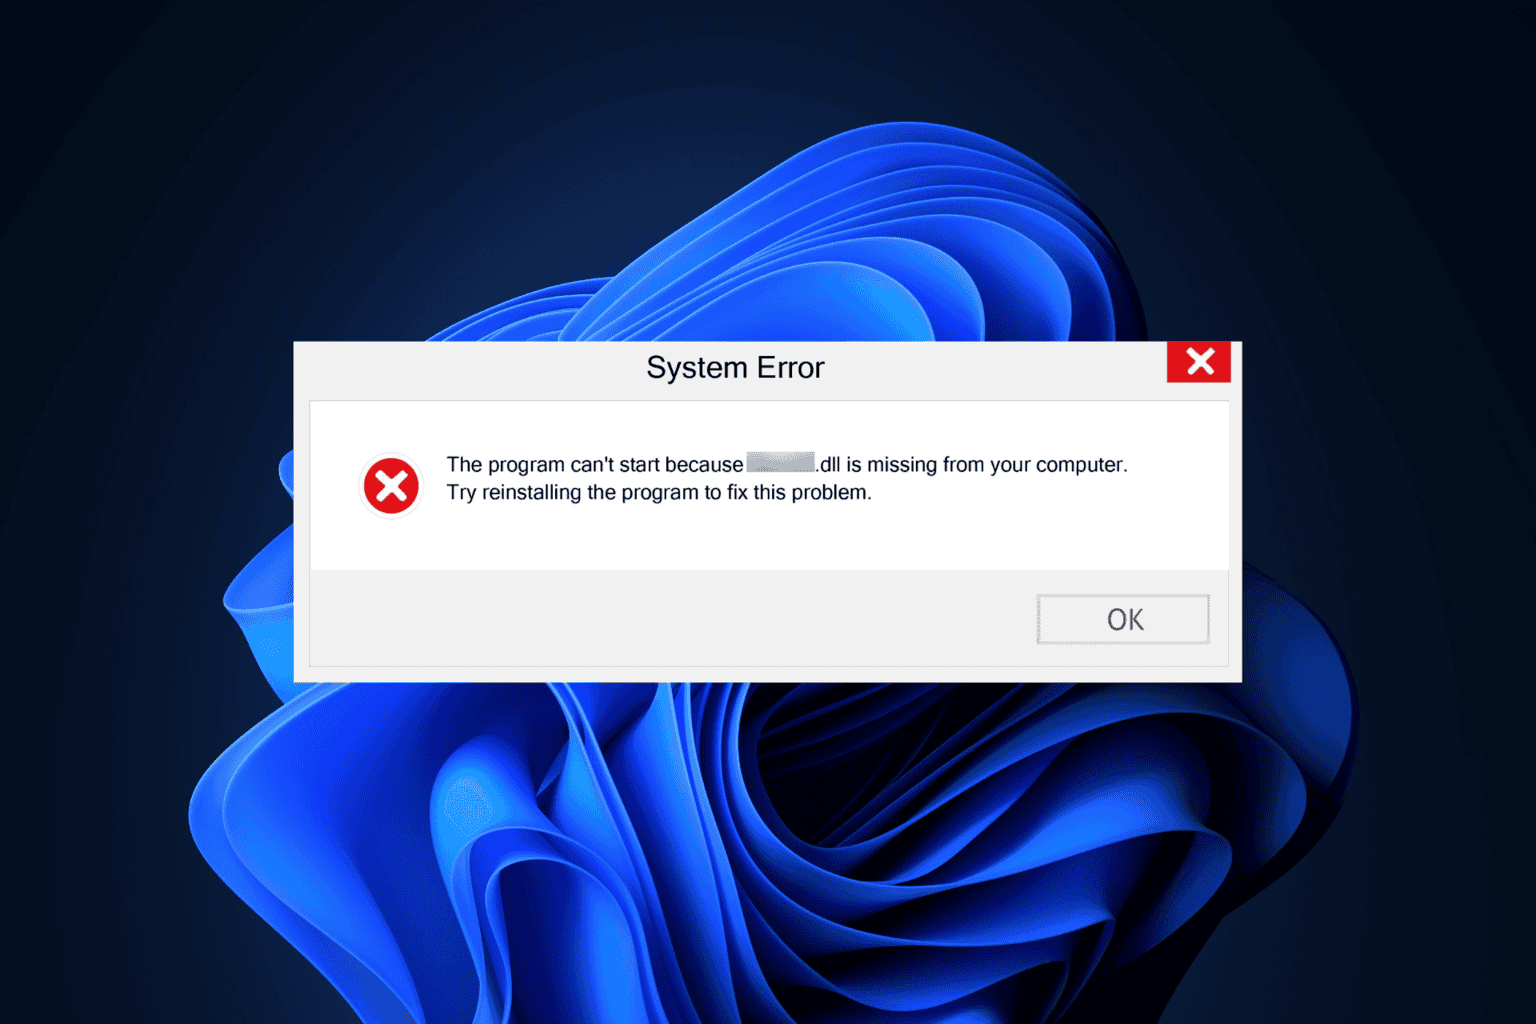
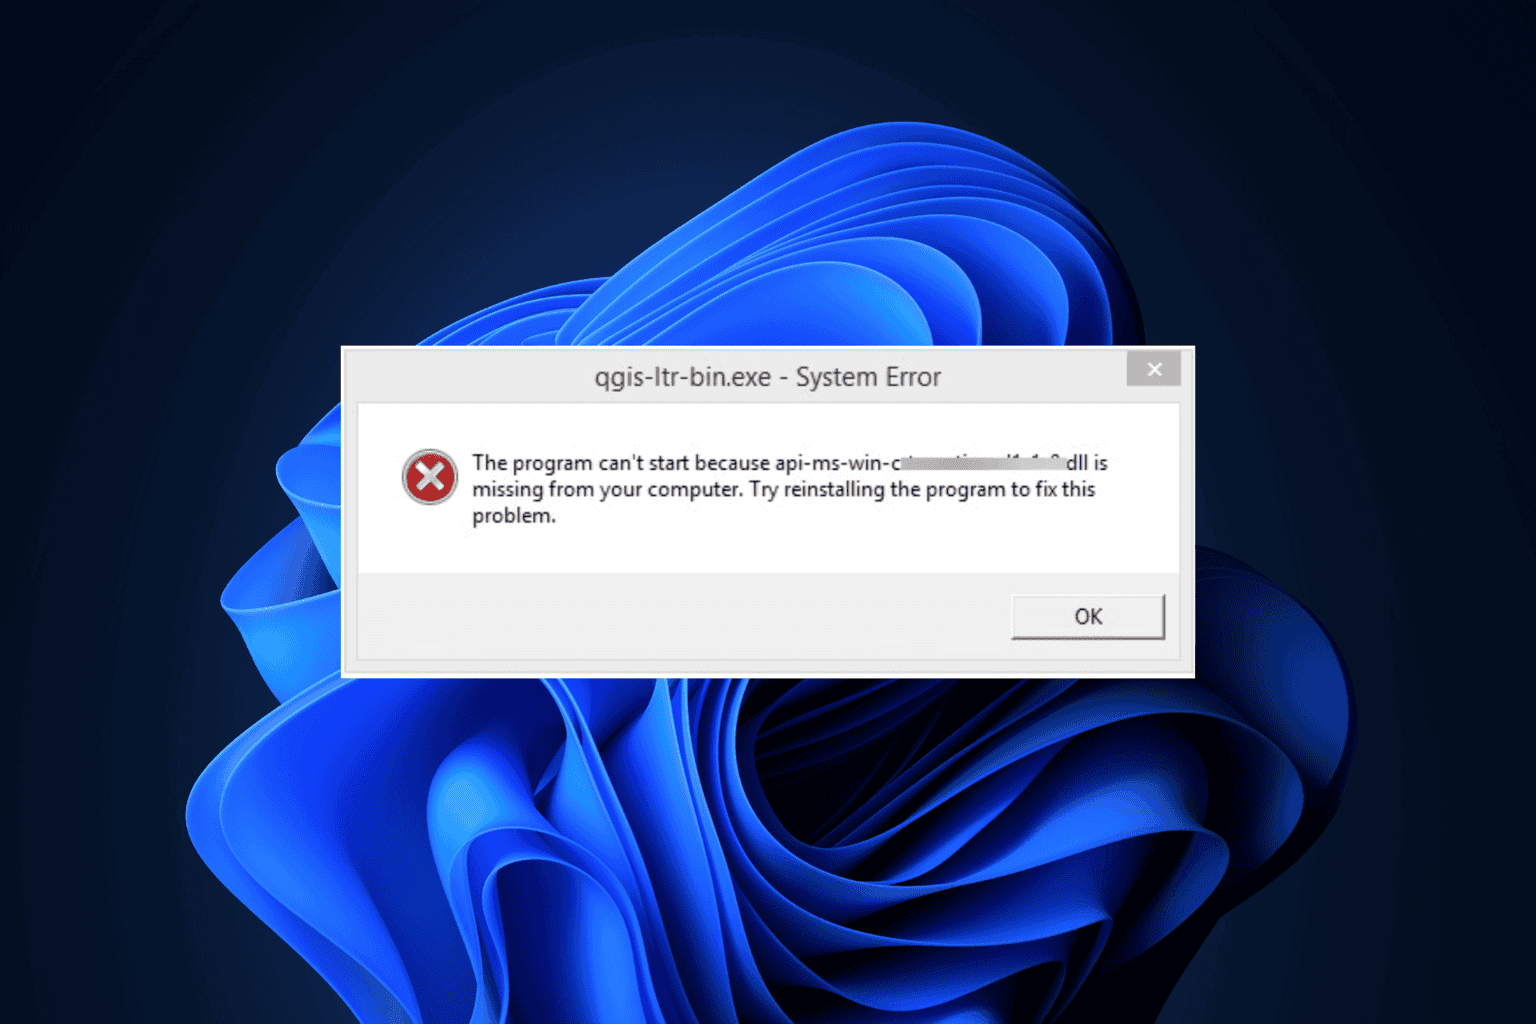
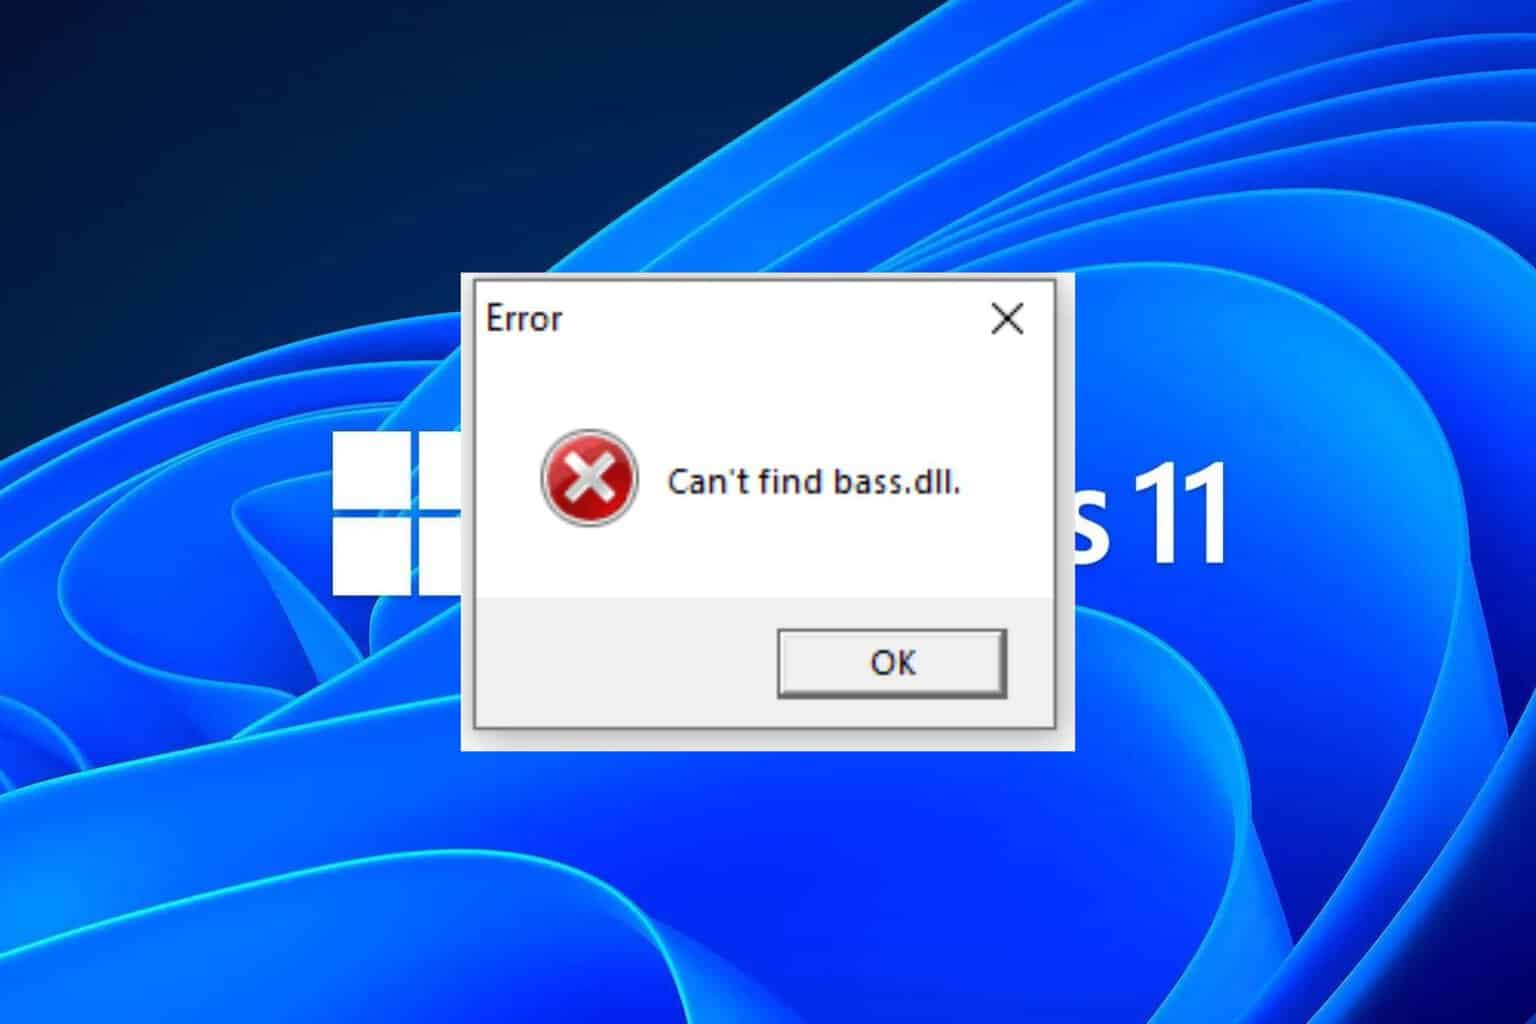
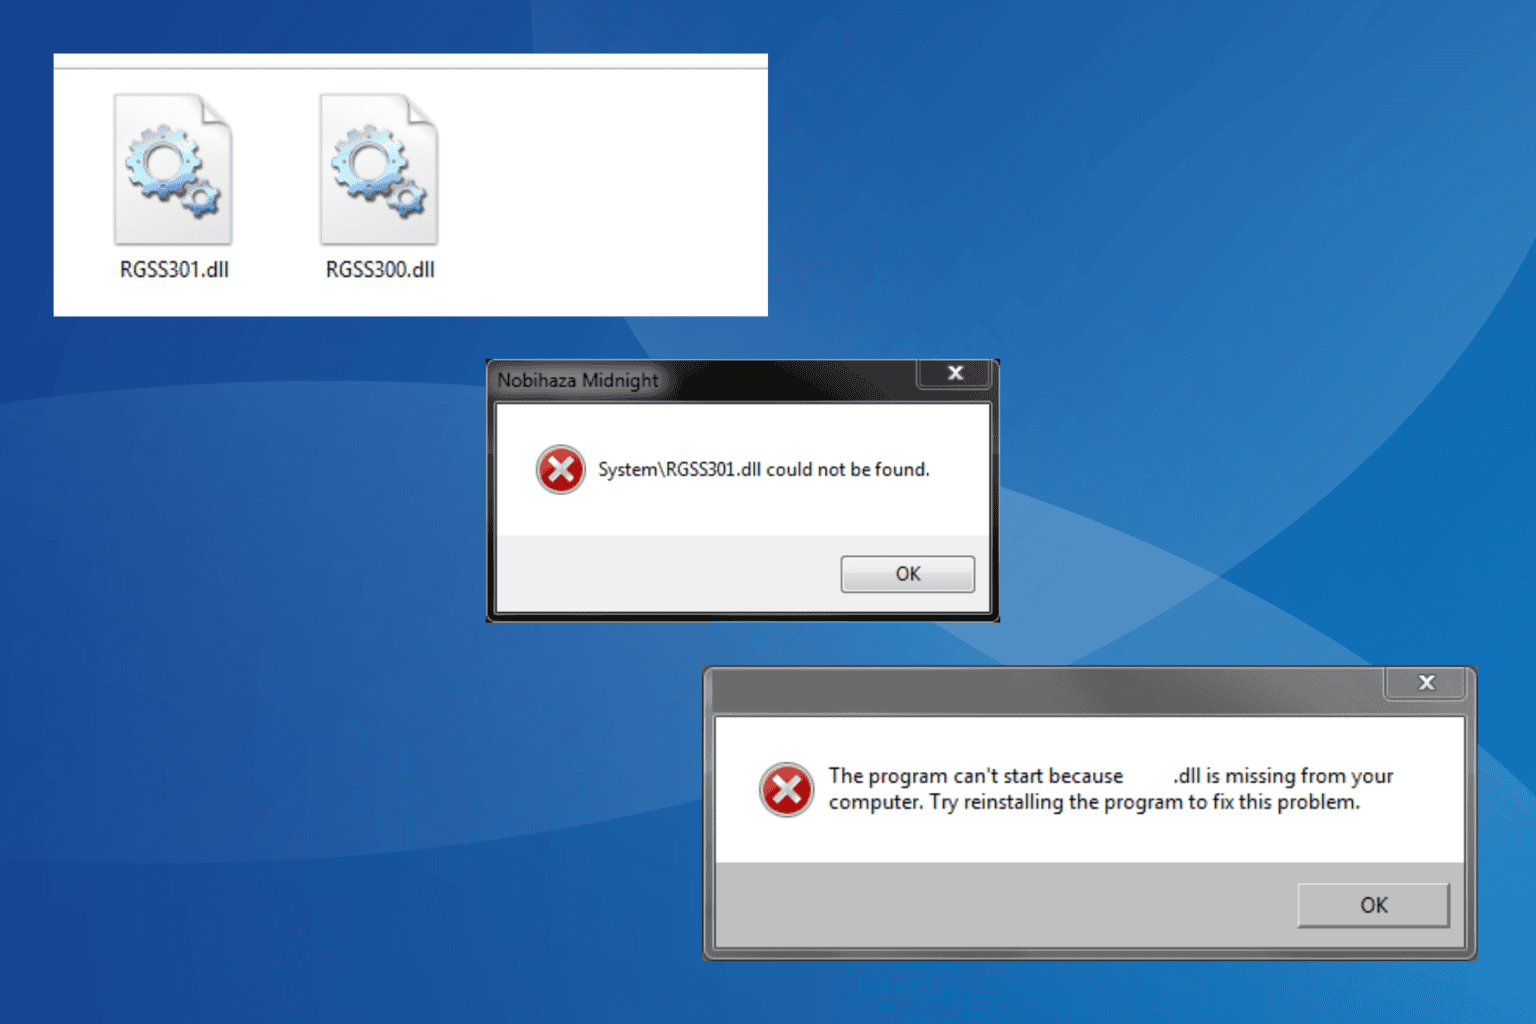
Many of our readers have complained about encountering msvcr120_clr0400.dll missing from their Windows 11, 10, 8, or 7 computers when launching apps like PUBG, Fortnite, Skype, Rocket League, Adobe Photoshop, Adobe After Effect, Remote Desktop Manager, Epic Games Launcher, GTA 5 / GTA V, Minecraft, Valorant, Skyrim, COD Battlefield, Red Dead Redemption 2, Cyberpunk 2077 or Apache.
The issue usually occurs if you accidentally delete the DLL file, the system files are damaged, or the drivers are corrupted.
What is MSVCR120_CLR0400.DLL?
The msvcr120_clr0400.dll (Microsoft C Runtime Library) file associated with Microsoft Visual Studio 2013 is a critical component that ensures the Windows apps function properly.
To fix it, restart your computer and make sure Windows is updated to the latest version. Before proceeding with the steps below, run a malware scan using reliable antimalware software.
How can I fix the MSVCR120_CLR0400.DLL could not be located error?
1. Use a reliable third-party DLL fixer
One of the quickest ways to get the DLL file and resolve this error is to copy the DLL file (C:\Windows\System32\) from a healthy computer running on the same version of Windows. Then, paste it into the affected computer at the exact location.
However, if you cannot find the file, we suggest using a third-party DLL fixer tool, as it can help you recover the missing DLL file without any hassle. To use it, download and install the tool, then run it to restore files & fix the problem.
2. Reregister the DLL file
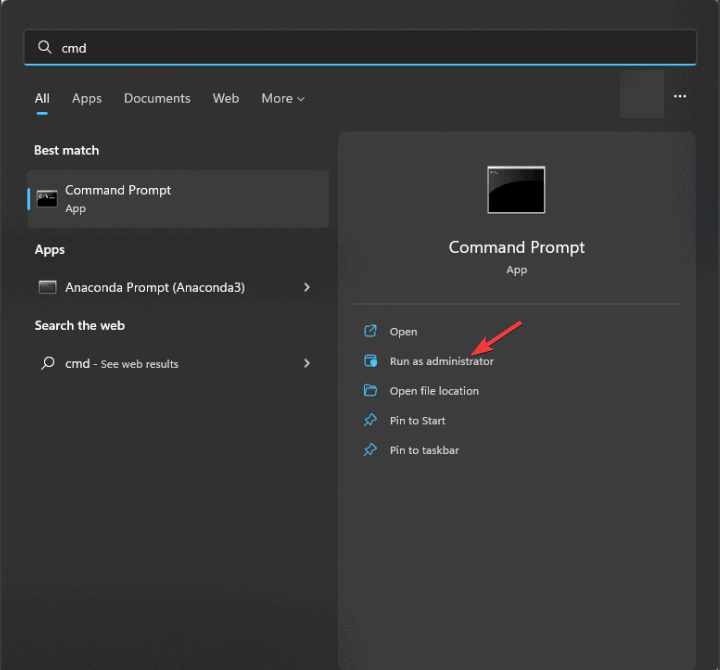
- Press the Windows key, type cmd in the search box, and click Run as administrator to open Command Prompt with elevated rights.
- Type the following command to reregister the MSVCR120_CLR0400.DLL and hit Enter:
regsvr32 MSVCR120_CLR0400.DLL - Click OK when prompted and restart your computer.
If the DLL is in your device but you see this error, try registering it again. This can refresh file registration within Windows and resolve the missing DLL file problem.
3. Repair/Reinstall the affected app
- Press Windows + I to open the Settings app.
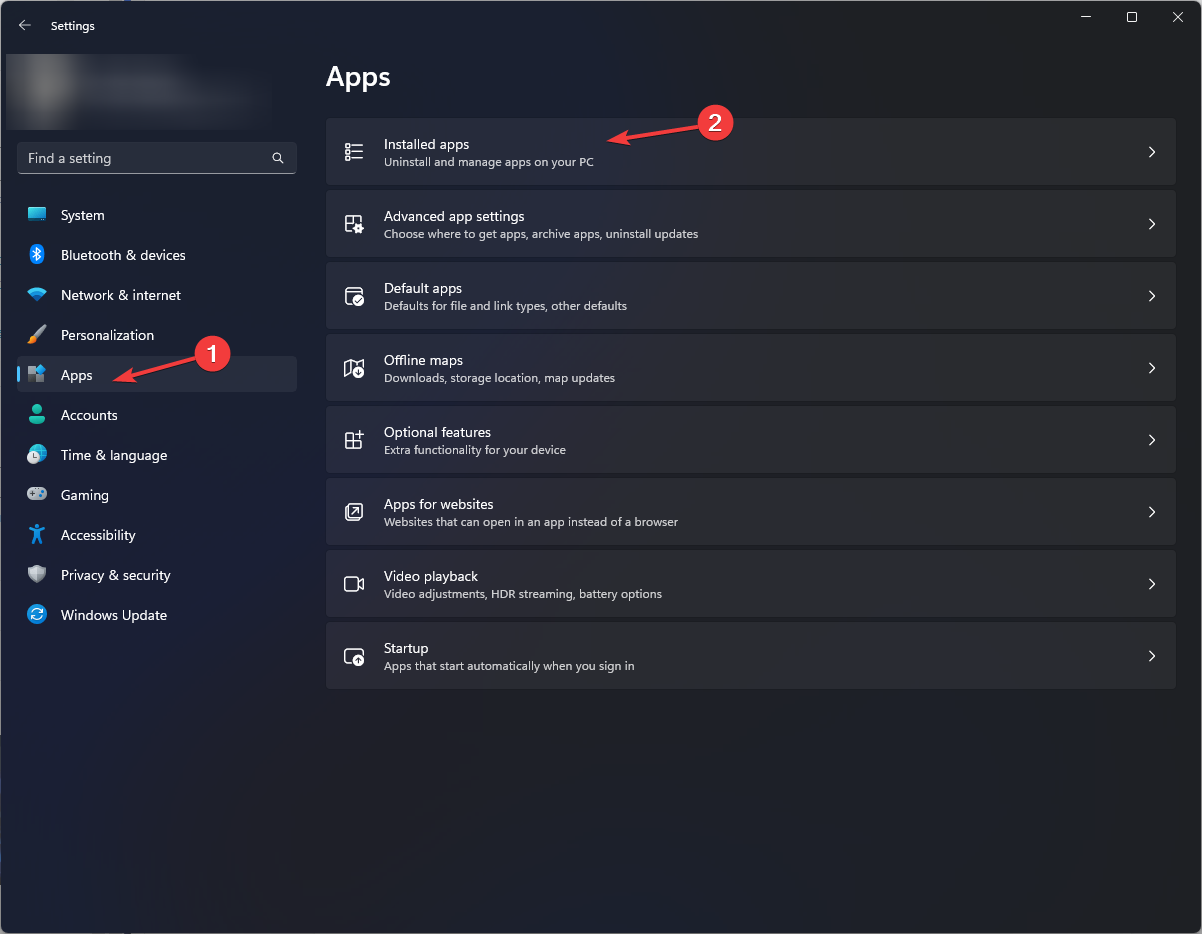
- Go to Apps, then click Installed apps.
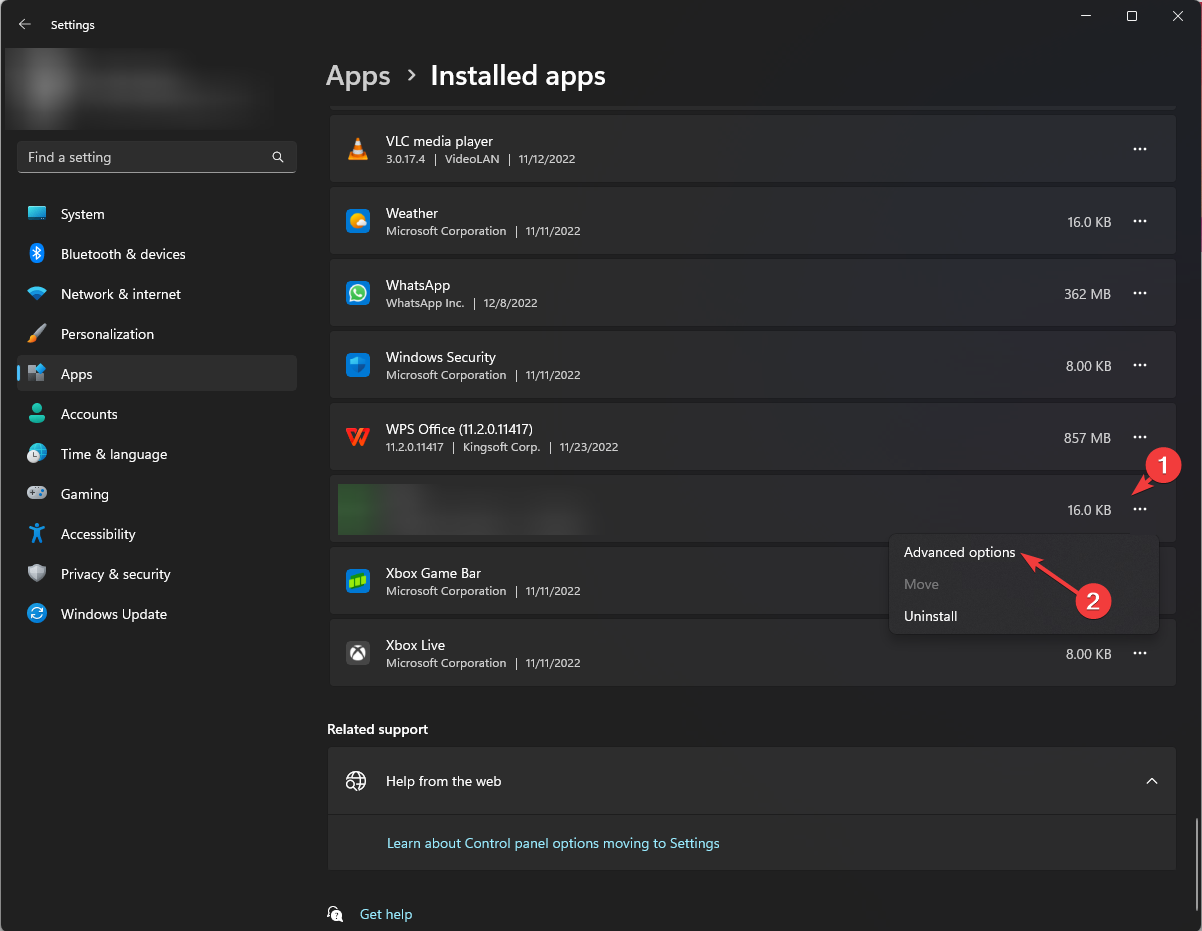
- Locate the affected app, click the three dots icon, and choose Advanced options from the context menu.
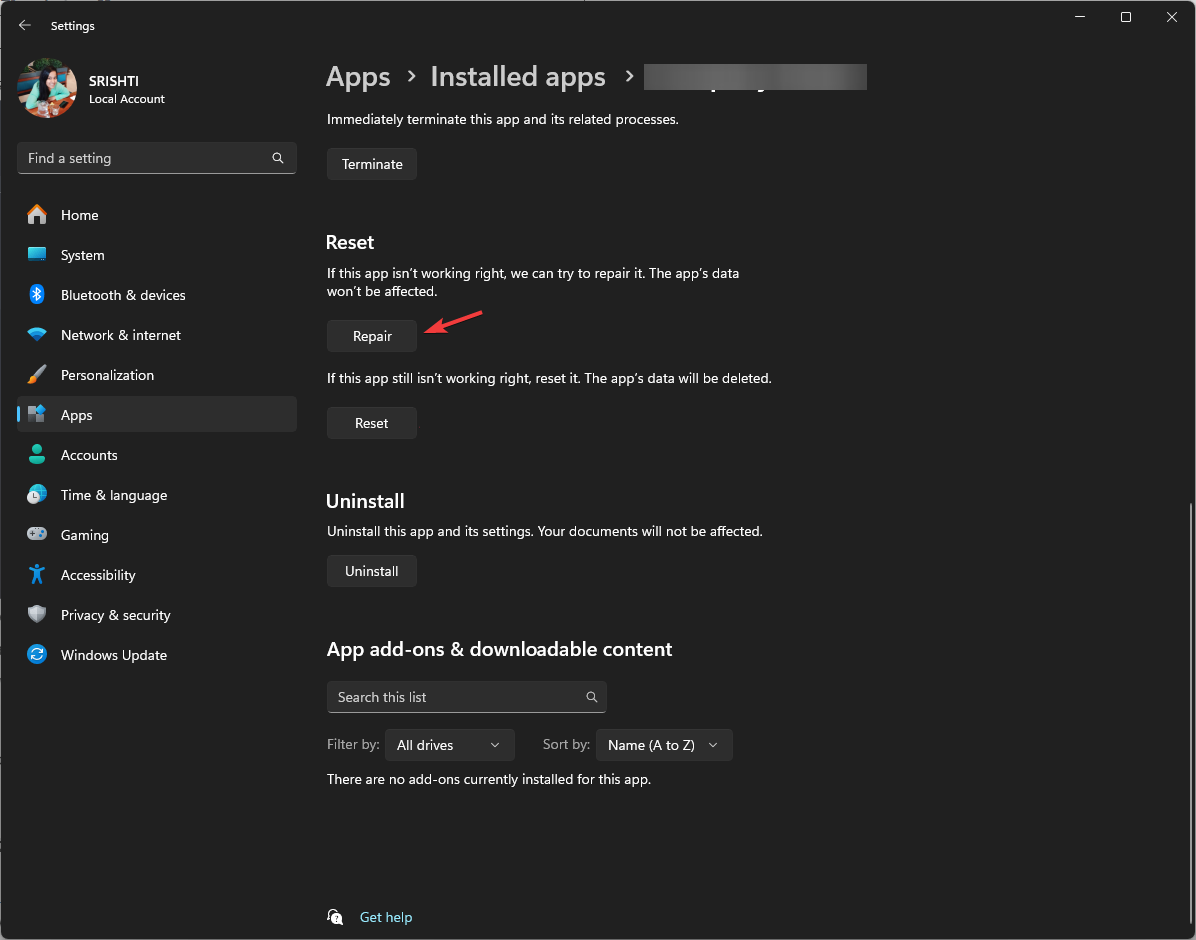
- On the following page, go to the Reset section and click the Repair button. This will try to repair the app without removing app data from your device.
If repairing the app didn’t help, or the option is unavailable, try reinstalling it. For that, follow the steps below:
- Go to the Installed apps list in Settings again.
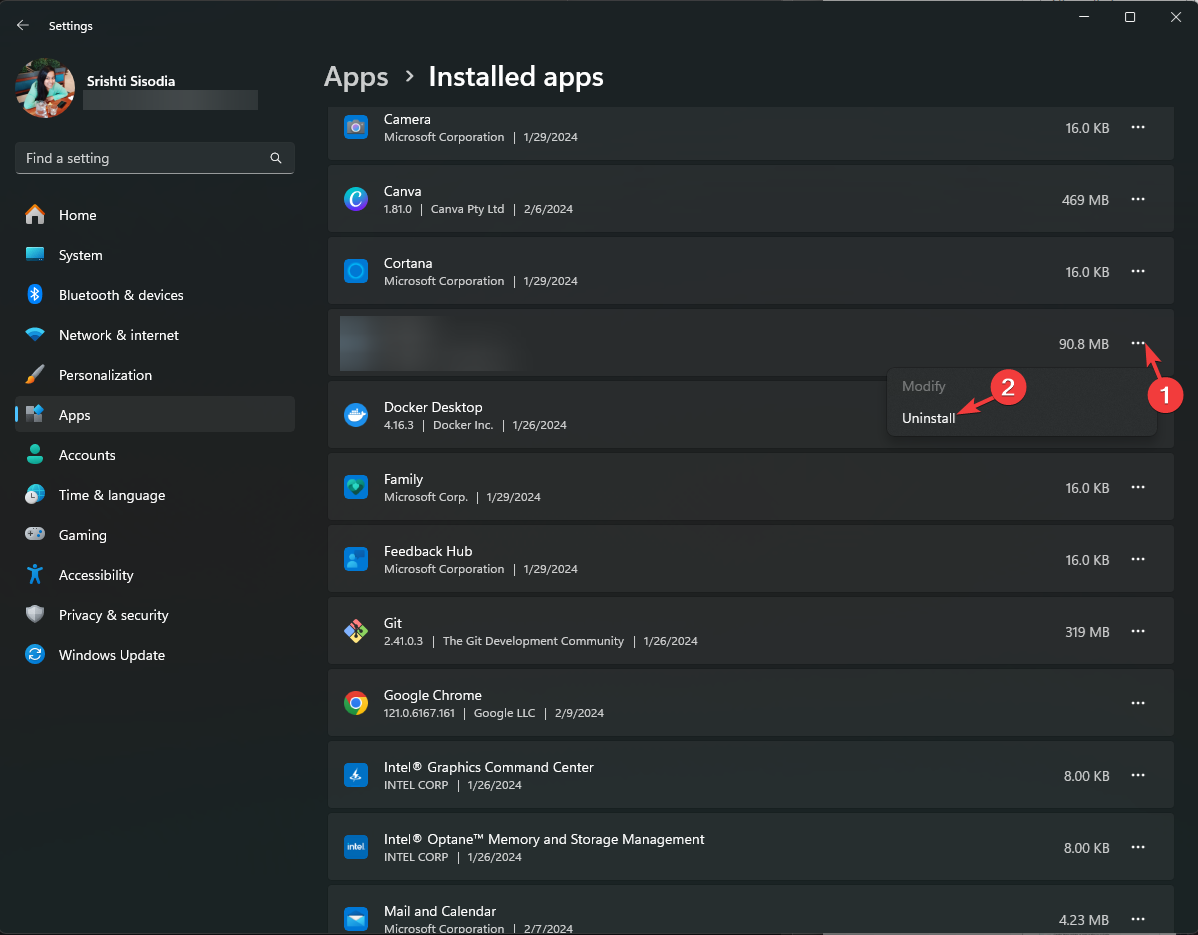
- Navigate to the affected app, click the three dots icon, and choose Uninstall.
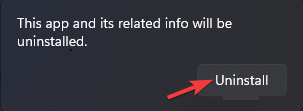
- Click Uninstall again and follow the on-screen instructions.
- Next, go to the app’s official website and click Download to get the executable file. Double-click the file to install the app.
- Once complete, restart your PC.
4. Run SFC & DISM scans
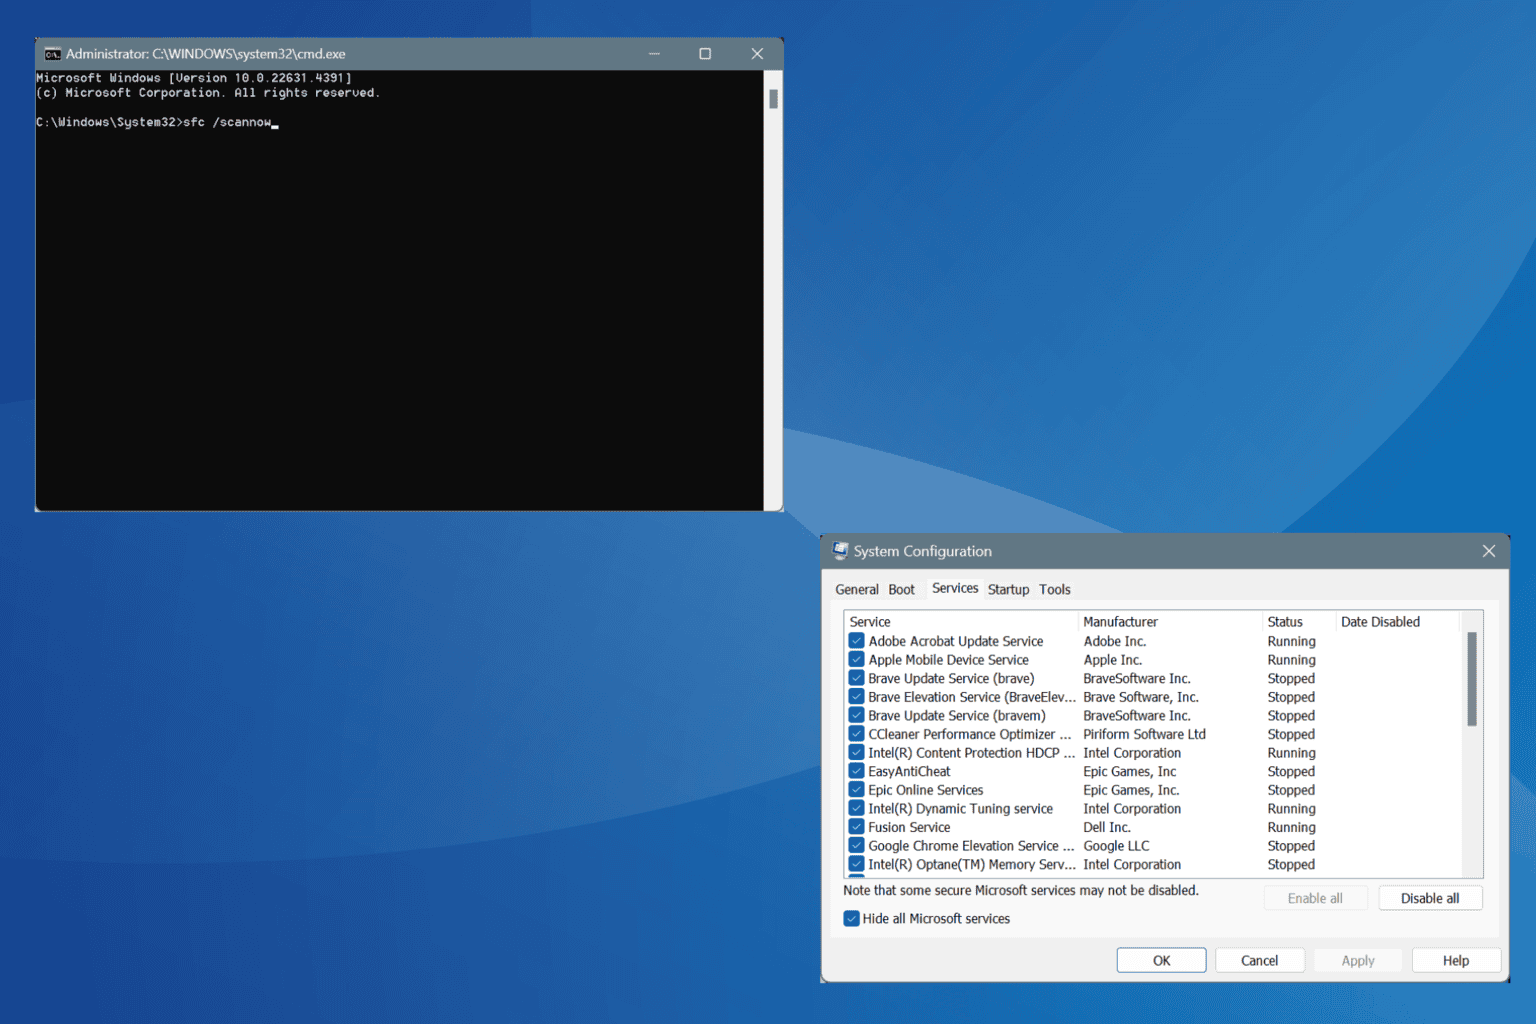
- Press the Windows key, type cmd in the search box, and click Run as administrator.
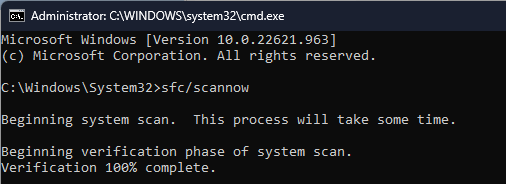
- Copy & paste the following command to restore/repair the Windows system files and press Enter:
sfc/scannow - Wait for the scan to complete, type the following command to scan the Windows image for corruption and repair it using the Windows Update, and hit Enter:
Dism /Online /Cleanup-Image /RestoreHealth - Once the scan is executed, reboot your PC to let the changes take effect.
Read more about this topic
- Mfc120.dll is Missing in Windows: 7 Ways to Download the DLL
- How to Fix ERROR_WAIT_NO_CHILDREN 128 (0x80)
- Dism Host Servicing Process: 7 Ways to Reduce High CPU Usage
- Libgcc_s_dw2-1.dll Was Not Found: How to Get it Back
5. Perform a System Restore
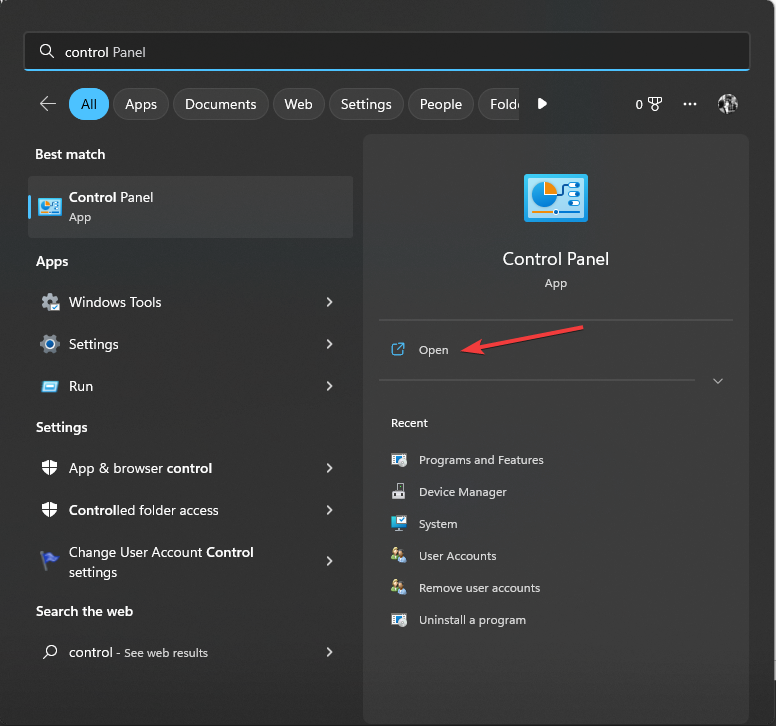
- Press the Windows key, type control panel in the search box, and click Open.
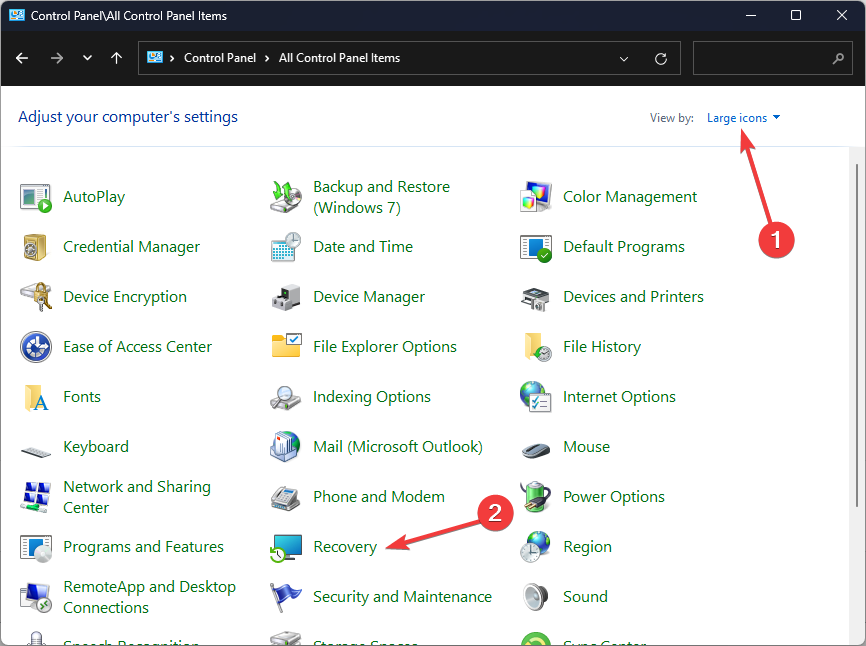
- Select Large icons for View by and click Recovery.
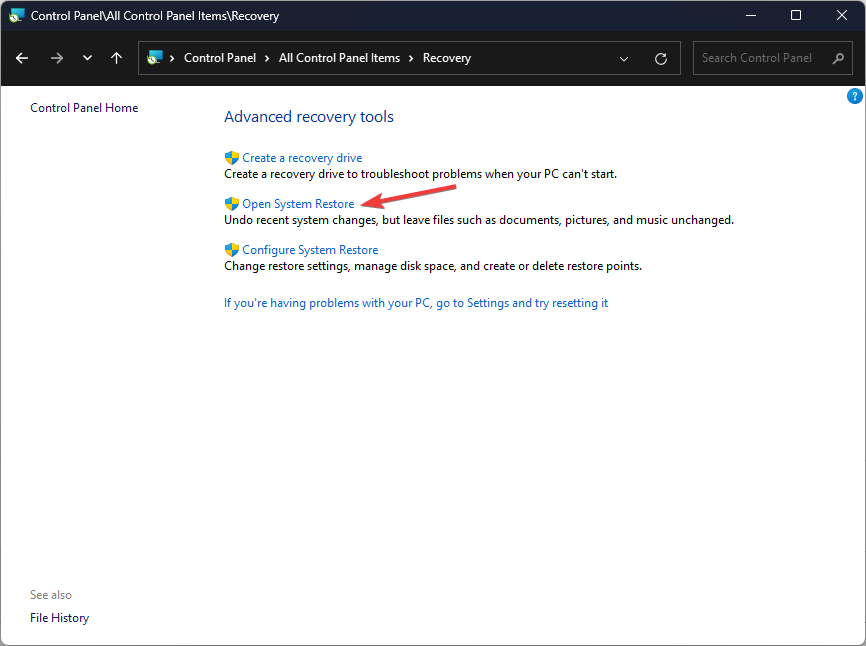
- Click Open System Restore.
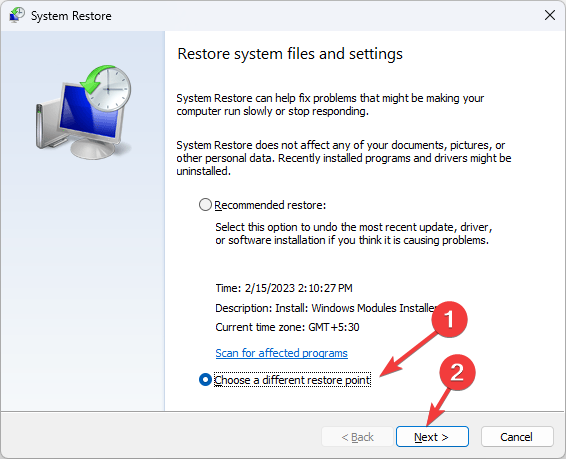
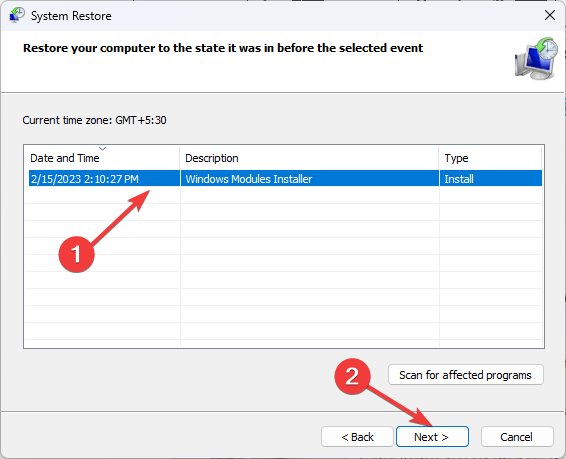
- Select Choose a different restore point on the System Restore window, and click Next to proceed.
- Select a restore point created from the available restore points before encountering this missing DLL error and click Next.
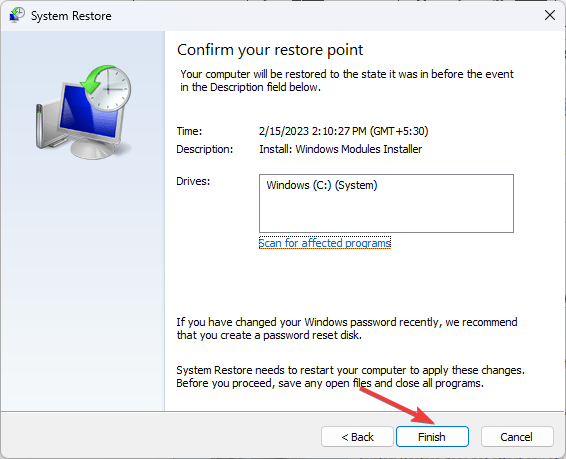
- Click Finish.
Your device will restart, and Windows will restore the system settings to the selected version. If you see the System Restore didn’t complete the error successfully message, the reason could be conflicting programs or a driver error. We recommend you check out this detailed guide for solutions.
6. Download the DLL file from a third-party website
 NOTE
NOTE
- Click the DLL-FILES website to access the MSVCR120_CLR0400.DLL page, then click the Download button.
- Double-click the downloaded folder, then locate and copy the .dll file.
- Navigate to this path and paste the copied file. Don’t forget to replace C with the system drive letter of your device if it is not C for you:
C:\Windows\System32\ - Restart your computer to confirm the changes.
This is how you can fix the MSVCR120_CLR0400.DLL could not be located error. However, if you face the same issue due to any other DLL file, you can check out this guide to quickly recover it.
Eager to learn more about the causes of missing DLL files on Windows, we have a separate guide for you. You can also fix a similar issue with the wowarmhw.dll missing error guide.
Before you go, don’t forget to check out our latest guide on what to do if Invagent.DLL is missing from your computer. We also have a new guide on Amdihk64.DLL not signed so don’t miss it to learn more about DLL files.
If you have any suggestions or questions about this DLL issue, feel free to mention them in the comments section below. We are happy to help.

User forum
0 messages