USB Device Not Recognized in Windows 10: 8 Tested Solutions
If your usb device is not recognized, the cause might be your drivers
5 min. read
Updated on
Read our disclosure page to find out how can you help Windows Report sustain the editorial team. Read more
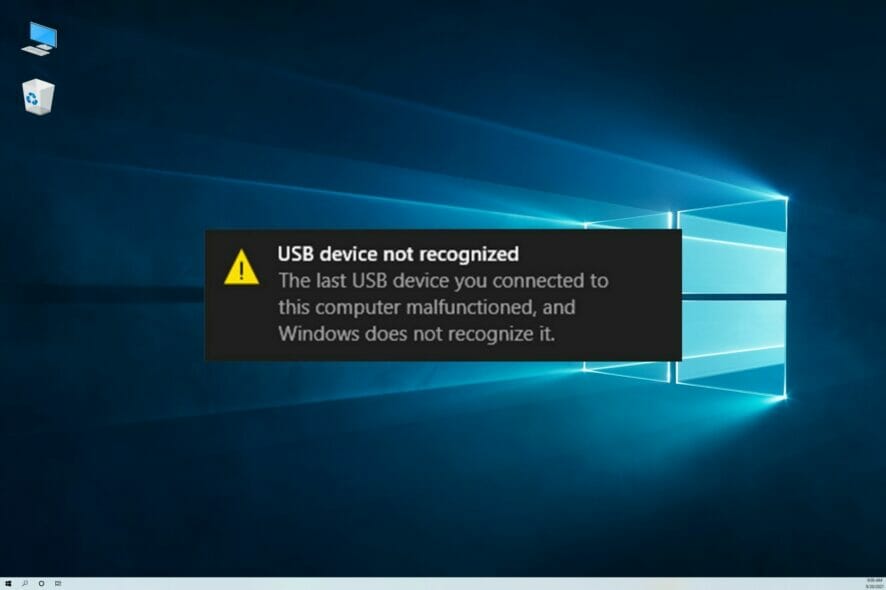
Sometimes, the USB device is not recognized in Windows 10. This isn’t a new issue, and previous OSs also had trouble recognizing USB devices.
Usually, the error message states that The last USB device you connected to this computer has malfunctioned and Windows does not recognize it. So, let’s find out the solutions that worked for other users.
Before we head to the slightly complex solutions, try restarting your PC or use a different port. If it’s possible, test the USB device on another computer to see if the issue is with the system or the peripheral.
How can I fix USB device not recognized?
1. Use the Hardware and Devices troubleshooter
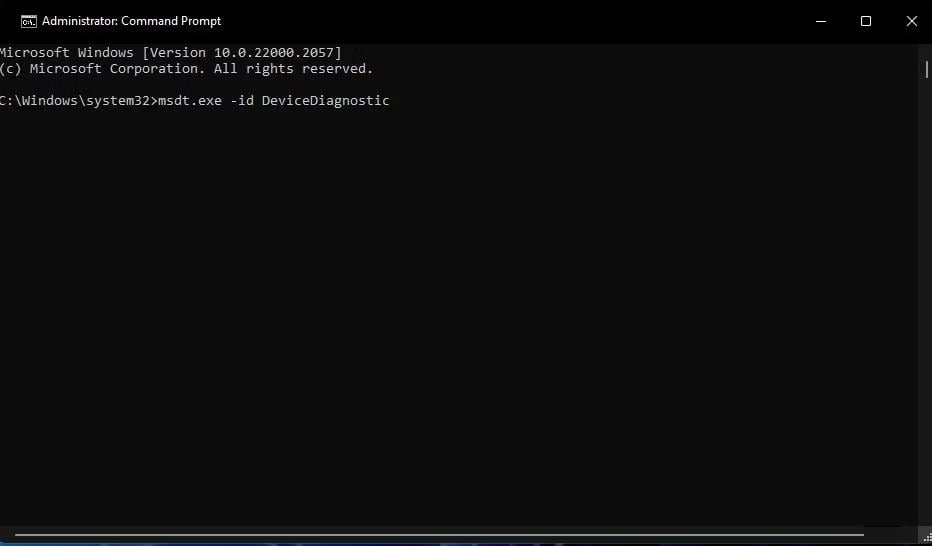
- Click the Start button, type cmd and select Run as administrator from the results.
- Type or paste the following command and press Enter to start the Hardware and Devices troubleshooter:
msdt.exe-idDeviceDiagnostic - Click Next when the troubleshooter interface opens.
- If the tool suggests a solution, click on Apply this fix to resolve it.
You won’t find the Hardware and Devices troubleshooter in the list of Windows troubleshooters from Settings, but the tool is still there and it can fix the USB not recognized problem in no time.
2. Update the chipset drivers
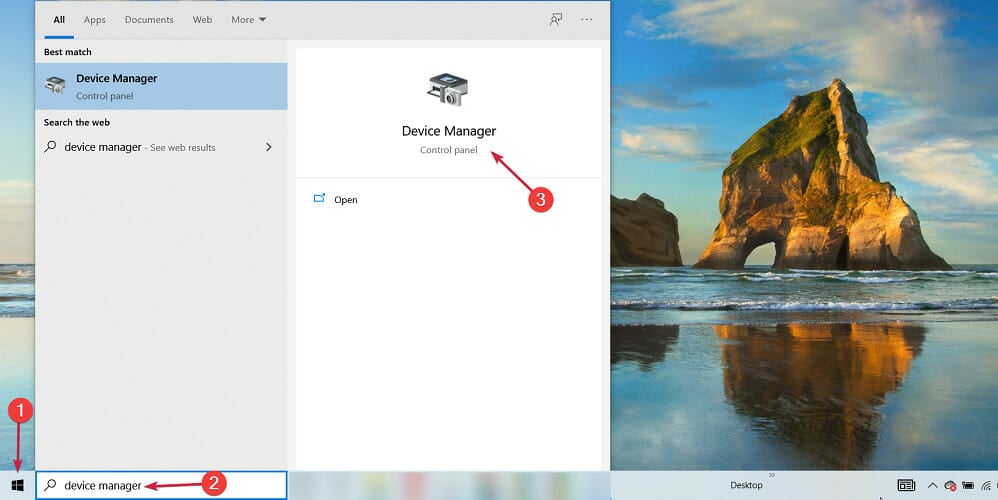
- Click the Start button, type Device Manager, and open the app from the results.
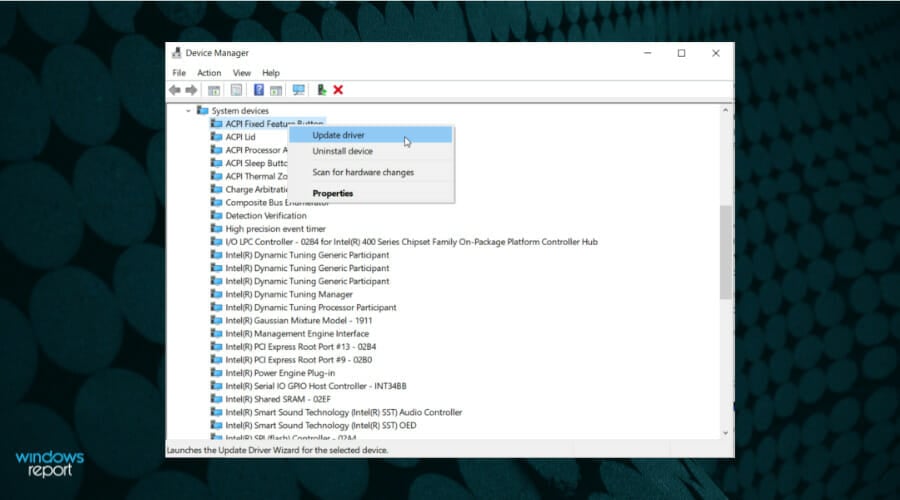
- Locate the drivers, right-click on each of them, and select Update driver.
You should always keep your drivers up to date to stay away from any errors generated by outdated drivers or incompatible ones. Sometimes, Windows will automatically install them.
Most of the time, you have to download drivers manually. But the process carries risk, and if you install the wrong driver, it may lead to serious malfunctions.
If the USB driver is not recognized on Windows 10, we suggest using a specialized tool that scans your computer hardware and automatically finds the correct drivers.
3. Reinstall USB Root Hub
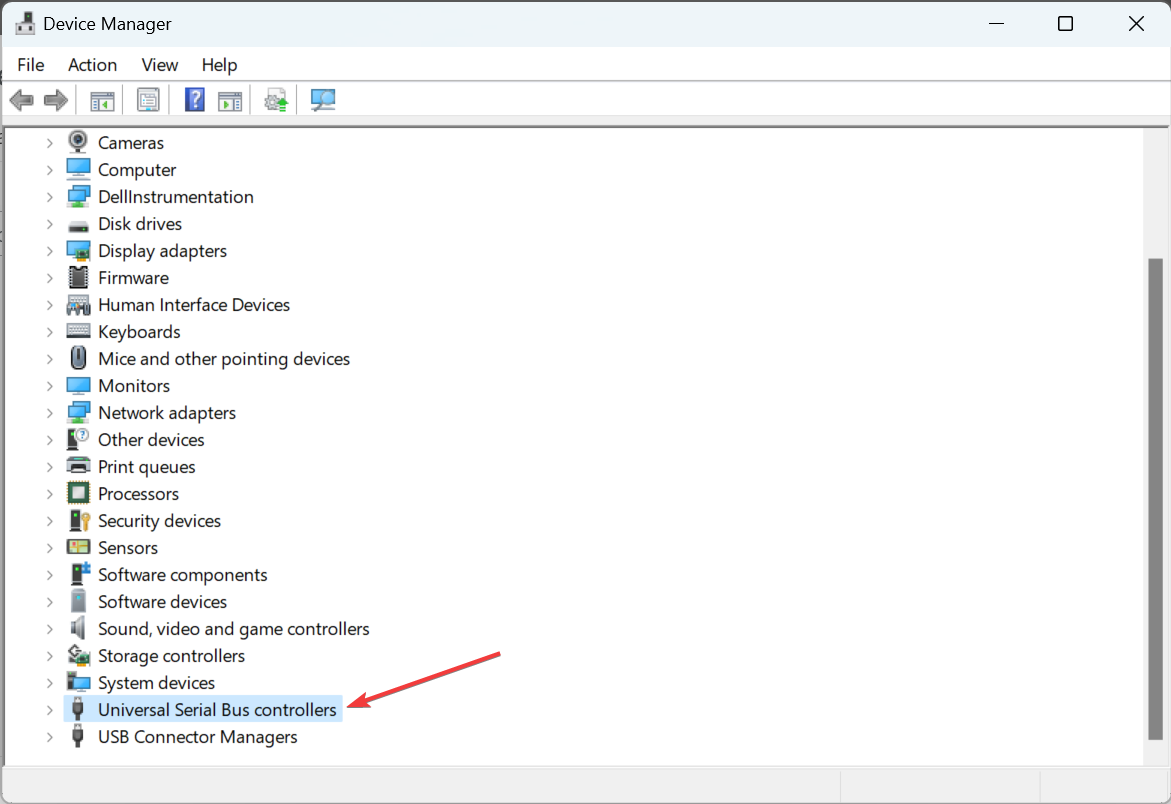
1. Press Windows + R to open Run, type devmgmt.msc in the text field, and hit Enter.
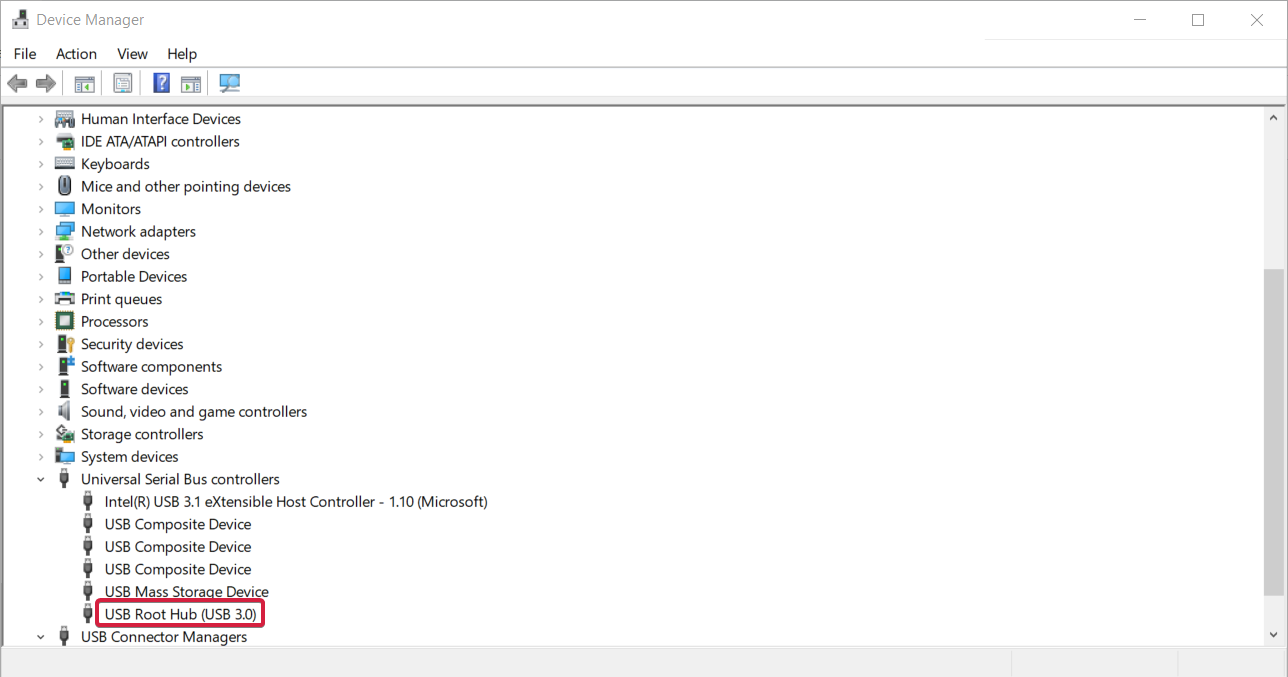
2. Double-click on the Univeral Serial Bus controllers entry.
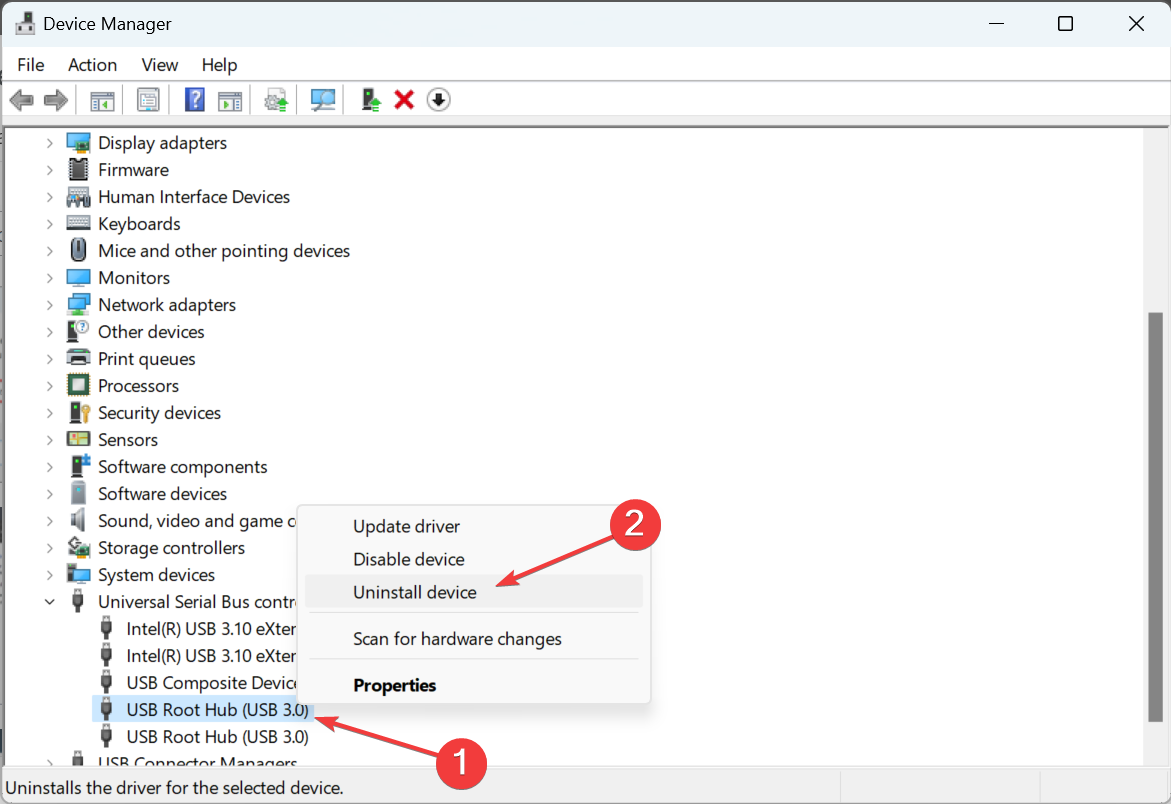
3. Now, right-click on every device that reads USB Root Hub, and select Uninstall device.
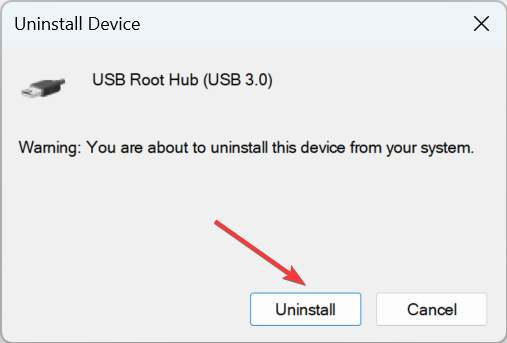
4. Finally, click Uninstall in the confirmation prompt.
If the USB device malfunctions and is not recognized in Windows 10, you can always reinstall it along with the relevant drivers.
4. Check Power Management for USB Root Hub
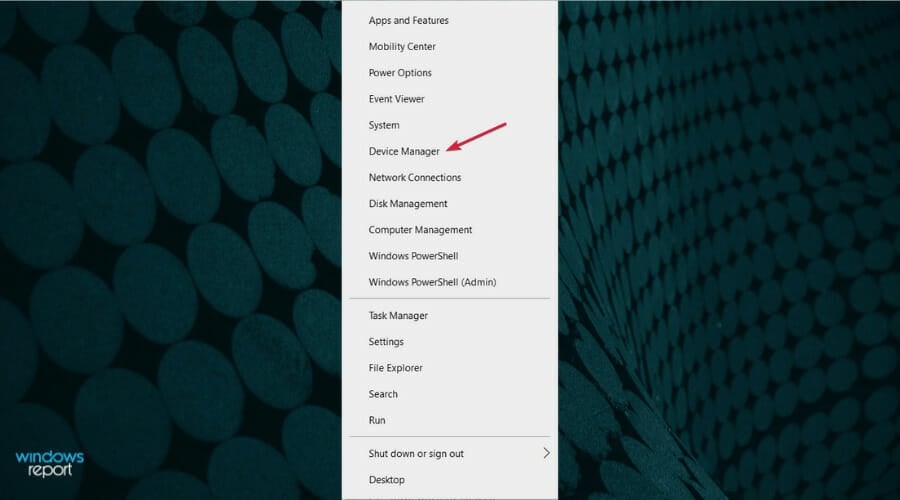
- Right-click on the Start button and select Device Manager.
- Go to the Universal Serial Bus controllers section and find USB Root Hub.
- If you have multiple USB Root Hubs you’ll have to repeat this step for each one of them.
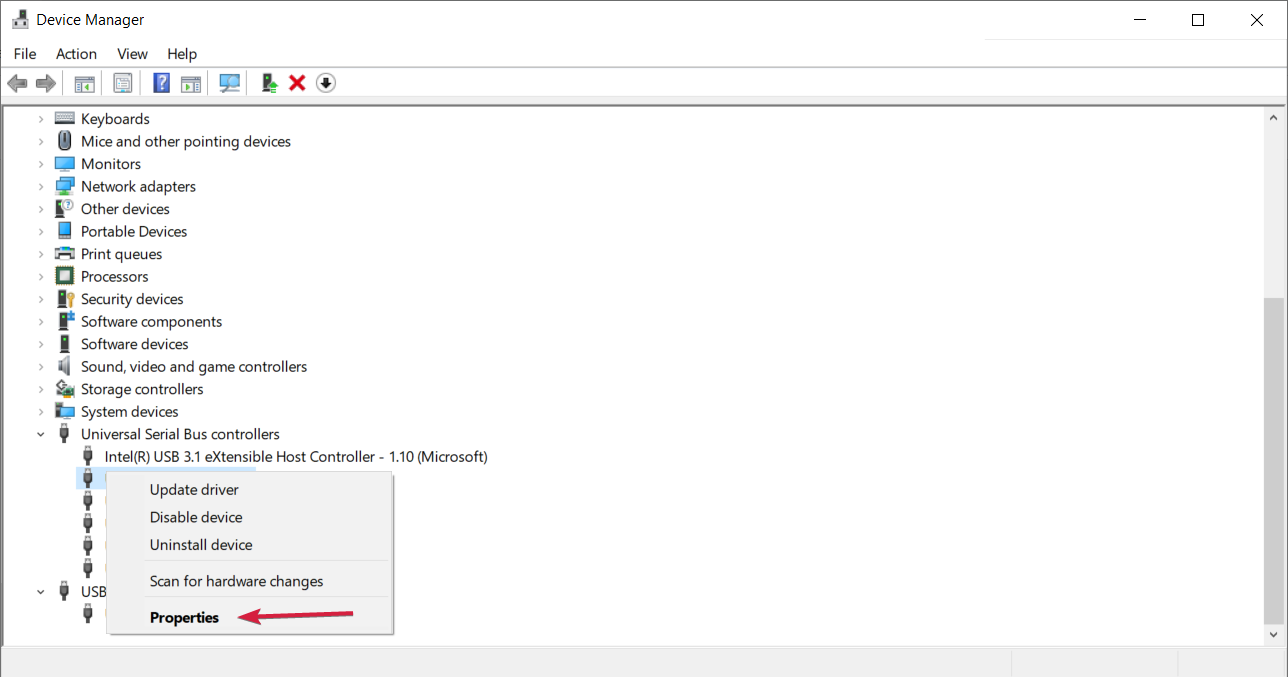
- Right-click USB Root Hub and choose Properties.
- Go to Power Management section and make sure that Allow the computer to turn off this device to save power is unchecked.
- Save the changes and repeat the steps for all USB Root Hubs that you have in Device Manager.
If the last USB device you connected threw the USB device not recognized error in Windows 10, check its Power Management settings.
5. Run the DISM tool and SFC scan
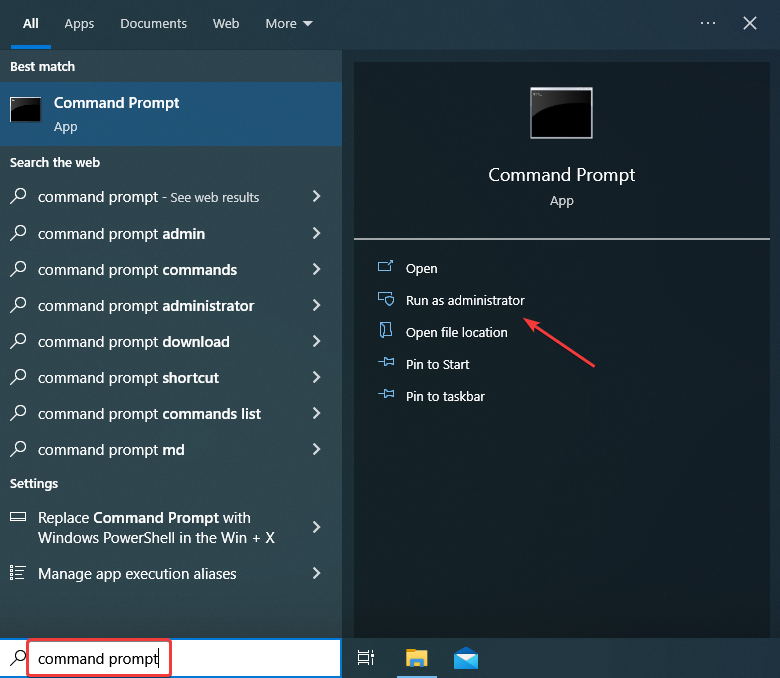
- Type Command Prompt in the Search bar, and click on Run as administrator.
- Click Yes in the UAC prompt.
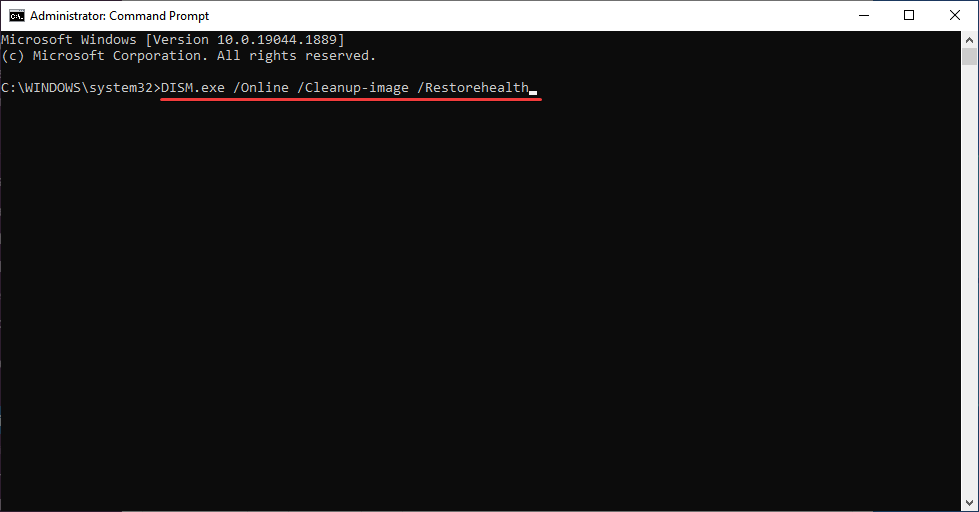
- Now, paste the following and hit Enter after each to run the DISM tool:
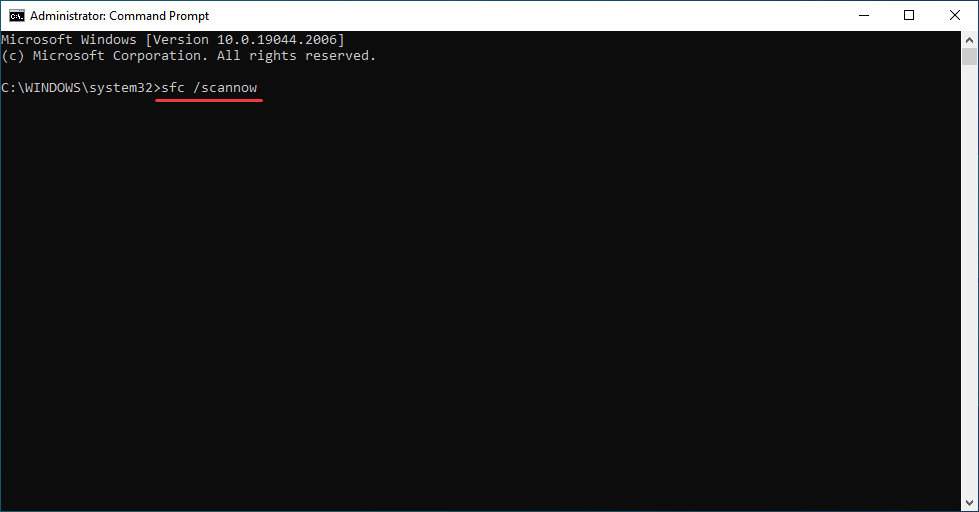
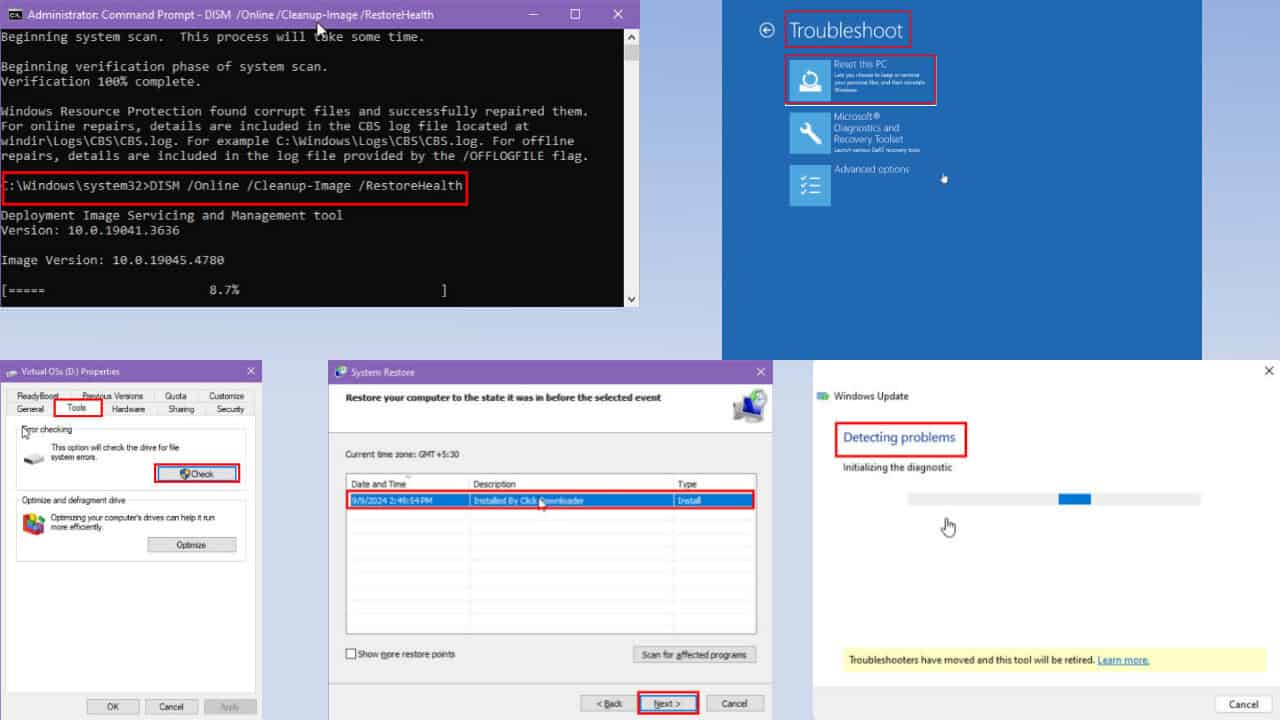
DISM.exe /Online /Cleanup-image /Restorehealth - Once done, execute the following command to run the SFC scan:
sfc /scannow
If the USB device not recognized in Windows 10 message keeps popping up, it could be the corrupt system files to blame. And running the DISM tool and SFC scan should fix things in this case.
6. Change USB selective suspend settings
- Type Control Panel in the Search tab and select the app from the results.
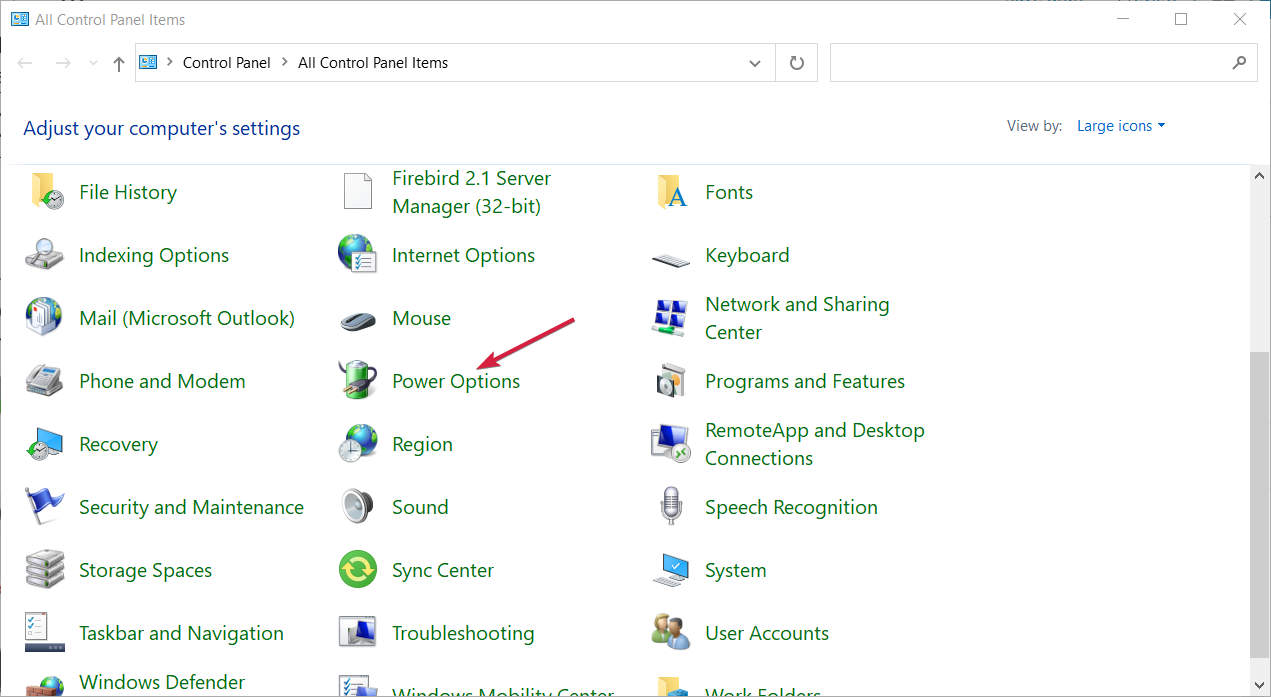
- Open Control Panel and choose Power Options.
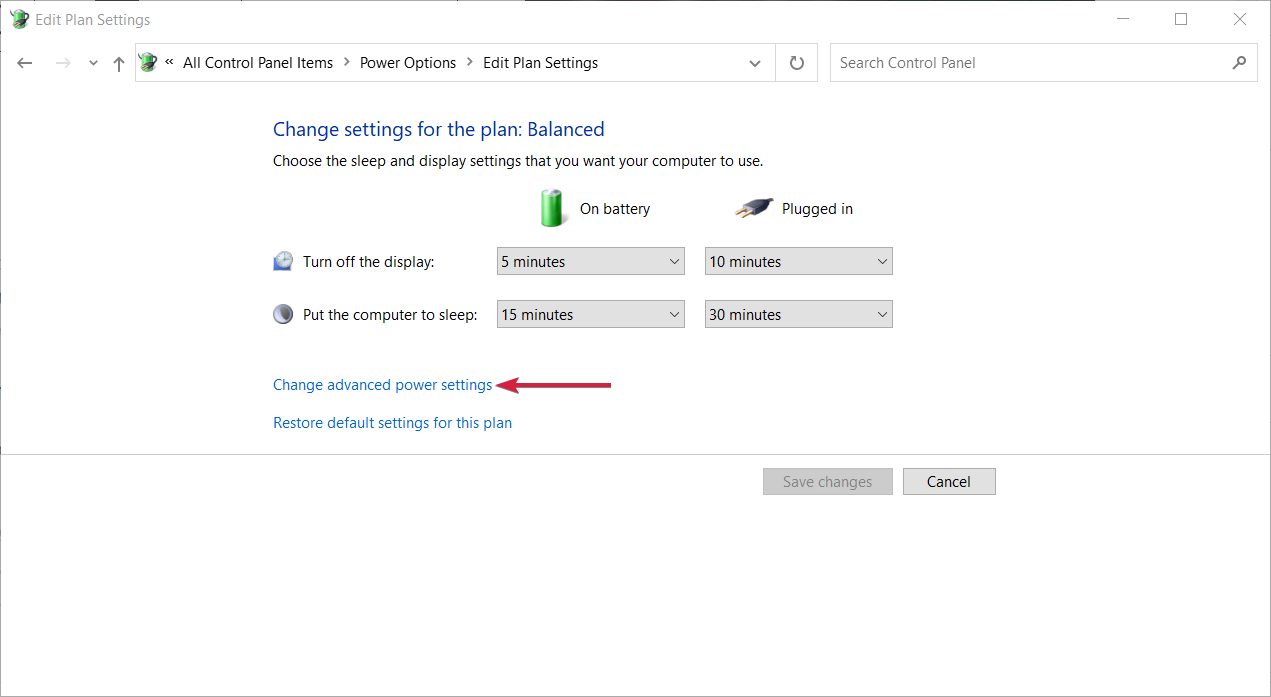
- Find your currently selected plan and click Change plan settings.
- Click Change advanced power settings.
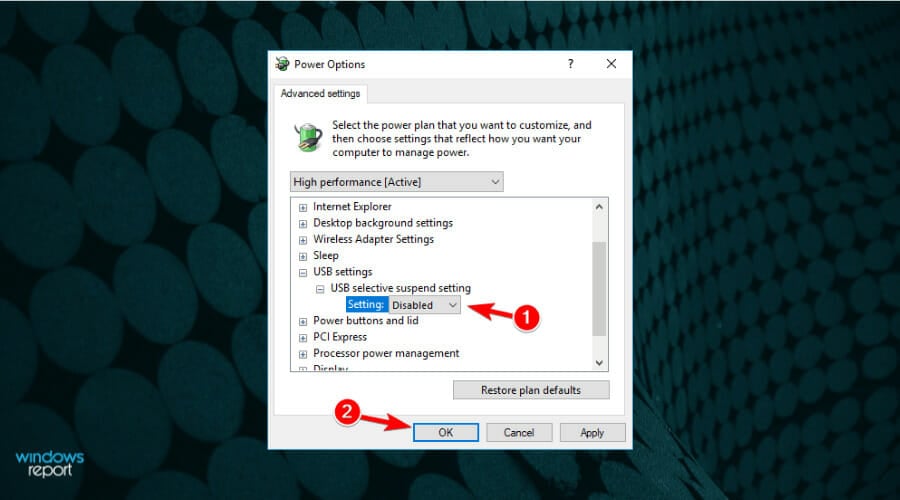
- Find USB Settings, then click on USB selective suspend setting, change it to Disabled for all entries, and then click OK to save the changes.
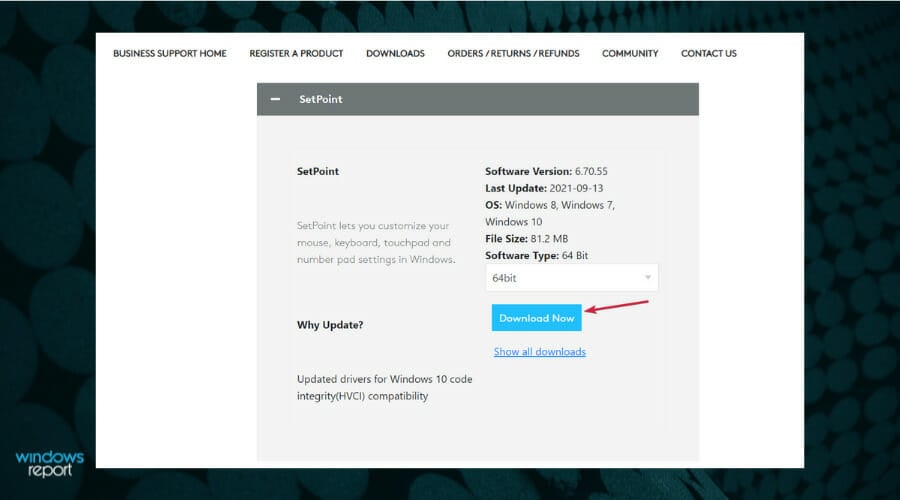
7. Install Logitech SetPoint
This solution might work for owners of a Logitech keyboard, so if you own such a device, download and install Logitech SetPoint software.
Some users have reported that Windows 10 has successfully recognized their USB keyboard after installing this tool, so make sure that you try that out.
We don’t know if this solution will work with other brands of keyboards, but it won’t hurt if you try it out.
8. Disable USB3 support from BIOS
- While your computer boots, press F2, F8, or Del to enter BIOS. The key might be different on your computer, so you might need to repeat this step a few times.
- When BIOS opens, go to Advanced Settings and select USB Configuration.
- Disable USB3 support and save the changes.
If your laptop is new, chances are that it came with USB 3.0 ports. Most of the peripherals do not support this new standard for USB. So, you can try to disable it and see if the issue disappears.
The solutions here should fix things for you if a USB device is not recognized in Windows 10, as it did for others.
In case the problem lies with the USB port, there’s always the option to use a reliable USB hub, and connect as many devices.
For all Windows 11 users, we also covered how to fix USB device is not recognized message on Windows 11, so you might want to check it out.
In case you have any other suggestions or solutions that we should add here, please write us a comment below.








User forum
3 messages