Fix: Lenovo BitLocker Requests Recovery Key at Every Boot
Take a closer look at our quick solutions

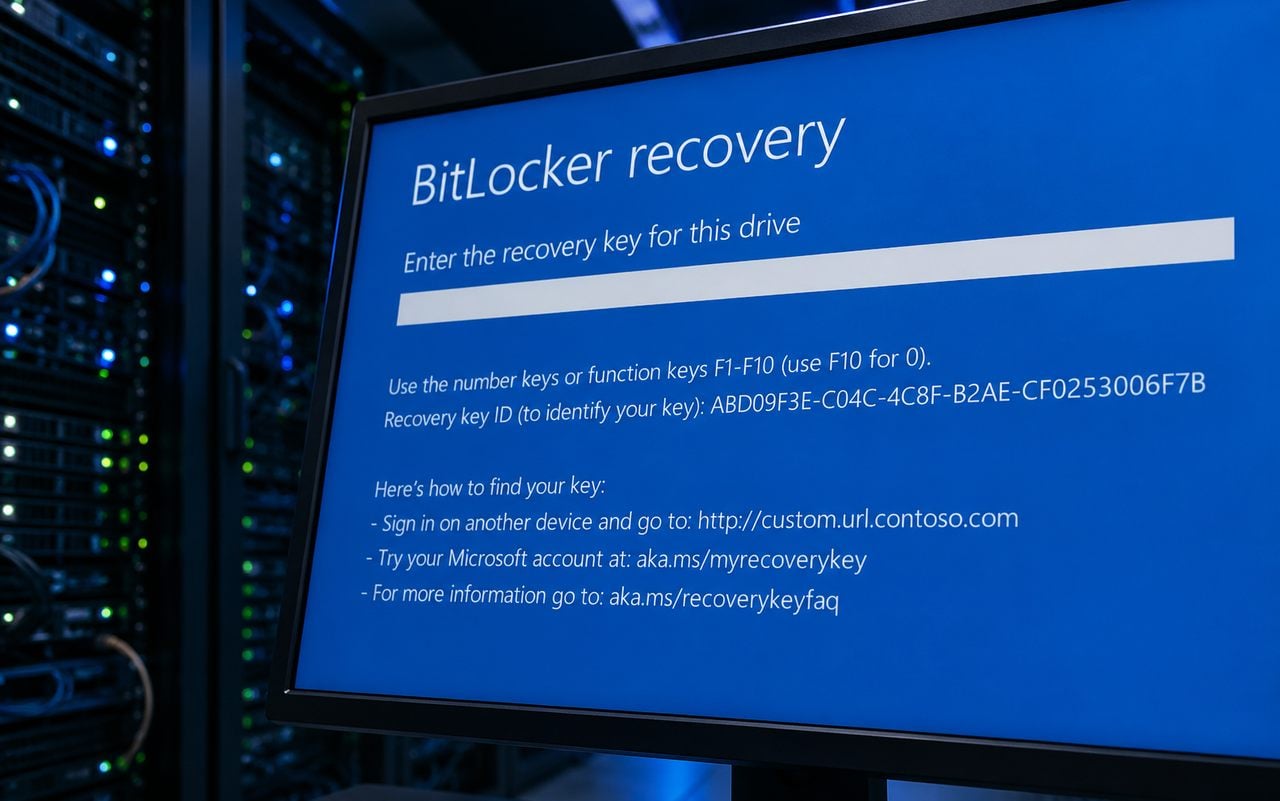
BitLocker encrypts hard drives and flash drives on some Lenovo PCs. However, some Lenova Yoga users have stated in forum posts that BitLocker keeps requesting the recovery key every time they boot up Windows.
Consequently, users must enter the key every time they boot up. The issue often arises after motherboard hardware changes.
How can I fix Lenovo Bitlocker key issues?
1. Update the BitLocker TPM
Users with new motherboards must repopulate the TPM (Trusted Platform Module) to fix the recovery key requests. A new motherboard’s TPM will not include any info about the BitLocker encryption.
Thus, updating the TPM by temporarily suspending protection usually fixes the issue. This is how users can update the TPM in Windows.
- Open File Explorer with the Windows key + E hotkey.
- Then right-click the hard drive for which BitLocker is turned on and select Manage BitLocker.
- A Control Panel applet that includes BitLocker settings will then open. Click the Suspend protection option.
- A dialog box window will open asking, “Do you want to suspend BitLocker protection?” Press the Yes button to confirm.
- Then click the Resume protection option a few minutes after suspending protection.
- Then restart the desktop or laptop.
2. Update the BitLocker TPM via Command Prompt
- Alternatively, users can update BitLocker’s TPM with the Command Prompt. To do that, press the Windows key + R hotkey.
- Then enter ‘cmd’ in Run, and press Ctrl + Shift + Enter to open an elevated Command Prompt.

- Input ‘Manage-bde -status c:’ (for the c: drive) in the Command Prompt, and press the Return key.
- To delete TPM info, enter ‘Manage-bde – protectors -delete c: -type TPM’ and press Return.

- Then input ‘Manage-bde -protectors -add c: -tpm’ in the Prompt, and press the Enter key.
- Close the Command Prompt.
- Click Restart on the Start menu.
3. Turn Off BitLocker
- Users can turn off BitLocker to stop the pre-boot authentication. To do that, open the Run accessory.
- Then open the Command Prompt by entering ‘cmd’ in the text box and pressing Ctrl + Shift + Enter.
- Input ‘manage-bde -off C:’ in the Prompt and press Return to turn off BitLocker.

- Alternatively, users can turn off the BitLocker service. To do that, open the Run accessory.
- Enter ‘services.msc’ in Run’s text box and click OK to open the window directly below.

- Then double-click BitLocker Drive Encryption Services to open its properties window.
- Select Disabled on the Startup type drop-down menu.
- Press the Apply button.
- Click the OK button to close the window.
- Then restart Windows.
Updating the TPM or turning BitLocker off will probably stop pre-boot recovery key requests. If anybody has further fixes for BitLocker pre-boot authentication, feel free to share them below.
Read our disclosure page to find out how can you help Windows Report sustain the editorial team. Read more


Improve this guide


User forum
1 messages