How to fix 9c47 error in Internet Explorer 11 [Quick & Easy]
4 min. read
Updated on
Read our disclosure page to find out how can you help Windows Report sustain the editorial team. Read more
Key notes
- The 9c47 error in Windows 7 can prevent the user from installing important Internet Explorer 11 update.
- This article explores a few troubleshooting steps to help you get rid of this error with ease.
- You can learn more about new web browsers for your Windows PC by exploring our Browsers section.
- To read more about various browser issues, visit our Browser Errors Hub.

If you are on Windows 7 cherishing the good old Windows OS and working with Internet Explorer 11, you may encounter the 9c47 error when installing updates for Internet Explorer 11.
The error seems to be occurring due to a glitch in the Windows KB update. In some instances, the error is also triggered due to an issue with the Software Distribution folder.
In this article, we explore a few troubleshooting steps to help you resolve the 9c47 error in Internet Explorer 11 on Windows 7.
How do I fix the 9c47 error Internet Explorer 11 error?
Install the update manually
- Open the link to 32-bit KB2729094 and 64-bit KB2729094 update. Make sure to download the correct version of the update, depending on your OS edition.
- Run the installer to install the updates. Windows may tell you that the update is already installed.
- Next, go to the Windows Update section and try to install the Internet Explorer 11 for Windows 7 update.
- Wait for the update to download and install.
Manually installing the update seems to have fixed the error for several users. However, if the issue persists, check the error log file to learn more about the error.
Check the error log file
- Open File Explorer and navigate to the following location:
C:Windows\IE11_main.log - Open the Internet Explorer log file in Notepad.
- Scroll to the section that has information related to your last failed Internet Explorer 11 installation. You will see a line like this:
KB2729094 could not be download is not installed - The KB update number can vary depending on the update you are installing.
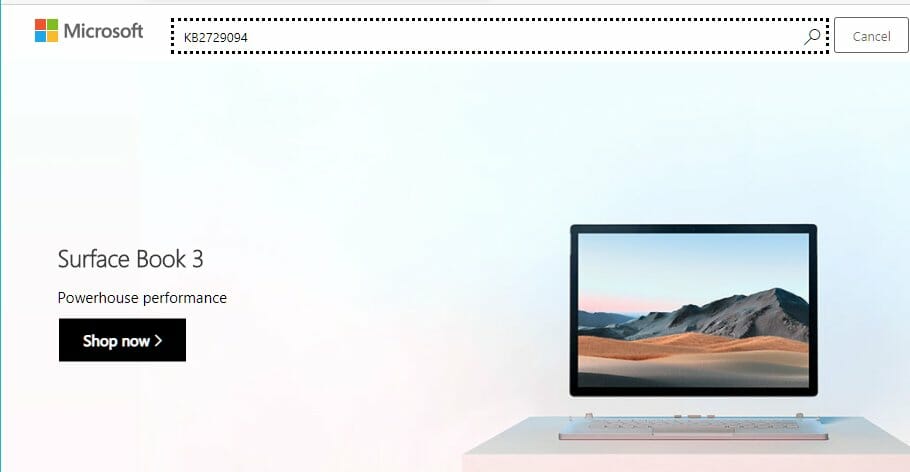
- Copy the KB2729094 update number and open Windows Download Center.
- Paste the update number in the search bar and click Search.
- Download and install the relevant update to your Windows 7 computer. If Windows says, the update is already installed, exit installation.
- Go to Windows Updates and try to install the Internet Explorer 11 update.
Rename Software Distribution folder
- Press the Windows key to bring up Windows search and type cmd.
- Right-click on Command Prompt and select Run as Administrator.
- In the Command Prompt window, type the following command one by one and hit enter to execute:
net stop wuauserv
net stop bits rename c:windowsSoftwareDistribution SoftwareDistribution.bak
net start wuauserv
net start bits - Once all the commands are successfully executed, open File Explorer and navigate to the following location:
C:/Windows - Check if the folder is renamed to SoftwareDistribution.bak.
- Once the folder is renamed, you need to download the KB Update again by following the first step.
There are multiple ways to rename the Software Distribution folder in Windows. Renaming the folder can help you fix any issues caused due to folder corruption.
Reinstall Internet Explorer 11
- Press the Windows key + R.
- Type control and click OK to open Control Panel.
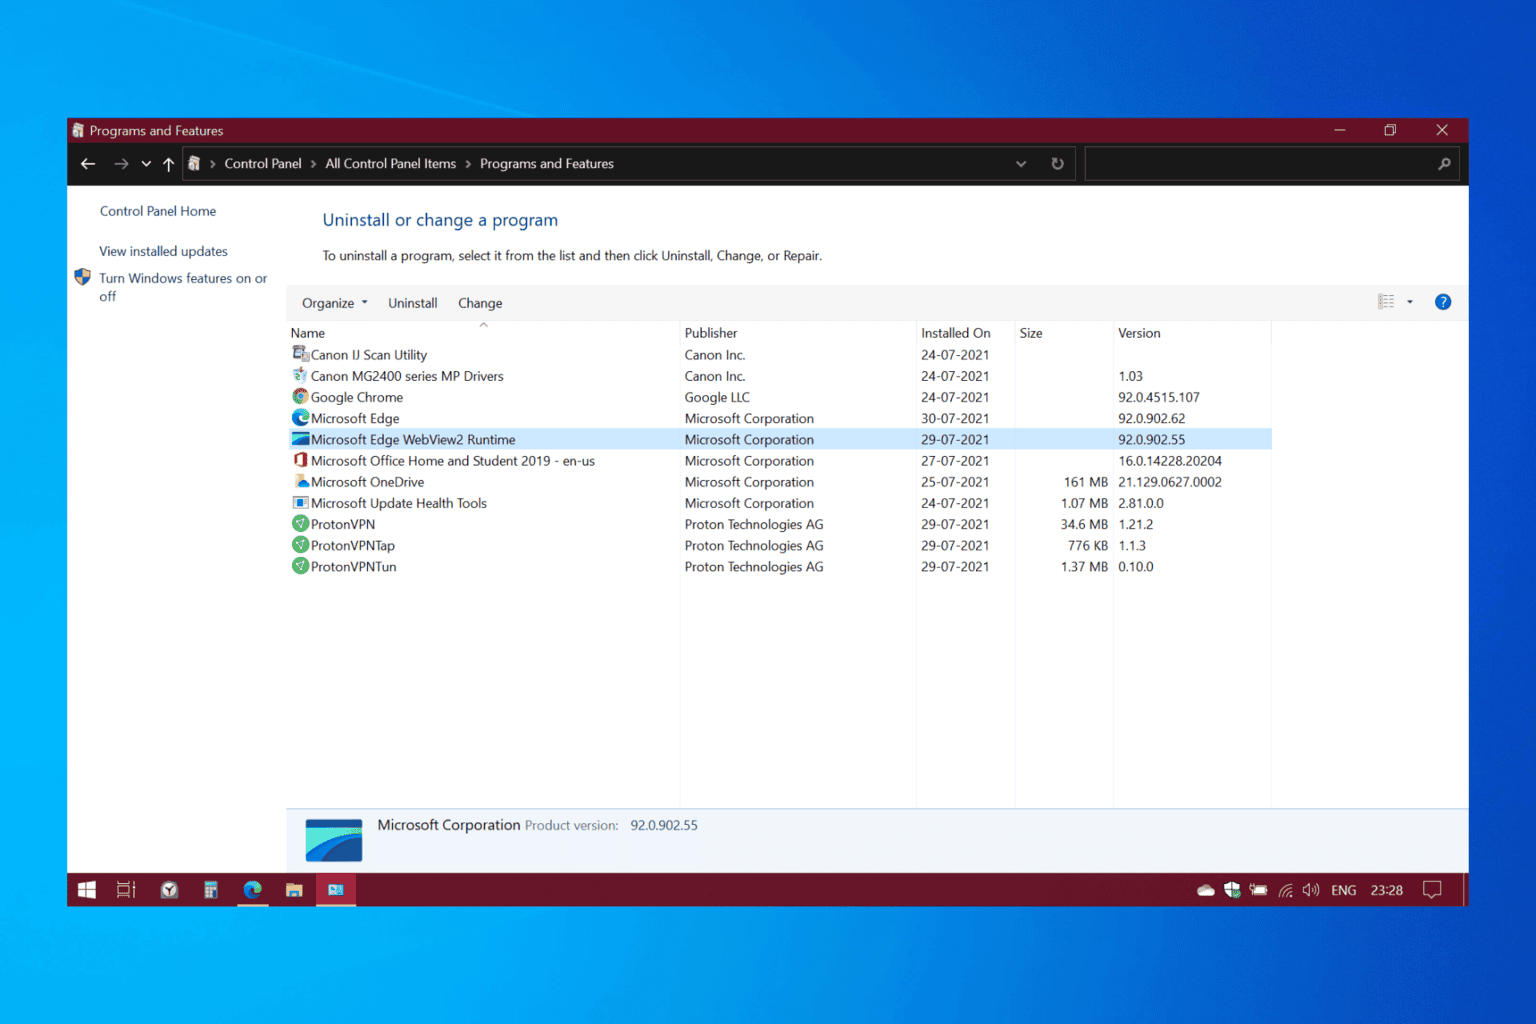
- Go to Programs and open Programs and Features.
- Select Internet Explorer 11 and click on Uninstall. Click Yes to confirm the action.
- Once uninstalled, open the Internet Explorer 11 download page for 32-bit IE11 and 64-bit IE11.
- Click the Download button to download the installer. Run the installer and check if the error is resolved.
Reinstalling Internet Explorer 11 should fix this error. If the error persists, try uninstalling the KB update causing the error.
Uninstall the bad Windows update
- Note down the failing update KB that is noted in the IE11 error log earlier.
- Click on Start and select Control Panel. You can also search for it in the search bar.
- Click on Uninstall programs.
- From the left pane, click on View installed updates.
- Locate the update and click on Uninstall.
- You can install the update from Microsoft Download Center again to see if that resolves the error.
The 9c47 error in Internet Explorer 11 usually occurs if the update file is corrupted. You can fix the issue by reinstalling the update directly from Microsoft Download Center.
[wl_navigator]




User forum
0 messages