DVD Drive Not Showing Up In Windows 11? Do This! [External & Internal]
Fix external and internal DVD driver issues in Windows in a few easy steps
4 min. read
Updated on
Read our disclosure page to find out how can you help Windows Report sustain the editorial team. Read more
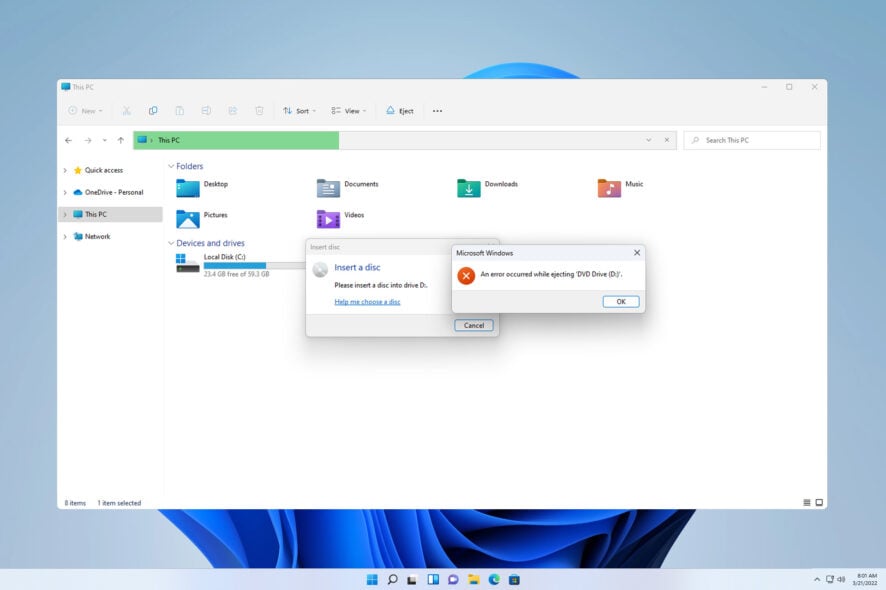
Many users reported that Windows 11 does not recognize the DVD driver. It’s usually happening after a Windows update or after upgrading from Windows 10 to Windows 11.
But there’s a way to fix your Windows 11 DVD/CD drive, and this guide will show you how to do it.
How can I fix Windows 11 not recognizing the DVD drive?
1. Reset the DVD drive using the Registry Editor
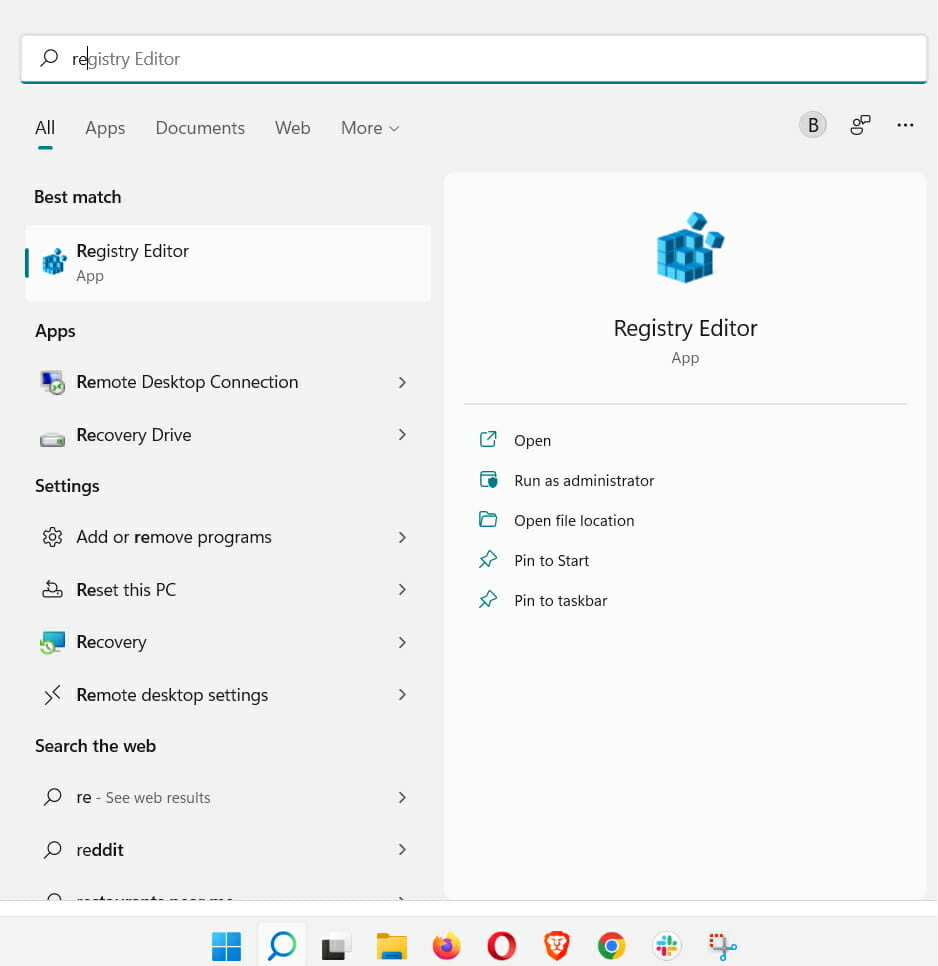
- Click on the Windows button from the Taskbar.
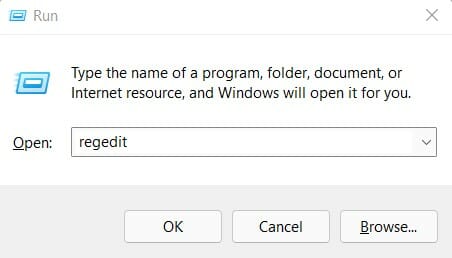
- Type regedit into the Search box and click on the first result.
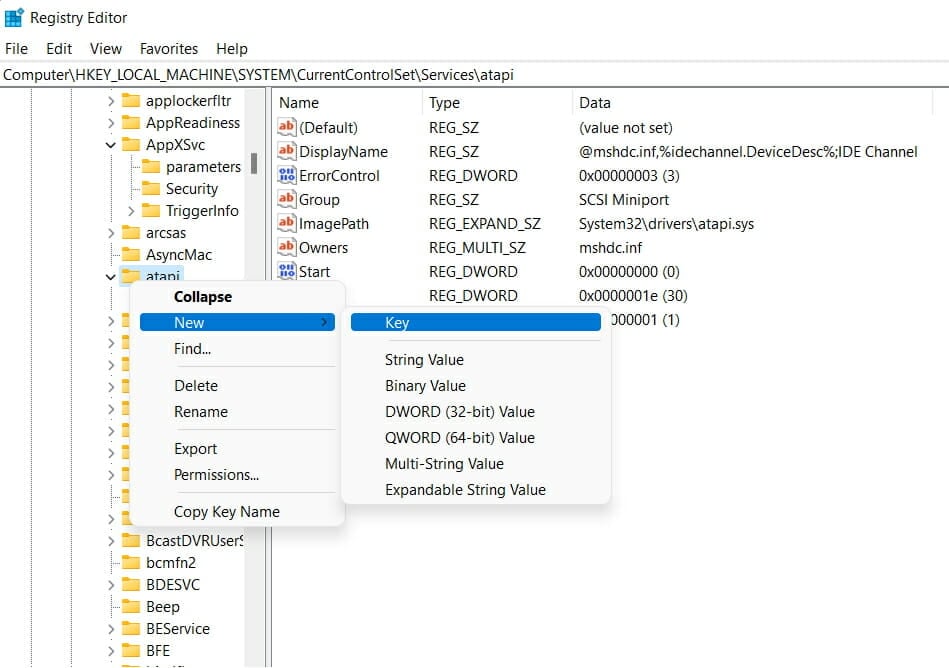
- Navigate to
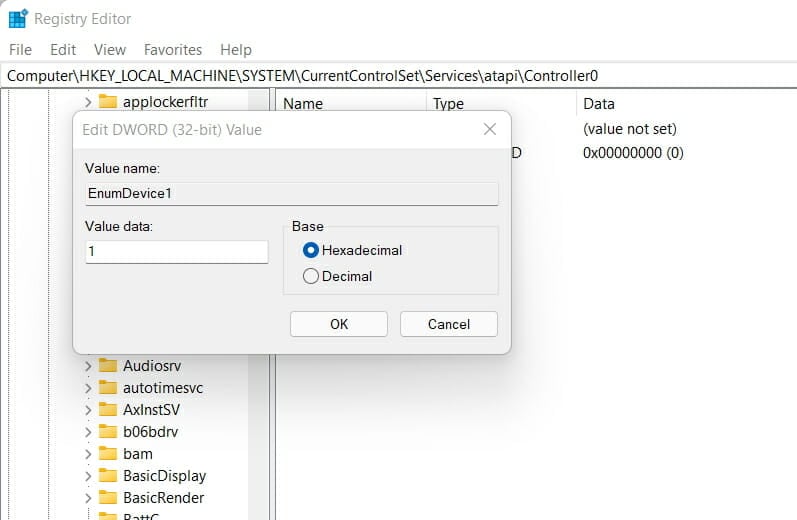
HKEY_LOCAL_MACHINE\SYSTEM\CurrentControlSet\Services\atapi\ - Now, Create a new key named Controller0 by right-clicking on atapi.
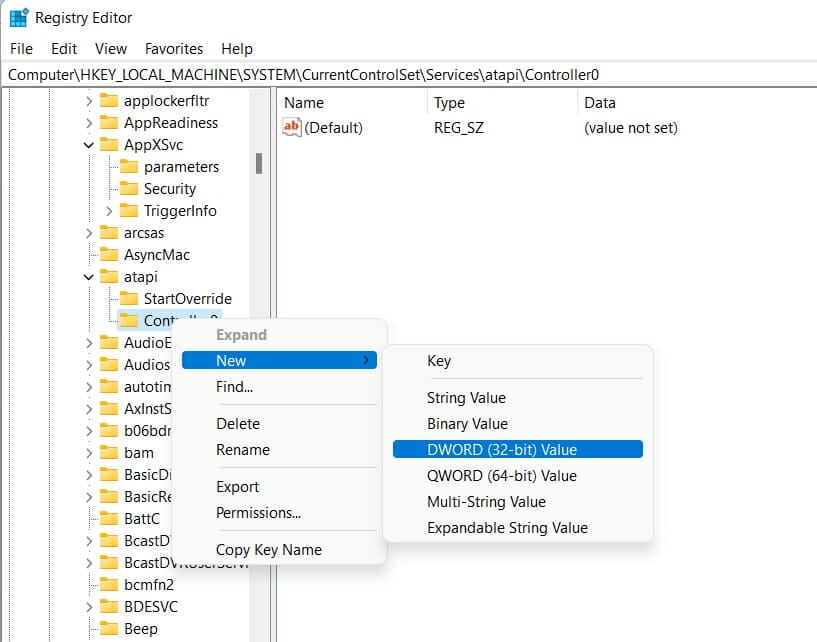
- Select Controller0 and then right-click on an empty spot on the right side to create a new DWORD EnumDevice1.
- Set its Value Data to 1 and restart your computer.
If Windows 11 still does not recognize your DVD, proceed to the next method.
2. Remove IDE/ATAPI Drivers
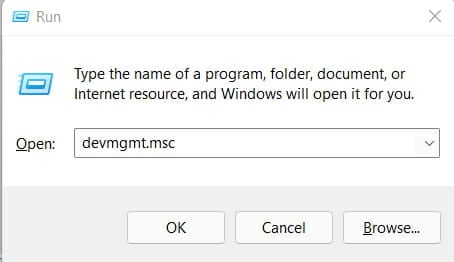
- Press Windows + R at the same time to open the Run window.
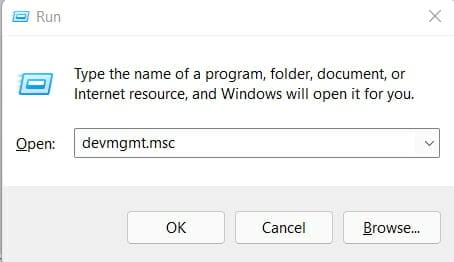
- Type devmgmt.msc into the box and press Enter.
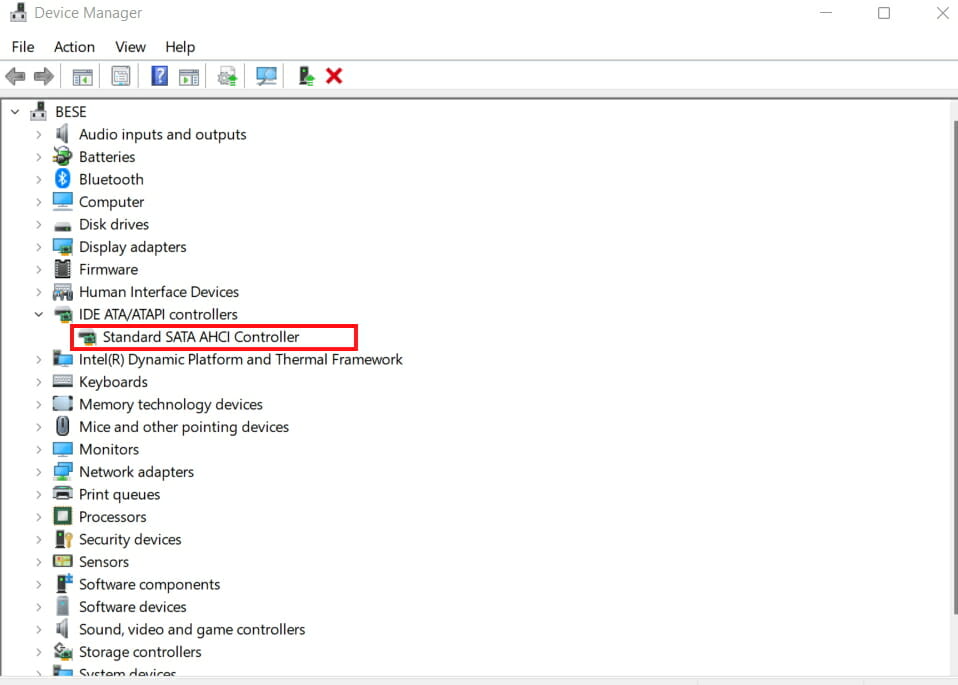
- In Device Manager, expand IDE ATA/ATAPI controllers, then locate Standard Dual Channel PCI IDE Controller.
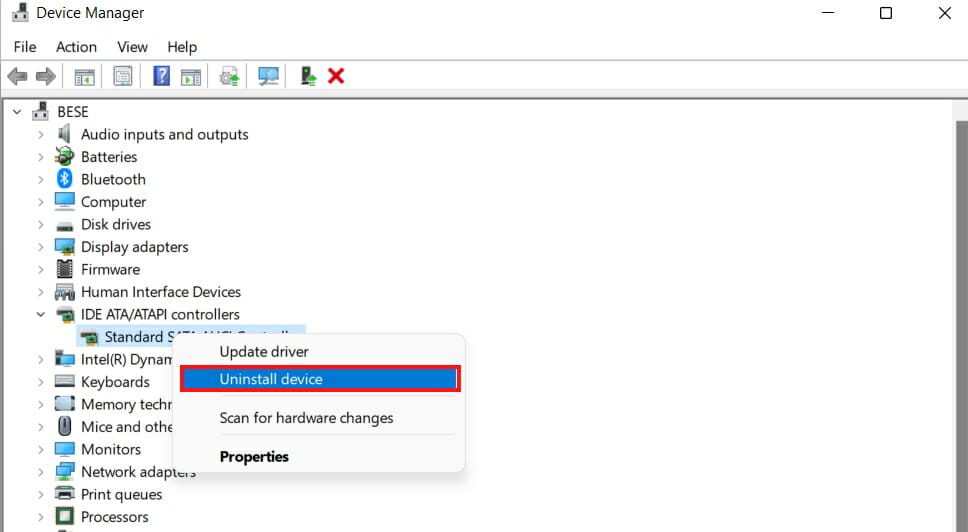
- Right-click the device and select Uninstall device. Follow the instructions to uninstall the driver.
- Restart your computer when prompted.
After doing this, check if DVD/CD-ROM drives are still missing from the Device Manager.
3. Remove the UpperFilters / LowerFilters registry key
- Click on the Windows button at the bottom-left of your screen.
- Type regedit into the Search box and hit Enter.
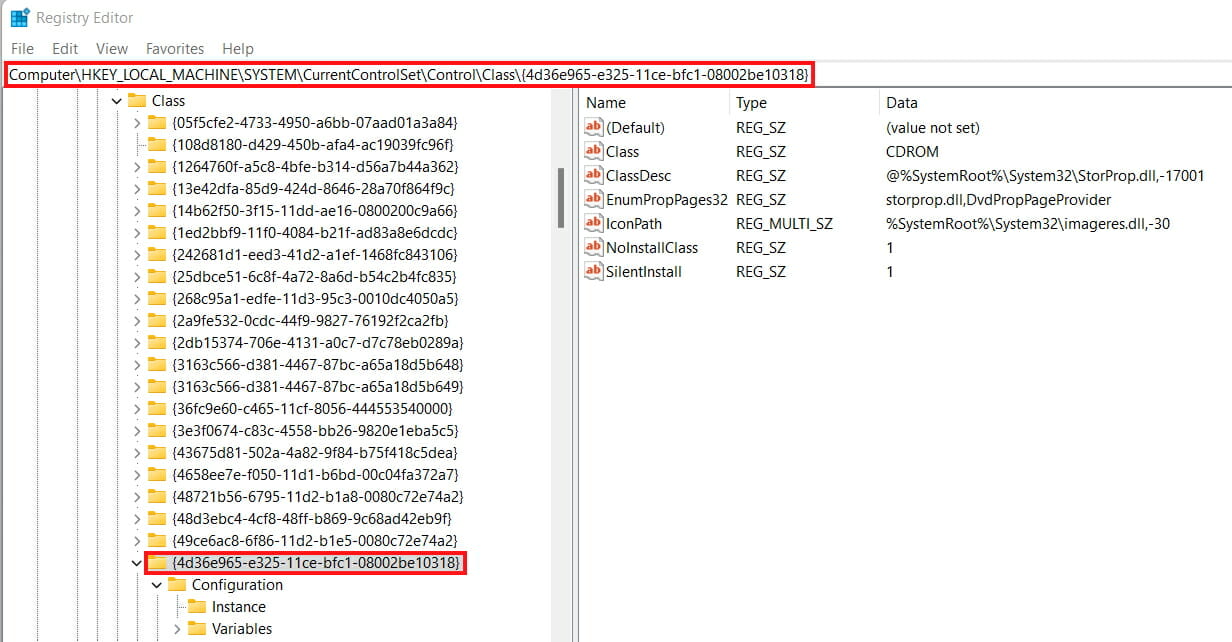
- Navigate to
HKEY_LOCAL_MACHINE\SYSTEM\CurrentControlSet\Control\Class\{4D36E965-E325-11CE-BFC1-08002BE10318} - Right-click on UpperFilters and LowerFilters. Next, delete them by pressing Delete. If you do not find this variable in the given registry, skip to step 6.
- Close out of the Registry Editor and restart your computer.
If your DVD/CD drive is not reading the disc, be sure to try this solution.
4. Update DVD driver using device manager
- Open Device Manager by pressing the Windows + R. Type devmgmt.msc and press Enter.
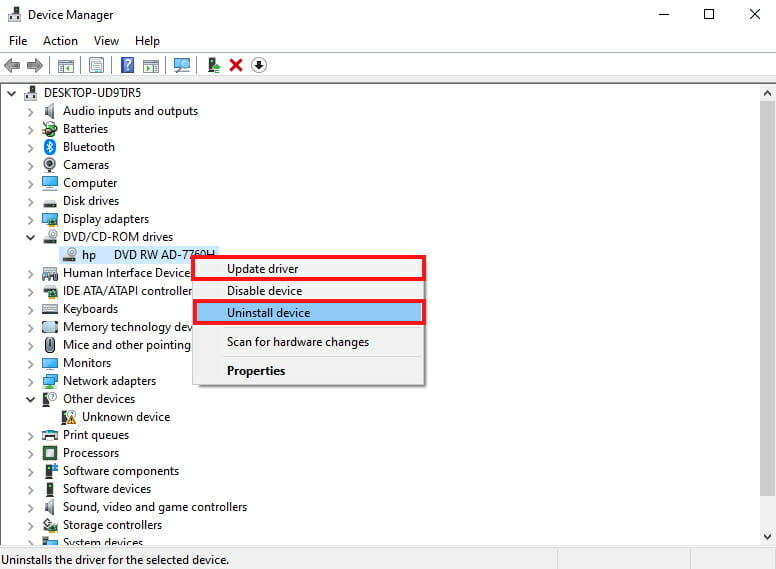
- In the Device Manager, Select DVD/CD-ROM drives and right-click on your driver name. Select Update driver or Uninstall device.
- Proceed with the process and restart your computer.
Now you just have to test your drive. If you’re wondering how to check DVD if the drive is working or not, simply try reading a couple of discs and see what happens.
5. Download the driver from the manufacturer’s website
Identify the make and model of your DVD drive. You can find this information in Device Manager under DVD/CD-ROM drives.
For example, if your DVD drive is listed as “Lenovo CDDVDW SH-224DB”, “TSSTcorp” is the manufacturer, and “SH-224DB” is the model number.
Visit the manufacturer’s website and search for the exact driver and model.
Download the latest driver specific to your DVD drive model and follow the manufacturer’s instructions to install the driver. This usually involves running an executable file (.exe) and following the prompts.
Alternatively, if this looks like too much of a hassle, you can install a third-party driver updater. A tool like PC Helpsoft will automatically detect the hardware and automatically find and install drivers for them.
⇒ Get PC HelpSoft Driver Updater
Summary
In fact, this issue affects almost every version of Windows, and we wrote about it in our DVD player not working after upgrade guide.
When dealing with drivers, it’s important to have them updated no matter what you want to achieve with your devices. This is where a driver updater tool comes in handy, to avoid significant issues and errors in the future.
The Windows 11 issues with recognizing the DVD drive can be fixed easily by using the above methods.
If you are still having DVD-related issues such as DVD not working, check out our other guides to fix them. You can also find out how to set up a default DVD player on Windows 11.
Which solution worked for you? Let us know in the comments below.



User forum
5 messages