4 Quick Fixes For the Blerk Error 5 on AOL Mail
This error prevents users from accessing their accounts
Key notes
- The blerk error 5 on AOL mail can be caused by the accumulation of faulty browser data.
- Another possible cause is technical problems on AOL mail's end.
- A quick and effective fix is to clear browser data from settings and relaunch your browser.

AOL mail is one of the leading email services. It provides top-notch service with unlimited storage for all its subscribers.
As much as it has improved to compete with the leading modern-day email programs, it is still not free from errors and glitches. In the past, users complained about the AOL service error amidst other problems.
Now, the blerk error 5 prevents users from accessing their accounts. Fortunately, we have provided effective fixes to the problem, as we have done with some of the earlier issues.
Why do I keep getting the blerk error 5 on AOL mail?
The reasons for the blerk error 5 on AOL mail are diverse. From faulty browser files to problems with the mail service, there are many factors you can point fingers at.
Below are some of the common causes:
- Corrupt browser data
- Wrong bookmark addresses
- AOL Desktop Gold technical error
- Problematic browser settings
How do I fix the blerk error on the AOL mail?
1. Update your browser
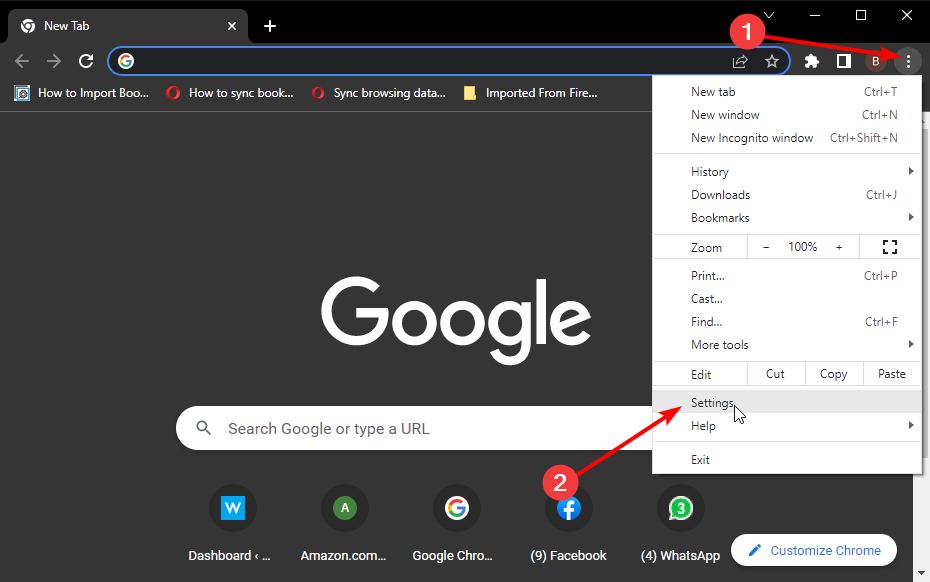
- Launch your browser and click the Menu button.
- Select the Settings option.
- Choose About Chrome on the left pane.
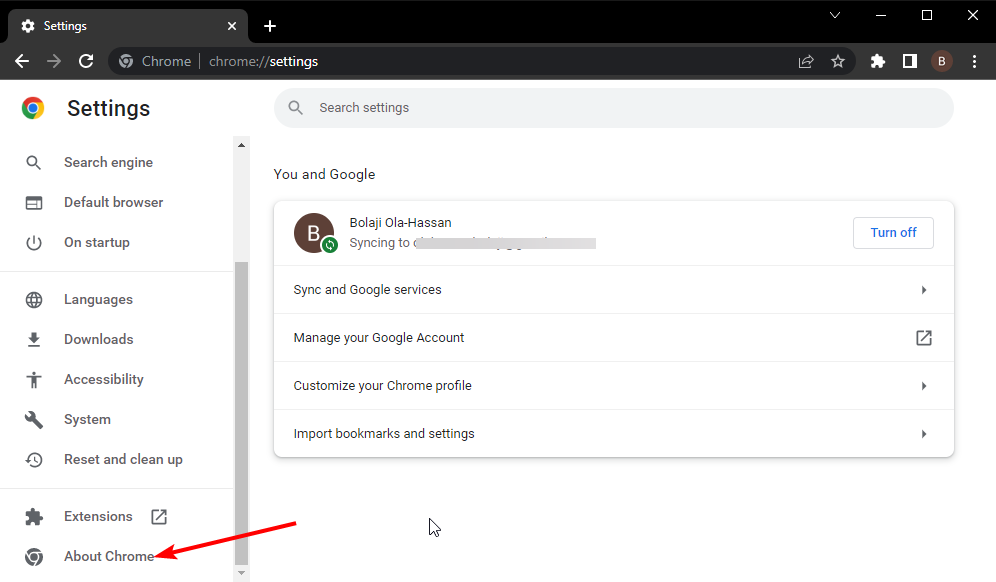
- It will show if there are any updates available to install.
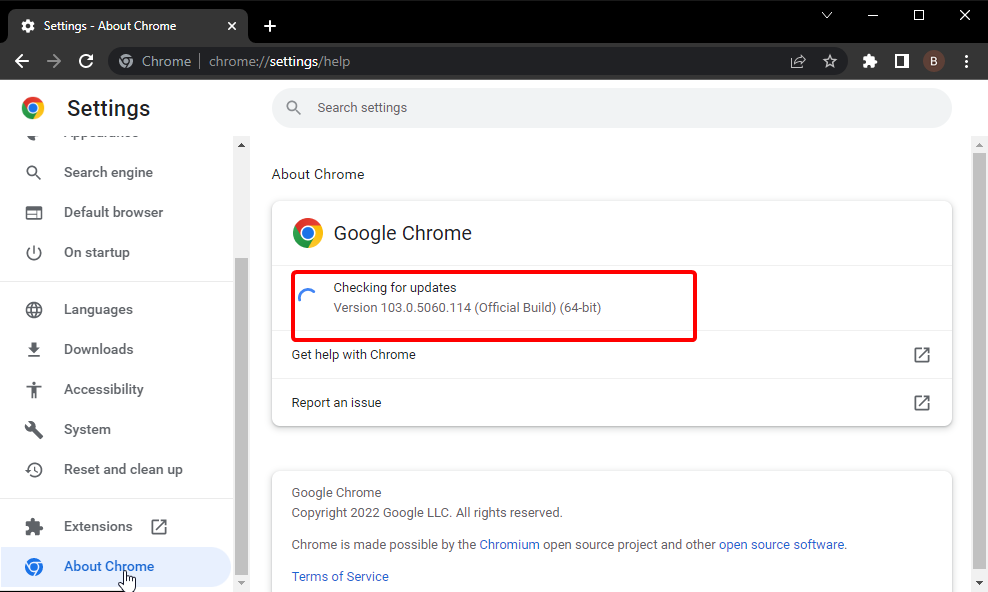
Outdated browsers are a source of numerous problems and could cause the blerk error 5 on AOL mail. This is because they are mostly buggy and prone to issues that might have been fixed in the newer versions.
2. Update saved browser bookmarks
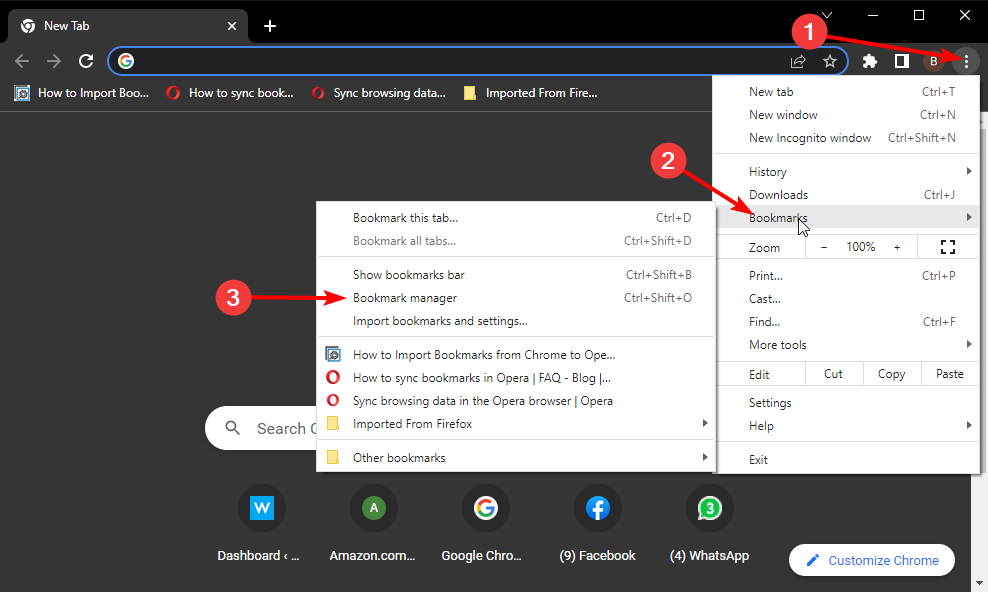
- Open your browser and click the Menu button.
- Select the Bookmarks option.
- Choose the Bookmark manager option.
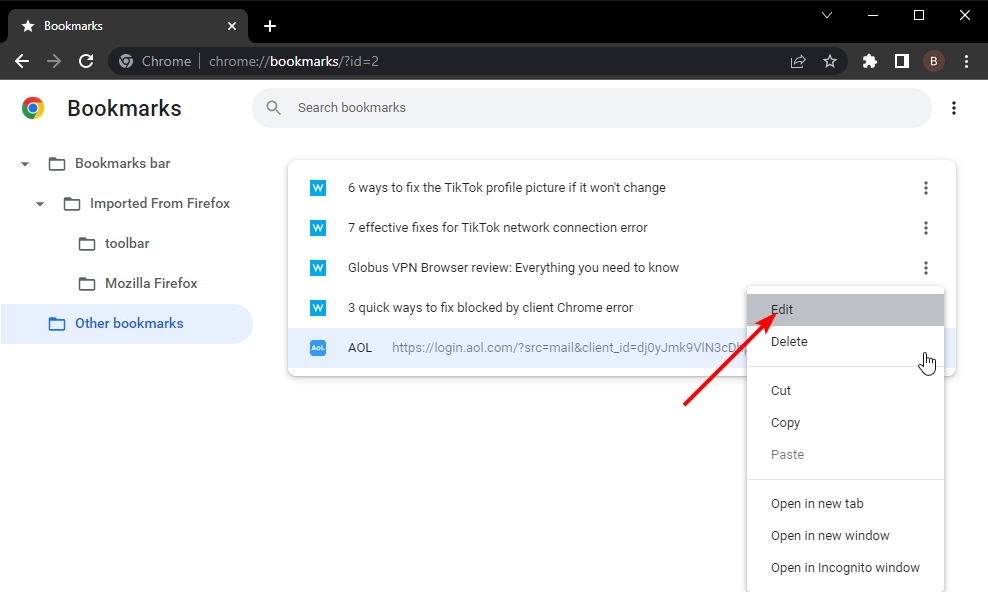
- Click the more button (three vertical dots) in front of the AOL bookmark.
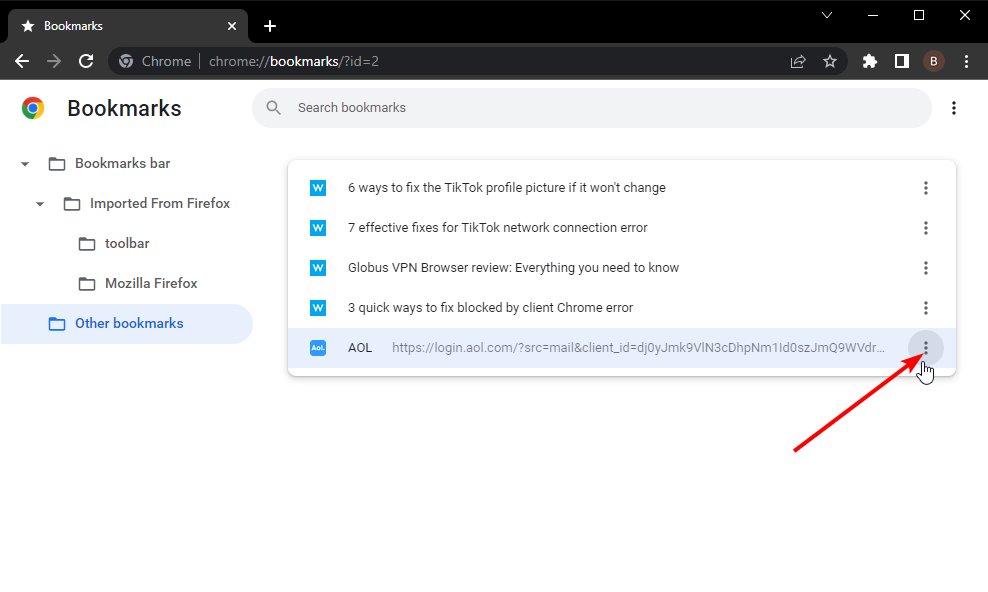
- Choose the Edit option.
- Finally, update the URL as necessary and click on the Save button.
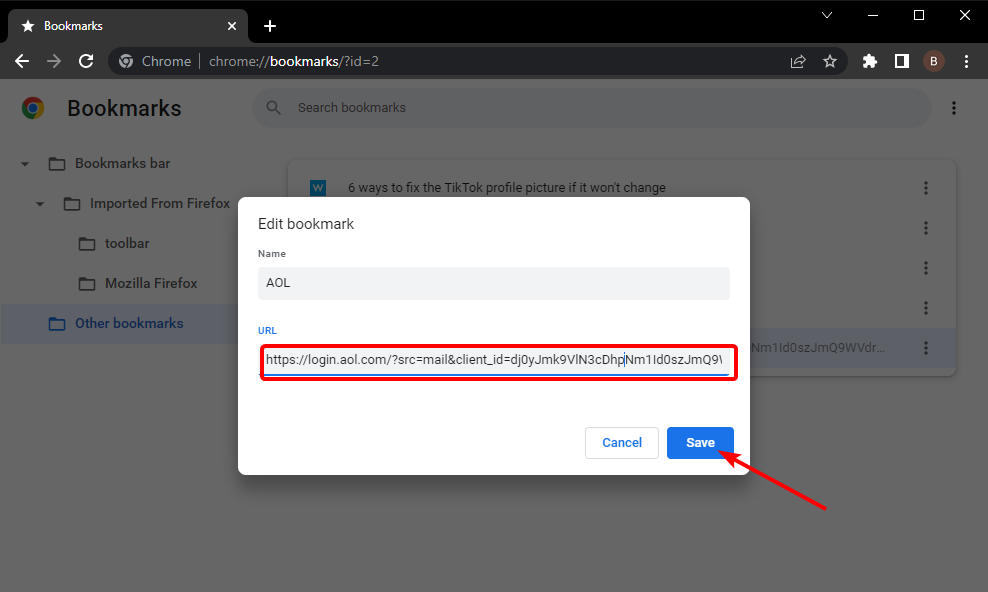
AOL mail has changed its URL over time, which renders the old address useless. Hence, if you have bookmarked this address and tried to access the website with it, you will likely get the blerk error 5 on AOL mail.
Changing the URL should help solve the problem in this case.
3. Clear browser data
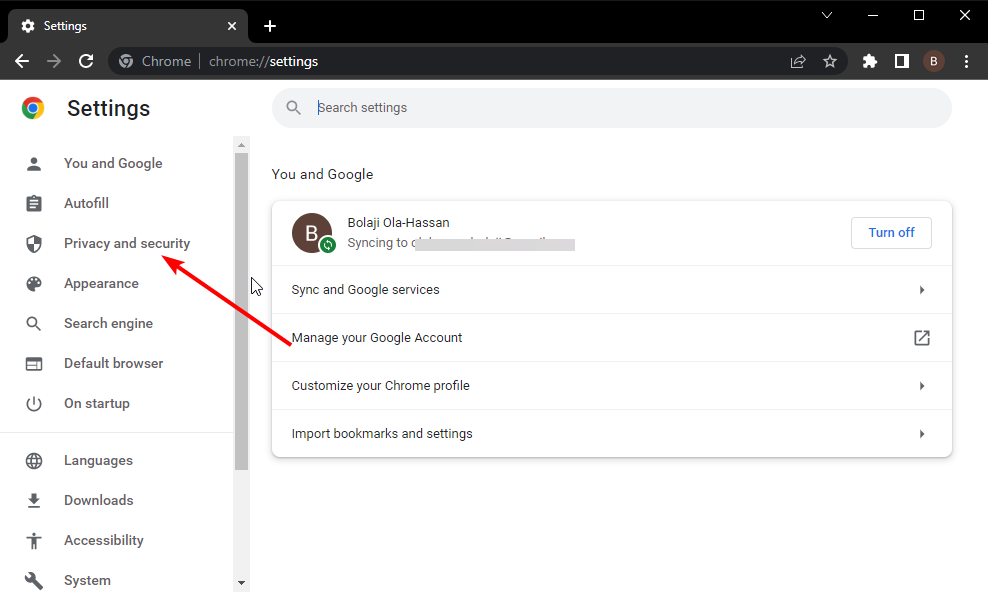
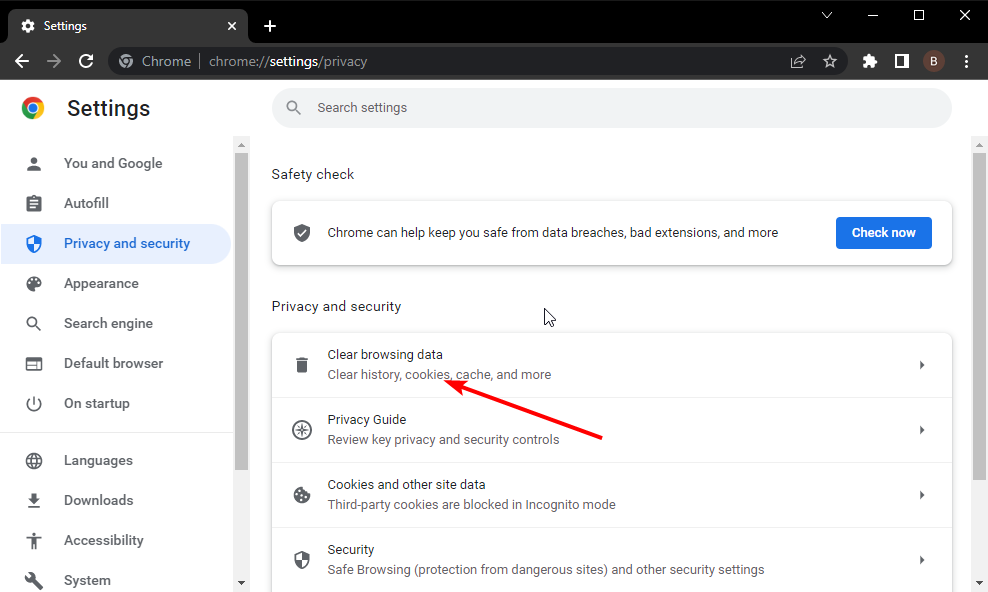
- Click the Menu button and select the Settings option.

- Select Privacy and security on the left pane.
- Choose the Clear browsing data option.
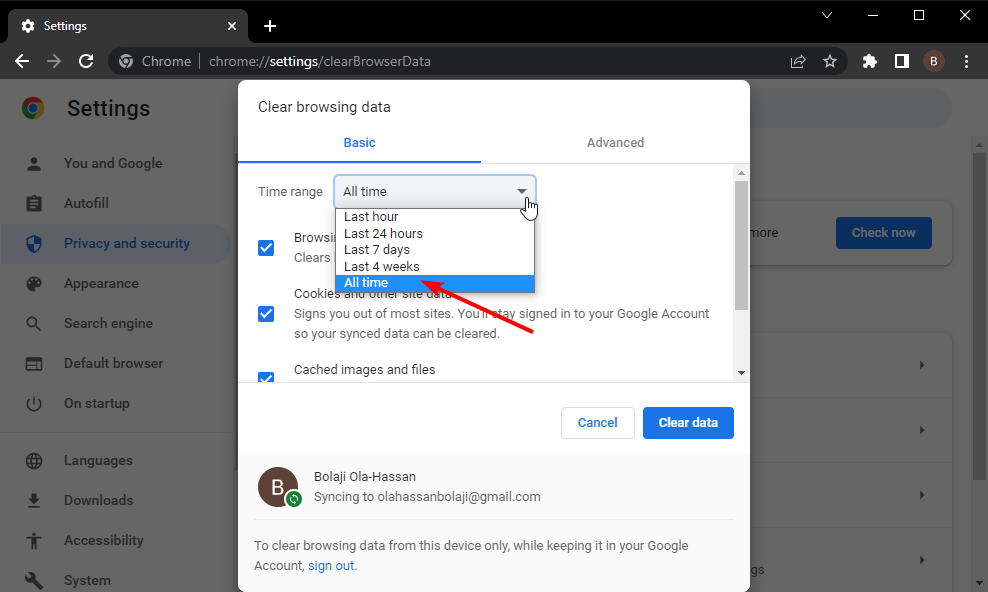
- Click the Time range dropdown at the top and select All time.
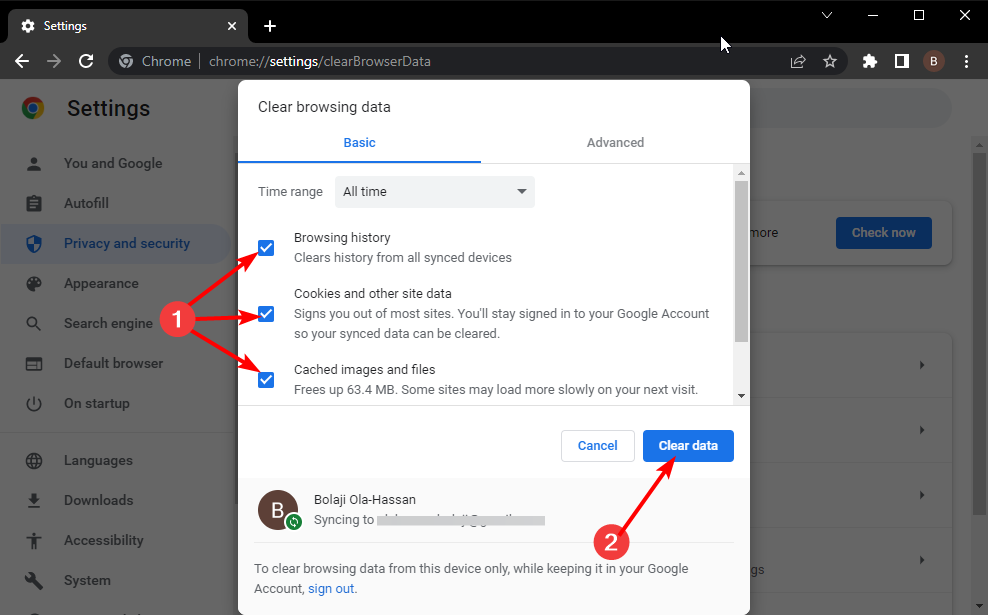
- Mark the checkboxes for Browser history, Cookies and other site data, and Cached images and files.
- Finally, click the Clear data button.
Despite the ease of use that browser data such as cache and history offer, they cause all sorts of problems when corrupt. The blerk error 5 on AOL mail has been traced to this data.
Ensure to restart your browser after clearing them to effect the changes.
4. Contact AOL customer support
Sometimes, the blerk error 5 might be due to a technical problem on AOL mail’s end. In this case, the only option is to contact AOL customer support for guidance and assistance.
Nothing could be more frustrating than being denied access to your mail portal due to issues like the blerk error 5. But with the detailed solutions above, you should be able to get past the error and get back to business.
Are you facing other issues like AOL mail not displaying images? Then check our detailed guide on how to fix it easily.
Feel free to let us know the fix that helped you resolve the error in the comments below.
Read our disclosure page to find out how can you help Windows Report sustain the editorial team. Read more


Improve this guide


User forum
0 messages