Apisetschema.dll Missing From Windows 10 [Complete Fix]
Restoring Windows 10 should fix this specific missing error
Key notes
- The apisetschema.dll missing error can arise when that DLL file gets mistakenly deleted by users, overwritten with an invalid DLL by program installation, or is corrupted by malware.
- You can fix apisetschema.dll Windows 10 errors with that platform’s built-in utility for file scanning.
- Some third-party system maintenance utilities can fix apisetschema.dll file issues.

Apisetschema.dll is one of Windows 10’s many Dynamic Link Library files. That’s a DLL needed to run ApiSet Schema DLL-based software.
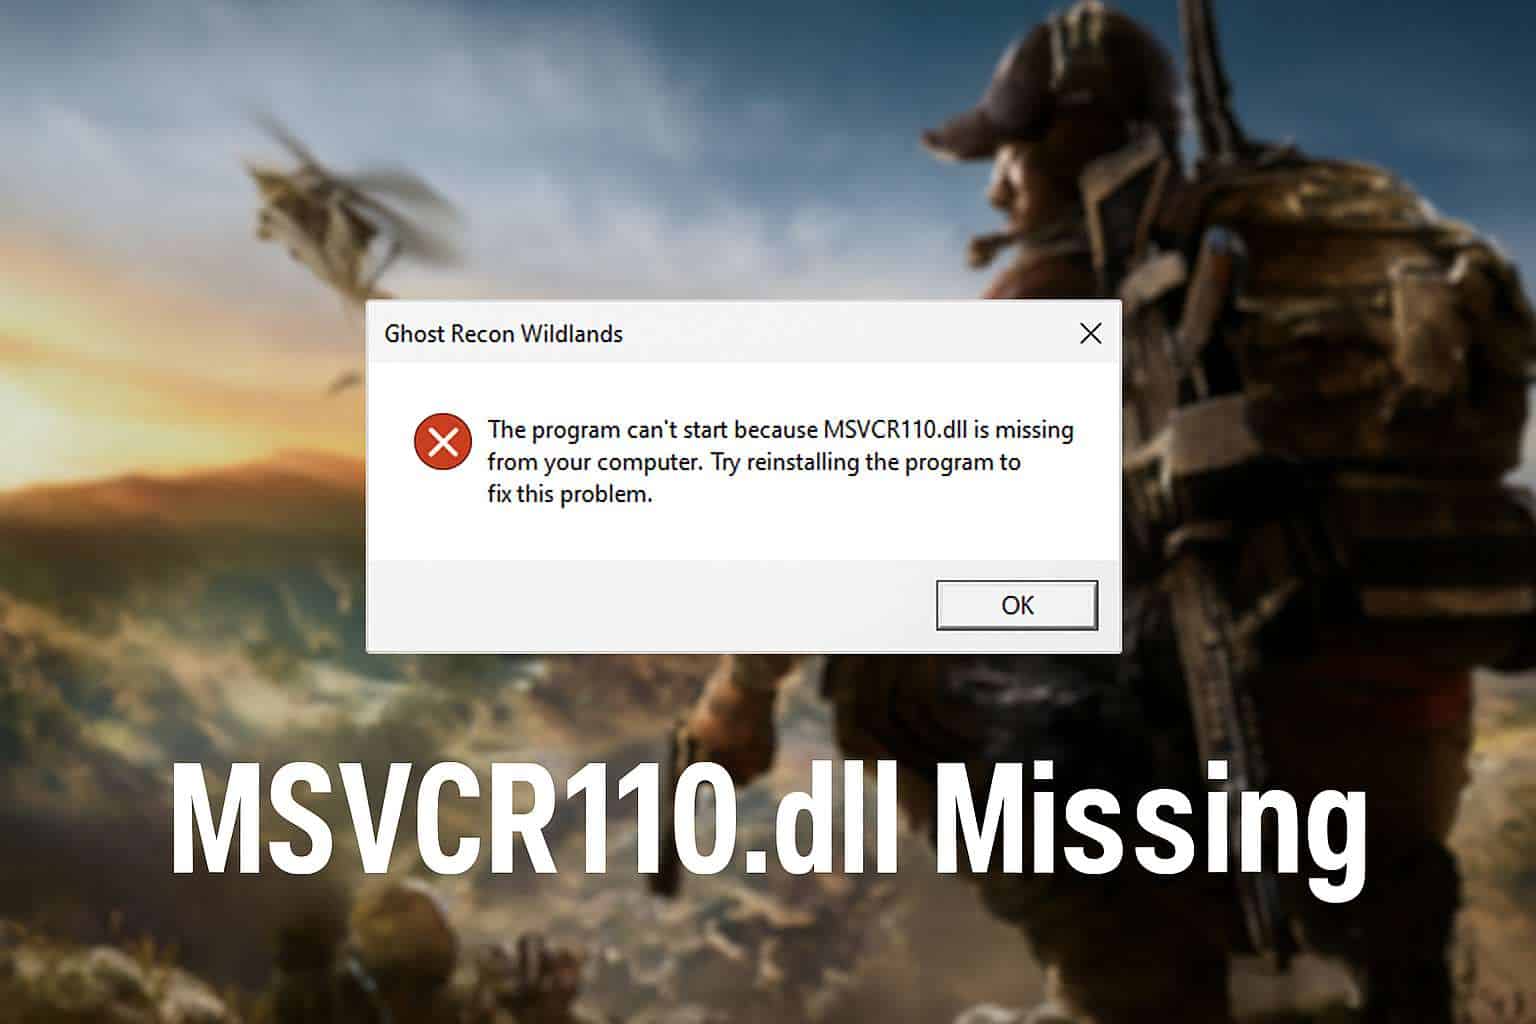
When the apisetschema.dll has been removed or corrupted, software that needs that DLL won’t operate properly and display an error message like this one:
The program can’t start because apisetschema.dll is missing from your computer. Try reinstalling the program to fix this problem.
There are numerous apisetschema.dll missing error message variations. However, they all mean the apisetschema.dll file is not accessible for software.
The required DLL might be deleted, corrupted, or have an incorrect location (a called path might not match the real DLL path).
How can I fix an apisetschema.dll missing error?
1. Use third-party repairing DLL files software
A dedicated tool is one of the most surefire resolutions for fixing the apisetschema.dll missing error.
A system repair utility tool can detect and fix Windows, BSOD, freezing, and missing/damaged DLL issues. It restores missing or damaged DLL system files with fresh new ones and purges malware.
Although there are other ways you can fix an apisetschema.dll missing error, this kind of software undoubtedly provides the quickest and most straightforward resolution.
2. Scan system files
- Click the magnifying glass button nestled between Cortana and the Start menu to open Windows 10’s search box.
- Enter the search keyword Command Prompt in the text box.
- Click the Run as administrator option on the right side of Windows 10’s search utility.

- Press the Enter key after typing in this command:
DISM.exe /Online /Cleanup-image /Restorehealth - Wait for the Deployment Image Servicing scan to finish, and then input this command:
sfc /scannow
- Don’t forget to press the Enter key to start the SFC scan.
- Thereafter, wait for the System File Scan to display its outcome within the Command Prompt.
- Restart your laptop or desktop if the scan reports it repaired files.
3. Register the apisetschema.dll
- Right-click the Start button to open the Win + X menu.
- Select Run on the menu.
- Type this command in Run’s Open box:
cmd - Press the Ctrl, Shift, and Enter keys simultaneously to open an elevated Command Prompt.
- Then enter this command and press Return to register the DLL:
regsvr32 apisetschema.dll
- Restart your desktop or laptop after registering the DLL.
4. Reinstall software you need to fix the apisetschema.dll error for
- Open the search utility in Windows 10.
- Enter apps in the search box.
- Click Apps & features to open Settings as shown directly below.
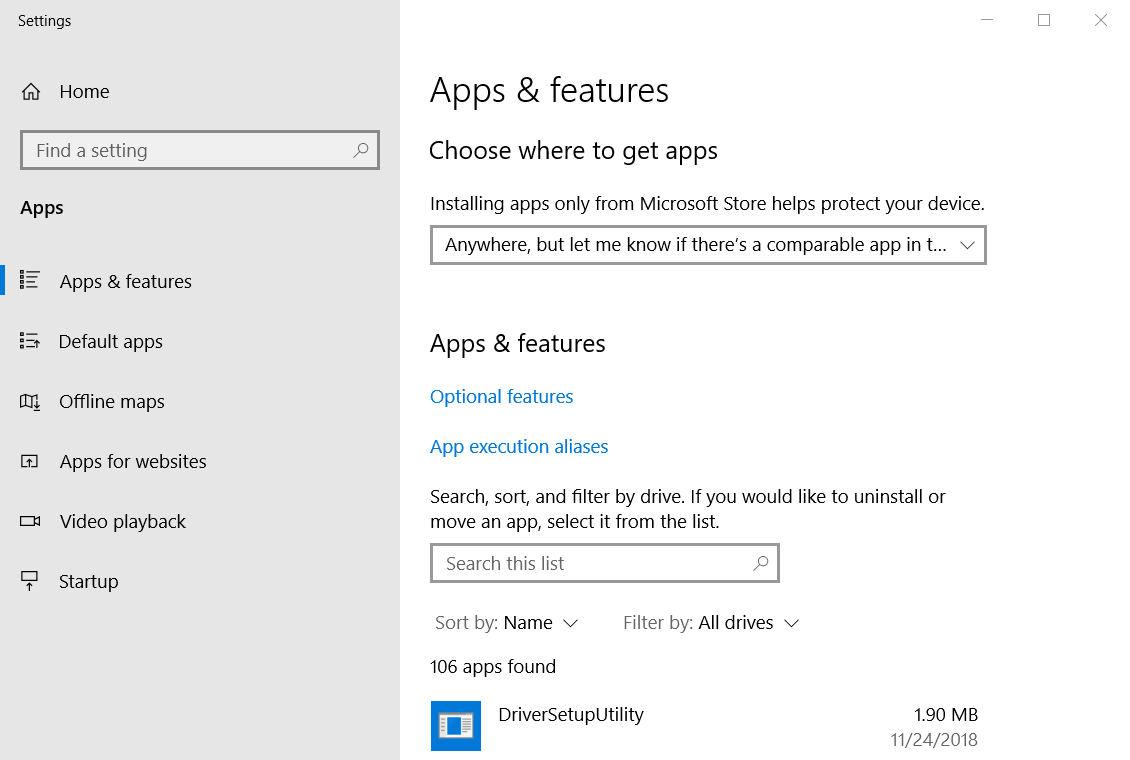
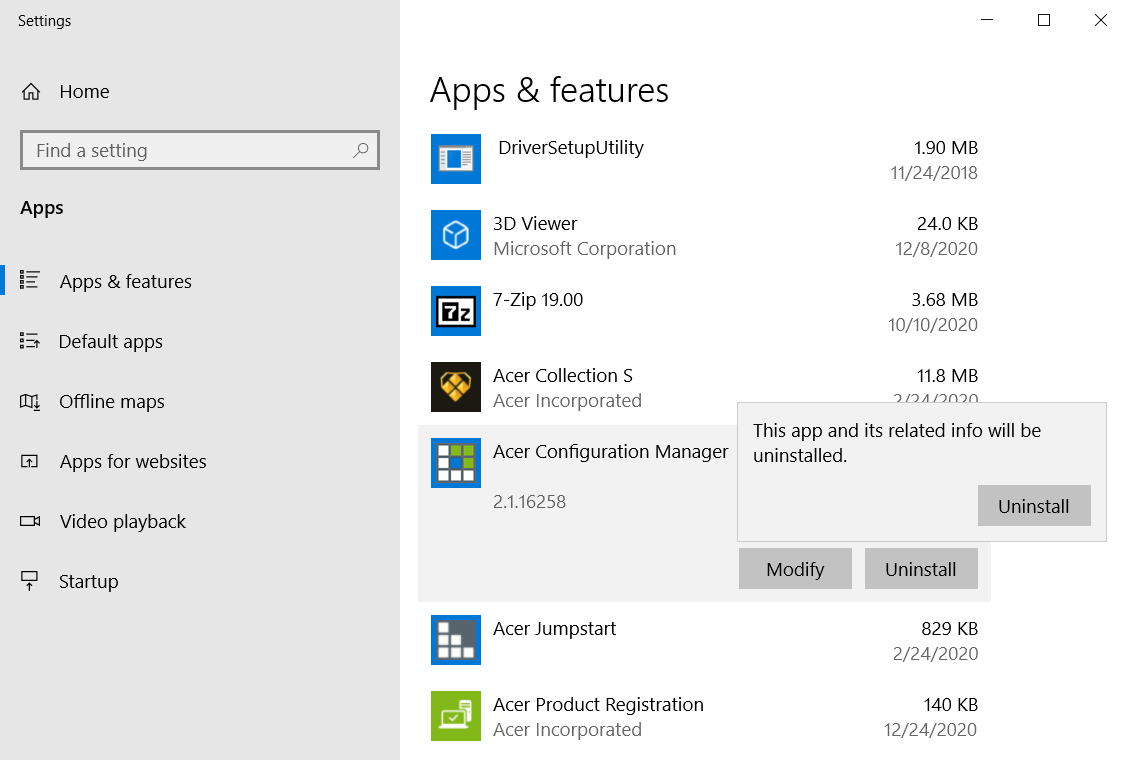
- Now select the program that the apisetschema.dll missing error occurs for.
- Click Uninstall (and Uninstall again) to remove the selected software.
- Reboot your PC before reinstalling the software.
- Then reinstall the software you just uninstalled with its installation DVD or downloaded setup wizard. Make sure you install the latest software version.
5. Roll back Windows 10 with System Restore
- Press the Windows (left of Alt) and R keyboard keys simultaneously to open Run.
- You can open System Restore by entering this command and pressing Enter:
rstrui - Click the Choose a different restore point option if System Restore recommends a restoration point.

- Click Next to open the restore point list.
- If System Restore doesn’t show you a full list, click the Show more restore points checkbox.

- Now choose to restore Windows to a date that predates the apisetschema.dll error on your PC. Alternatively, just select the oldest restore point available.
- Select the Next option to proceed.
- Then you’ll need to click Finish to confirm your restore point and start the Windows rollback.
Note: Selected system restore points delete software installed after their dates. To check what software you’ll need to reinstall for a chosen restore point, click the Scan for affected programs button on the System Restore window.
6. Reset Windows 10 with Reset this PC
- Open Windows 10’s search tool.
- Type the keyword reset in the search utility’s text box.
- Click Reset this PC to open recovery options.

- Press the Get started button to open the Reset this PC window in the snapshot directly below.

- Select the Keep my files option.
- Press the Next and Reset buttons to confirm.
Note: Although your user files will be retained, resetting Windows 10 as outlined above will remove all third-party software installed on your PC.
The resolutions above will usually fix the apisetschema.dll missing error.
You can also try manually downloading a new apisetschema.dll from a DLL file website. However, make sure you obtain the file from a reputable DLL site and scan it with antivirus software.
Read our disclosure page to find out how can you help Windows Report sustain the editorial team. Read more


Improve this guide


User forum
0 messages