Apphelpercap.exe: What is it & How to Remove it
End task for the file process in the Task Manager
3 min. read
Updated on
Read our disclosure page to find out how can you help Windows Report sustain the editorial team. Read more
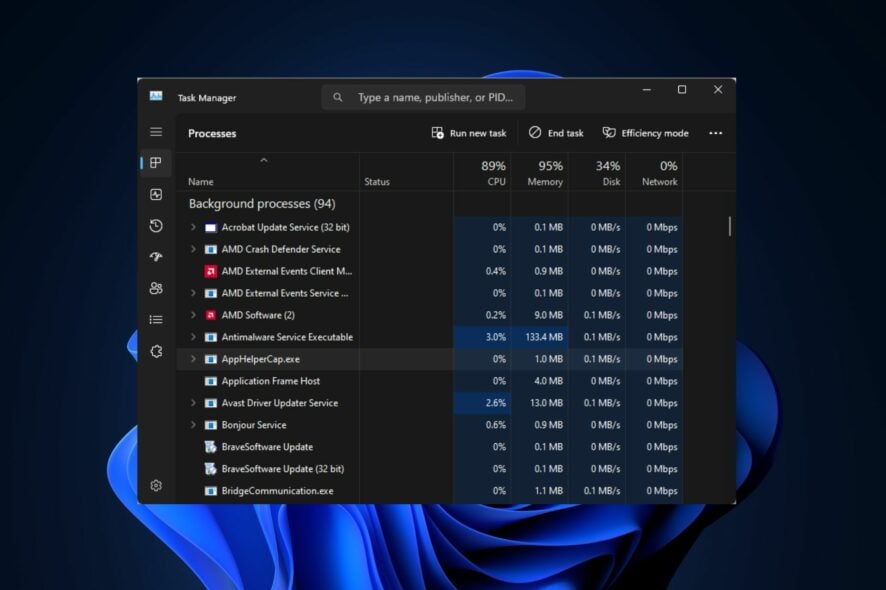
The apphelpercap.exe file is a Windows-based file developed by HP. However, the file can be targeted by malware creators who disguise malicious code by renaming it to match a process like apphelpercap.exe.
If this is the case, you’ll need to remove the file to protect your PC from harm. Luckily, this article briefly discusses the apphelpercap.exe file/process and recommends steps you can apply to remove it.
What is apphelpercap.exe?
apphelpercap.exe is an executable file developed by HP Software Developer. It belongs to the HP App Helper HSA Service Process, which usually accompanies the AppHelperCap software.
The file is legitimate and normally poses no harm to your PC, but it can also be used as a camouflage to sneak malware into your PC.
How can I remove apphelpercap.exe?
Here are a couple of ways you can remove the apphelpercap.exe file:
1. Run the Software’s Uninstaller Package
- Press the Windows key + E to open File Explorer.
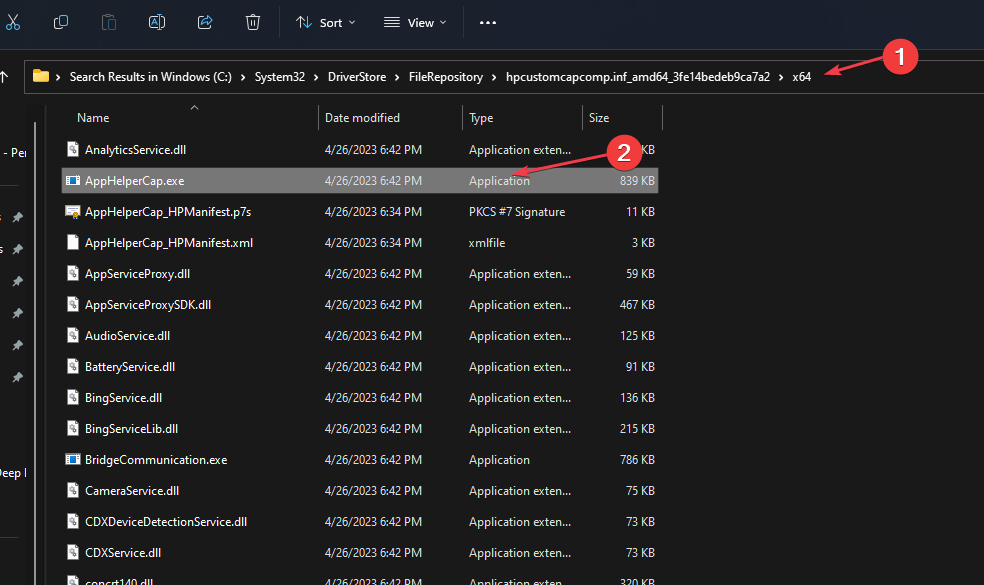
- In the File Explorer window, navigate to the following path:
C:\Windows\System32\DriverStore\FileRepository\hpcustomcapcomp.inf_amd64_3fe14bedeb9ca7a2\x64 - Once you’re in the directory, locate AppHelperCap_uninstall.exe, and double-click it to run the uninstaller.
- Follow the onscreen instructions to complete the uninstallation and restart your PC.
If you want to uninstall the apphelpercap.exe, the most efficient method is to run the software’s uninstaller package. This package will completely remove all the application data from your PC.
2. Uninstall the associated software from the Settings
- Press the Windows key + I to open the Settings app.
- In the Setting app, click Apps and select the Installed apps tab.
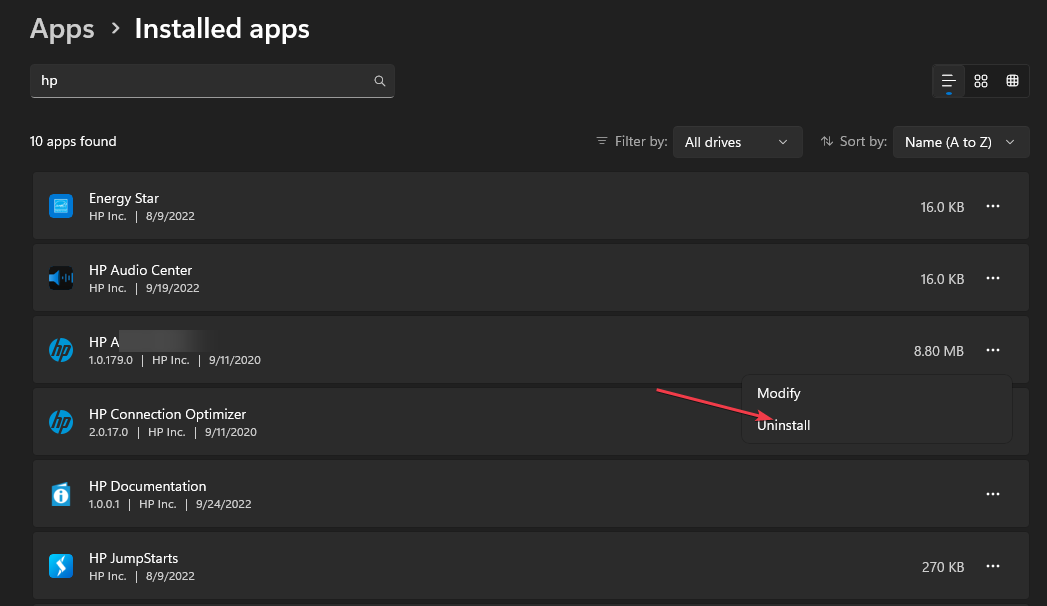
- In the next window, type AppHelperCap in the search bar on the right pane, or you can enter the developer’s name (HP) in the search bar.
- Then, click on the displayed result and click Uninstall Program, and click Uninstall again to complete the uninstallation.
- Close the Settings app and Restart your PC.
Using the Settings, you have to identify the app that the system file represents and remove the app altogether.
3. Disable the process from the Task Manager
- Left-click the Start menu and click the Task Manager.
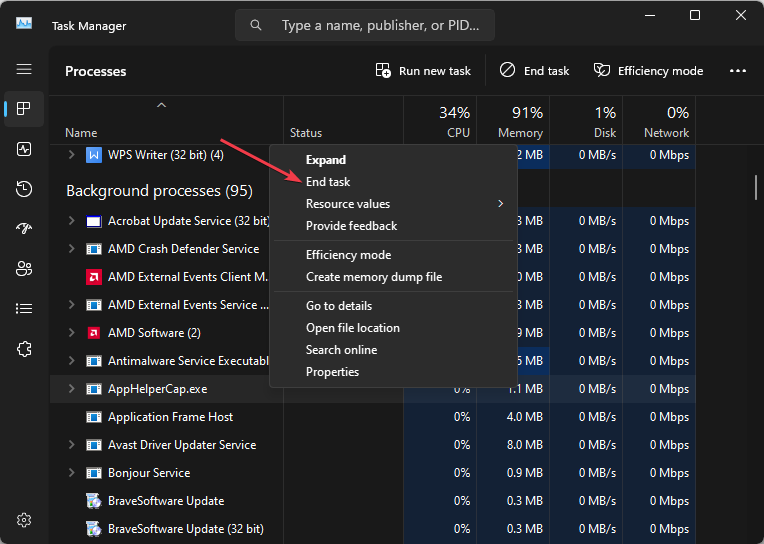
- In the Task Manager window, navigate to the Processes tab, and locate apphelpercap.exe. Once you’ve located the task, click on it and select End Task.
- If there are multiple instances of apphelpercap.exe, repeat the steps until you’ve closed all the running instances.
- Close the Task Manager.
If you can’t locate the parent software or the file is unable to delete, you can fix the apphelpercap.exe error by disabling the process from the Task Manager.
The apphelpercap.exe is a critical Windows component; if you suspect that the file/process is malware or uses too many resources, you can remove or disable the executable from your PC.
This isn’t the only unknown file you can encounter, and we have a fresh guide on ASCService.exe, so don’t miss it.
Should you have further questions or suggestions regarding this guide, kindly drop the in the comments section.



User forum
0 messages