How to automate tasks in Windows 10
4 min. read
Updated on
Read our disclosure page to find out how can you help Windows Report sustain the editorial team. Read more

There’s probably an app or a website that you use/visit every day on your computer. If you’ve already developed such a routine, you can even save some time by having that app or website opened automatically for you, so you don’t have to search for them every single time.
Well, Windows 10 has a handy tool that will make it possible. The tools is called Task Scheduler, and you can use it to automate basically any task you want. While this tool can’t perform more complex tasks, like leveling up a character in your favorite online game, it can do some basic, but still useful, actions, like opening an app, a website, or sending an email.
While such a simple action like opening a website might not be a deal breaker to you to start using this feature, you can use it for something else, like defragmentating your computer while its on idle. This feature has been present on Windows since way back, and luckily, Windows 10 still has it. So, let’s finally see how to automate a task in Windows 10, and save yourself some time and effort.
How to run Task Scheduler in Windows 10
As we said, you can use Task Scheduler to perform various types of tasks. In this article, we’re going to show you the most basic action you can do with this tool.
With Task Scheduler, you can basically run anything that’s installed on your computer. To just give you an idea of how this feature works, we’re going to perform a simple task of automatically opening our site. Here’s what you need to do:
- Go to Search, type task scheduler, and open Task Scheduler.
- Now, right-click on Task Scheduler Library from the left pane, and go to New folder… This will create a new folder were you’re going to store all your created tasks. Creating a new folder for your tasks is not required, but it’s better to create one, for easier management. However, if you’d like to store all your taks in the default folder, you can skip this step.
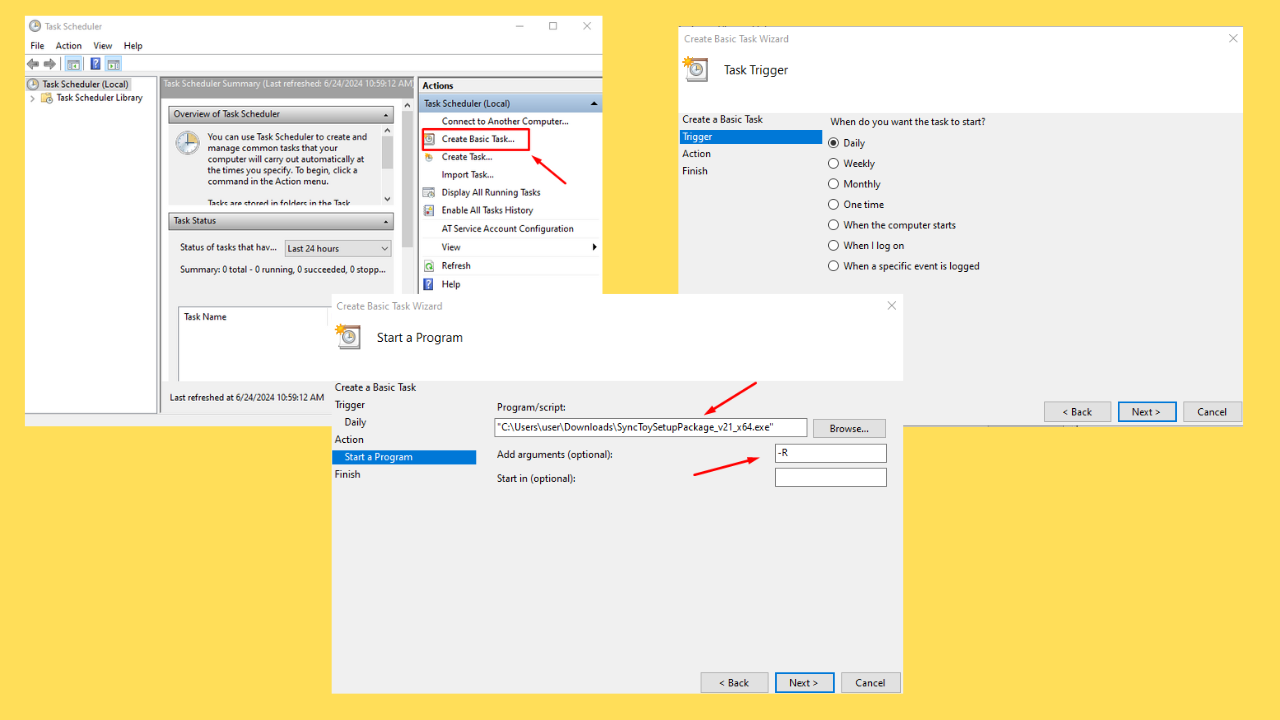
- Now, to create a task, go to Action > Create Task.
- On the General Tab, you can give a name to your task, and describe it. You can also choose users who will perform this task.
- Once you’ve set a name and description for your task, head over to the Triggers tab, and choose New. In this tab, you can manage the time of your task. There are a lot of options, you can set the task to be performed only once, every day, every week, etc. You can also set a specific time of when the task is going to be performed. Since there are so many options, feel free to experiment with them by yourself. For the sake of this article, we’re going to set up our task to be performed only once, at a specific time of 11:55 PM.
- Now, head over to the Actions tab. Here you can choose what program or app will be automatically opened at a select time. Just click New> Start a program > Browse, and pick up a program you want to run. In our case, we’re going to open Google Chrome. If you choose to open a browser, like we did, just paste a URL to a website you want to open in the Parameters section.
- If you want, you can set additional conditions in the Conditions tab. For example, start the task only when computer is on idle for 10 minutes, start the task only when your laptop is plugged in, etc.
- Once you’ve set everything up, just click OK, and wait for your program/site to be opened.
There you go, this is how you can open any program or a website automatically with Task Scheduler. Of course, this is just the most basic action you can perform with this tool, because it supports many complex, and more useful operations. We just wanted to give you an idea of how this tool works in Windows 10, and if you want us to dig deeper into this feature, just let us know in the comments.
For example, if you want to set up an automatic defragmentation of your disks with Task Scheduler, like we mentioned above, just check out this article for more info.
RELATED STORIES YOU NEED TO CHECK OUT:



User forum
0 messages