How to Fix Backspace Key When It's Not Working + Alternatives
Run the Keyboard troubleshooter to solve this problem
4 min. read
Updated on
Read our disclosure page to find out how can you help Windows Report sustain the editorial team. Read more

If your backspace key is not working, it could be due to physical damage, incorrect keyboard settings, or even out-of-date drivers.
In some other cases, software conflicts or system glitches may contribute too. That said, in this guide, we’ll walk you through the steps to get it working again.
How do I fix my backspace key if it’s not working?
Before we start, make sure your keyboard is clean. Use compressed air or a soft brush to remove dirt. Also, check your keyboard cable/batteries and make sure your OS is up to date.
If the above preliminary checks can’t fix the backspace key not working, go ahead with the solutions below:
1. Disable Sticky keys and Filter key options
- Press Windows + I keys to open the Settings app.
- Click on Accessibility and click on Keyboard in the left-hand menu.
- Find the Sticky keys option, and toggle off the Press one key at a time for keyboard shortcuts.
- Click the Filter Keys link, toggle off the Ignore brief or repeated keystrokes.
- Close the Settings app and restart the PC to effect the changes.
2. Run the keyboard troubleshooter
- Press Windows + I key to open the Settings app.
- Click on System, then select Troubleshoot from the right pane and click on Other Troubleshooters.
- Then, click the Run button against the Keyboard.
- Wait for the Troubleshooter to find and fix the Keyboard issues on your computer.
Running the keyboard troubleshooter will find and fix the problems causing the backspace key to malfunction on your laptop.
We also have a guide on Spacebar not working that you might be interested in.
3. Update your keyboard drivers
- Press Windows + R keys to prompt the Run window, type devmgmt.msc, and click OK to open the Device Manager.
- Expand the Keyboards entry, right-click on the Keyboard devices, then select Update driver from the drop-down menu.
- Click on Search automatically for updated driver software.
- Restart your computer and check if the issue persists.
Updating the keyboard driver will fix bugs affecting the device and install the latest features to improve its performance. Also, it resolves compatibility issues causing the problem:
You can read our guide for other steps for updating drivers on Windows PCs if you have any issues. Also, you can choose to update any drivers on your PC automatically with a tailored solution.
4. Reinstall the keyboard device
- Press Windows + R keys to prompt the Run window, type devmgmt.msc, and click OK to open the Device Manager.
- Expand the Keyboards entry, right-click on the Keyboard devices, then select Uninstall device from the drop-down menu.
- Click Uninstall in the confirmation box and wait for the process to complete.
- Restart your PC, and it will automatically install the missing driver.
Reinstalling the keyboard device will resolve corrupt device files, settings issues, and other keyboard-felted issues preventing the backspace key from working.
Backspace alternatives
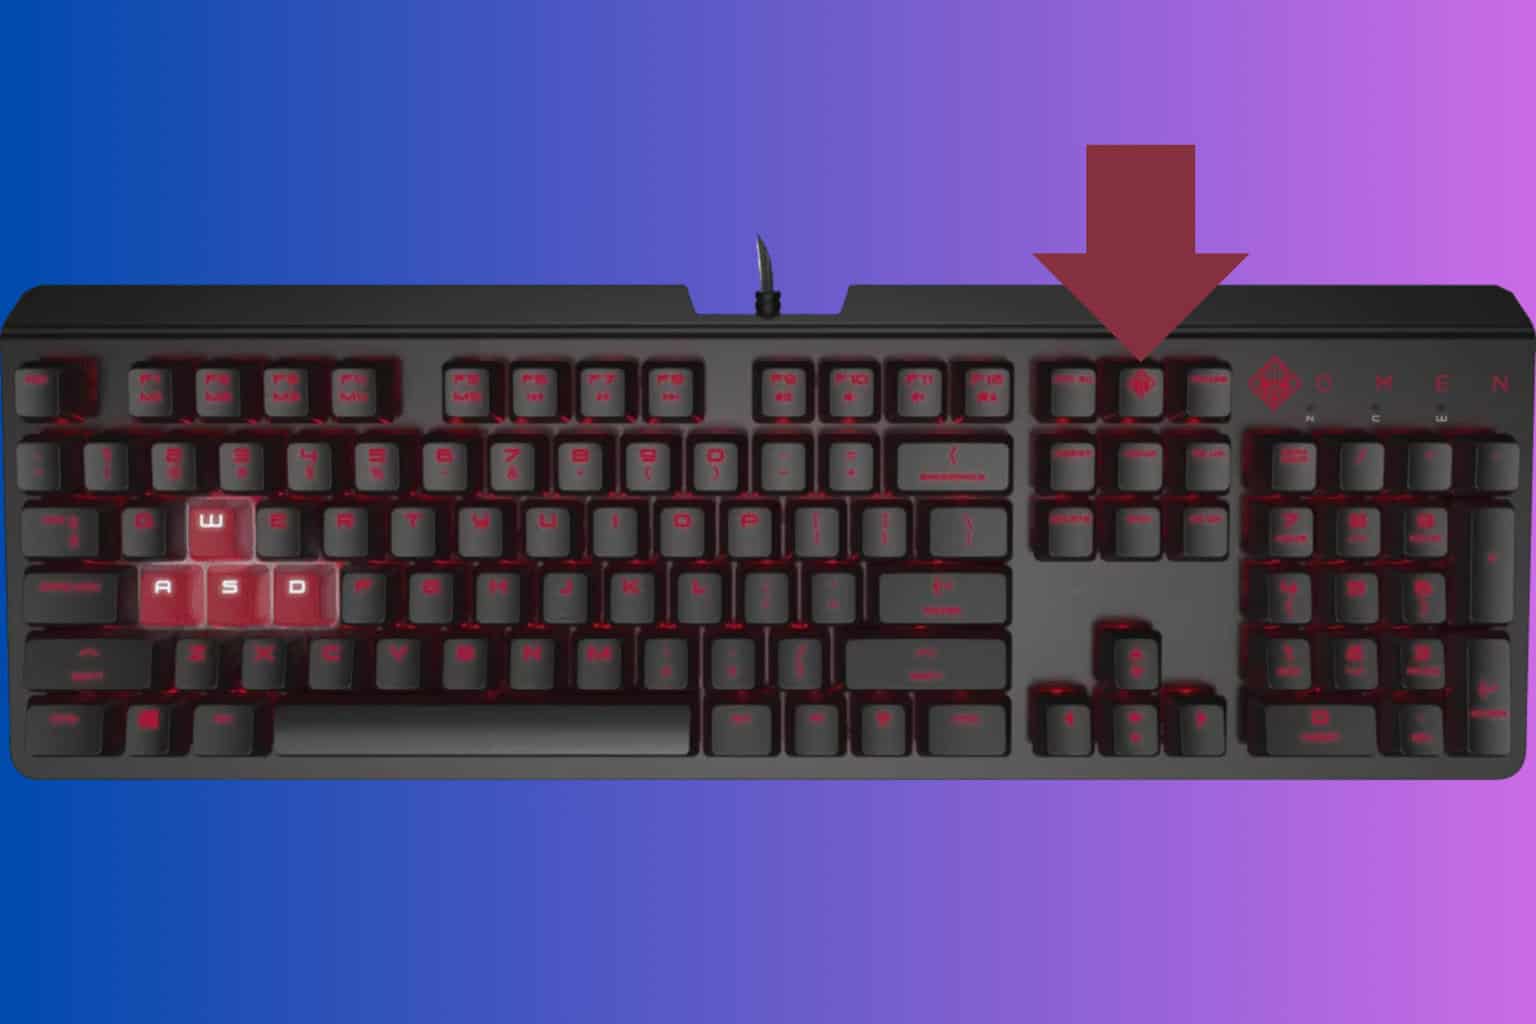
The Delete Key can be an alternative to Backspace in some contexts. To delete characters to the left of the cursor using the Delete key, you can follow these steps:
- Position the cursor after the character you want to delete (to the character’s right).
- Press the Delete key on your keyboard.
You can also use keyboard mapping software to assign any other key to work as Backspace, but that is just a software workaround.
In conclusion, following the steps above should help backspace not working. It might also fix related issues like keyboard typing the wrong letters on your computer.
Also, you may be interested in our article about how to fix the keyboard not allowing double letters when typing on Windows 11.
This isn’t the only problem you can encounter, some users reported that keyboard is not working on Windows 11 at all.
Should you have any questions or suggestions regarding this guide, kindly drop them in the comments section.


User forum
0 messages