How to Run Biomutant on Windows 11 Without Issues
![]() 6 min. read
6 min. read
![]() Updated on
Updated on
Share this article
Improve this guide
Read our disclosure page to find out how can you help Windows Report sustain the editorial team. Read more
Key notes
- Biomutant is an action RPG game for Steam that was highly anticipated prior to launch.
- Many players have complained about frequent crashing and other issues with the game.
- This guide will show you multiple ways how you can solve the numerous problems with Biomutant on Steam.
Released in 2021, Biomutantis an action RPG video game that was developed by Experiment 101, a Swedish gaming developer, and published by THQ Nordic.
It’s set in a post-apocalyptic world where players can explore vast underground areas and miniature galaxies. Players can customize their characters by adding bionic body parts and you can even mutate your body for new abilities; hence the name Biomutant.
The game is available on console and Steam, and it has seen a moderate level of success. However, not long after the release of the game, players started to complain that the game crashes while playing, especially on Windows 11.
For whatever reason, the problems increased when players upgraded their computers to Windows 11.
What issues does Biomutant have and why?
According to gamers across the internet, some of the more common issues include the game randomly crashing, freezing, the audio disappearing, or blurry visuals.
And these are issues that plague both PC players and console gamers equally. By and large, the problems seem minimal on Windows 10 and exasperated on Windows 11.
It’s still unknown whether or not Biomutant can even properly run on Windows 11. It probably could just be how intense the game is on CPUs.
It’s a well-optimized title, but the game still requires a lot of resources from your computer. It must be mentioned that if any of these solutions ultimately do not work, then you’ll have to downgrade back to Windows 10.
This guide will show you how to run Biomutant on Windows 11. Unfortunately for console gamers, they’re out of luck.
They’ll have to wait until the developer rolls out a patch to fix the crashing problems affecting Biomutant. Windows 11 solutions are luckily straightforward to understand.
How do I solve my Biomutant problem on Windows 11?
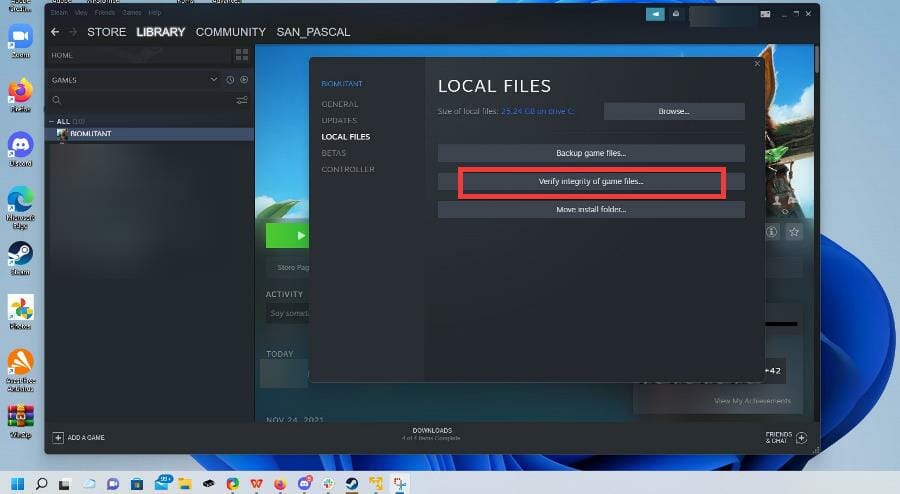
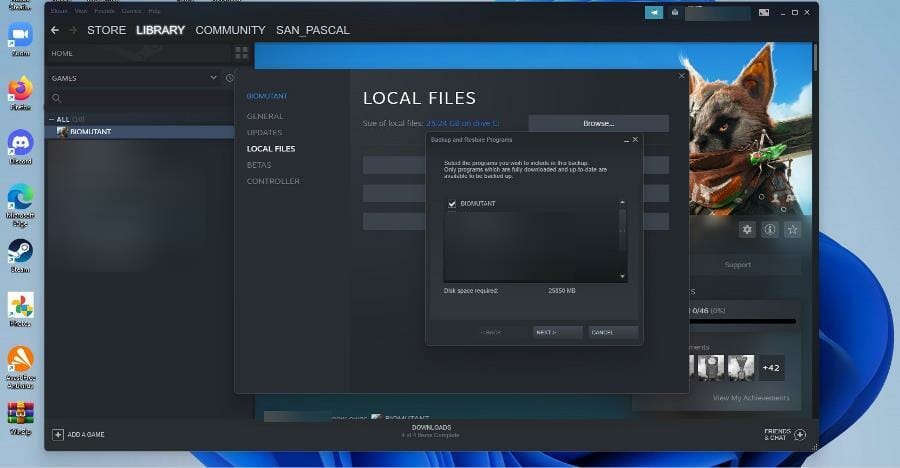
1. Check the game file integrity
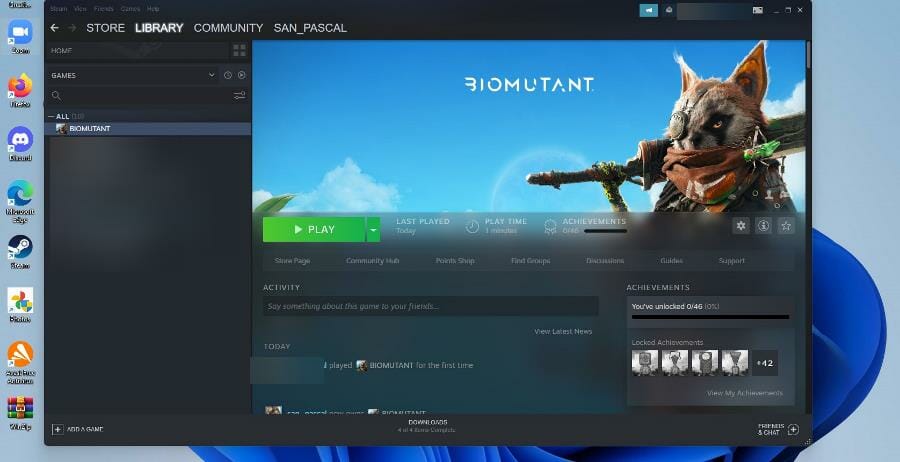
- Open the Steam app.

- Click on Library in the top bar.
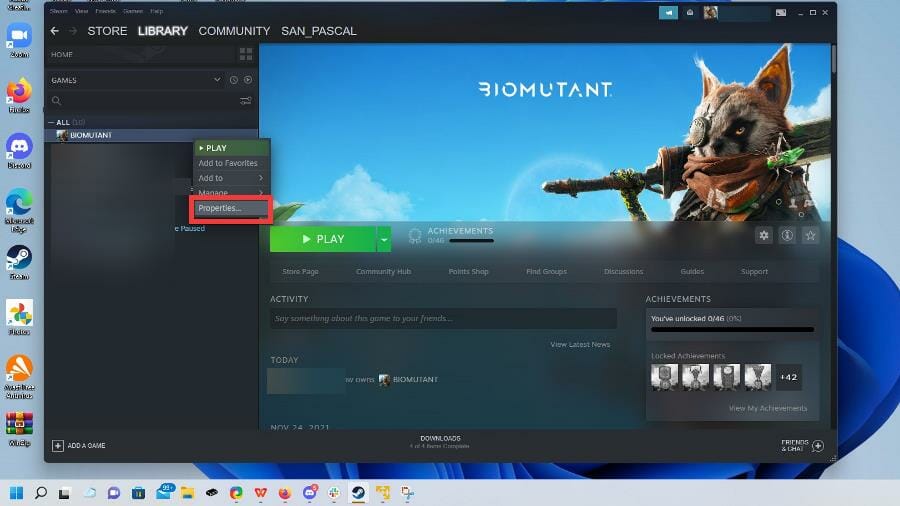
- Right-click Biomutant and select Properties.

- Click Local File.

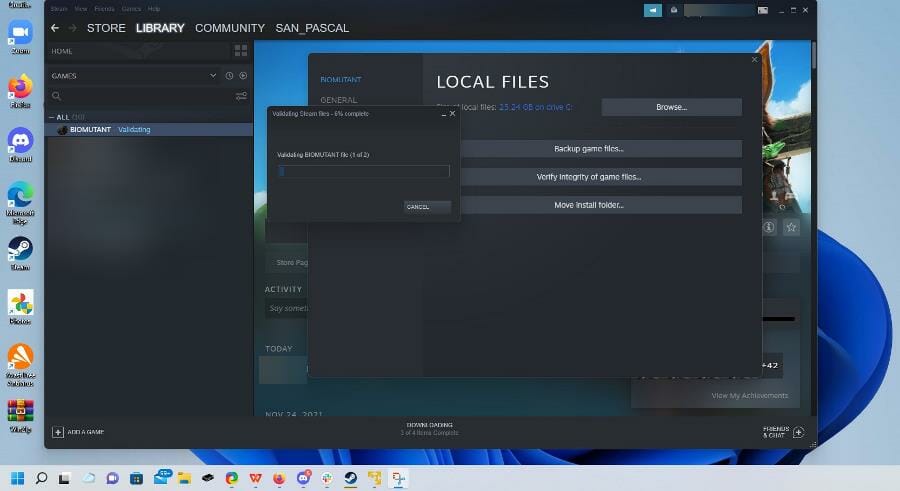
- Select Verify integrity of game files…
- Give Steam some time to verify the files.

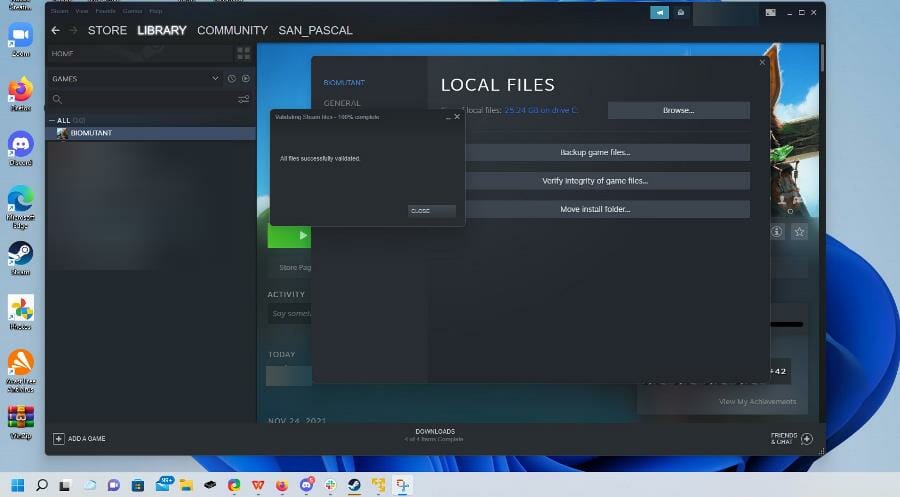
- If the Biomutant files show no problems, then the Steam will state all files are successfully validated. If not, follow one of the solutions below.


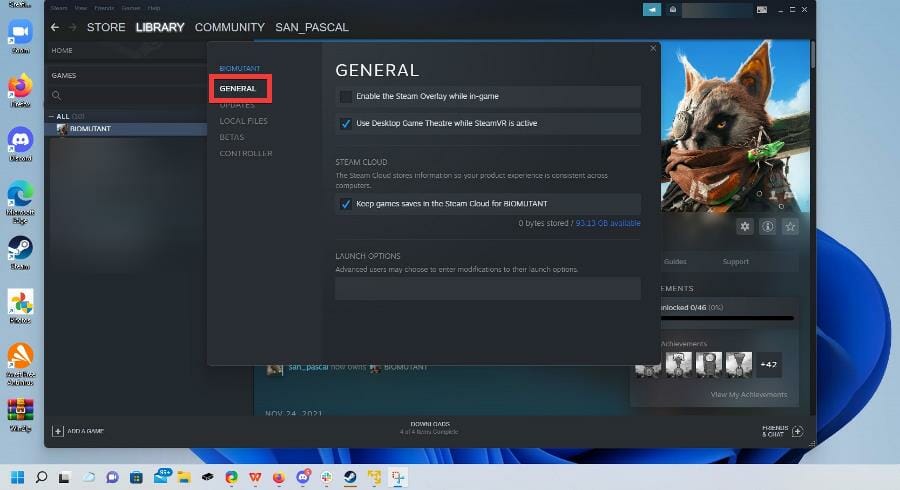
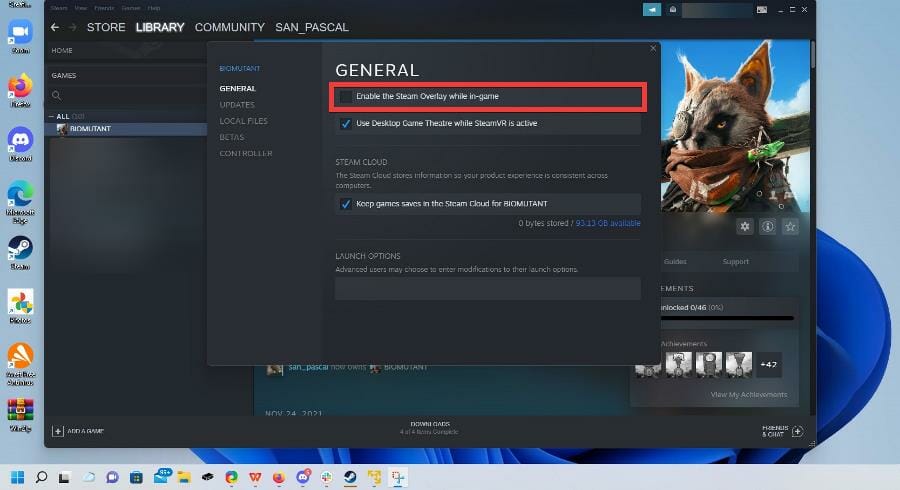
2. Change overlay settings
- Like before, right-click on Biomutant in your Steam Library.
- Select Properties.
- Click the General tab on the left.

- Untick the box next to Enable Steam overlay while-in game.
- Launch the game and see if the problem persists.

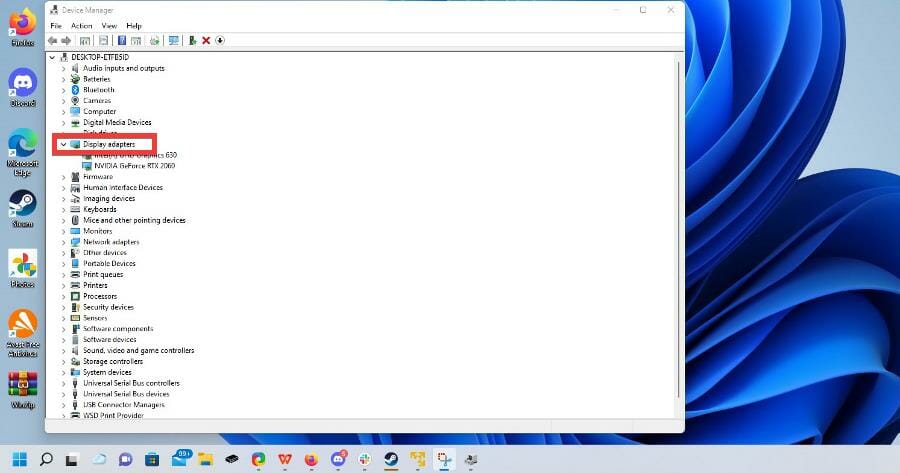
3. Install the latest graphics drivers
- Click on the magnifying glass icon in the taskbar to bring up the Windows 11 search bar.
- Search for the Device Manager and click the first entry you see.

- Click on Display adapters.

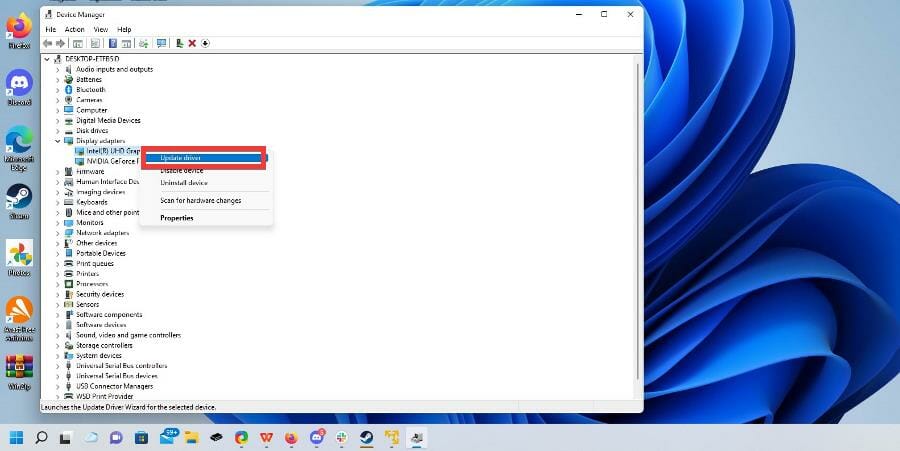
- Right-click on a graphics card and select Update driver.

- Select Search automatically for drivers.

- Windows 11 will automatically download and install any drivers available.


Another option is to set up an automated driver updater such as Outbyte Driver Updater. This tool is light, easy to use, and requires little to no effort on your part.
You can either pick specific drivers you want it to check, or let it take care of all of them, in bulk. It will automatically install new versions whenever they become available.
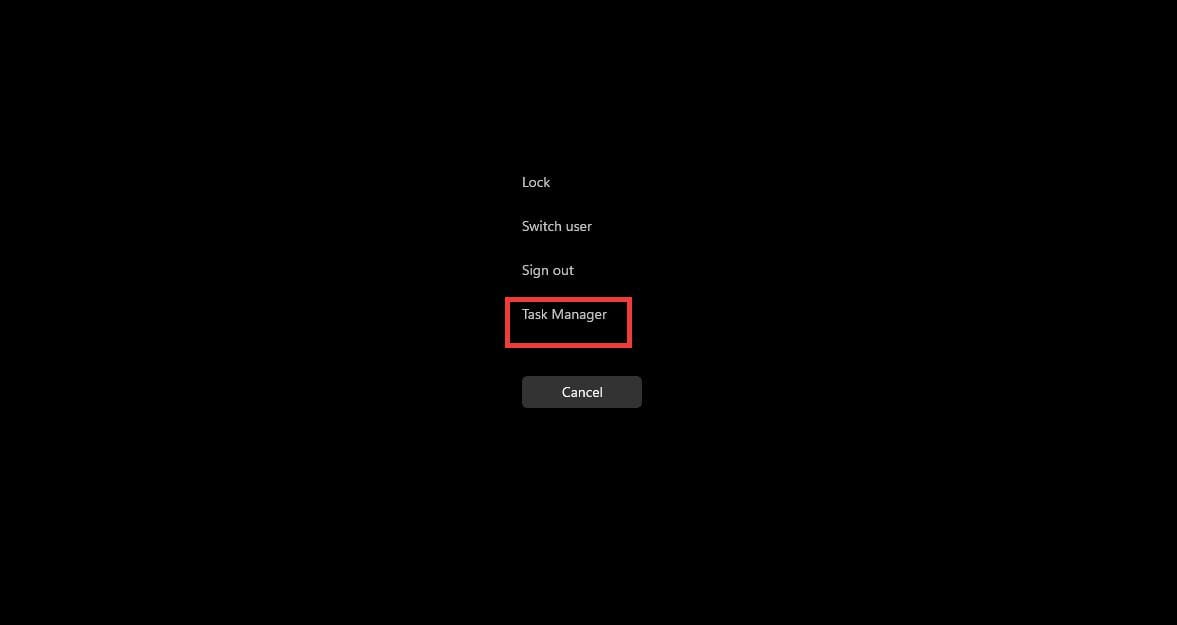
4. Run Biomutant as high priority
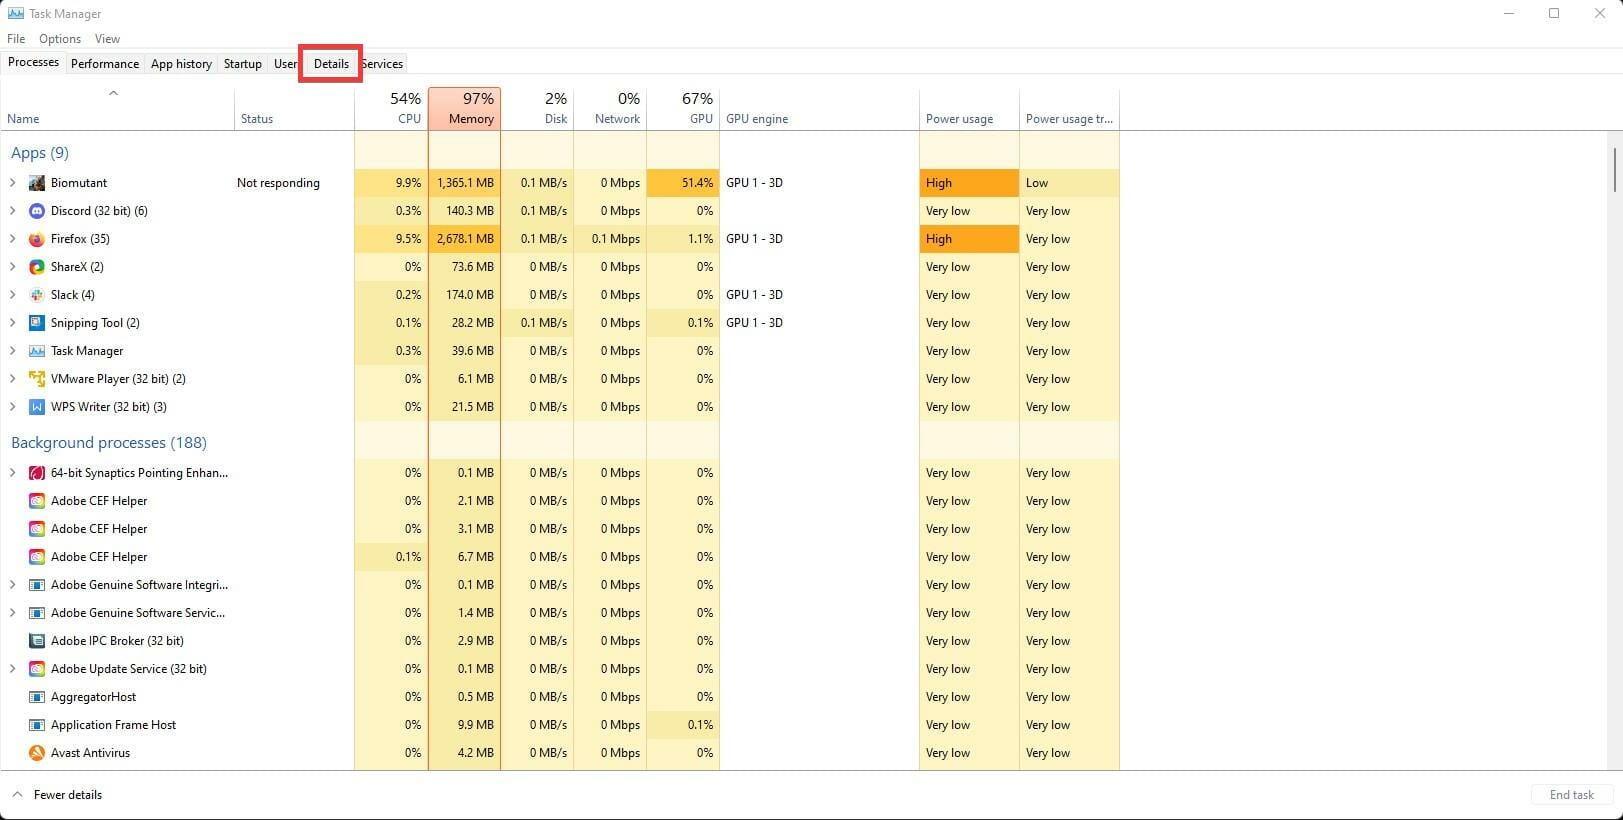
- Press the ALT+CTRL+DEL keys on your keyboard.
- Select Task Manager.

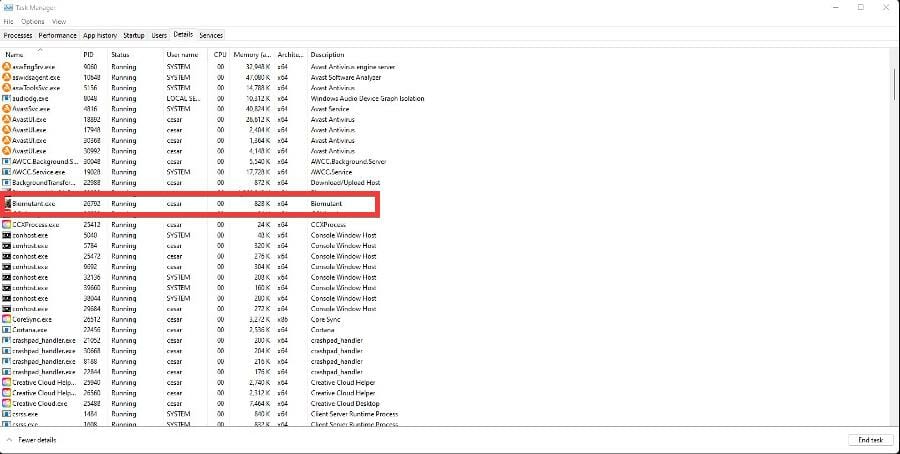
- In the Task Manager, go to the Detail tab.

- Locate Biomutant in the app list and right click the entry.
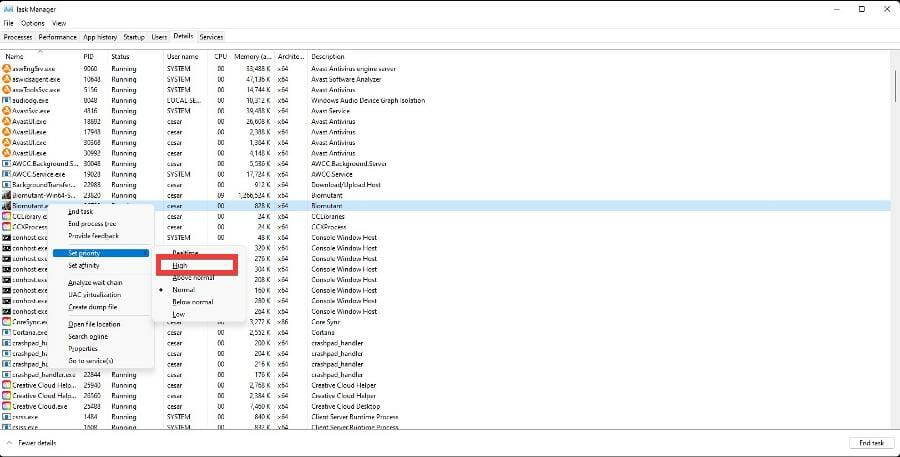
- Select Set priority.

- Select High in the drop down menu.
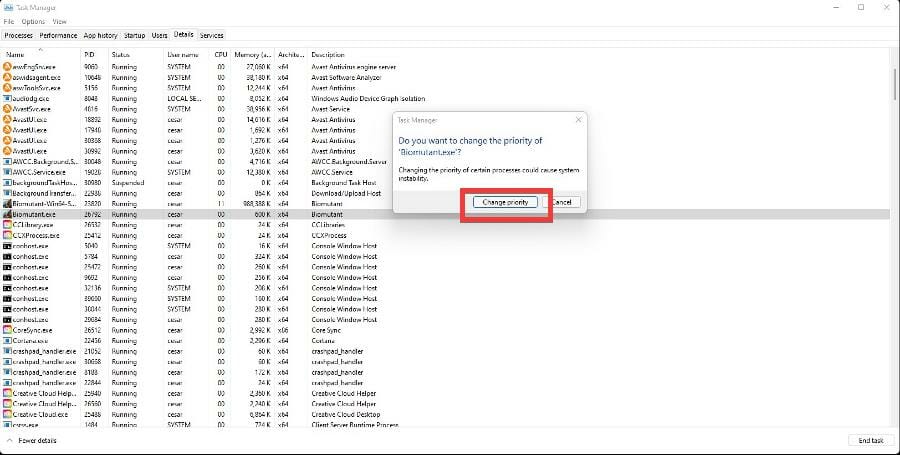
- A window will appear asking if you want to change the priority of Biomutant. Select Change priority.


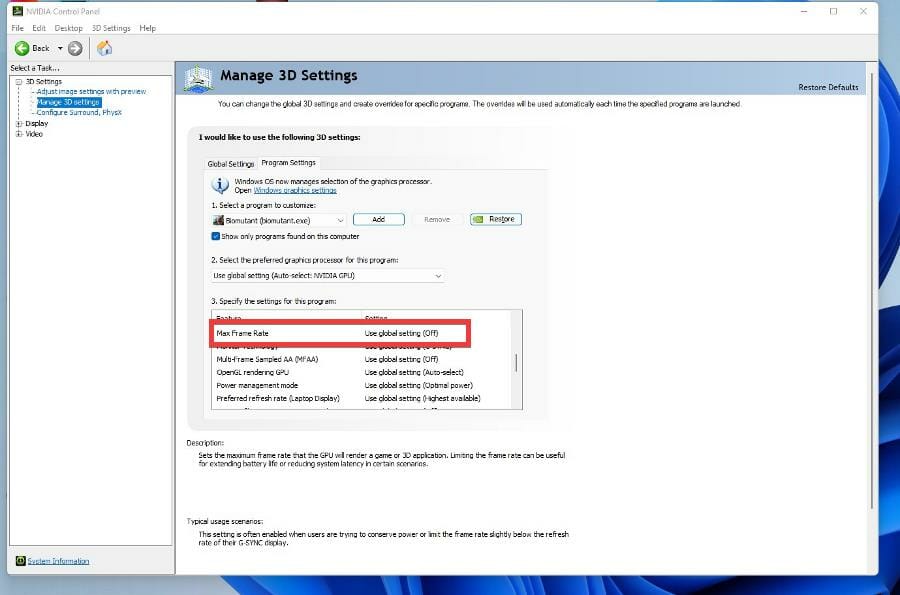
5. Limiting down to 30 Frames-per-second
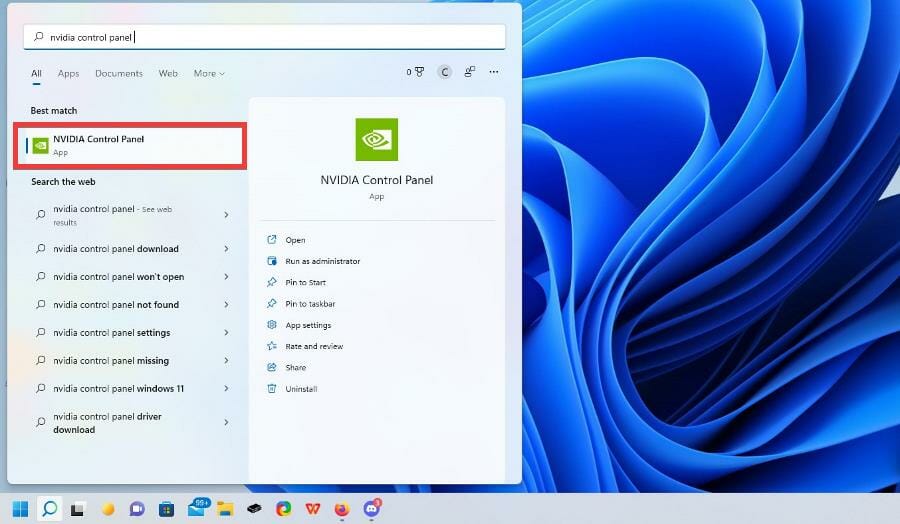
- Open the search bar and look for NVIDIA Control Panel. This only works if you have a NVIDIA graphics card.

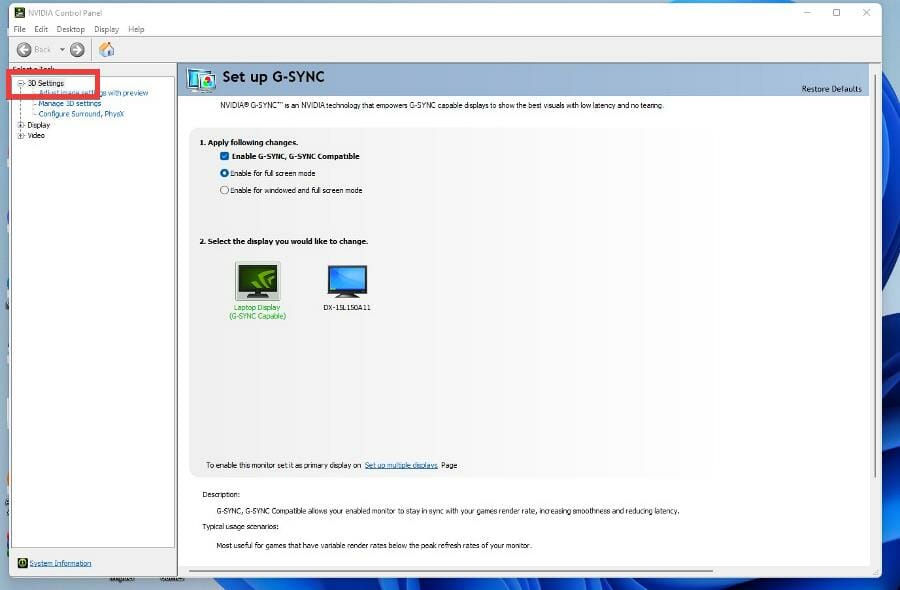
- Click 3D Settings.

- Click Manage 3D settings.
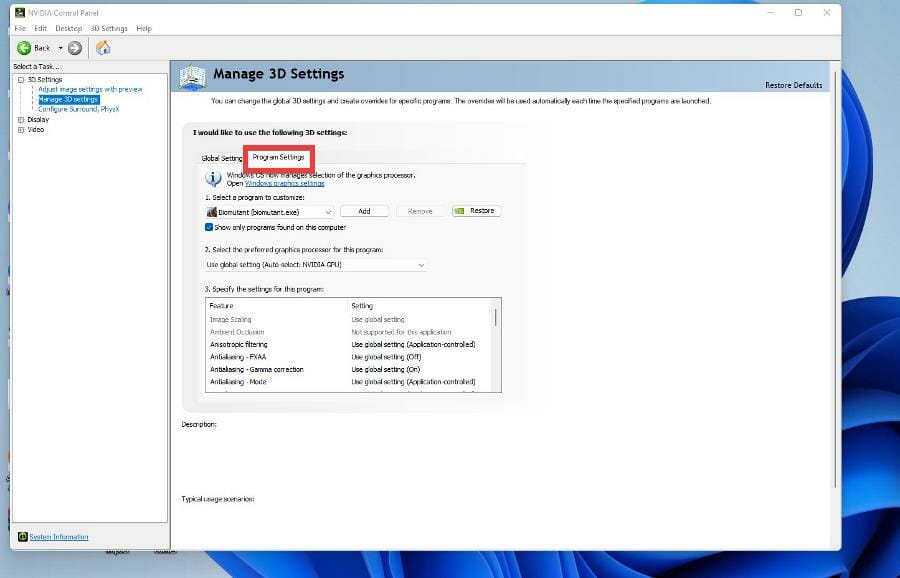
- Click on the Program Settings tab.

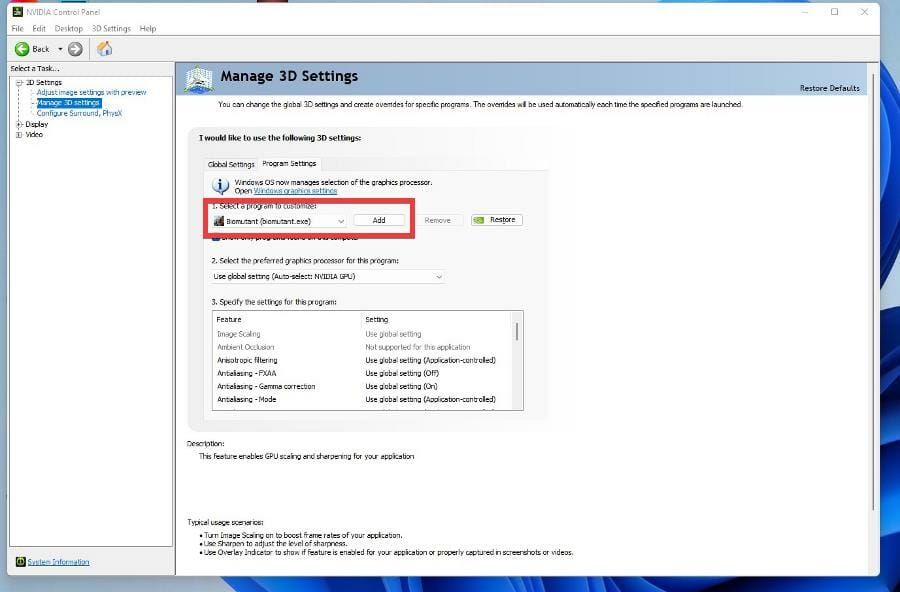
- Under Select a program to customize, locate and select Biomutant (biomutant.exe).

- Under Specify the settings for this program, locate and select Max Frame Rate.

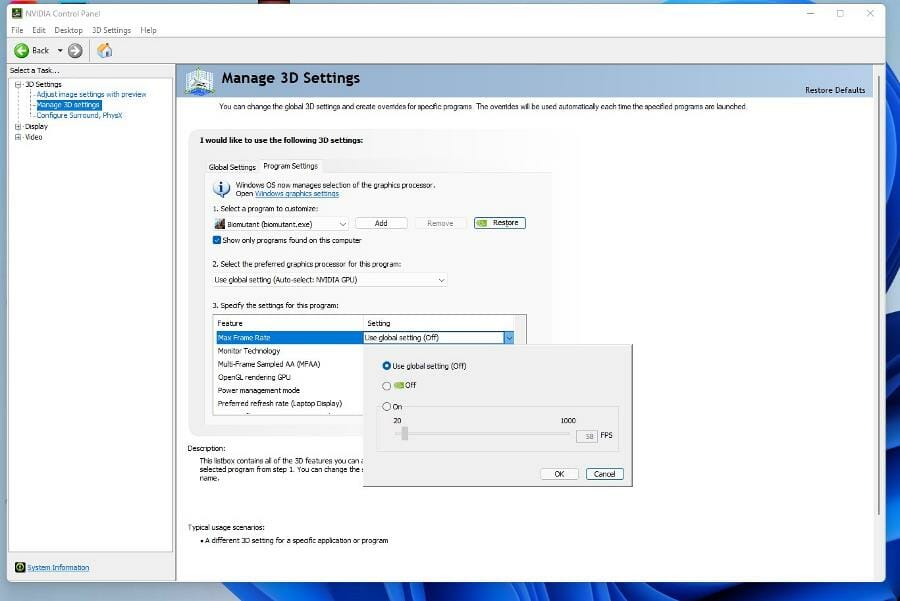
- Click the drop-down menu next to Max Frame Rate.

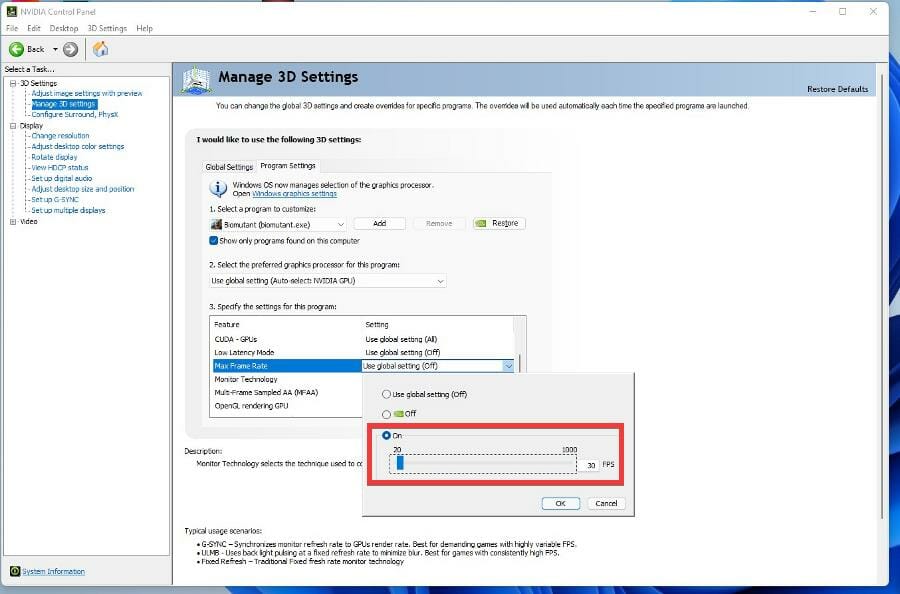
- Click On and adjust the frame rate to 30 FPS.

- Then click on OK.


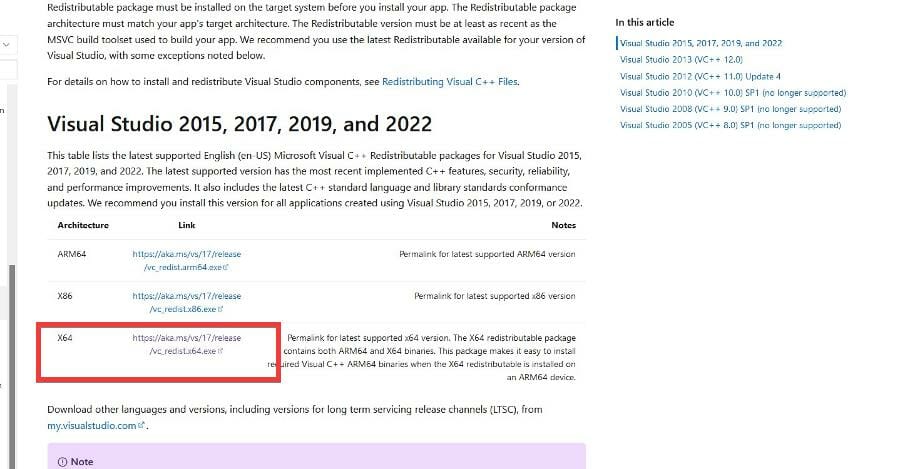
6. Installing Visual C++ Redistributable
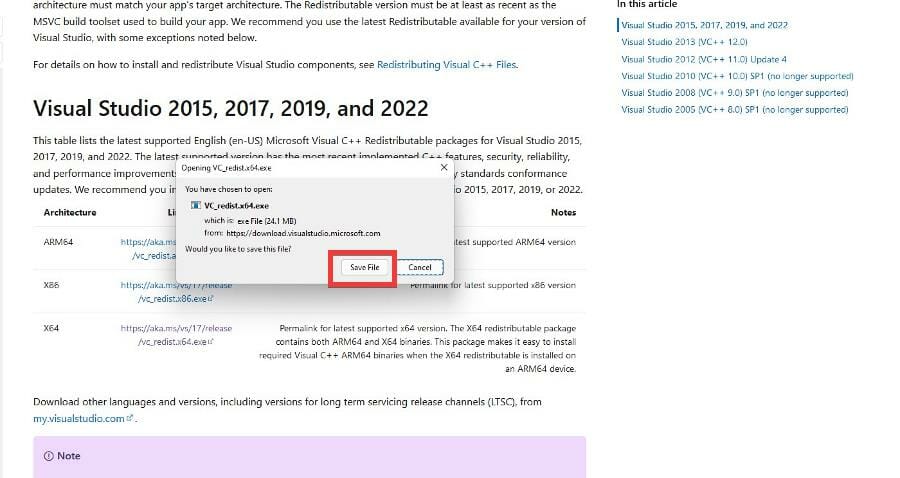
- In a web browser, search for visual studio redistributable and click the entry that states Latest supported Visual C++ Redistributable downloads.

- Under Visual Studio 2015, 2017, 2019, and 2022, select the file that is applicable for your version of Windows. In this example, this guide will select x64.

- Click Save File in the small window that appears.

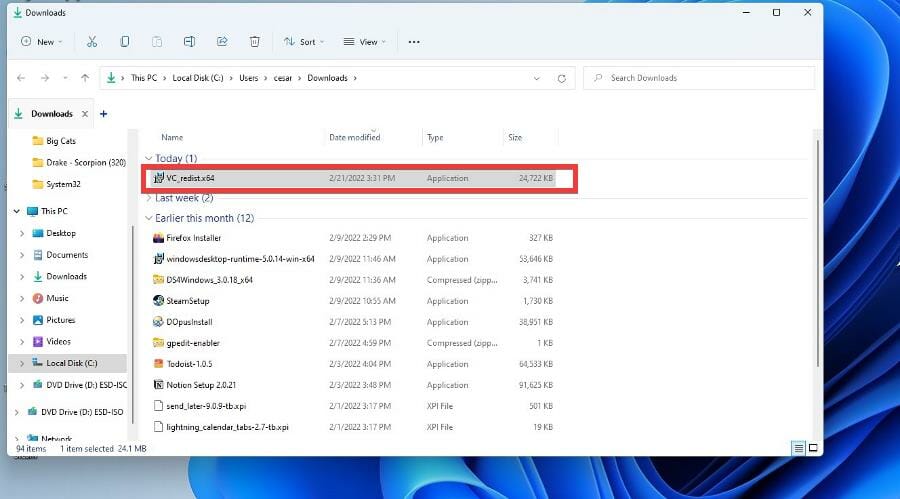
- Locate the file and double click it.

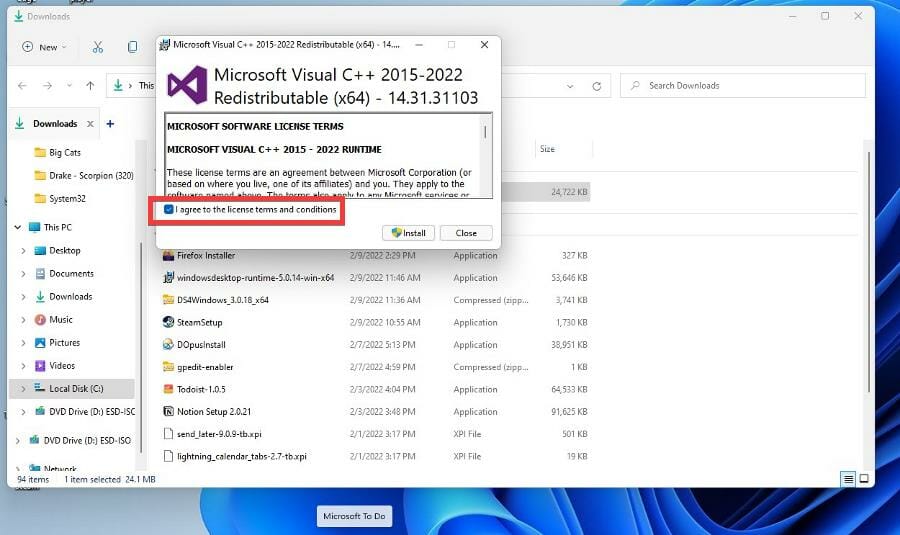
- This will be begin the installation process. Click the box next to I agree to the license terms and conditions.
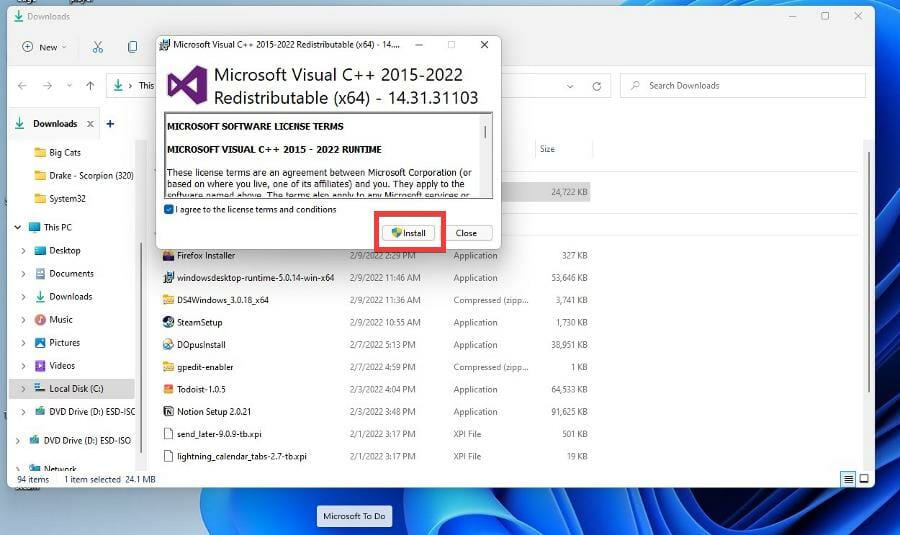
- Click Install.
- After installation, click Restart to restart your computer.


7. Reverting back to Windows 10
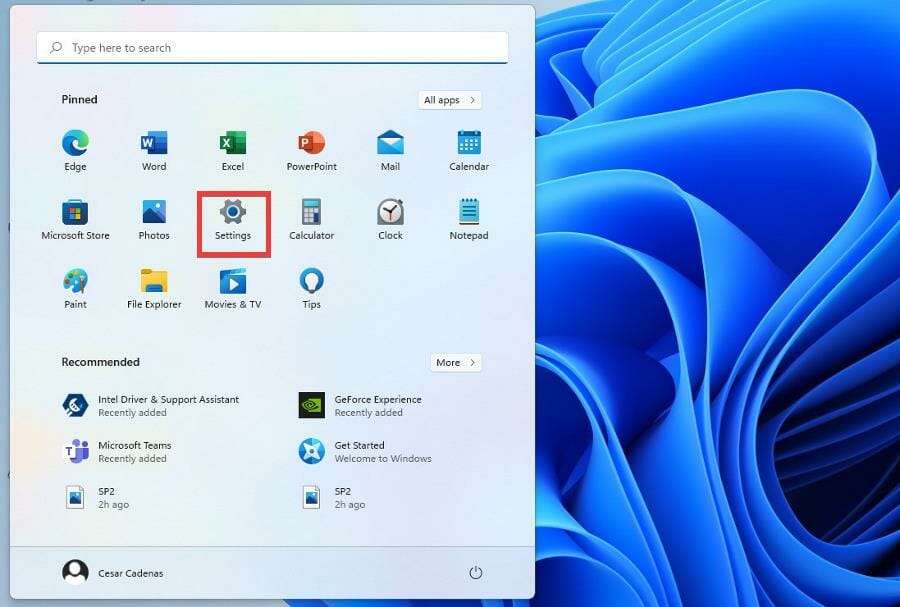
- You can start this last ditch effort by clicking on the Start menu and selecting the Settings icon.

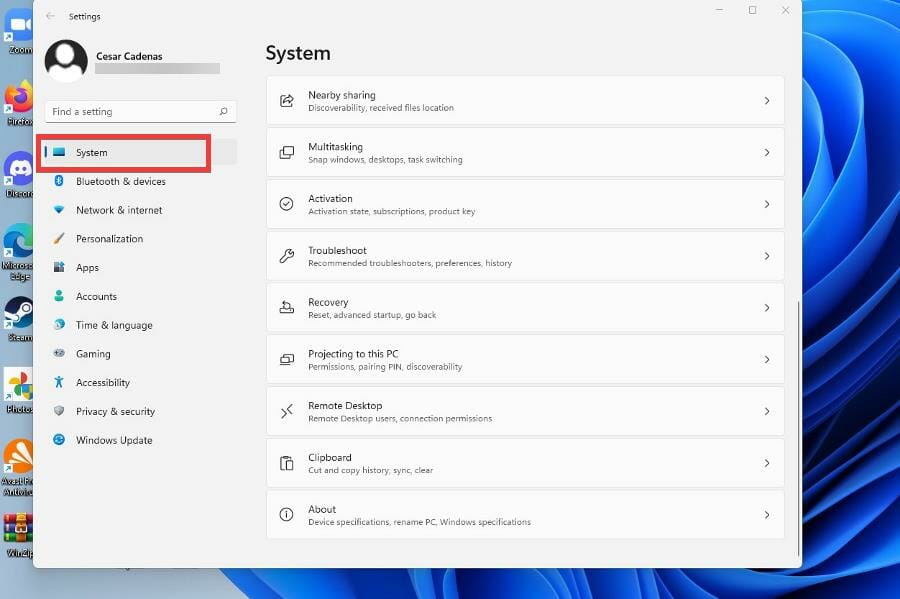
- Click on the System tab.

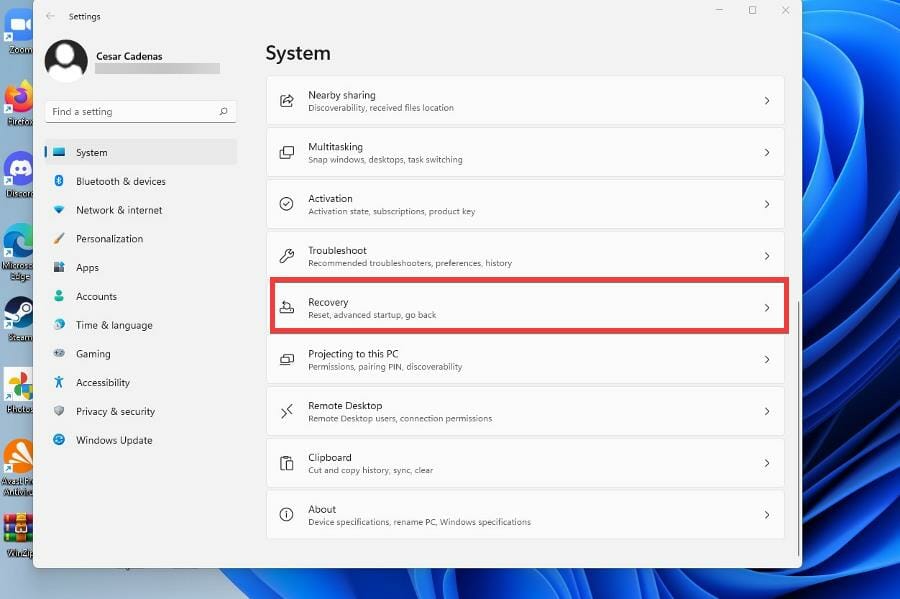
- Scroll down and locate the Recovery tab.
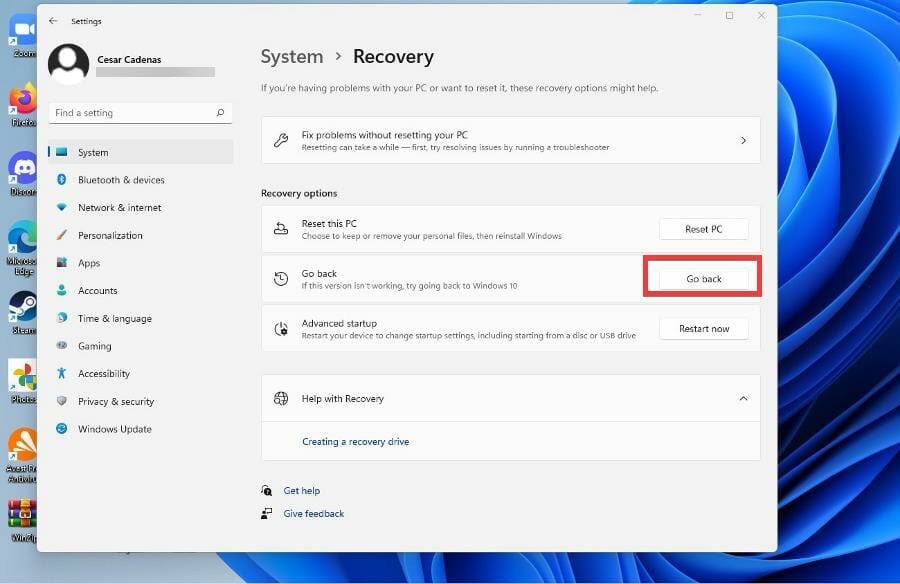
- Under Recovery options, click on the Go back button to revert your Windows 11 computer back to Windows 10.

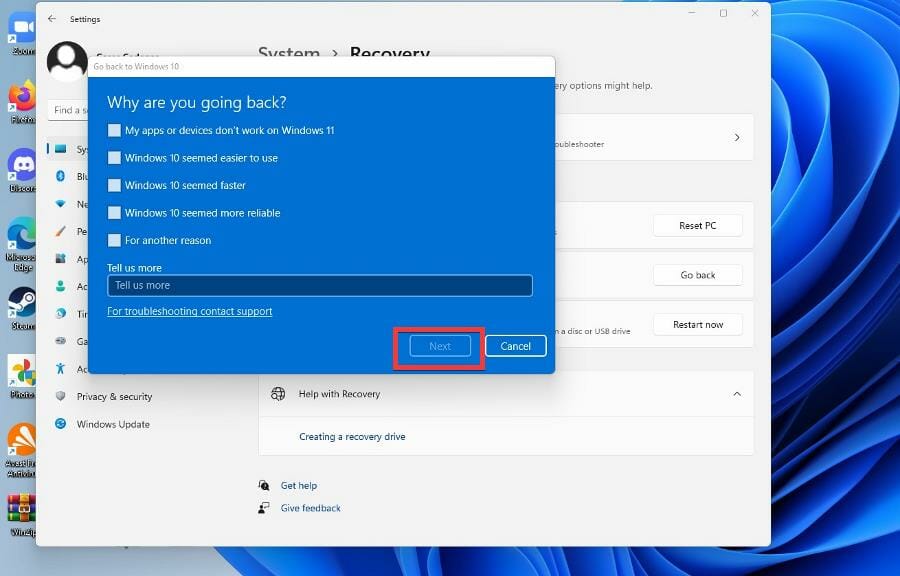
- A blue window will appear asking you why you want to go back. Select an answer and click Next.

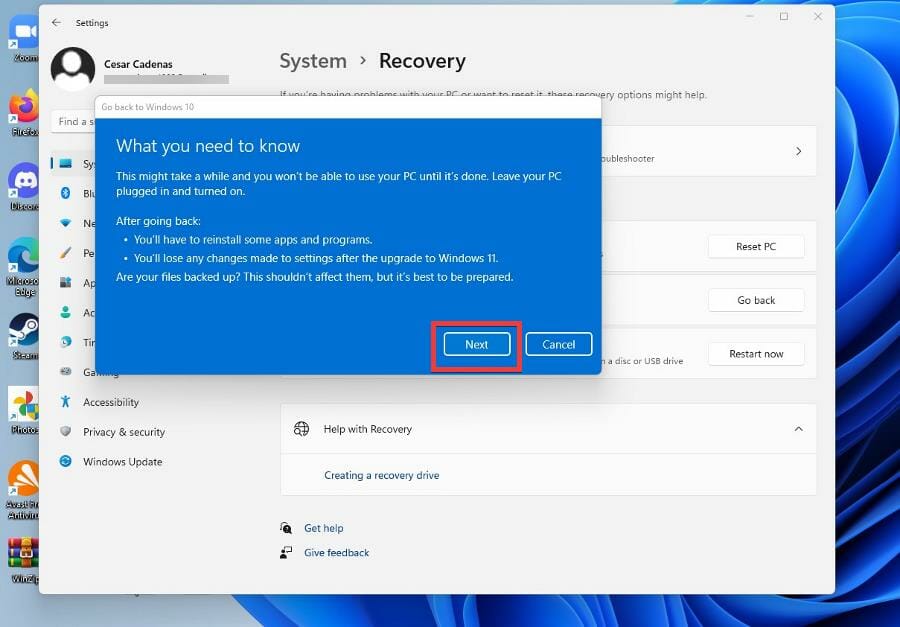
- Afterwards, the blue window will let you know that it will take some time before you can use your PC as it reverts back to Windows 11. Click Next to start the process.

Are there other things I should know about Steam?
Earlier, it was stated that one of the solutions to solving Biomutant problems was to downgrade back to Windows 10. If you decide to do this, it’s recommended that you learn how to fix FPS issues that plague the game on Windows 10.
The solutions for fixing this issue are similar to those in the earlier guide, however, the menus are different and it would be helpful to see how it differs.
There have also been issues with certain titles not launching in Steam. The problems include error code 80, executables missing, launching loops, or simply the game not appearing. To fix games not launching, you may have to move your games to a different location on your computer, delete certain files, or adjust your antivirus (a common problem).
It’s also recommended that you learn how to use Steam Common Redistributables, which are a way to include necessary features a game may require.
You see, certain require features like DirectX to function properly, and for the most part, developers include these missing parts. But if you feel the need to changes things yourself, then it’s a good idea to learn about Steam Common Redistributables.
Feel free to leave a comment below if you have any questions on other Windows 11 apps. Also, leave comments about guides that you’d like to see or information on other Windows 11 features or guides like this.


User forum
0 messages