BIOS Corruption On Windows 10: 7 Ways To Repair It
A corrupted BIOS is a very serious issue, but can be fixed
6 min. read
Updated on
Read our disclosure page to find out how can you help Windows Report sustain the editorial team Read more
Key notes
- When your BIOS gets corrupted, your PC likely cannot boot into your operating system.
- BIOS can get corrupted from a virus, a failed BIOS upgrade, or other causes.
- Resetting your BIOS to factory settings is a quick fix for this issue.
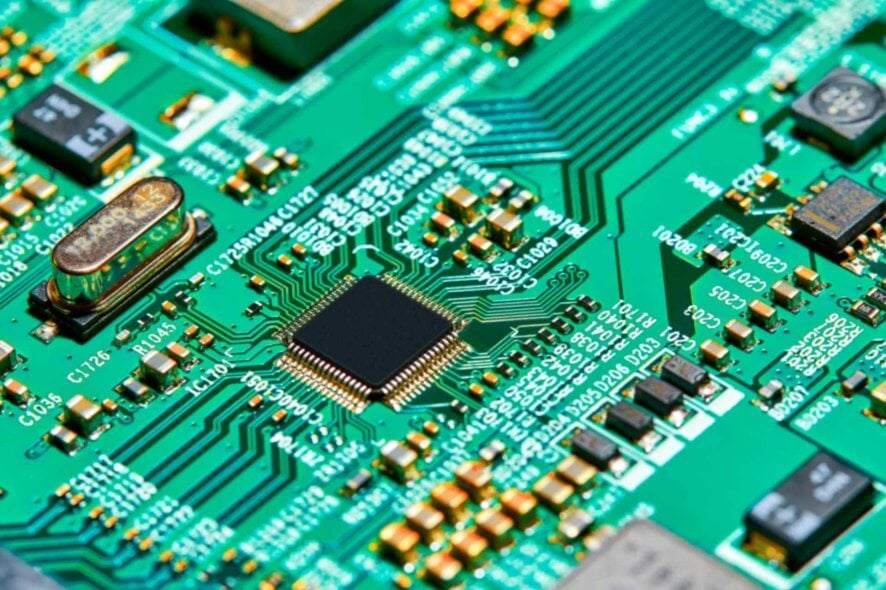
BIOS is one of the most critical components of your PC since it’s in charge of starting your PC and checking your hardware.
Unfortunately, problems with BIOS can occur, and they can prevent your system from booting.
BIOS corruption can be a serious problem, but there are a few ways to fix it on your Windows 10 PC.
How can I repair BIOS corruption on Windows 10?
1. Flash your BIOS
If you’re having problems with corrupted BIOS or a BIOS ID check error, you might be able to fix the problem simply by flashing your BIOS.
Updating your BIOS is an advanced and potentially dangerous process. Therefore, check your motherboard manual for detailed instructions on how to flash your BIOS.
We also wrote an article on how to flash your BIOS on Windows 10, so be sure to check it out for some instructions.
2. Remove your motherboard battery
According to users, you might be able to fix the problem with corrupted BIOS simply by removing the motherboard battery.
By removing the battery, your BIOS will reset to default, and hopefully, you can fix the problem.
To remove the motherboard battery, you need to open your computer case, and in most cases, that will violate your computer’s warranty, so keep that in mind.
If your PC is under warranty, it might be better to take it to the official repair center and ask them to fix it.
If you decide to perform this process yourself, remove the battery and wait 5-10 minutes for the battery to drain completely.
After your battery is drained, insert it back into your motherboard and check if the issue is resolved. Some users suggest replacing your battery with a new one, so you might also want to try that.
If you’re using a laptop, remove your laptop and motherboard batteries to reset the BIOS.
Some users also reported that you need to set your HDD mode in the BIOS to AHCI after resetting it, so be sure to do that.
3. Reset your BIOS
According to users, you can fix this issue simply by resetting your BIOS.
There are several different ways to do that, and probably the simplest one is to enter BIOS and restore it to default values. To do that, follow these steps:
While your PC boots keep pressing Del or specific F key to enter BIOS, usually, there will be a message saying to press a certain key to enter SETUP.
If you can’t find this key, check your motherboard manual to see which key is used to enter BIOS. Once you enter BIOS, look for Load Setup Defaults option.
This option should be located in the Exit section. Select Load Setup Defaults and save changes. Keep in mind that this process might be different depending on the version of BIOS that you’re using.
Another way to reset your BIOS is to change jumper positions on your motherboard. Most motherboards have a jumper next to the BIOS chip, allowing you to reset it. To do that, follow these steps:
- Turn off your PC and disconnect all cables.
- Open the PC case.
- Look for a jumper with CLEAR CMOS or something similar written next to it.
- Move the jumper to the clear position.
- Turn on your PC and turn it off.
- Now, move the jumper back to its original position.
Remember that you need to place the jumper in the appropriate position to reset your BIOS.
If you place it incorrectly, you can cause permanent damage to your PC, so be extra cautious.
To avoid causing damage, we strongly suggest you check your motherboard manual for detailed instructions on changing the jumper configuration. You can also remove your motherboard battery to reset your BIOS.
Our previous solution explained this process, so check it out.
4. Remove your graphic card
Many PCs have both integrated and dedicated graphic cards, and users reported that you can fix the problem with corrupted BIOS simply by removing your graphic card and connecting your monitor to the integrated graphic card.
Keep in mind that by removing the dedicated graphic card you might be violating your computer warranty.
5. Use Windows Key + B key combo
According to users, you can fix this problem on HP computers simply by pressing the Windows Key + B key combo while your PC boots. To do that, follow these steps:
- Turn off your PC.
- Press and hold Windows Key + B.
- While keeping these keys pressed, press and hold the Power button for 2 or 3 seconds.
- Release the Power button but keep Windows Key + B pressed until BIOS update screen appears or until you hear a beeping sound. During this process your screen might go blank for 40 seconds or more and you might hear beeping sounds from your computer. This is perfectly normal, so no need to worry about it.
- HP BIOS Update screen will now appear. Wait until the process is finished.
- After your BIOS is recovered, select Continue Startup button to complete the process.
6. Use HP System BIOS Update Utility tool
According to users, you can fix this issue on HP computers by using the HP System BIOS Update Utility tool. To do that, go to HP’s website and download the latest version of BIOS on your computer.
You might have to enter your PC’s model or product number to download BIOS, so keep that in mind. After downloading the new version of BIOS, you need to create a recovery USB drive by following these steps:
- Connect an empty USB drive to your PC.
- Double click the BIOS file that you downloaded.
- InstallShield Wizard will appear. Click Next.
- Accept the terms of service and click Next.
- In Location to Save Files window click Change.
- Select your USB flash drive, click OK and then click Next.
- HP System BIOS Update Utility will open. Click Next.
- Select Create Recovery USB Flash drive and click Next.
- Select your USB flash drive and click on Next.
- Wait while the files are copied to your flash drive. After the process is completed, click on Next.
After creating a bootable USB flash drive, connect it to the problematic PC and follow the instructions from the previous solution.
7. Replace your motherboard
If the problem persists, it might be that your BIOS chip is damaged, and the only way to fix this issue is to replace your motherboard. You might see peculiar behavior like your caps lock blinking when your motherboard is damaged.
If your PC is still under warranty, take it to the repair center and ask them if they can fix it.
BIOS corruption on Windows 10 can be a severe problem, but we hope you managed to fix it using one of our solutions.
If you want to know about the best BIOS settings on your Windows 10 PC; we have a separate guide.

