Can't access Network Shares over VPN on Windows 10/11
![]() 5 min. read
5 min. read
![]() Updated on
Updated on
Share this article

Improve this guide
Read our disclosure page to find out how can you help Windows Report sustain the editorial team Read more
Key notes
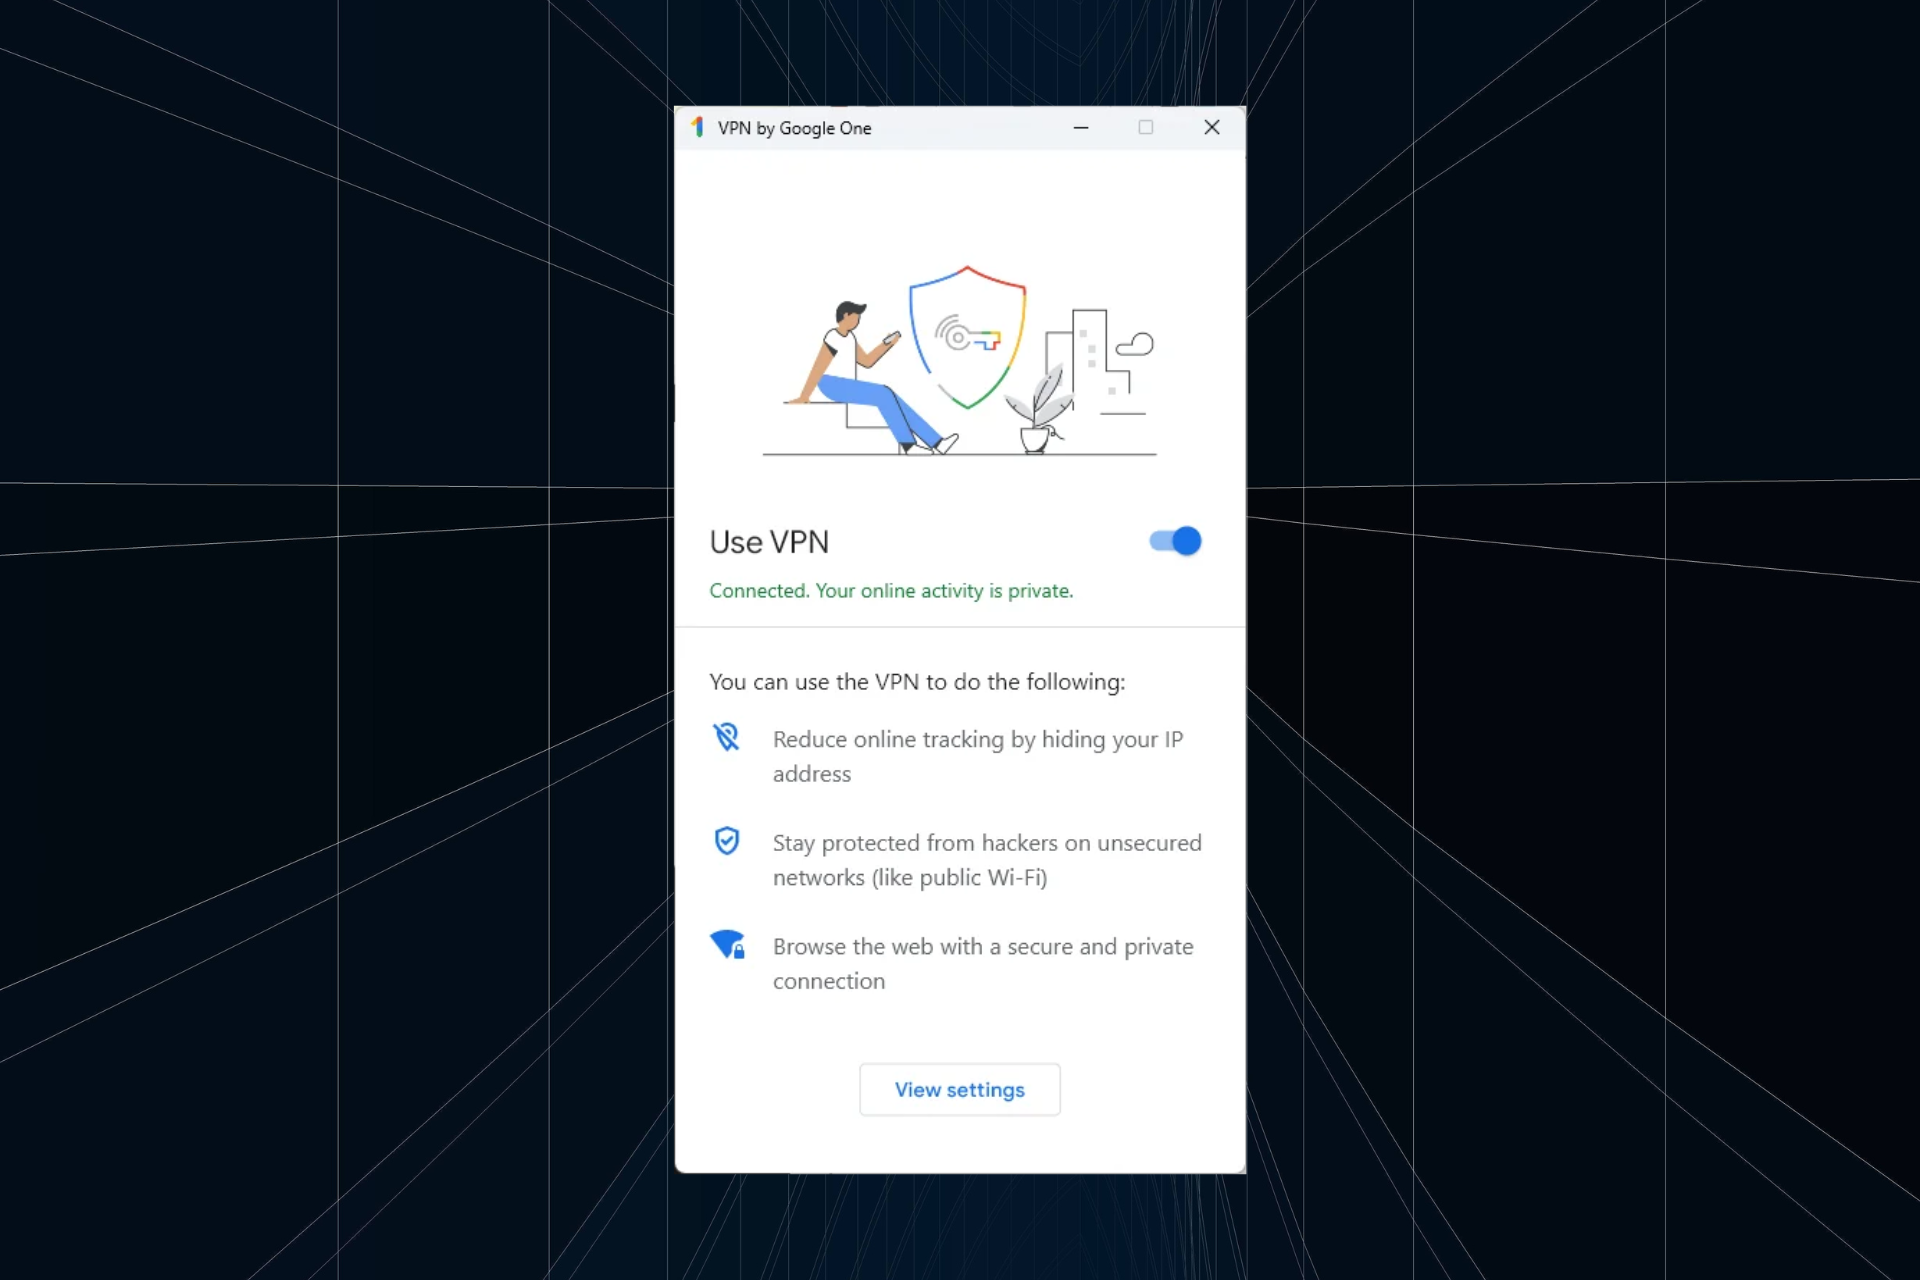
- If you're using Windows 10's VPN, you're probably aware that this tool should also let you share network resources.
- Sometimes, accessing shared network resources seems just impossible with Windows 10's built-in VPN. However, we have just the fix for this situation.
- Check out our best VPNs for Windows 10 that are hassle-free and easy to configure.
- Visit the How-To Hub to discover more ways of troubleshooting common VPN issues by yourself.

If you’re using Windows 10’s VPN, you’re probably aware that this tool should also let you share network resources. This tool lets you easily connect to a remote network as if you’re physically there, with everything involved.
Therefore, after successfully connecting to the VPN server, you should be able to not only discover and access other devices on the network but also explore any shared resources.
However, this scenario is an ideal one. In reality, things can be wildly different, and not in a good way. There are a lot of users complaining that upon successfully connecting to the server, they can’t discover any shared resources.
The bad news is that this situation can be caused by virtually anything going wrong with either your machine, the VPN server, or the network as a whole.
On the bright side, we’re here to help by providing you with a bunch of suggested fixes.


How to access shared resources over VPN?
1. Fix untrusted connection
If your network doesn’t trust your computer, it will prevent it from accessing any shared resources. Your PC might still be able to connect to the network (thanks to the VPN server and valid authentication data), but you won’t be able to discover devices or see shared folders.
In order to fix the untrusted connection, make sure that your date and time match the ones on the domain. For instance, if you’re connecting from another country, you can match the domain’s timezone to ensure that your PC won’t be seen as an intruder.
Just disconnect from the domain, adjust your date and time accordingly, and try reconnecting. Also, try to find out if another computer has the same IP assigned as your machine, as this could lead to conflict between addresses.
2. Make sure your DNS is configured correctly
Usually, when you connect to a VPN, you shouldn’t need to configure any additional parameters. Ideally, you should only locate the VPN connection, hit the Connect button, and maybe type some credentials, but that’s the end of it.
Check if your DNS configuration doesn’t conflict with the server’s addresses. More so, reach out to the VPN‘s administrator and ask them for guidance on how to configure your DNS properly, if possible.
3. Check your firewall settings
Windows 10’s firewall is a ruthless, yet effective tool. It can block a lot of data from ever reaching or getting out of your machine. Sometimes, it gets a bit overzealous and blocks even harmless, yet useful data.
For that reason, it would be a good idea to make sure that your firewall doesn’t block any incoming VPN connections. Sure, if that were to happen, you might not even be able to access the VPN server, in the first place, but it doesn’t hurt to try.
4. Uncheck the default gateway setting
When you configure the VPN connection, there’s a Use default gateway on remote network option that needs to be disabled. You can find it in the VPN‘s TCP/IPv4 properties window, in the IP Settings tab.
Just make sure it’s not selected since this feature is often used when you need to configure split tunneling on Windows 10’s VPN.
Split tunneling is a useful feature that lets you split your traffic by routing a part of it through the secure VPN tunnel and the other part through your default connection.
5. Turn off password-protected sharing
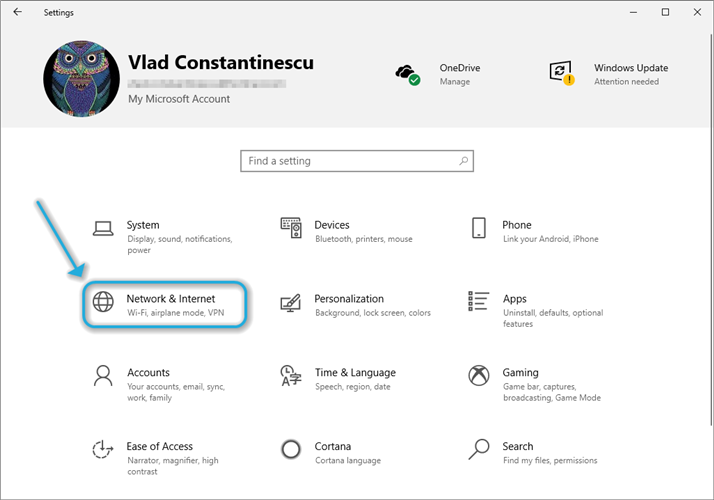
- Hit the Win key on your keyboard
- Access the Settings app
- Head over to the Network & Internet section

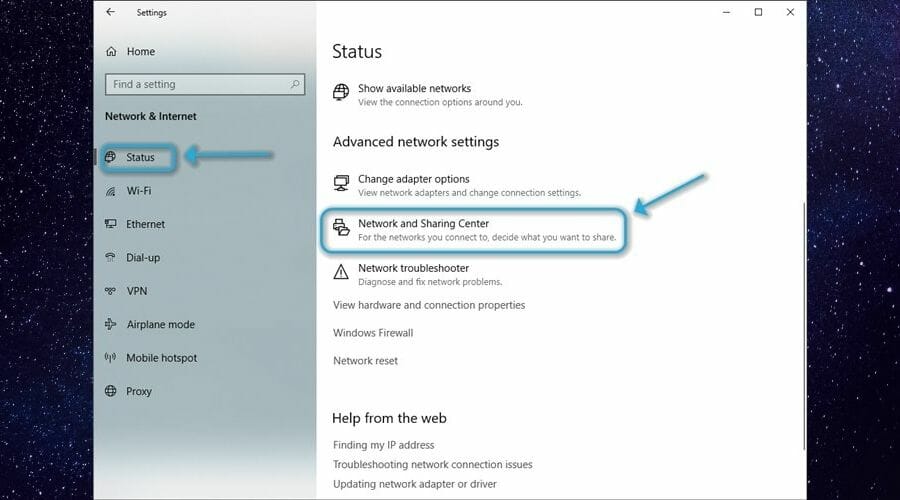
- Select the Status section
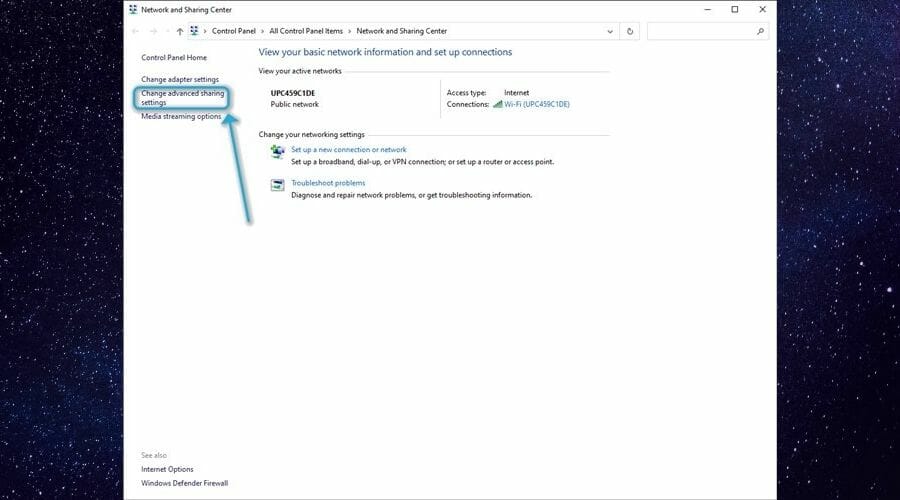
- Locate the Network and Sharing Center button in the Status section and click it

- Click the Change advanced sharing settings button
- Locate the All Networks section and expand it
- Turn the password-protected sharing feature off, turn it on again
- Finally, disable it once more
- Click the Save changes button
- Restart your computer
- Connect to the VPN server
- Check if the problem still persists

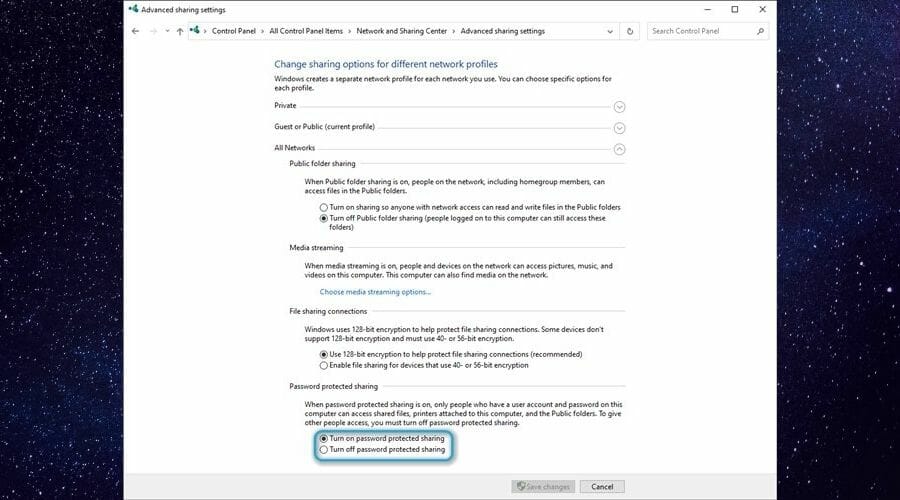
Most of the time, you might not be able to see any shared resources due to the password-protected sharing feature being activated. More so, it’s not uncommon that de-activating it is not properly registered by Windows.
Hence, you might need to switch it off, switch it on again, and then switch it off one more time so it gets deactivated.
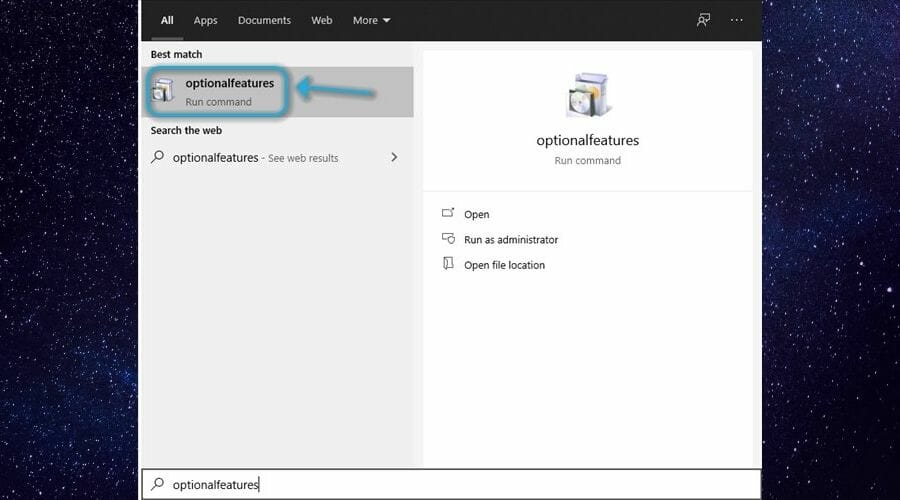
6. Disable SMB features
- Press the Win key on your keyboard
- Type optionalfeatures
- Select the Optional Features executable in your Start menu
- Locate the SMB 1.0/CIFS File Sharing Support folder and expand it
- Check the SMB 1.0/CIFS Client
- Uncheck the other two (Server + Automatic Removal) features
- Click the OK button
- Restart your computer

Whenever you tamper with optional Windows features, make sure you take a bunch of pictures before you proceed with any modifications. Disabling the wrong feature might render you unable to connect to the Internet and find a fix for your mess-up.
Whenever you’re in doubt, make sure to double- and triple-check, if necessary. As long as you follow the instructions we provided you with, you should (technically) be fine.
Normally, network shares over VPN should be accessible
To wrap it up, if you find yourself unable to access network shared resources over a VPN, things might be a bit off. First of all, you need to make sure that the VPN owner intends to share its network resources with you, to begin with.
If you receive confirmation but you still can’t see the shares, you might want to try one of our suggested fixes. Unfortunately, it’s not exactly certain what can cause this issue each time, so you’ll have to do it step by step.
Eventually, you’ll reach a suggested fix that yields the expected results, and everything should be fine.
[wl_navigator]