FIX: Windows Voice Recorder couldn't save this recording
Key notes
- The built-in Windows Voice Recorder app crashes due to a faulty update or audio driver issue.
- If the Voice Recorder shows the Something went wrong error message, make sure to check the audio driver.
- To fix the Windows 10 Voice Recorder app crashes, make sure to run the troubleshooter.
- If the Recorder app keeps getting into errors, consider switching to another great tool for audio recording and editing.
Windows 10 comes with a handy built-in voice recorder app. It works fine most of the time.
However, some users have reported that the voice recorder deletes the recording and shows couldn’t save this recording error while recording the audio.
As soon as the user completes the recording, an error appears and the audio recording is deleted:
We couldn’t save this recording. It looks like the autosaved file was deleted before you finished recording it
If you are facing these errors, or the Windows voice recorder crashes, here is a guide explaining how to fix it on your computer.
What can I do if Voice Recorder app won’t save recordings?
1. Use a third-party audio recorder

While Windows 10 is indeed great for having so many built-in apps, we have to admit that they aren’t as good as the real deal.
Thus, if audio recordings are important for you, you’d be better off using third-party software for the job.
For example, a very good audio-recording tool that you can try is Adobe Audition, which is pretty much an audiophile’s dream come true.
Not only does it let you record your own sounds and music, but the extensive tools that it has will allow you to edit the recordings in whatever direction you see fit.

Adobe Audition
Use one of the best software available for audio recording that can be also used to edit your audio.2. Run the Recording Audio troubleshooter
- Click on Start and select Settings.
- In the Settings window, click on Update and Security.

- From the left pane click on Troubleshoot.
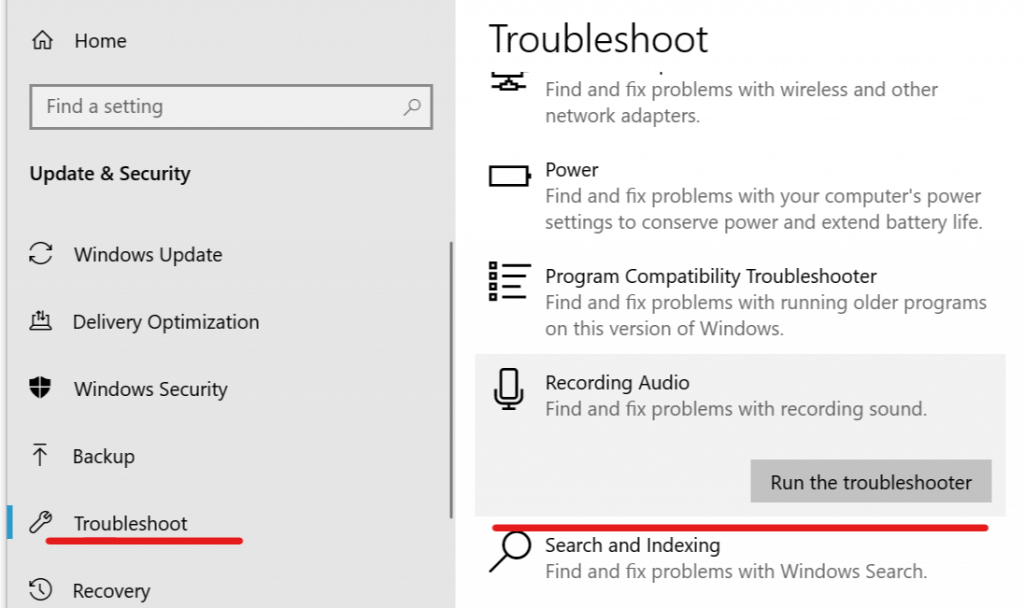
- Under Find and fix other problems section, look for Recording Audio.
- Click on Recording Audio and select Run the Troubleshooter.
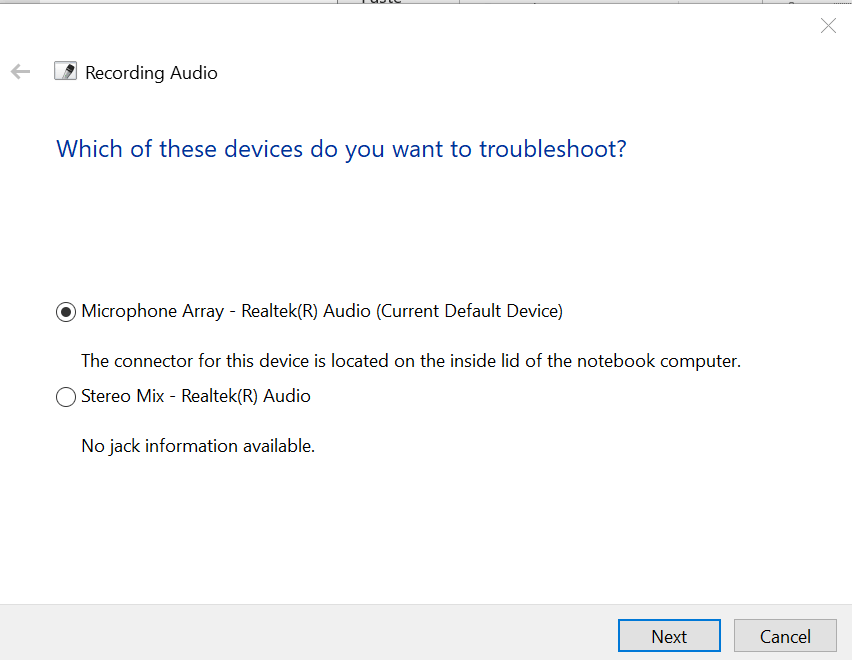
- The Troubleshooter will scan the PC for the problem and ask you to choose an audio device to troubleshoot.
- Select your default microphone and click on Next.
- The troubleshooter will run the scan and again and suggest some fixes if found any. Apply the fix to see if that resolves the error.
- Close the troubleshooter and check for any improvements.
Windows OS comes with a built-in troubleshooter for recording and audio. Run the troubleshooter to scan and fix any audio recording-related errors automatically.
3. Update the audio drivers
- Type Device in the Cortana/Search bar and open Device Manager.
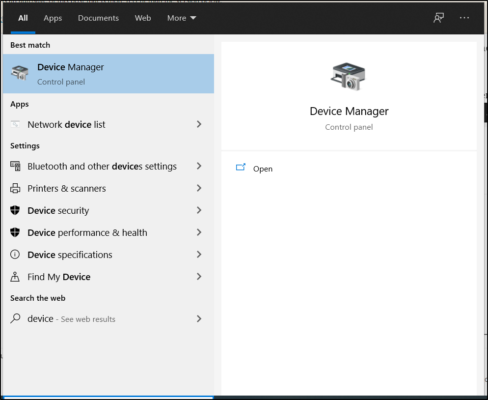
- From the Device Manager, click and expand Sound, video and game controllers.
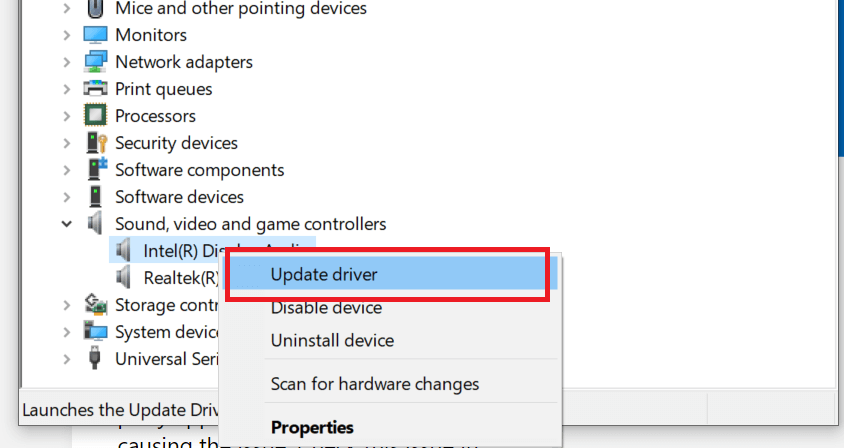
- Right-click on Intel Display Audio and select Update Driver.
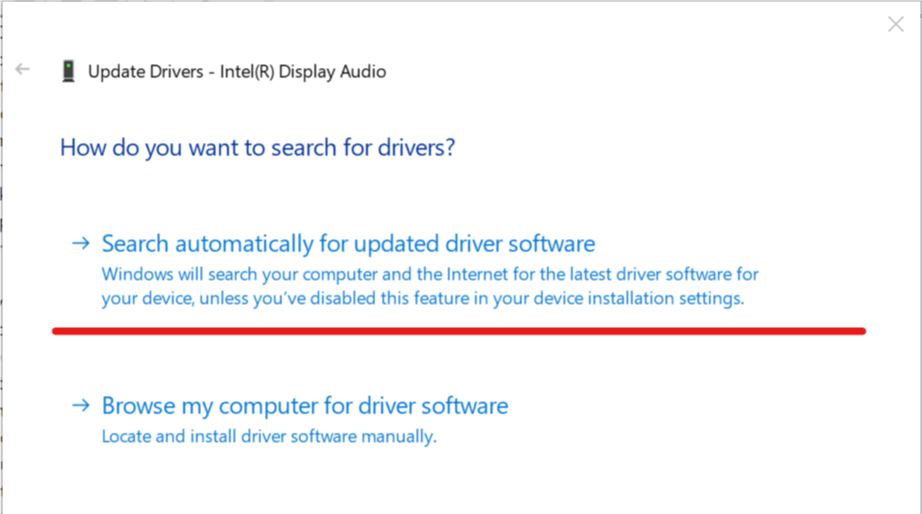
- Select Search Automatically for Update Driver software option.
- Windows will now look for any pending updates, download and install it.
- Next, right-click on Realtek Audio and select Update Driver.
- Select Search Automatically for Update Driver software option.
- Wait for Windows to download and install the updates.
- Repeat the steps if there are more audio devices installed.
- Restart the PC and check for any improvements.
Microsoft supplies generic, as well as vendor-supplied drivers through Windows updates. The audio device might malfunction if the drivers are outdated.
4. Perform a Clean Boot
- Press Windows Key + R to open the Run dialog box.
- Type msconfig and hit enter to open System Configuration.
- In the System Configuration window, click on Services tab.
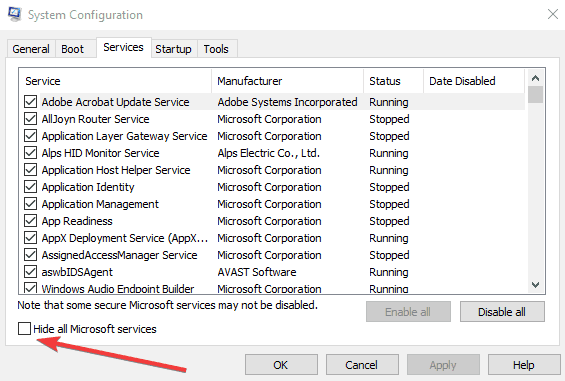
- Under the Services tab, click on Hide all Microsoft services box.
- This will hide all the core Microsoft services.
- This will hide all the core Microsoft services.
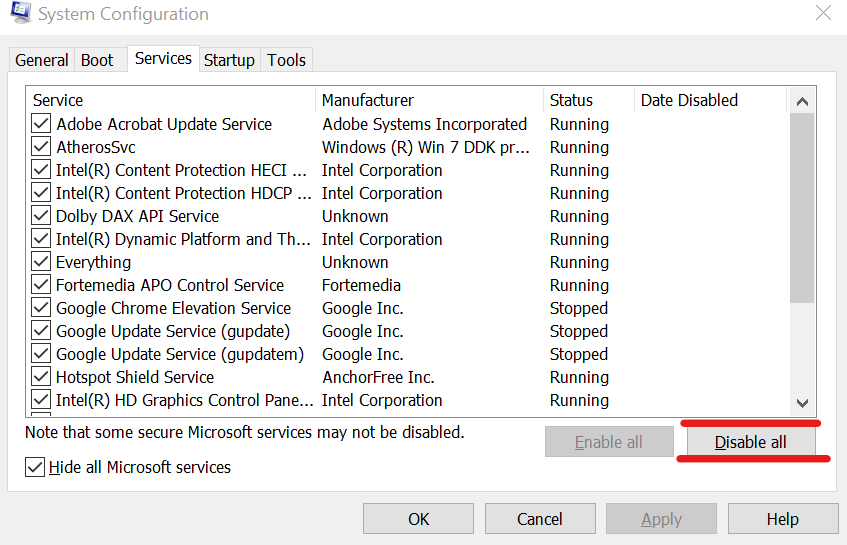
- Once all the Microsoft services are hidden, click on Disable all button.
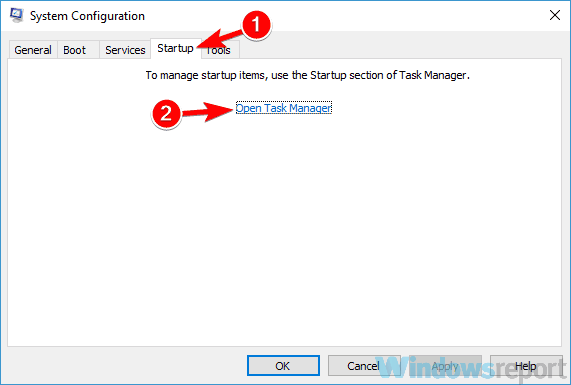
- Go to the Startup tab and click Open Task Manager.
- Open the Startup tab.
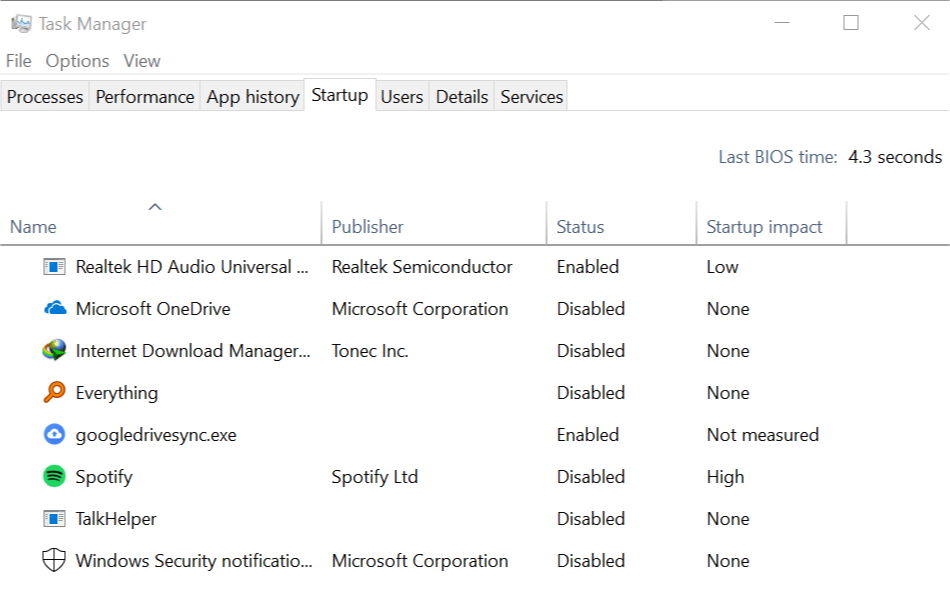
- Select each startup item and click on Disable.
- Close the Task Manager after disabling all the startup items.
- In the System Configuration window click OK and close the window.
- Restart your system and try to re-record the audio.
- If the recording saves successfully, you may have third-party software installed on your PC that is creating the conflict.
Rebooting your computer in Clean Boot state allows you to determine if the problem is caused by third-party software.
In the Clean Boot state, you disable all the third-party services and restart the PC with only core Microsoft services running.
Try to uninstall any of the recently installed software that may be causing the error. Makes sure that you enable all the disabled services again from System Configuration > Services > Enable all.
4. Perform System Restore using Restore Point
- In the Cortana/Search bar type Restore.
- Click on Create a Restore Point option.
- Click on Create a Restore Point option.
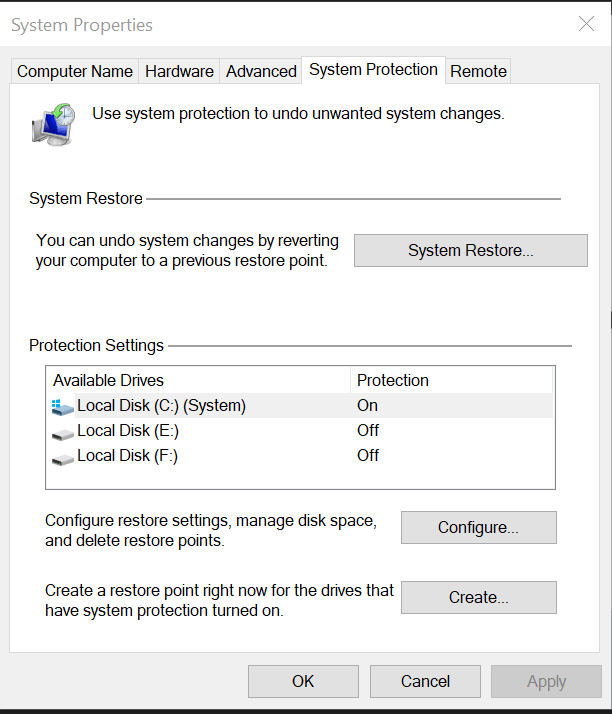
- Click on System Restore button in System Protection tab.
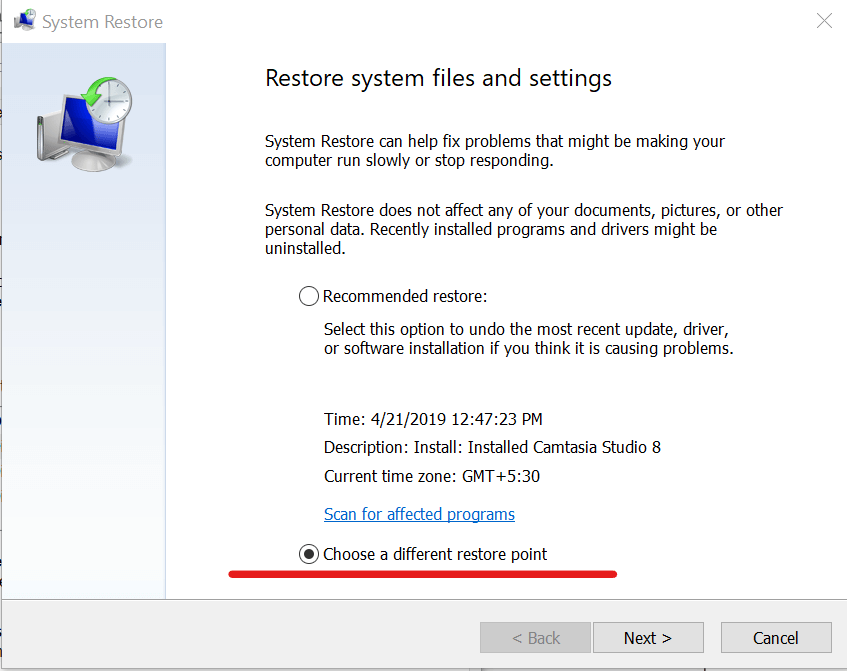
- In the System Restore window click on Choose a different restore point and click Next.
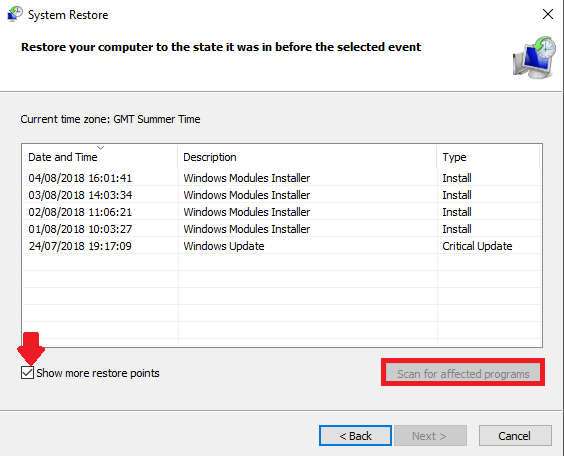
- Check the Show more restore points box at the bottom.
- Select any one of the Restore Point and click Next.
- Click on Finish button to begin the system restore process.
- System Restore will restart your computer to apply the changes.
Note: System Restore does not delete any data on your computer during the restore process. However, any program installed after Restore Point date will be uninstalled.
Windows OS when enabled creates Restore Points whenever the user makes major changes to the system like installing a new app or updating the OS.
Using the Restore Point, you can restore your system to an earlier point when it was working without any errors.
Read our disclosure page to find out how can you help Windows Report sustain the editorial team. Read more


Improve this guide


User forum
0 messages