How to fix Google Chrome update failed error 12 quick & easy
4 min. read
Updated on
Read our disclosure page to find out how can you help Windows Report sustain the editorial team. Read more
Key notes
- Google Chrome updates fail when error 12 arises.
- This troubleshooting guide includes potential fixes for error 12.
- You can browse through troubleshooting articles for various third-party software at the PC Software hub.
- Our Chrome hub includes many other troubleshooting articles for that browser.

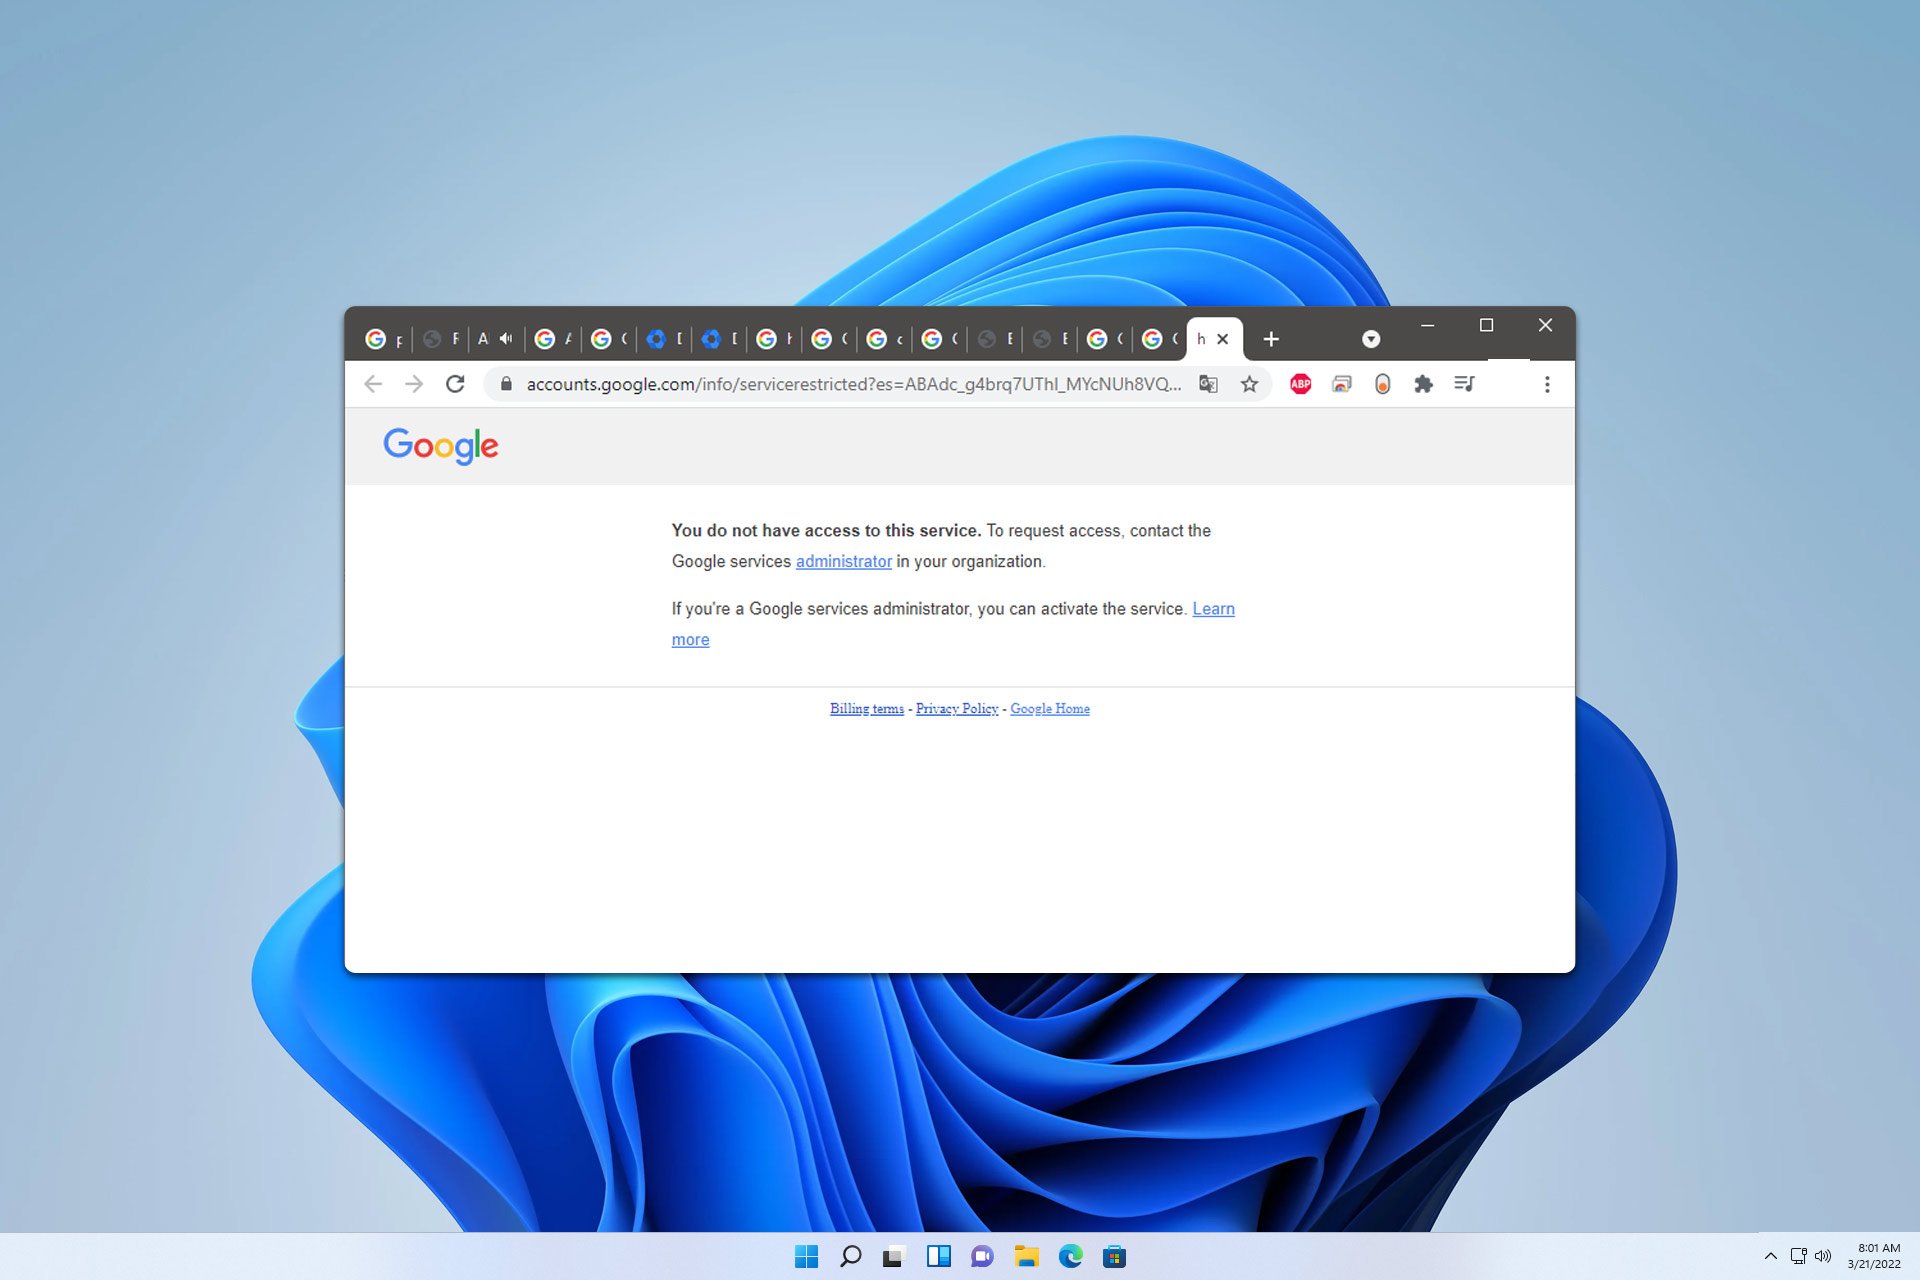
Google updates Chrome with some regularity. However, some users have encountered a Google Chrome update failed error 12 issue when they try to update that browser. The error message for error 12 states, An error occurred while checking for updates: Download failed.
As a consequence, users can’t update Chrome to its latest version (with the About Google Chrome option) when error 12 arises. If you need to fix that error, check out these potential resolutions for it.
How can I fix the update failed (error: 12) in Google Chrome?
1. Run the Internet Connections and Network Adapter troubleshooters
- Click the Type here to search taskbar button to open Windows 10’s search utility.
- Enter troubleshoot in the search text box.
- Select Troubleshoot settings to open the Settings window as in the screenshot below.
- Click Additional troubleshooters to open a list of troubleshooters.
- Select Internet Connections and click Run the troubleshooter to launch it.
- Select the Troubleshoot my connection to the Internet option.
- If the Internet Connections troubleshooter doesn’t fix the issue, click the Run the troubleshooter option for Network Adapter.
- Then select the All network adapters option and click Next to go through that troubleshooter.
2. Temporarily turn off firewalls
- Open Windows 10’s search box.
- Input the keyword firewall into the Type here to search box.
- Click Windows Defender Firewall to open that Control Panel applet.
- Click Turn Windows Defender Firewall on or off on the left side of the WDF applet.
- Select the Turn off Windows Defender Firewall radio buttons, and click OK to confirm.
- If you’ve installed third-party antivirus software that incorporates a firewall, right-click the system tray icon for it. Then select a disable option on the antivirus utility’s context menu to temporarily deactivate it.
3. Reset the DNS and Winsock
- Press the Windows and the R keys at the same time to launch Run.
- Input cmd in Run’s Open box.
- Press the Ctrl + Shift + Enter hotkey to open the Command Prompt as an administrator.
- Type in this flush DNS command and press Return:
ipconfig /flushdns - To reset Winsock, input this command and press Enter:
netsh winsock reset
8. Enable Google update services
- Press the Windows key + X hotkey, and select Run on the menu.
- Type services.msc in the Open box and click the OK option.
- Double-click Google Update Service (gupdate) in the Services window.
- If the service is disabled, select Automatic on the Startup type drop-down menu.
- Click the Start option.
- Select the Apply option, and click OK to close the properties window.
- Double-click Google Update Service (gupdate) to open its properties window, and repeat steps three to six for that service.
Those are the various potential fixes that can feasibly resolve Chrome’s error 12. That error is often a connection issue, but it can also be due to corrupted Chrome installations or extensions, which reinstalling or resetting the browser will resolve.
[wl_navigator]
7. Reinstall Google Chrome
- To open Run, press the Windows key + R keyboard shortcut.
- Type appwiz.cpl in the Open box, and click the OK option.
- Select the listed Google Chrome browser.
- Click the Uninstall option for Google Chrome.
- Click Yes on confirmation prompts.
- Restart Windows when you’ve uninstalled Chrome.
- Click Download Chrome on the browser’s webpage to save the setup for the latest version.
- Then open Chrome’s installer to reinstall the software.
8. Enable Google update services
- Press the Windows key + X hotkey, and select Run on the menu.
- Type services.msc in the Open box and click the OK option.
- Double-click Google Update Service (gupdate) in the Services window.
- If the service is disabled, select Automatic on the Startup type drop-down menu.
- Click the Start option.
- Select the Apply option, and click OK to close the properties window.
- Double-click Google Update Service (gupdate) to open its properties window, and repeat steps three to six for that service.
Those are the various potential fixes that can feasibly resolve Chrome’s error 12. That error is often a connection issue, but it can also be due to corrupted Chrome installations or extensions, which reinstalling or resetting the browser will resolve.
[wl_navigator]
6. Reset Chrome to disable browser extensions
- Type chrome://settings/ in Chrome’s URL bar, and press the Enter key.
- Click Restore settings to their original defaults at the bottom of the Settings tab.
- Then select the Reset settings option to confirm.
7. Reinstall Google Chrome
- To open Run, press the Windows key + R keyboard shortcut.
- Type appwiz.cpl in the Open box, and click the OK option.
- Select the listed Google Chrome browser.
- Click the Uninstall option for Google Chrome.
- Click Yes on confirmation prompts.
- Restart Windows when you’ve uninstalled Chrome.
- Click Download Chrome on the browser’s webpage to save the setup for the latest version.
- Then open Chrome’s installer to reinstall the software.
8. Enable Google update services
- Press the Windows key + X hotkey, and select Run on the menu.
- Type services.msc in the Open box and click the OK option.
- Double-click Google Update Service (gupdate) in the Services window.
- If the service is disabled, select Automatic on the Startup type drop-down menu.
- Click the Start option.
- Select the Apply option, and click OK to close the properties window.
- Double-click Google Update Service (gupdate) to open its properties window, and repeat steps three to six for that service.
Those are the various potential fixes that can feasibly resolve Chrome’s error 12. That error is often a connection issue, but it can also be due to corrupted Chrome installations or extensions, which reinstalling or resetting the browser will resolve.
[wl_navigator]
4. Disable the Proxy Server
- Press the Windows and X keys simultaneously to open a Win + X menu.
- Select Run to launch that accessory.
- Input inetcpl.cpl into Run and click OK to open Internet Properties.
- Select the Connections tab shown in the screenshot directly below.
- Press the LAN settings button to open the Local Area Network (LAN) Settings window.
- Deselect the Use a proxy server for your LAN checkbox.
- Select the Automatically detect settings option.
- Click OK to exit the Local Area Network Settings window.
5. Run Chrome’s clean-up tool
- Click the Customize Google Chrome button on the far right of the browser’s URL toolbar.
- Select Settings to open that tab.
- Click the Advanced button at the bottom of the Settings tab.
- Then scroll down to and click the Clean up computer option shown directly below.
- Press the Find button.
- Select the Remove option if that tool detected unwanted programs.
6. Reset Chrome to disable browser extensions
- Type chrome://settings/ in Chrome’s URL bar, and press the Enter key.
- Click Restore settings to their original defaults at the bottom of the Settings tab.
- Then select the Reset settings option to confirm.
7. Reinstall Google Chrome
- To open Run, press the Windows key + R keyboard shortcut.
- Type appwiz.cpl in the Open box, and click the OK option.
- Select the listed Google Chrome browser.
- Click the Uninstall option for Google Chrome.
- Click Yes on confirmation prompts.
- Restart Windows when you’ve uninstalled Chrome.
- Click Download Chrome on the browser’s webpage to save the setup for the latest version.
- Then open Chrome’s installer to reinstall the software.
8. Enable Google update services
- Press the Windows key + X hotkey, and select Run on the menu.
- Type services.msc in the Open box and click the OK option.
- Double-click Google Update Service (gupdate) in the Services window.
- If the service is disabled, select Automatic on the Startup type drop-down menu.
- Click the Start option.
- Select the Apply option, and click OK to close the properties window.
- Double-click Google Update Service (gupdate) to open its properties window, and repeat steps three to six for that service.
Those are the various potential fixes that can feasibly resolve Chrome’s error 12. That error is often a connection issue, but it can also be due to corrupted Chrome installations or extensions, which reinstalling or resetting the browser will resolve.
[wl_navigator]


User forum
0 messages