FIX: BSOD after CorsairVBusDriver.sys failure on Windows 10
3 min. read
Updated on
Read our disclosure page to find out how can you help Windows Report sustain the editorial team. Read more
Key notes
- A lot of users have complained of a CorsairVBusDriver.sys failure after installing optional updates.
- The cause seems to be conflicting drivers, as Corsair representatives said.
- There aren’t many solutions to try to fix the CorsairVBusDriver BSoD, but a general troubleshooting tool might help.
- Corsair specialists also recommend using the Windows system restore.
After running an optional Windows update to get the latest Corsair driver, a lot of users have faced a Blue Screen of Death pointing towards a CorsairVBusDriver.sys failure.
Corsair driver updates are usually optional and ensure the correct functioning of the Corsair peripherals or hardware.
System failures after Corsair driver updates are not a novelty, but BSOD is one of the most common issues. This is how it’s described by one user:
After running optional system update for Corsair devices, my ASUS RoG G771 laptop is completely unusable. It’s stuck in a BSOD reboot loop and not one recovery method is working.[…] Safe mode doesn’t work, either.
The error message might also read: SYSTEM_THREAD_EXCEPTION_NOT_HANDLED
Corsair has responded to recent BSOD issues, mentioning that an old CorsairVBusDriver is conflicting with the new one. Their recommendation is to perform a system restore to get rid of the faulty update.
However, they’re forgetting that the users can’t even log into their systems because of this error.
In this article, we’ll explain how to fix the CorsairVBusDriver.sys failure and get your device up and running again.
How do I fix a CorsairVBusDriver.sys blue screen?
1. Run a BSoD debugging tool
This is a preferable solution that doesn’t require too much technical knowledge and it doesn’t imply you losing your apps and files.
With a BSoD fixer for Windows, you have all the support to fix this type of errors and repair the damaged system files occured.
2. Use advanced repair
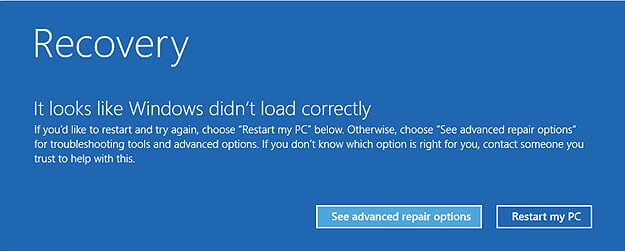
- Start the PC, and then hold the Shift key and hit F8 frequently. This should take you to the advanced recovery options.
- Click on Troubleshoot.
- Select Advanced Options, then Command Prompt.
- Run the following command:
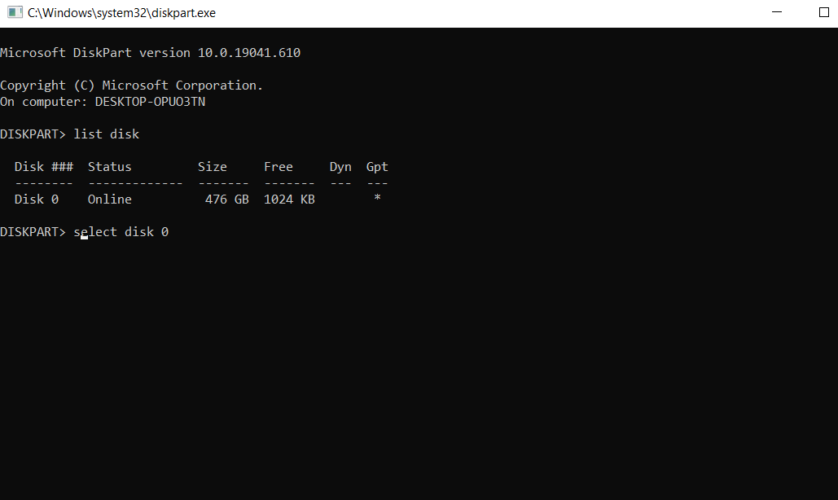
diskpart - Run the next command to see all your disks. usually, your drive should be Drive 0:
list disk - Then, type this command, replacing the drive number/letter with your actual system drive:
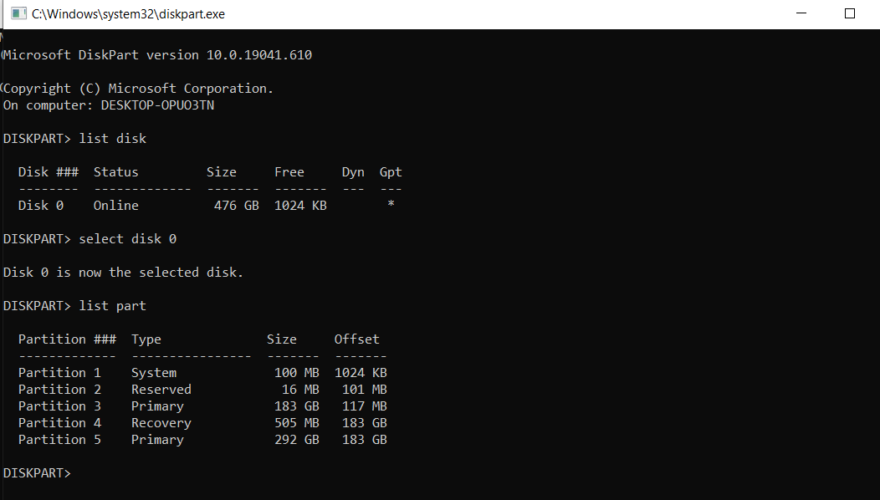
select disk 0 - Then, you need to see all partitions, so type:
list part - Select your primary partition (#3 in this example, but can be something else for you):
select part 3 - Assign your primary partition a drive letter:
assign letter=X - Exit diskpart.
- Still in Command Prompt, type the following to get a list of installed drivers (replace X with your driver letter):
dism /Image:X: /Get-Drivers | more - You should get a notepad list with drivers; look for the driver mapped to CorsairVBusDriver.sys (should be oemx.inf, x = a number)
- Run the following to get rid of the faulty driver (once again, replacing X):
dism /Image:X: /Remove-Driver /Driver: oemx.inf - Exit Command prompt and reboot.
Note: If you already know your system partition, you can skip steps 4-8, straight to step 9.
3. Use installation disk
If you’re lucky enough to have a Windows 10 OS on a disk or mounted on an SSD or USB stick, you can clean install Windows.
Just insert the disk or attach the external drive to your device, reboot and follow the on-screen instructions.
Note that some users complained that even with a clean install, upon automatic update, the faulty Corsair driver would get back into the system.
We hope that this guide has helped you restore your device back to normal. In case you’ve got something to add to the steps above to improve the process, feel free to use the comments section.




User forum
0 messages