We couldn't update the System Reserved Partition
3 min. read
Updated on
Read our disclosure page to find out how can you help Windows Report sustain the editorial team Read more
Key notes
- If your System Reserved Partition (SRP) is full, you'll keep getting the We couldn't update the System Reserved Partition error when you attempt to update your Windows.
- You can fix the issue by clearing the SRP following the steps in this guide.
- If this guide helped you fix the error, bookmark our Errors section for more guides.
- Visit our Fix hub to find troubleshooting articles on general device and app issues.

Updating your Windows system should be straightforward if you follow the right procedure. However, it’s not uncommon to run into errors. The one we’ll tackle here says We couldn’t update system reserved partition, with and it’s usually paired with the error codes 0xc1900104 or 0x800f0922.
This update error comes up due to a full System Reserved Partition (SRP). This partition stores your Windows system boot information. It’s normal for it to fill up because third-party security software, such as antiviruses write data to the System Reserved Partition.
To fix the issue, you need at least 15MB of free space on the System Reserved Partition. Follow me as I walk you through the two steps to clear this partition and fix the We couldn’t update the System Reserved Partition issue.
How do I fix the We couldn’t update the System Reserved Partition problem?
1. Find out the partition style
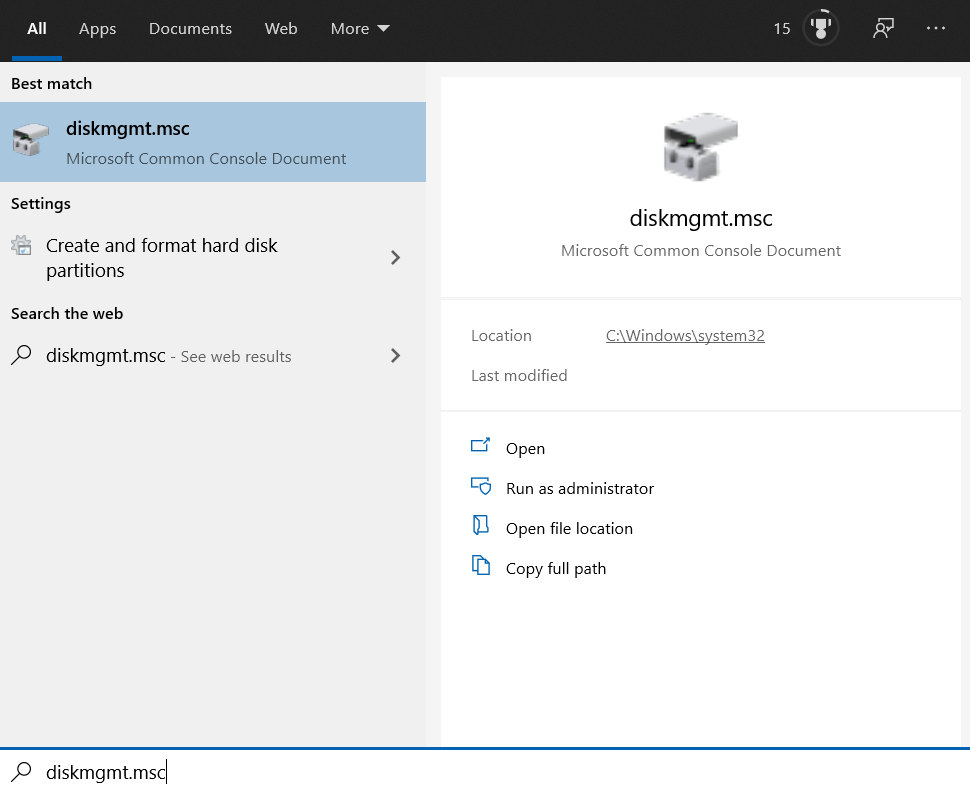
- Click on the Start button and search for diskmgmt.msc.
- Select Disk Management from the results.
- Right-click on the primary disk on which you have Windows and choose Properties.
- Go to the Volumes tab.
- Confirm the partition style.
NOTE: The partition style could either be a GUID Partition Table (GPT) or Master Boot Record (MBR). You will need this information for the next steps.
2. Delete font files
For GPT partition
- Click on the Start button and search for command prompt.
- Right-click on Command Prompt and hit Run as administrator.
- In the Command Prompt window, type in y: /s and press Enter.
- Type in y: and hit Enter.
- Type in cd EFI\Microsoft\Boot\Fonts and hit Enter.
- Type in del*.* and press Enter.
- Confirm the deletion.
For MBR partition
Open Disk Management
- Press the Windows key and search for diskmgmt.msc.
- Click on Disk Management from the search results.
- Right-click on the System Reserve partition and click Change Drive Letter and Paths.
- Click on Add.
- Select drive Y and hit OK.
Open Command Prompt and run these commands
- Click on the Start button and search for command prompt.
- Right-click on Command Prompt and select Run as administrator.
- In the Command Prompt window, type y: and press Enter.
- Next, type the following commands and press Enter for each of them:
cd Boot\Fontstakeown /d y /r /ficacls Y:\* /save %systemdrive%\NTFSp.txt /c /tdel*.*icacls T:\ /restore %systemdrive%\NTFSp.txt /c /t
If you got errors in the previous step, type in icacls . /grant system:f /t and hit Enter.
Change drive letter
- Return to Disk Management.
- Click on the Refresh button.
- Right-click on the reserved system partition.
- Click on Change the drive letter and paths.
- Choose the Y: drive.
- Click Remove and hit OK.
The first step was to determine if the System Reserved Partition is in the GPT or MBR partition style. After that, you have to follow the steps applicable to your partition style.
If your computer runs on Windows 8.1, 8, or 7, check out the steps recommended by Microsoft.
Once you clear the SRP, you’ll no longer see the We couldn’t update the System Reserved Partition error and can upgrade your Windows system.
[wl_navigator]


